Floe Lake: Ultimate Hiking and Camping Guide
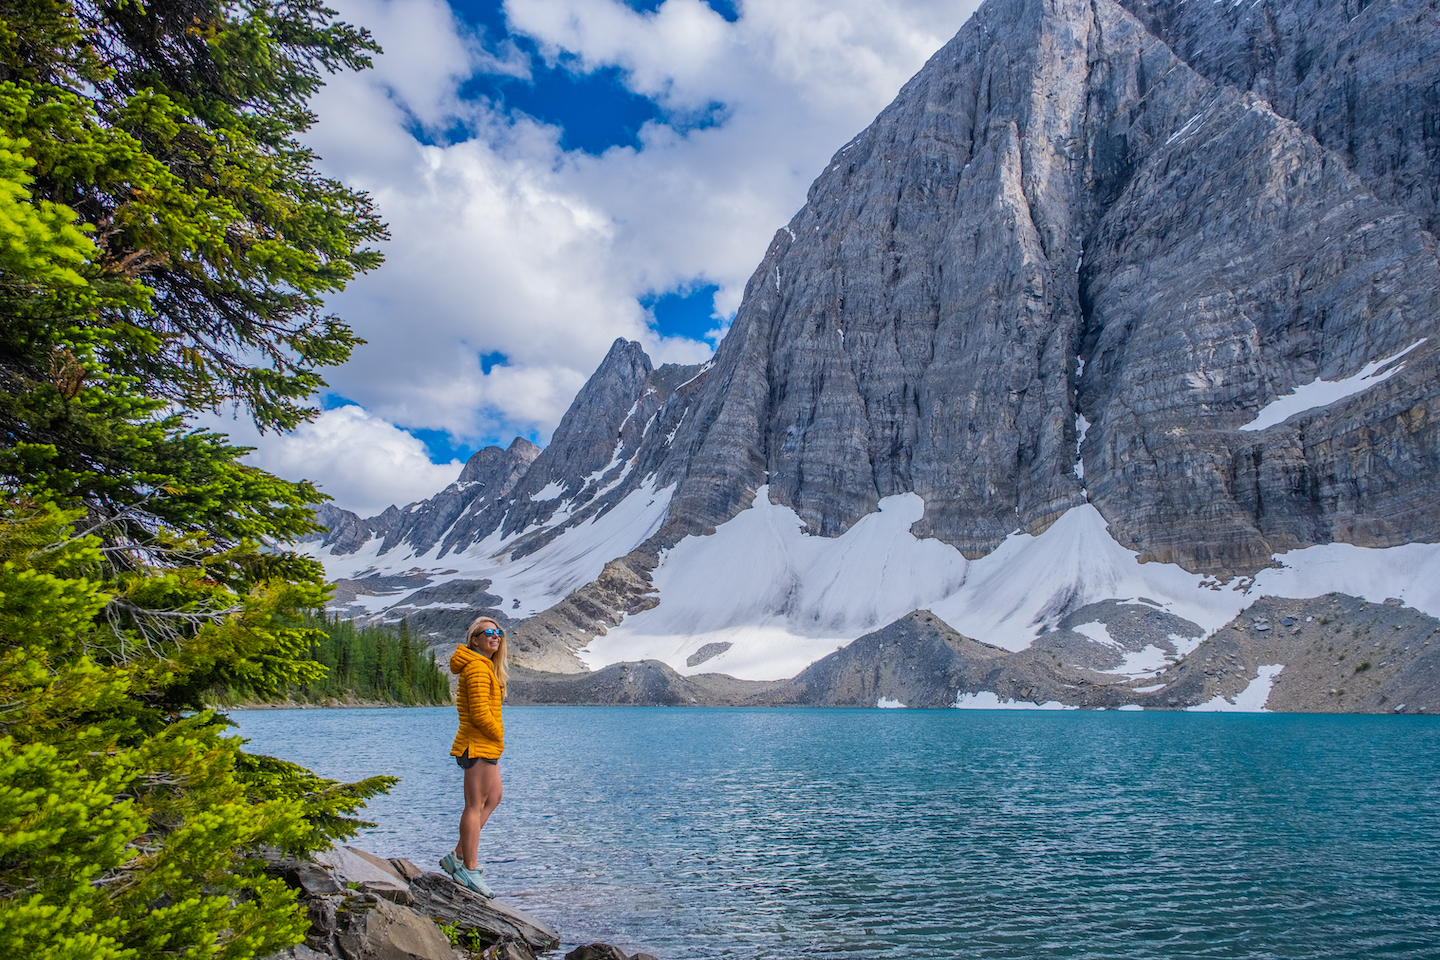
Floe Lake is a pristine glacial oasis located on the edge of Kootenay National Park in British Columbia, just west of Banff National Park. The high elevation keeps Floe Lake snowbound for most of the year, but those who make the journey during the summer and early fall are well-rewarded for their efforts.
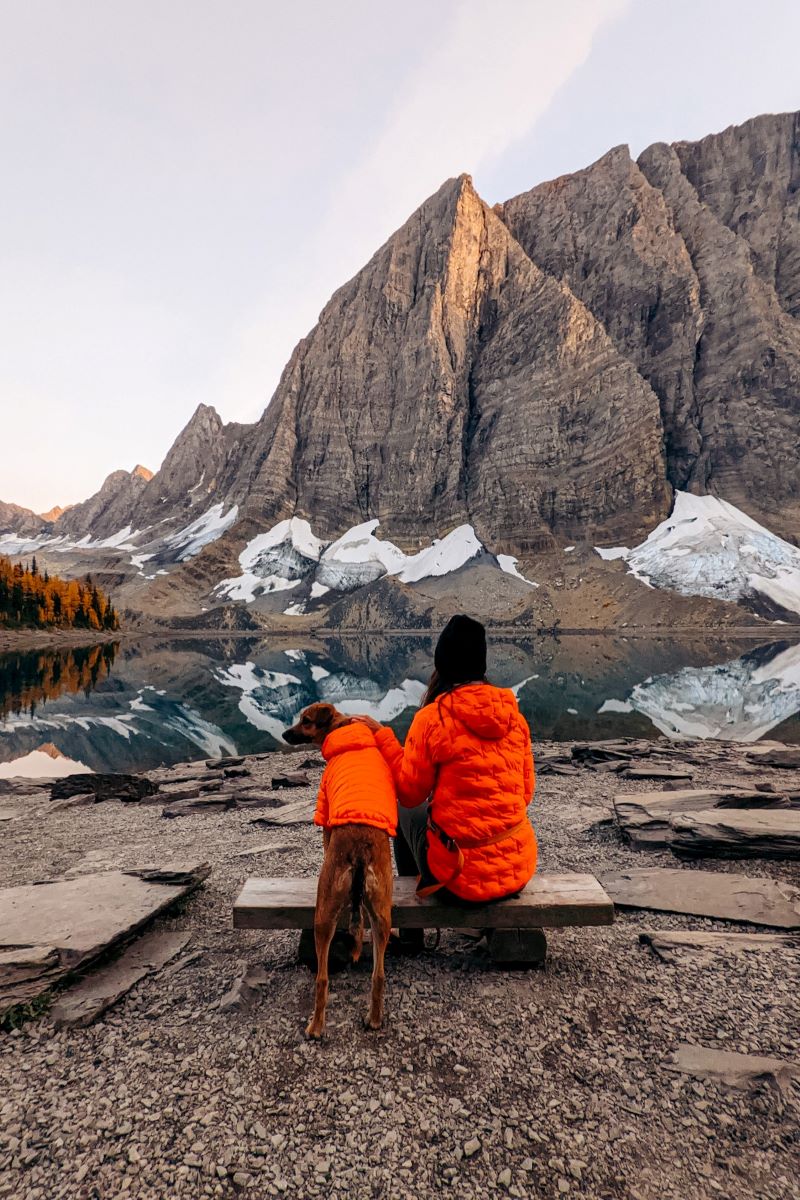
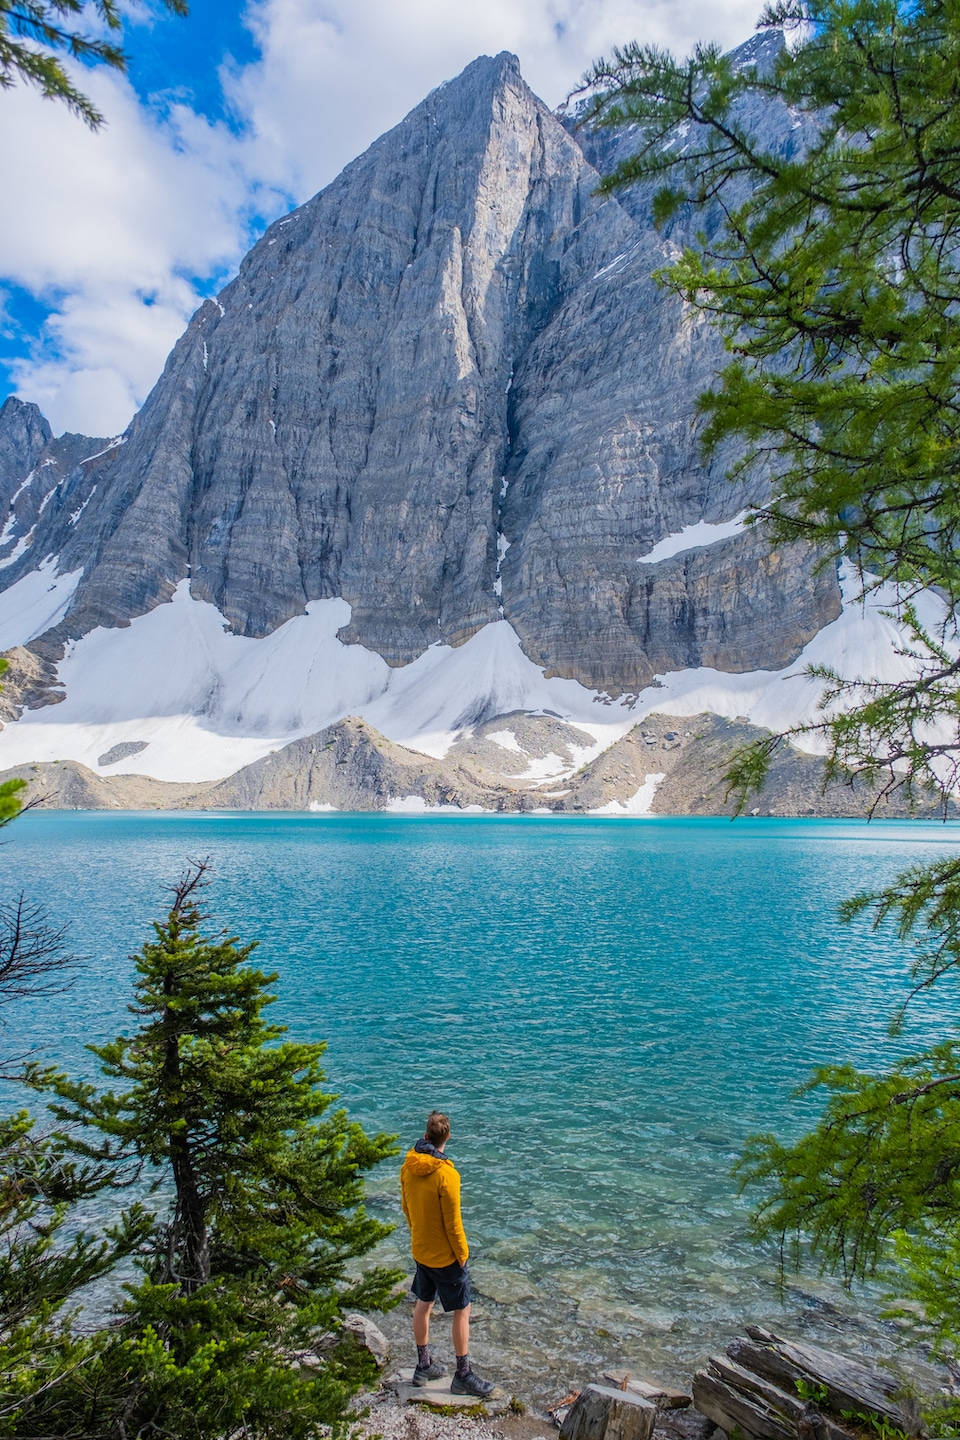
Verdant meadows in the summer, golden larches in the fall, towering peaks, and pure blue waters provide some of the most photogenic scenery in the Canadian Rockies. Although it is certainly challenging to fit the 1000m-tall monolith of Floe Peak within a camera’s frame!
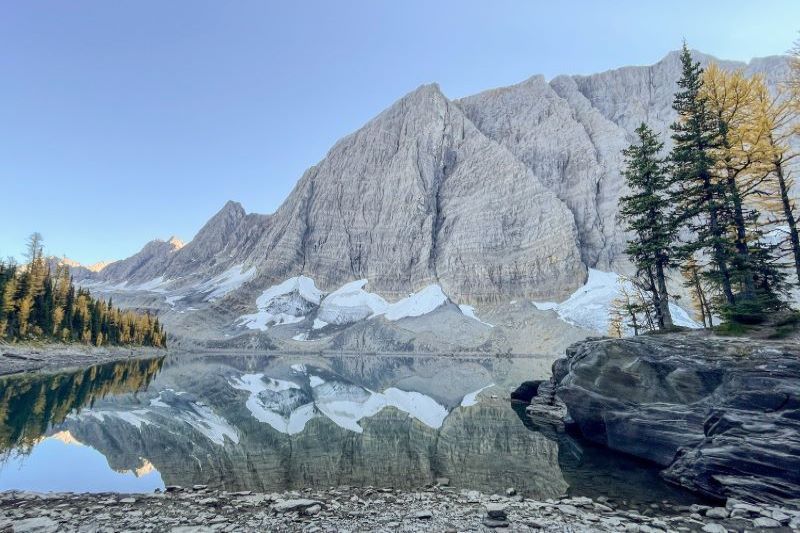
Floe Lake is one of the most pristine places in BC, and thankfully there are a few ways to experience the beauty of Floe Lake and its protective peak, but all require at least 20km of foot travel. This guide ‘walks’ through all the essential information you need to hike and camp at Floe Lake.
Floe Lake Key Facts
- Location: Kootenay National Park, BC
- Hike length: 10.5 km each way (21 km total); 3 – 5 hours each way
- Elevation: 800m
- Difficulty: Hard
- Reservation Type: Backcountry permit required
- Opening Dates: July 10 – early October
- Number of sites: 18
- Fee: $12.75/night per person + $11.50 reservation fee
- Amenities: pit toilets, bear-proof storage lockers, picnic tables
Visiting Floe Lake: Day Hike vs. Camping
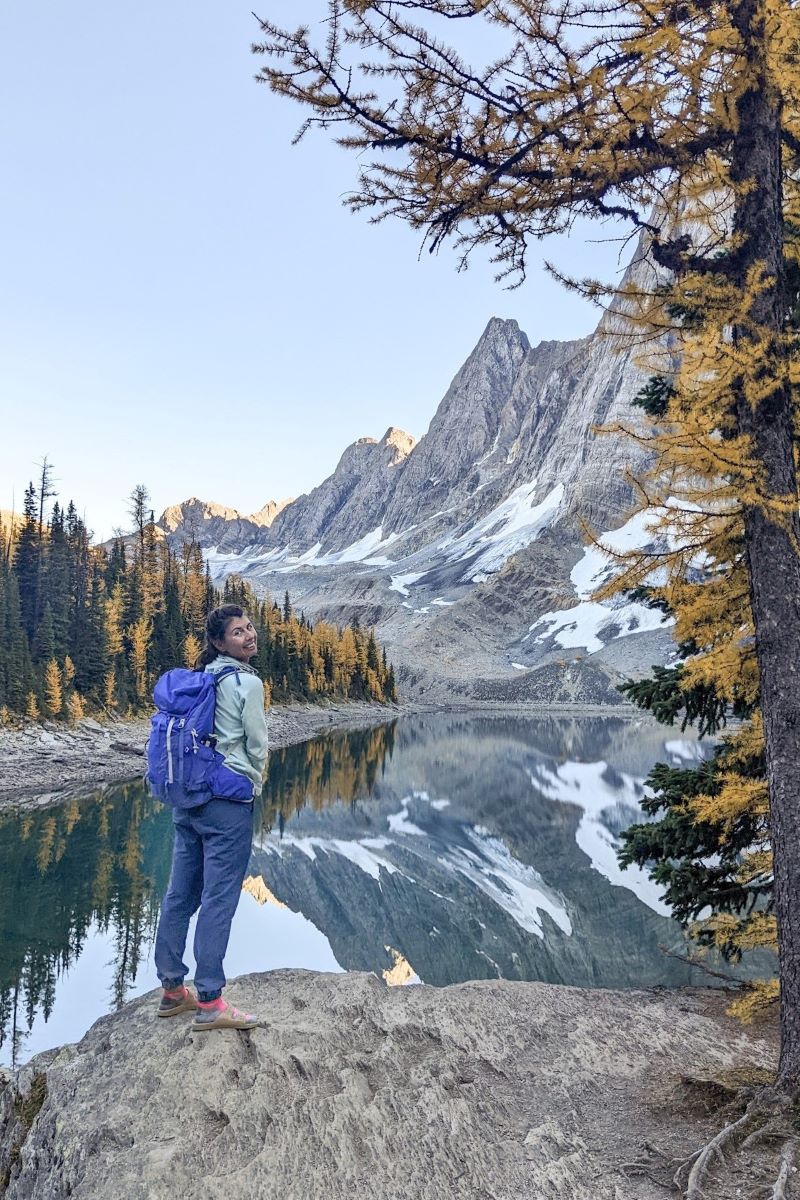
With a roundtrip distance of 21km, the journey to one of the most beautiful lakes in BC, is manageable within a day for those with some hiking experience. Departing in the morning to enjoy a lakeside lunch is a great option for those short on time or less keen to sleep in the wilderness. Also a solid backup plan if camp reservations do not materialize.
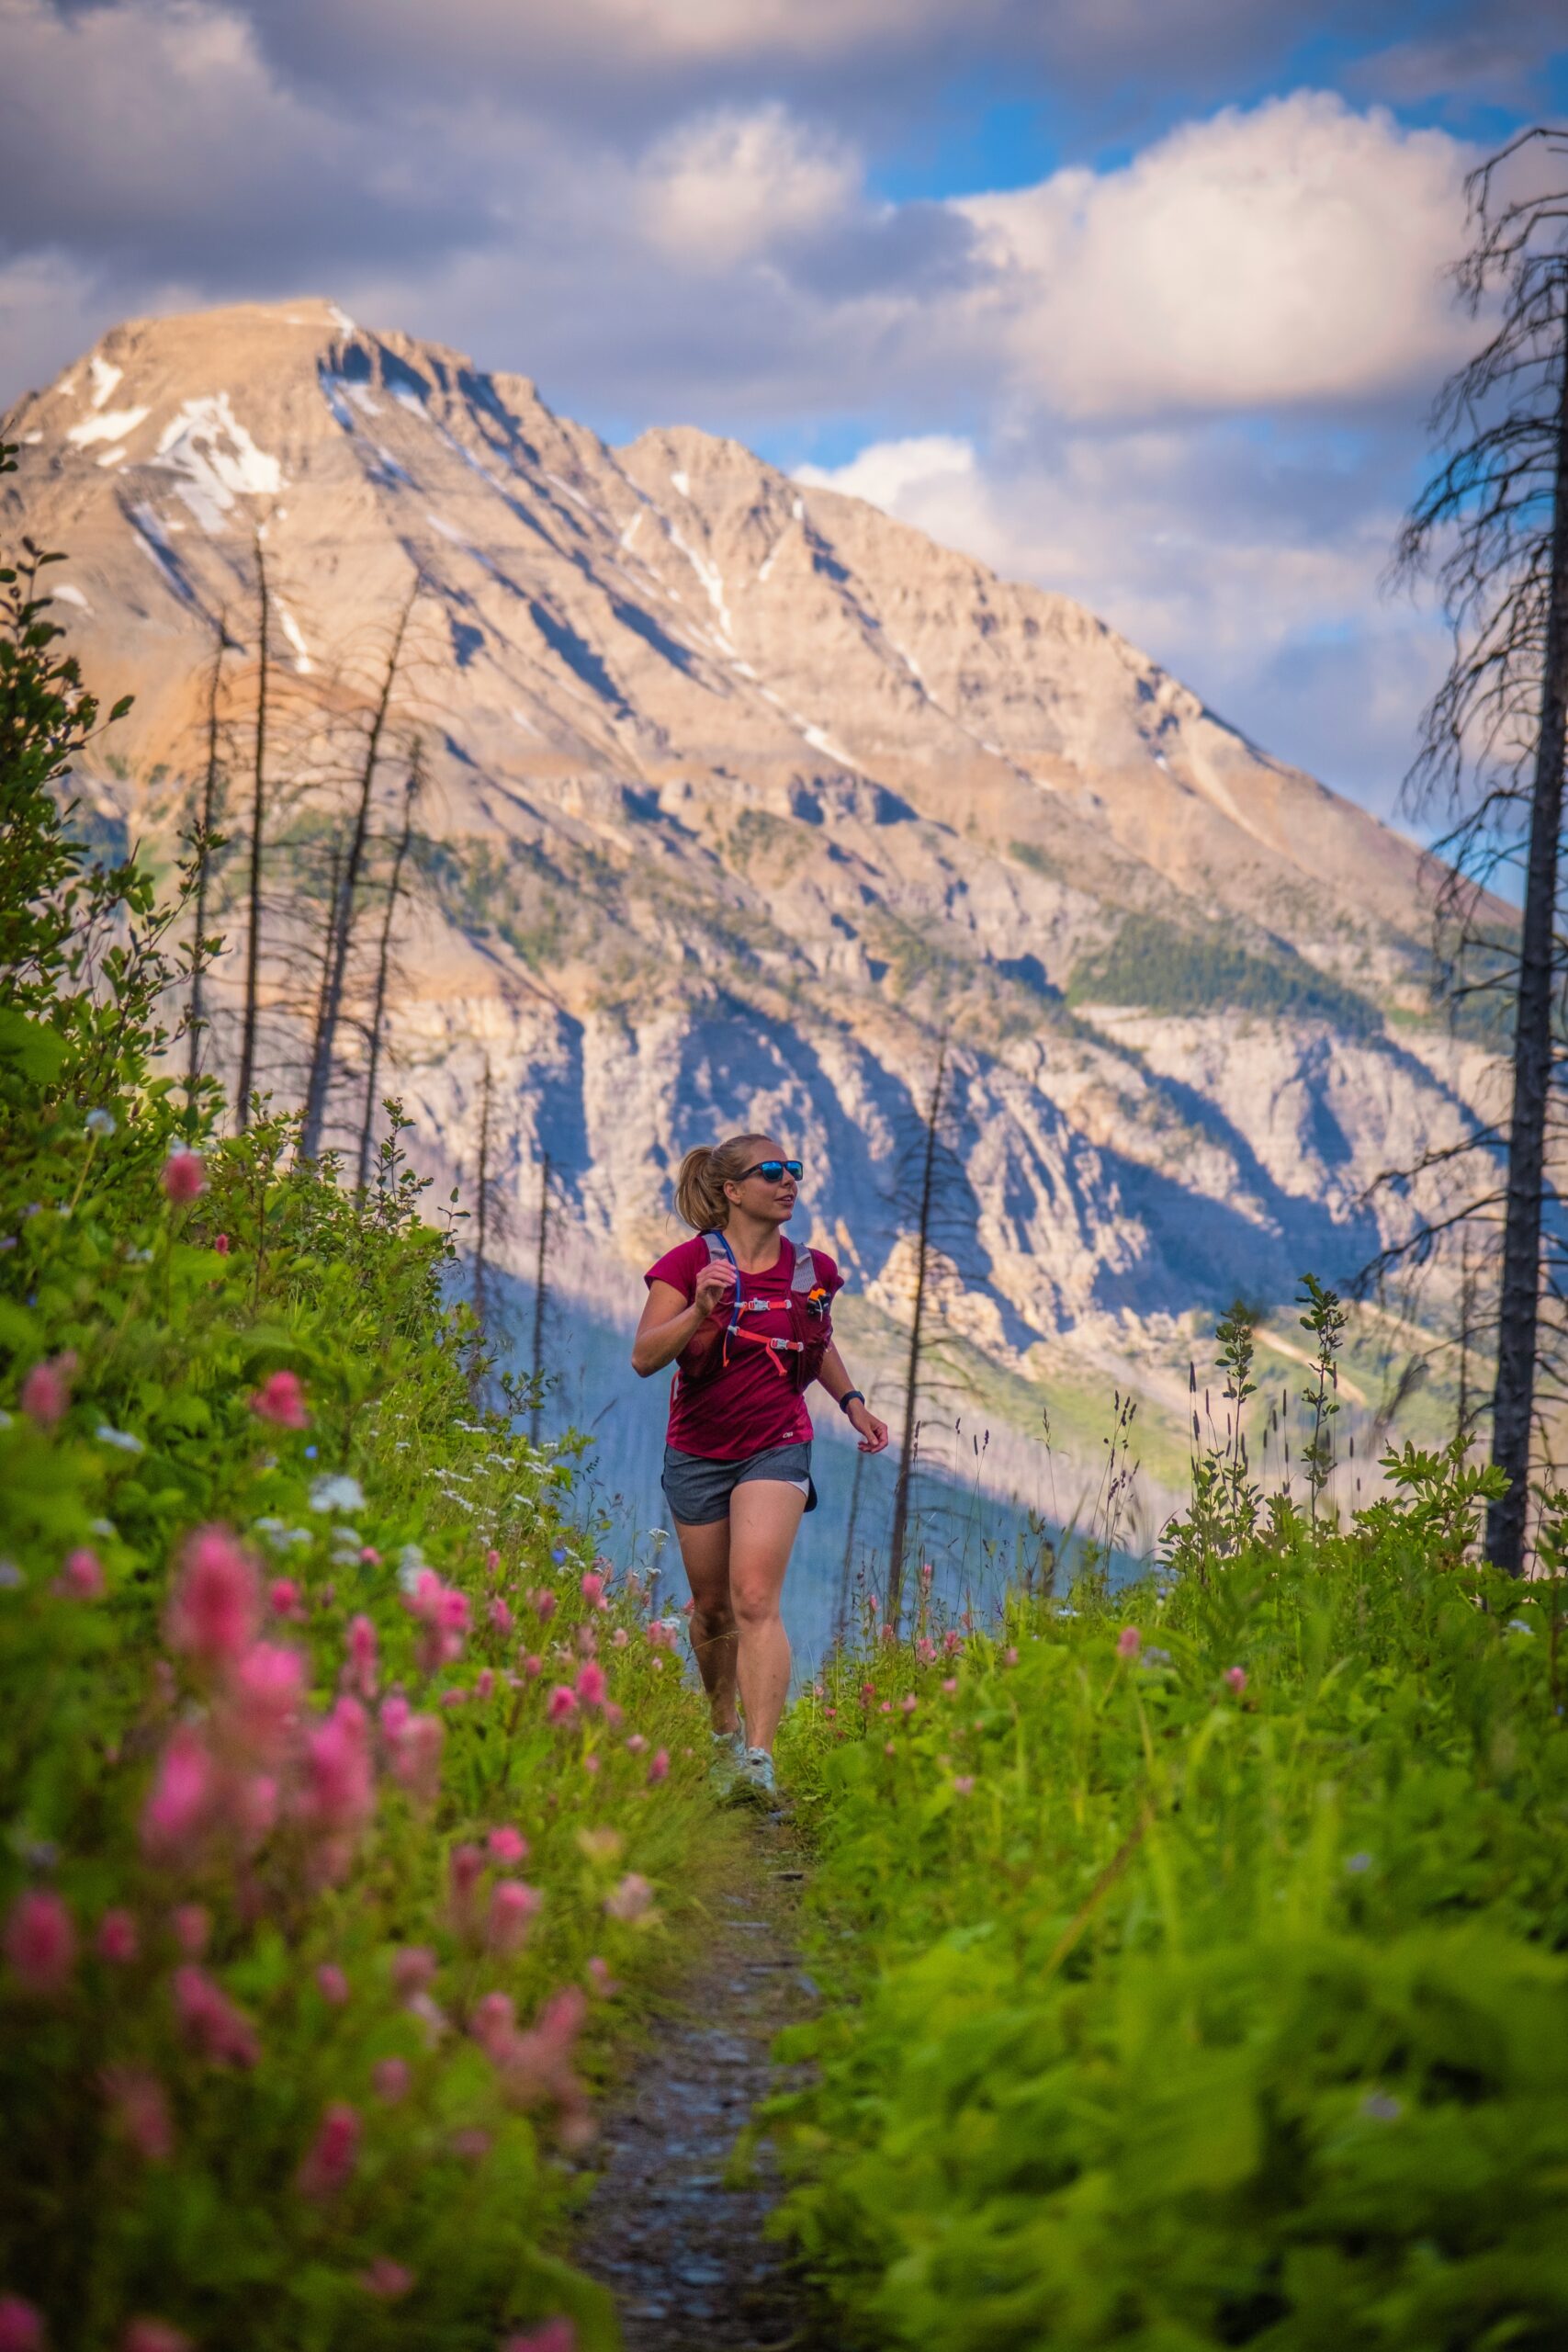
More ambitious locals sometimes opt to run this route, while seasoned backpackers may stop at Floe Lake as part of The Rockwall Trail, a multi-day thru-hike that stretches over 50km alongside the towering limestone peaks that mark the western boundary of Kootenay National Park.
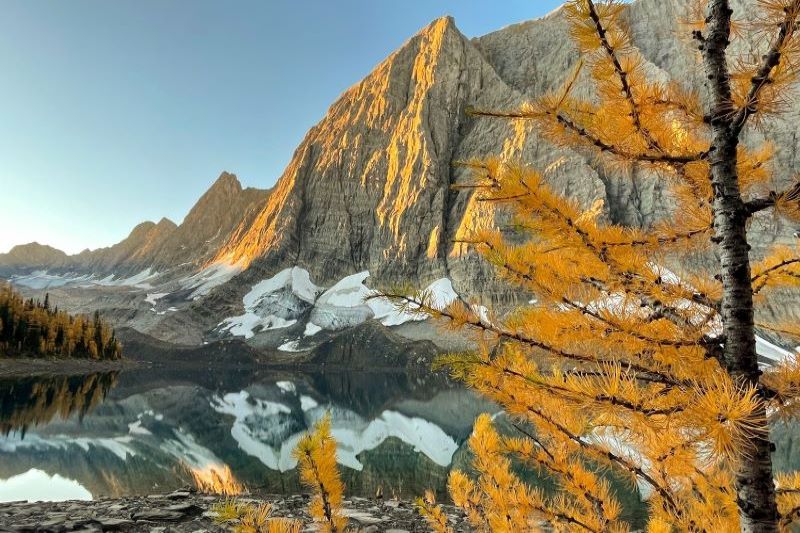
Floe Lake is undoubtedly the crown jewel of the Rockwall Trail, recognized as one of the most scenic and sought-after backcountry campgrounds in the Rockies.
Spending at least one night at Floe Lake strikes a perfect balance between the multi-day commitment of the Rockwall Trail and the rush of a day hike, providing the opportunity to rest tired legs and see the light change from sunrise to sunset.
But truly, any trip to this alpine utopia offers an incredibly rewarding experience. We were lucky to enjoy an overnight trip in the peak of larch season, thanks to a well-timed cancellation that allowed us to secure a last-minute reservation on an astonishingly warm fall weekend.
Getting to the Floe Lake Trailhead
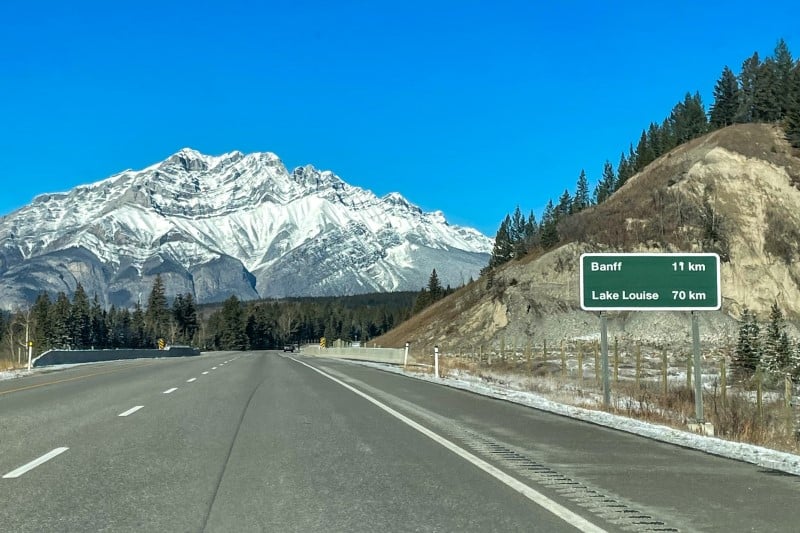
The drive to and from the hike is probably the easiest part of the whole Floe Lake journey. The trailhead is located on Highway 93S, a major paved road that connects Banff to Radium Hot Springs through Kootenay’s meandering mountain passes.
A comfortable 45-minute drive from Banff or 1-hour drive from Canmore will bring you to the trailhead. Traveling west from Banff, you’ll exit the TransCanada Highway at Castle Junction, turning onto Highway 93S and continuing past the Continental Divide into British Columbia.
There is no time change from Alberta, but there is no cellular service. Landmarks and parking areas are well-signed, so keep an eye out for the Floe Lake sign (just after Numa Creek) and the parking access on the right side of the highway.
In high season, spaces are limited due to high demand by day hikers and campers alike. While overflow parking is permitted along the highway, exiting your vehicle here is far from an enjoyable experience. Cars and trucks regularly pass at high speeds, so exercise caution and be vigilant at all times.
Otherwise, the trailhead is relatively well serviced with pit toilets and trash bins. Remember to clearly display a valid national park pass in your vehicle while visiting Floe Lake.
Here are the Google Maps directions
The Hike to Floe Lake
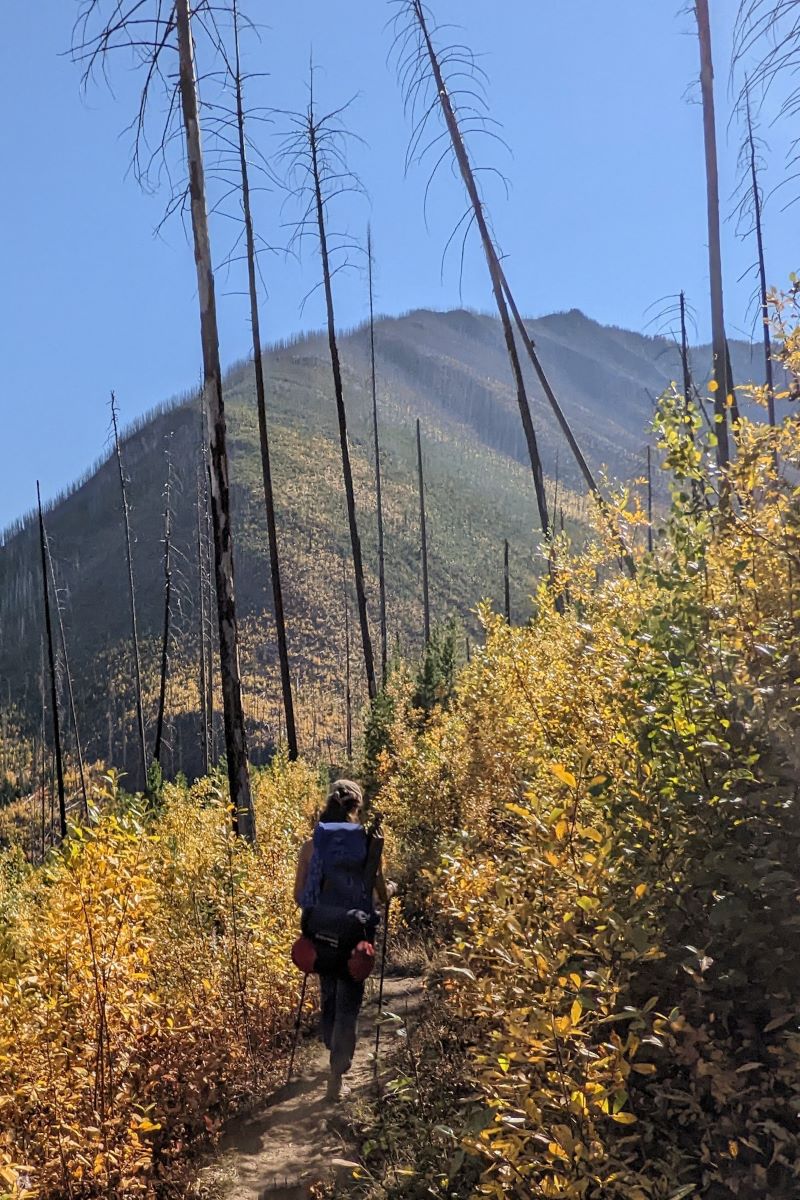
The hike to Floe Lake starts slow and steady, providing a long warm-up before a series of steep switchbacks mark the final ascent to the lake. While the trail isn’t technical, visitors should be prepared to traverse many kilometers without much protection, water, or shade. Fortunately, spectacular views feature most of the way!
At first, I wondered why the AllTrails App calls this route ‘Floe Lake track’, but I quickly learned that ‘track’ more aptly describes the narrow, overgrown, dirt path that leads to Floe Lake. Single file is the only option, to say the least.
Despite balmy temperatures on the weekend of our trek, I opted for long pants to protect my legs from stray branches and encroaching brush. This fabric buffer was most appreciated on the many occasions we encountered other hikers and had to sidestep into the prickly shrubs to grant others space to pass.
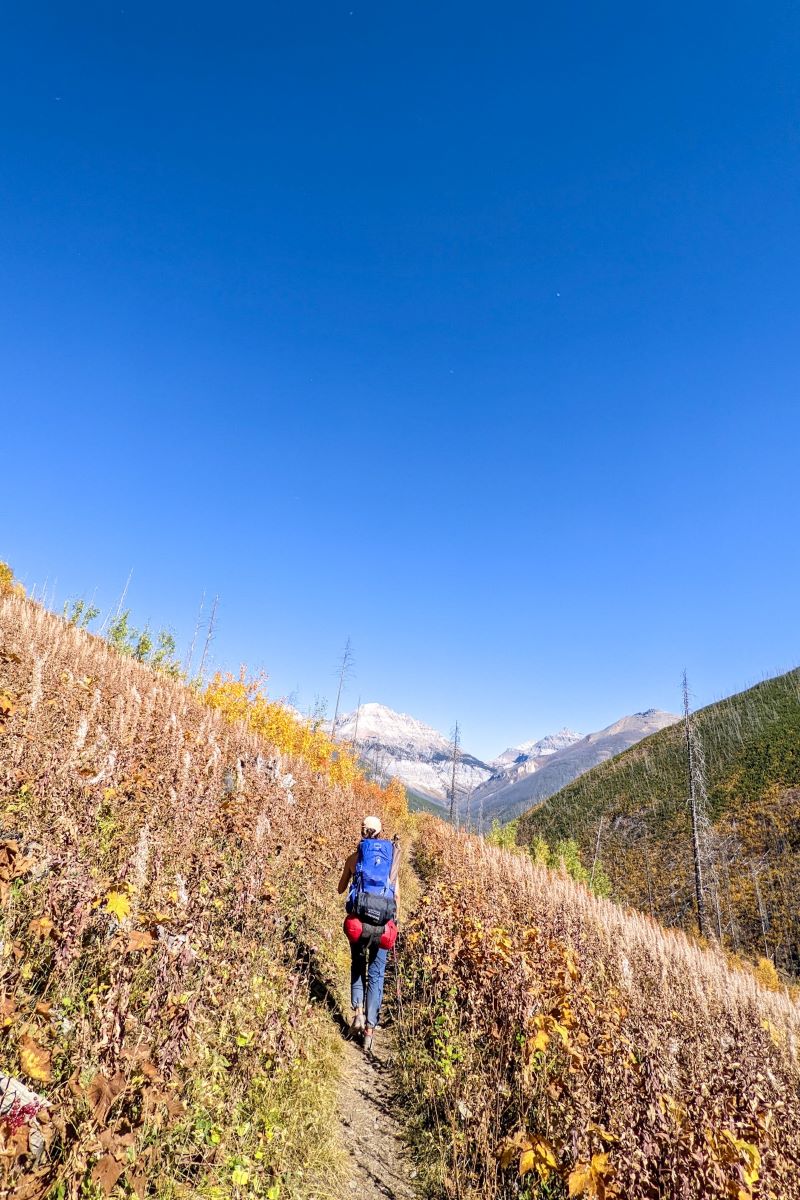
The first landmark on the hike comes quickly: a sturdy bridge over the beautiful Kootenay River. A second bridge across a creek follows about 1.8km into the hike. Although this creek runs parallel to the trail and provides a cascading soundtrack for most of the journey, water access is not possible for many kilometers.
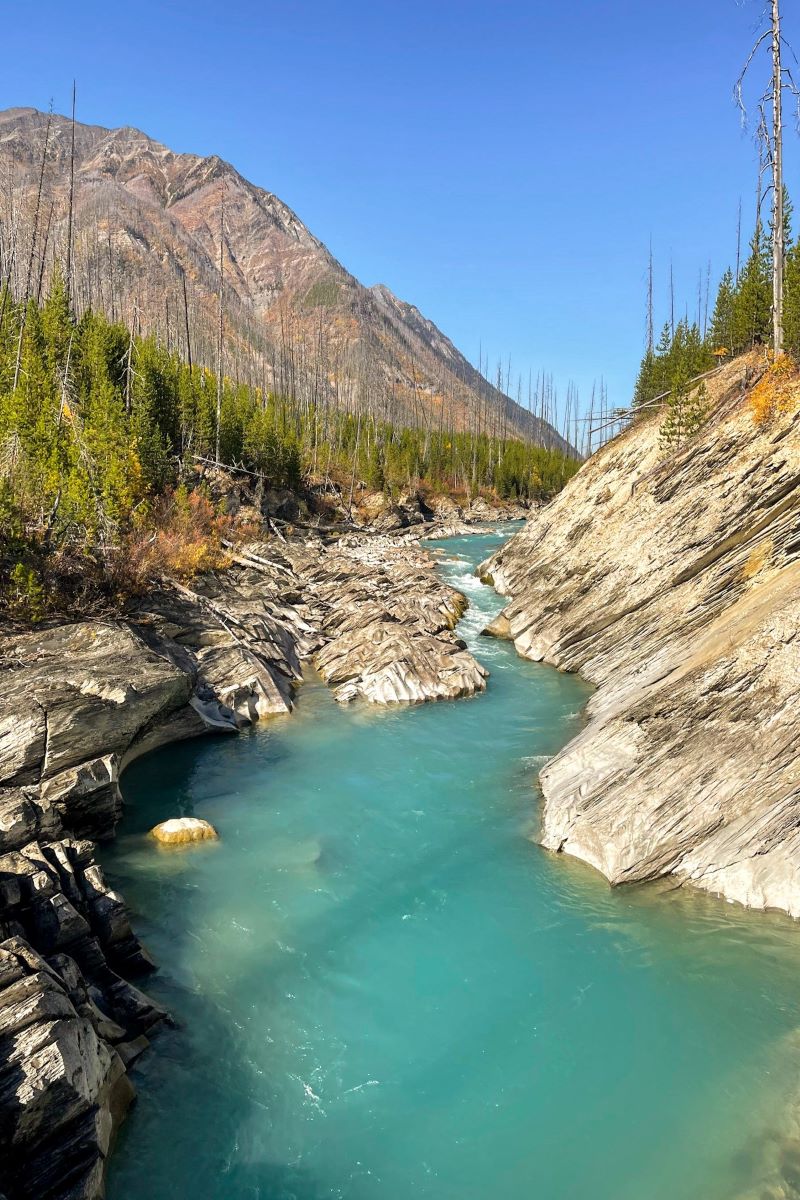
The trail quickly leads away from the creek with a few switchbacks up the base of Numa Mountain. An easy traverse continues along the mountain’s southern face through a meadow dotted with burnt timber, the legacy of a wildfire that consumed the valley decades ago.
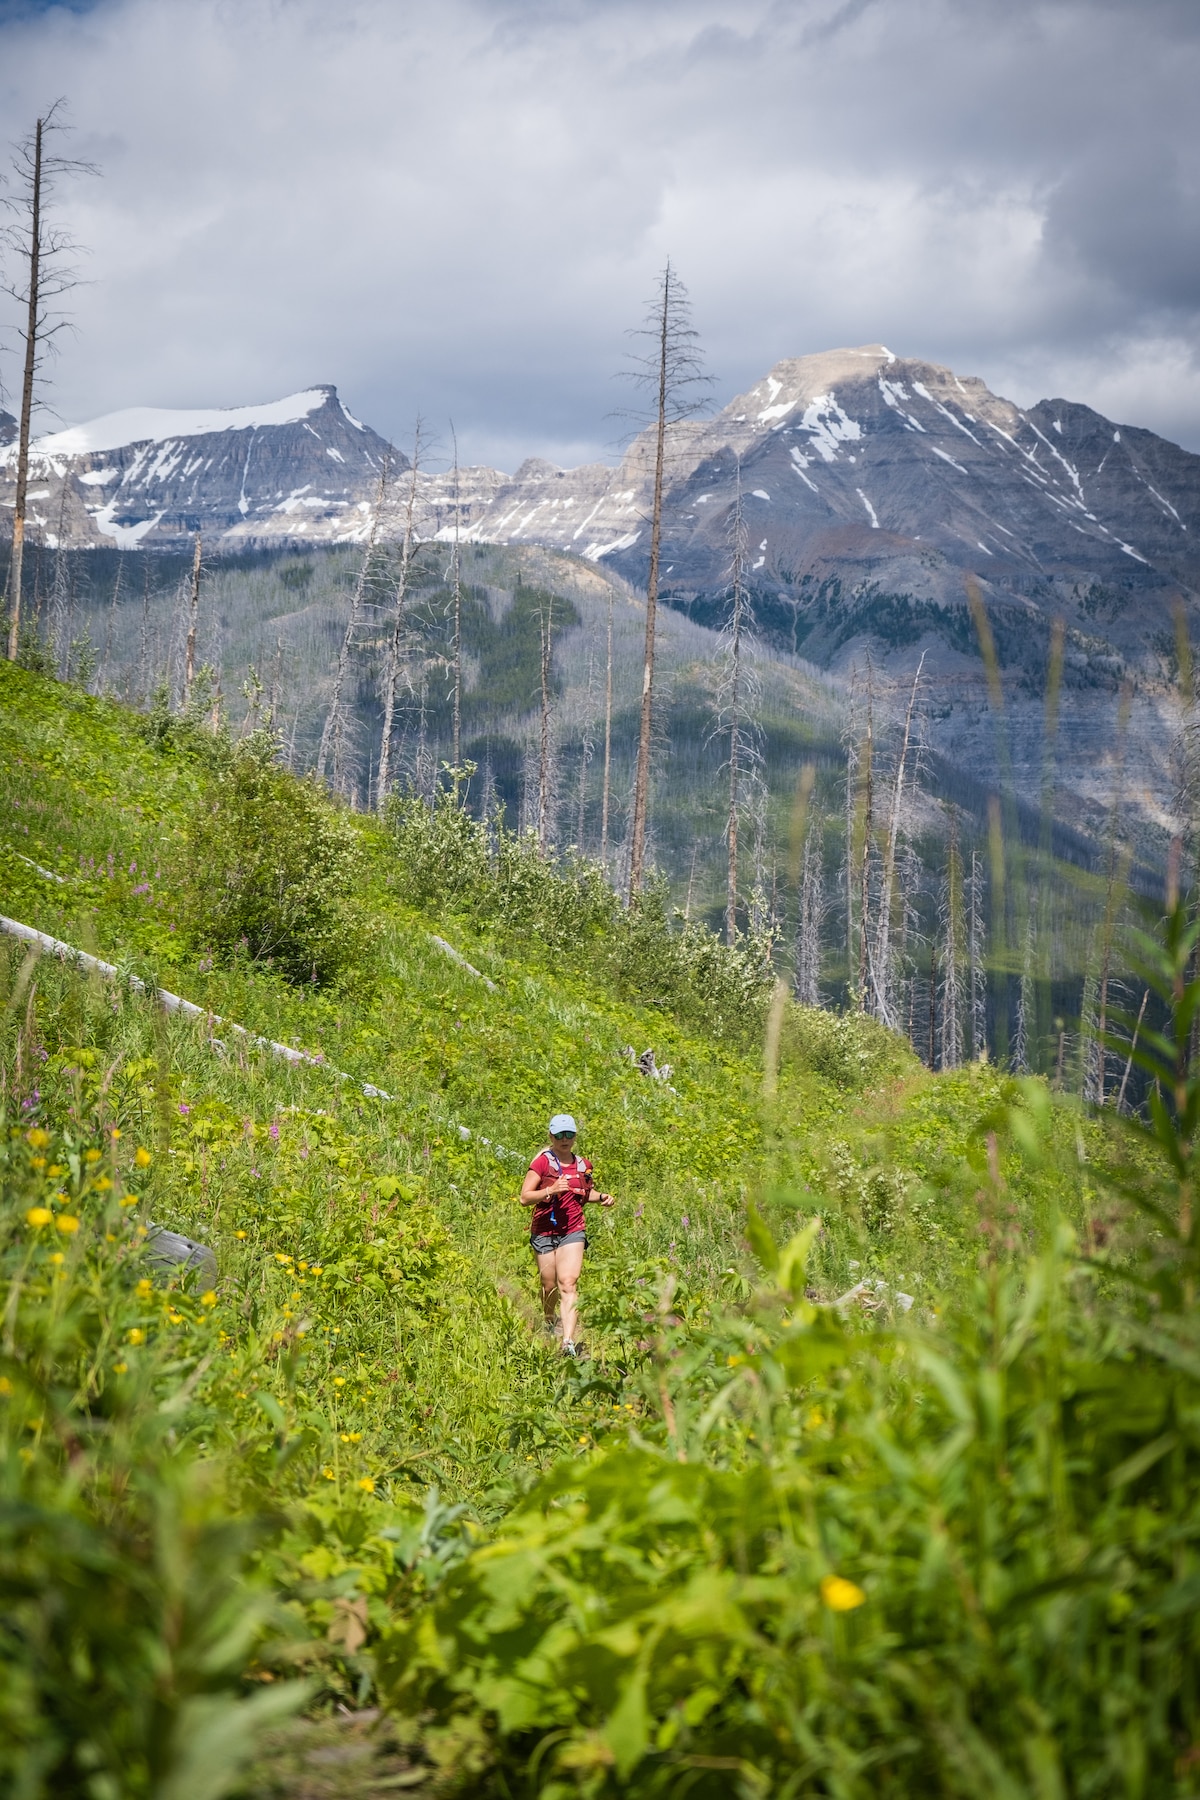
In the summer, the surrounding fields burst with pink wildflowers. In the fall, red and gold leaves contrast with the grey peaks and blue sky above. The backdrop of distant mountains foreshadows the ultimate destination.
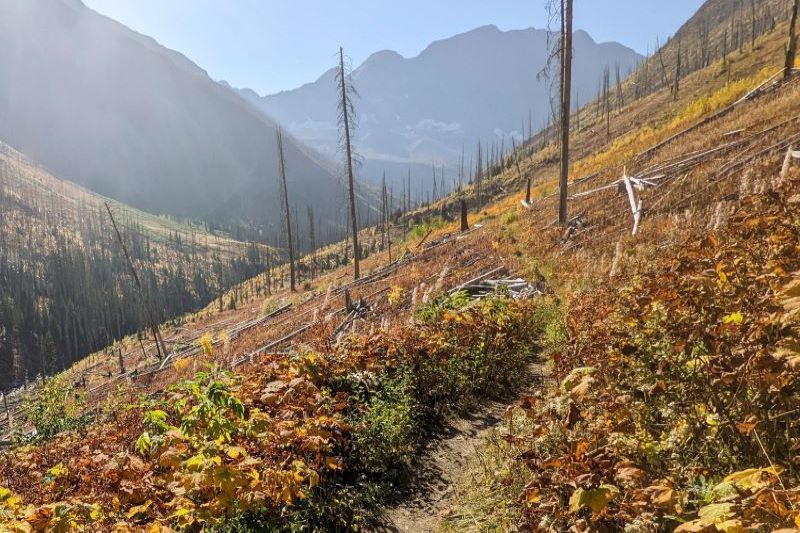
On clear days, there is little reprieve from the sun, and without proper protection, this former burn could easily leave you with a sunburn. We did find a shaded log alongside the trail after about 4.5km that provided a welcome rest stop – hopefully this remains in place for a while yet, but winter avalanches could impact this landscape.
A creek crossing around 6.5km into the trek serves as a common rest area. Still fairly sun-exposed, the rocks do provide some seating. Adventuring dogs in tow will appreciate the available water, while hikers will enjoy the chance to recharge before the final stretch, which only increases in intensity.
After leaving the sanctuary of the creek, the trail gradually becomes steeper as it approaches the wall of mountains and the cascading Floe Creek.
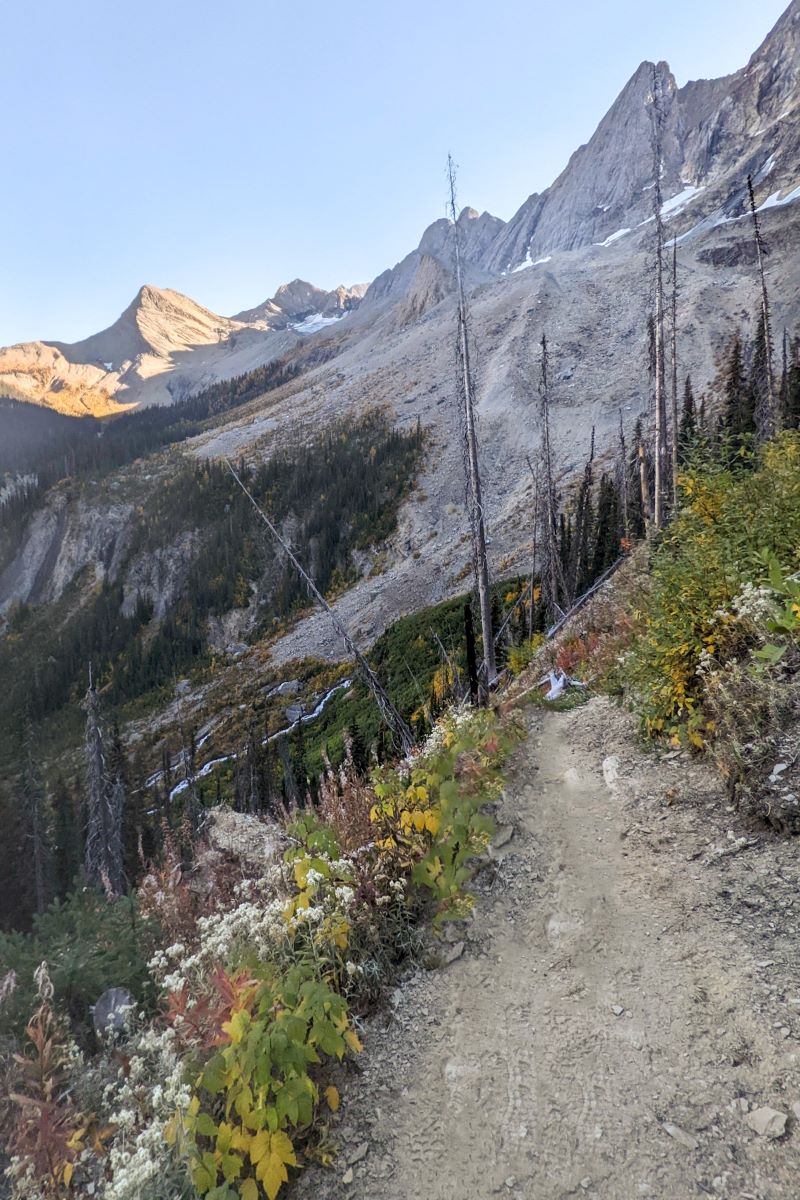
The real fun begins after bypassing Floe Creek – steady dirt switchbacks for the final 2km, representing about half of the hike’s total elevation gain. Steepness aside, this ascent does have some upsides. First: more shade. Second: alluring views of the surrounding mountains and back along the valley.
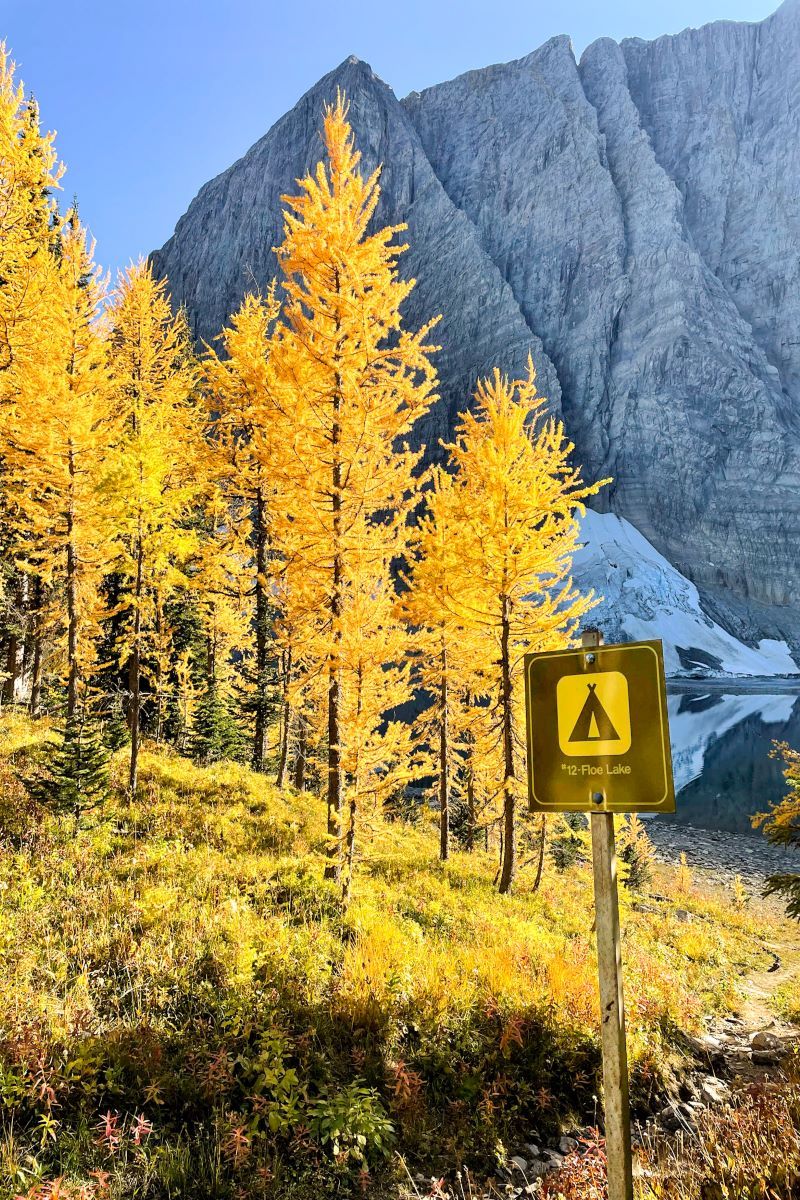
You know the end is close when the trail finally levels into a sheltered pine forest. Just beyond the campground sign is a fork in the trail that leads down toward the lakeshore.
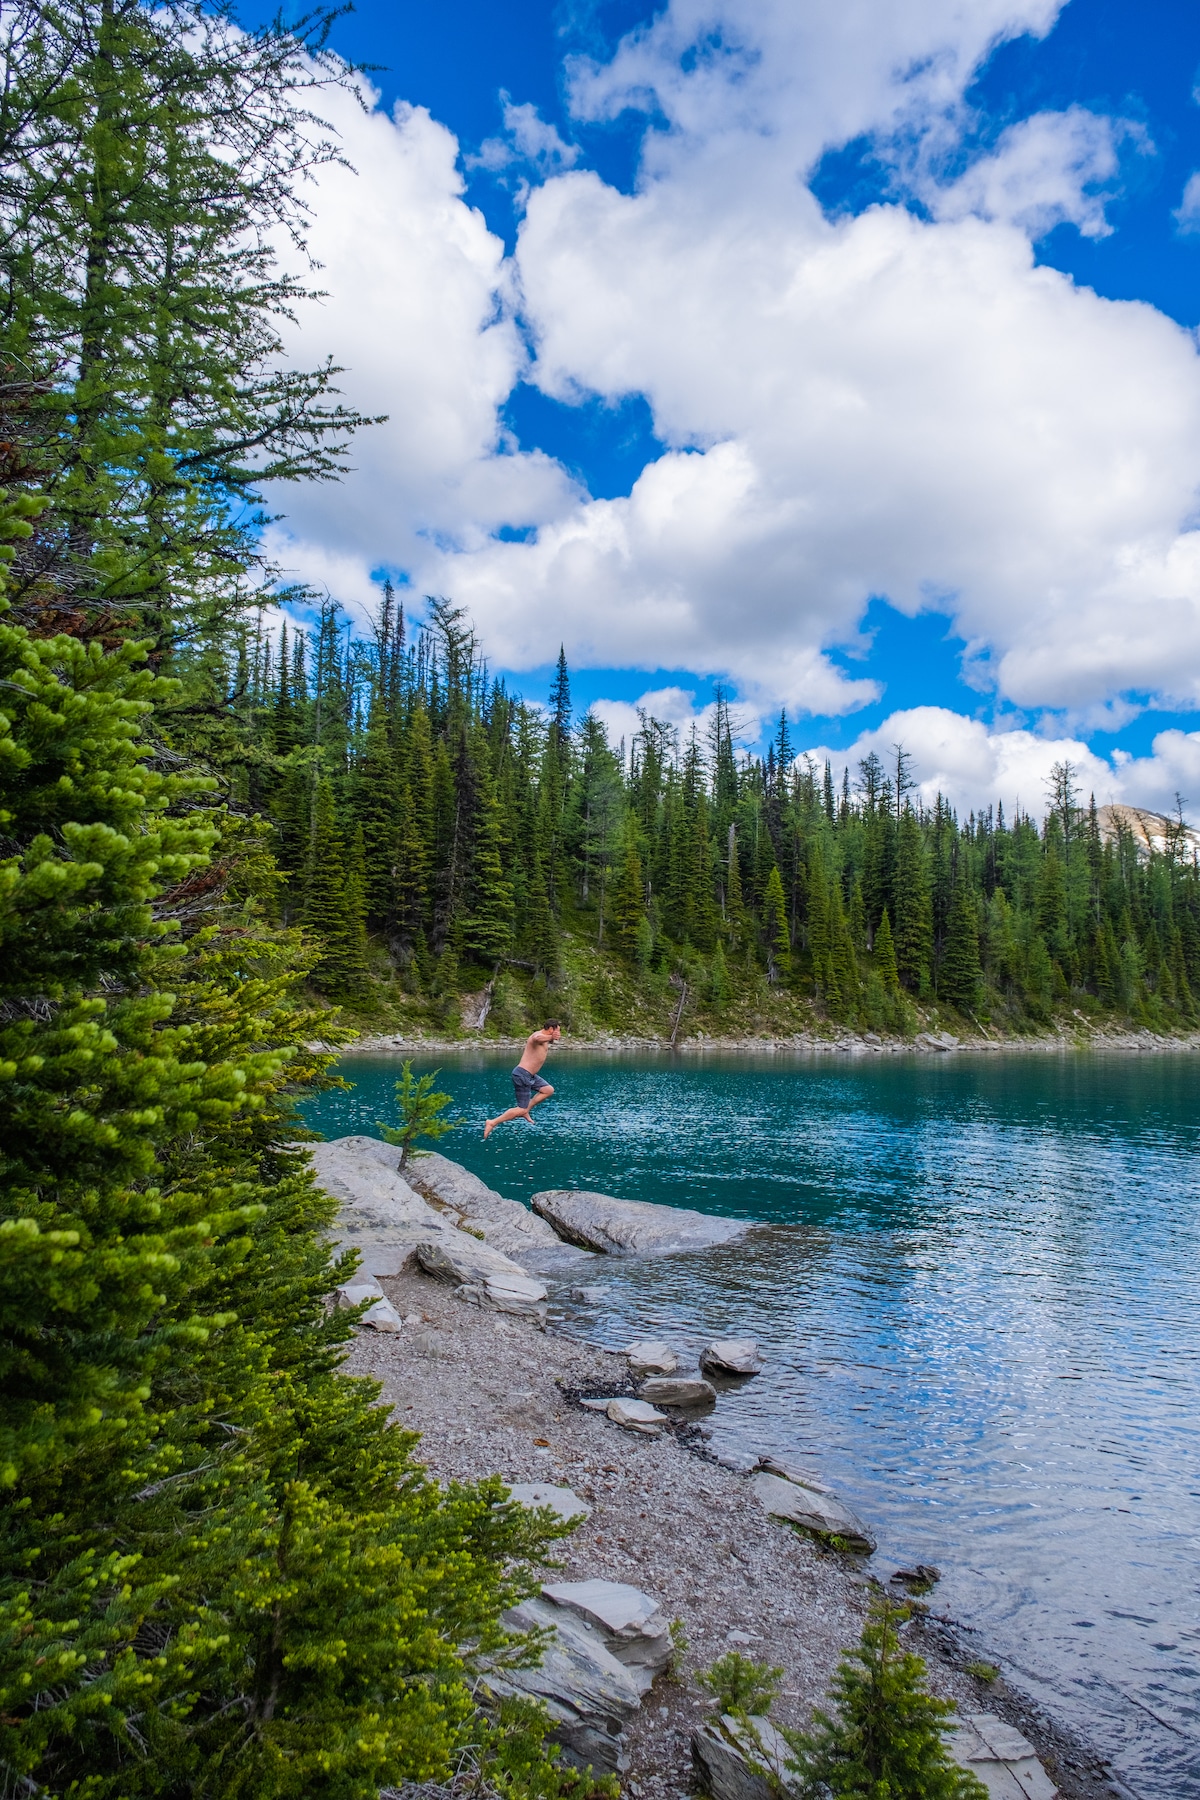
The waters may seem especially inviting after the long hike. While Floe Lake’s aqua blues resemble a tropical paradise, remember that the temperatures are anything but, and the glaciers on the opposite shore better reflect the reality of wading in.
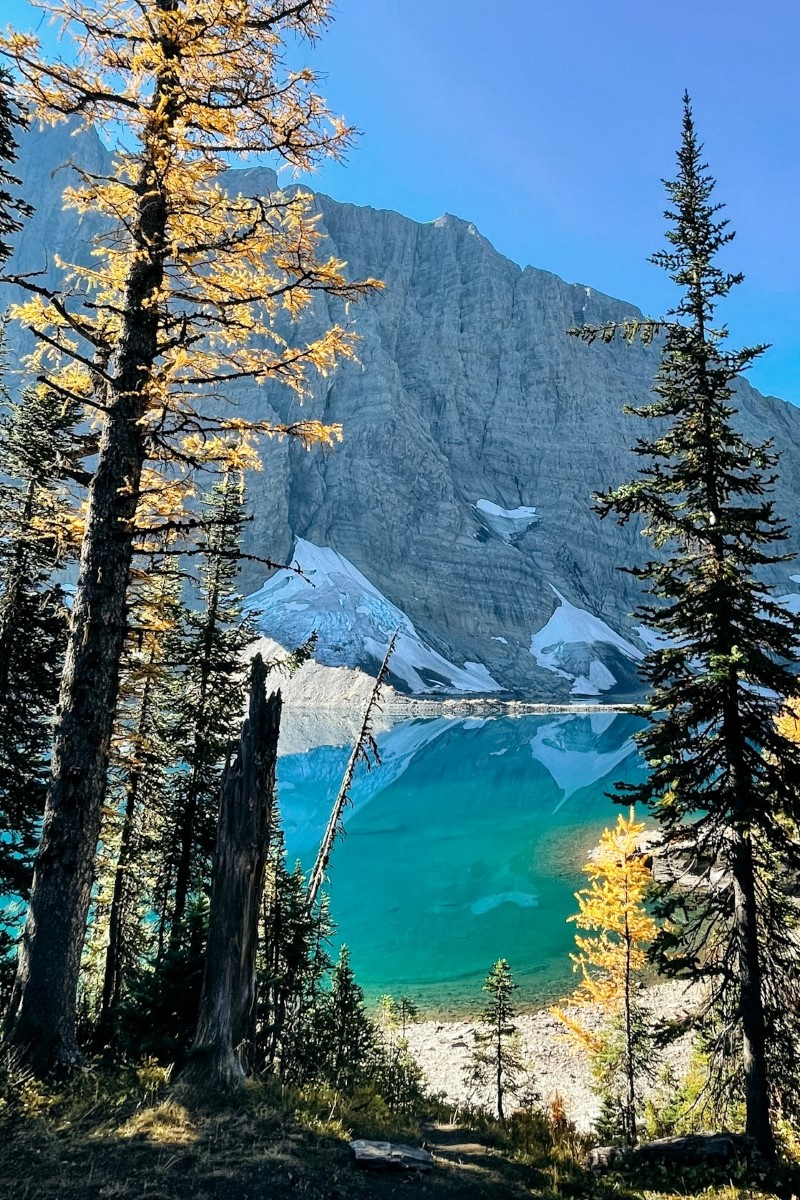
Most hikers reach the lake within about 4 hours of setting out. This depends on whether you have a day pack or are traveling with a heavy multi-day pack and your camping supplies. As an out-and-back trail, the return journey will simply involve retracing steps and can probably be completed in a slightly shorter timeframe.
Floe Lake is continually beautiful, but the morning light generally provides the best opportunity for photos. Due to the height and orientation of Floe Peak, the sun hides by early afternoon and most day hikers try to arrive before shadows overtake the lake.
Hike to Numa Pass
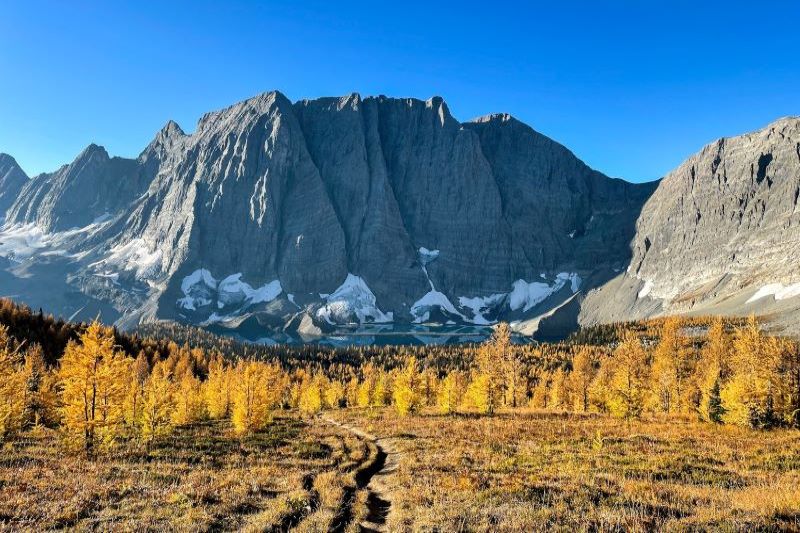
Anyone making the trip to Floe Lake should consider the 5km roundtrip extension to Numa Pass, which offers an impressive vantage point to take in the full majesty of Floe Peak and adjoining mountains.
To reach the pass, continue walking beyond the campground. A signed trail leads up into pine forests and then weaves through a valley of larches for about 2km. Once above the trees, the trail follows an alpine ridge to reach the saddle between neighboring mountains, Numa Mountain and Forest Peak.
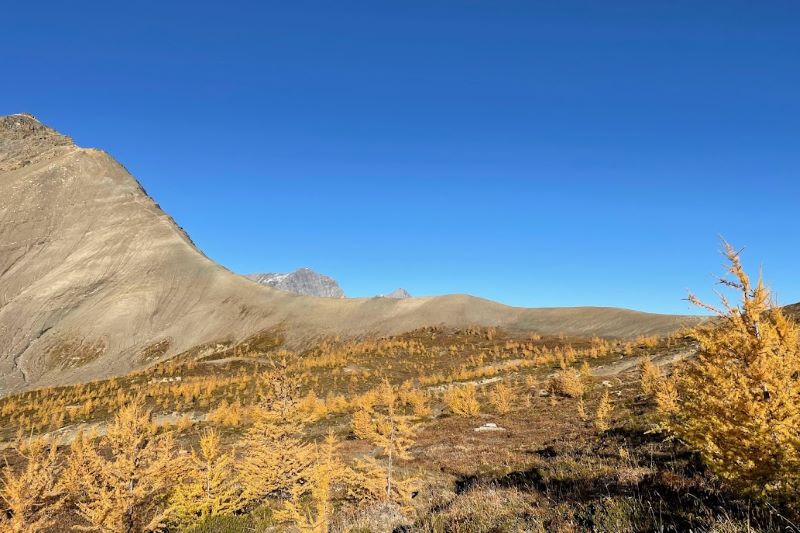
Astounding 360-degree views greet those who make it this far and hint at landscapes elsewhere along the Rockwall Trail. In early fall, the valley of larches radiates from Numa Pass in a golden welcome mat to Floe Peak. Given its relative isolation, the valley provides more solitude than most larch hikes in the Rockies.
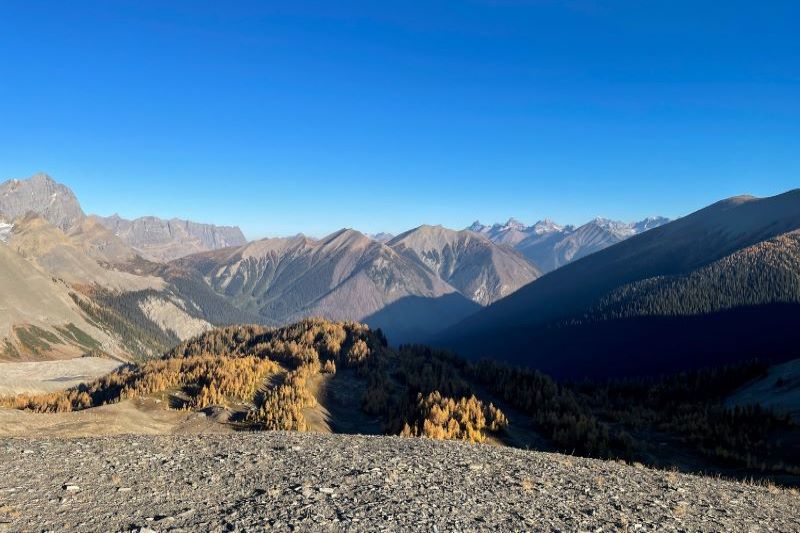
Continuing to Numa Pass from Floe Lake would add about 350m of elevation and result in a total round-trip hike of over 26km. Camping at Floe Lake does offer the advantage of reaching Numa Pass on fresh legs in the morning.
As the only route that connects Floe Lake to the other campgrounds on the Rockwall Trail, campers and trail runners may also arrive or depart through Numa Pass. Many of those venturing beyond the Pass typically complete a point-to-point trip, with arrangements to arrive or exit via another trailhead.
Camping at Floe Lake
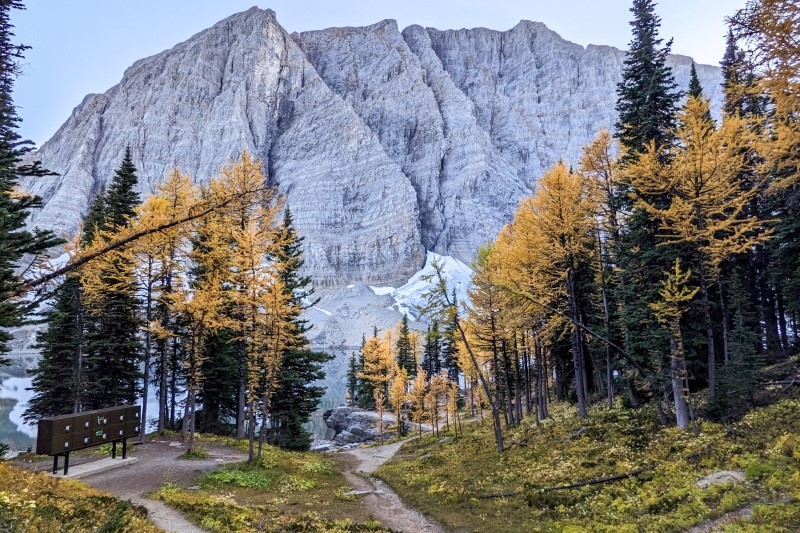
Its dramatic shoreline location has made the Floe Lake campground one of the most sought-after backcountry zones managed by Parks Canada. Reservations are required to stay overnight at one of the 18 sites, and securing a spot is arguably more challenging than the hike.
With an elevation of over 2000m, the campground usually features snow well into summer and reservations are only accepted after July 10. The precious few weeks of camp access during the remaining season are highly competitive, often booking up the first day of reservation opening.
However, cancellations do occur and you may be able to snag a site if you have some flexibility and patience to monitor the online availability calendar.
For those successful in booking a site, you will need to bring a copy of the reservation either printed or electronically downloaded to present to Parks staff upon request.
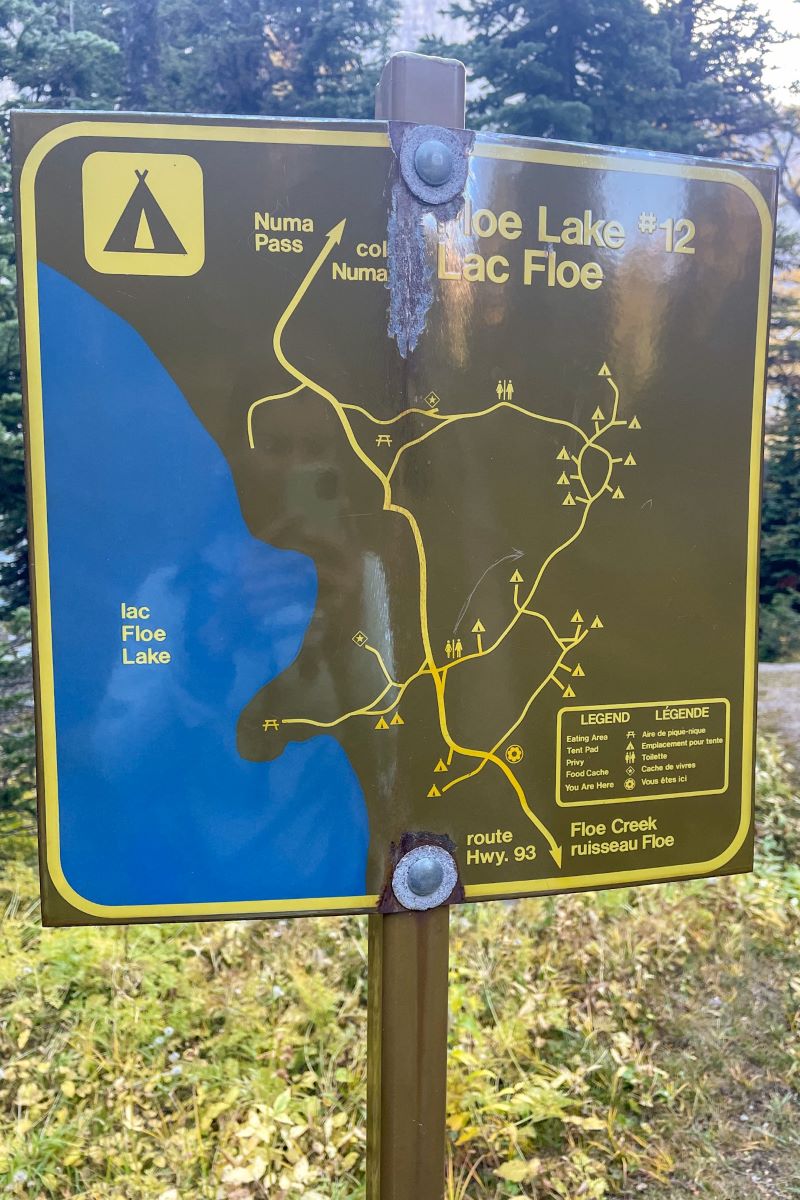
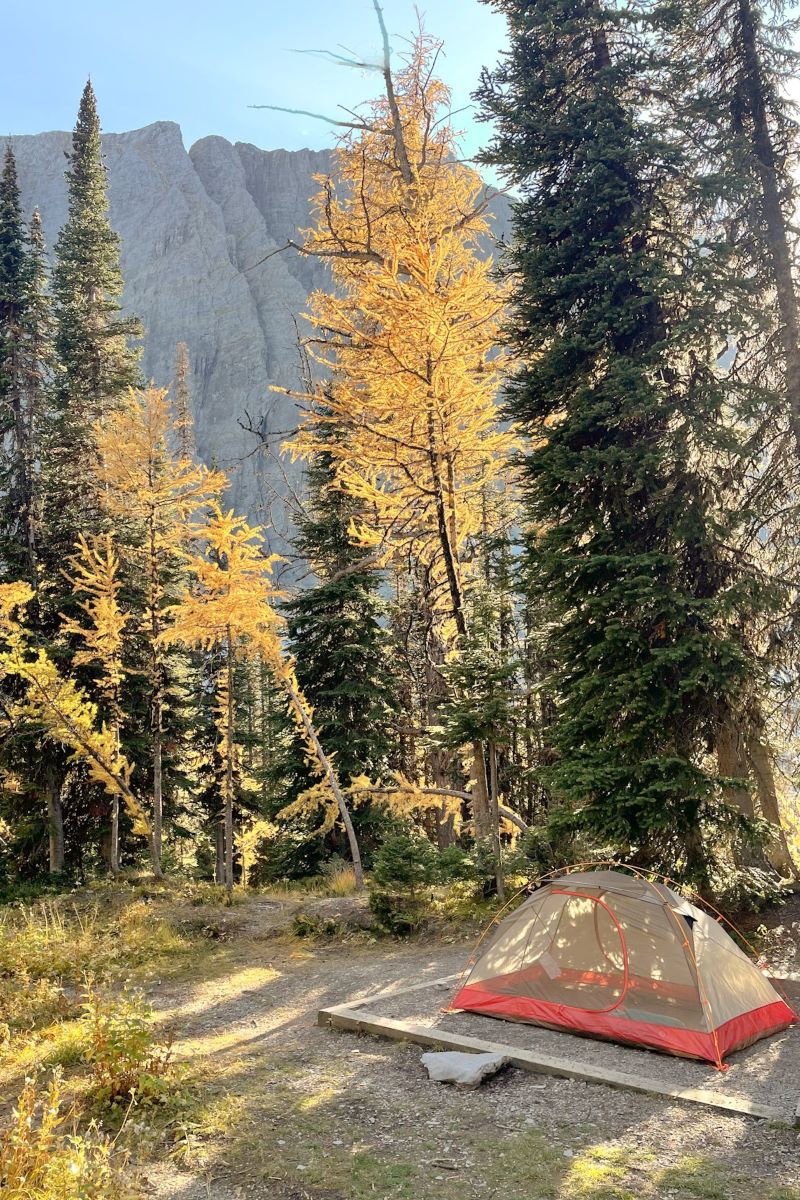
The backcountry reservation grants you access to stay overnight, but individual campsites are available on a first-come, first-served basis upon arrival. Tents can only be pitched on one of the designated sites to help protect the area’s sensitive ecology.
You’ll notice the first two tent pads when arriving at camp from the Floe Lake trail. As the only sites with a lake view, these are certainly the most desirable spots in the campground. All the other tent pads are located a short walk uphill to the right of the main trail.
Floe Lake Campground Facilities
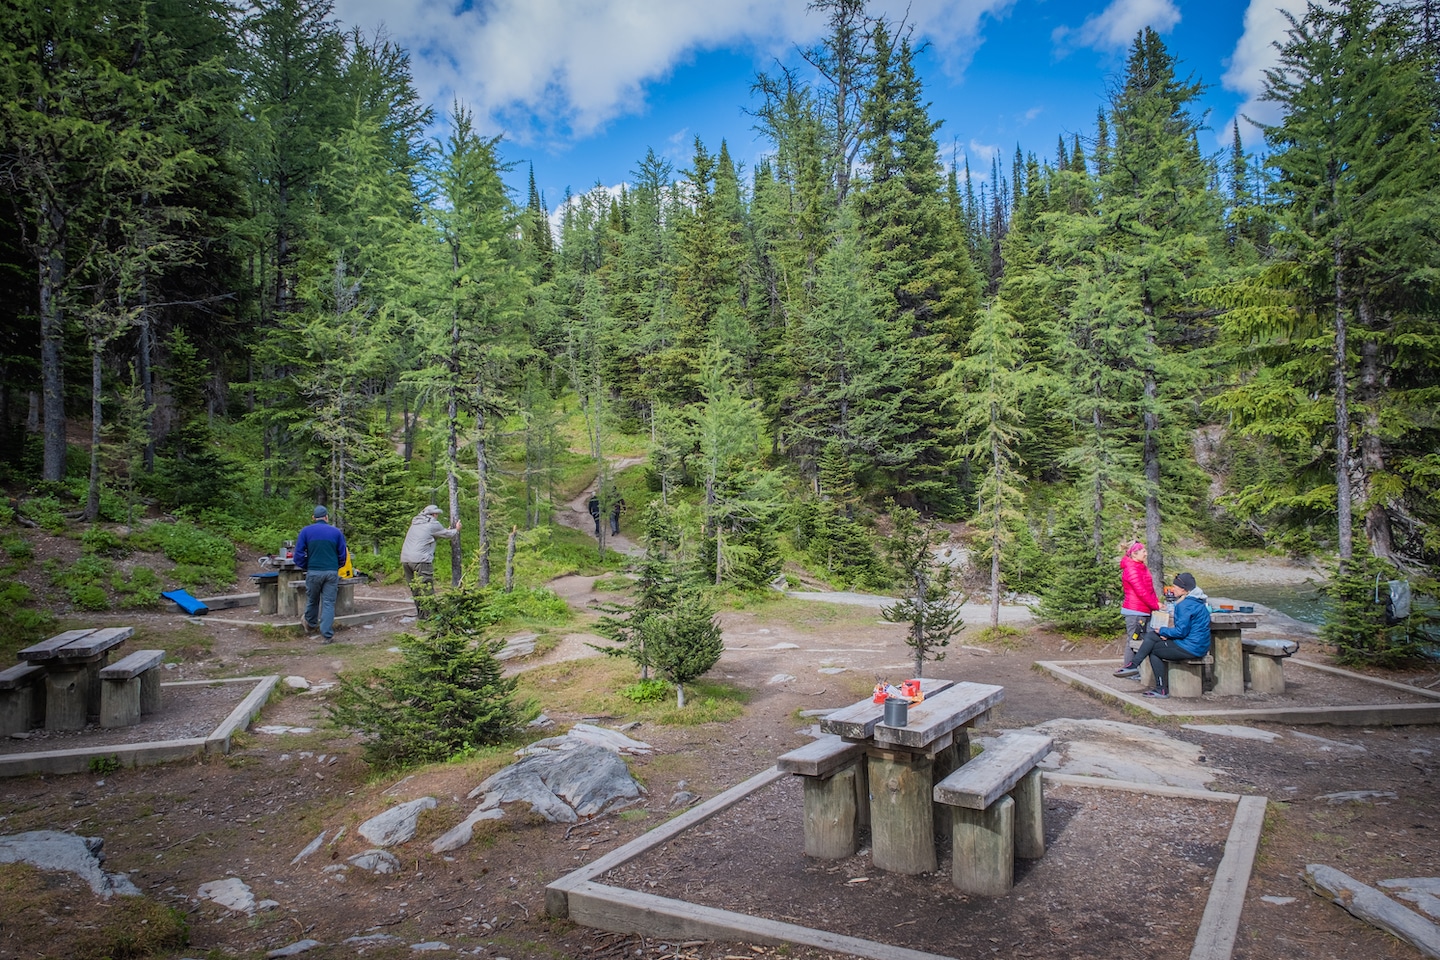
As a backcountry campground, amenities are fairly sparse. Campers should be mindful of their impacts and respect the campground facilities and the surrounding environment.
Floe Lake does boast two separate and highly scenic dining areas, each with picnic tables and a set of bear-proof storage lockers. The lakeshore option is more popular with a quieter set of tables just off the trail towards Numa Pass.
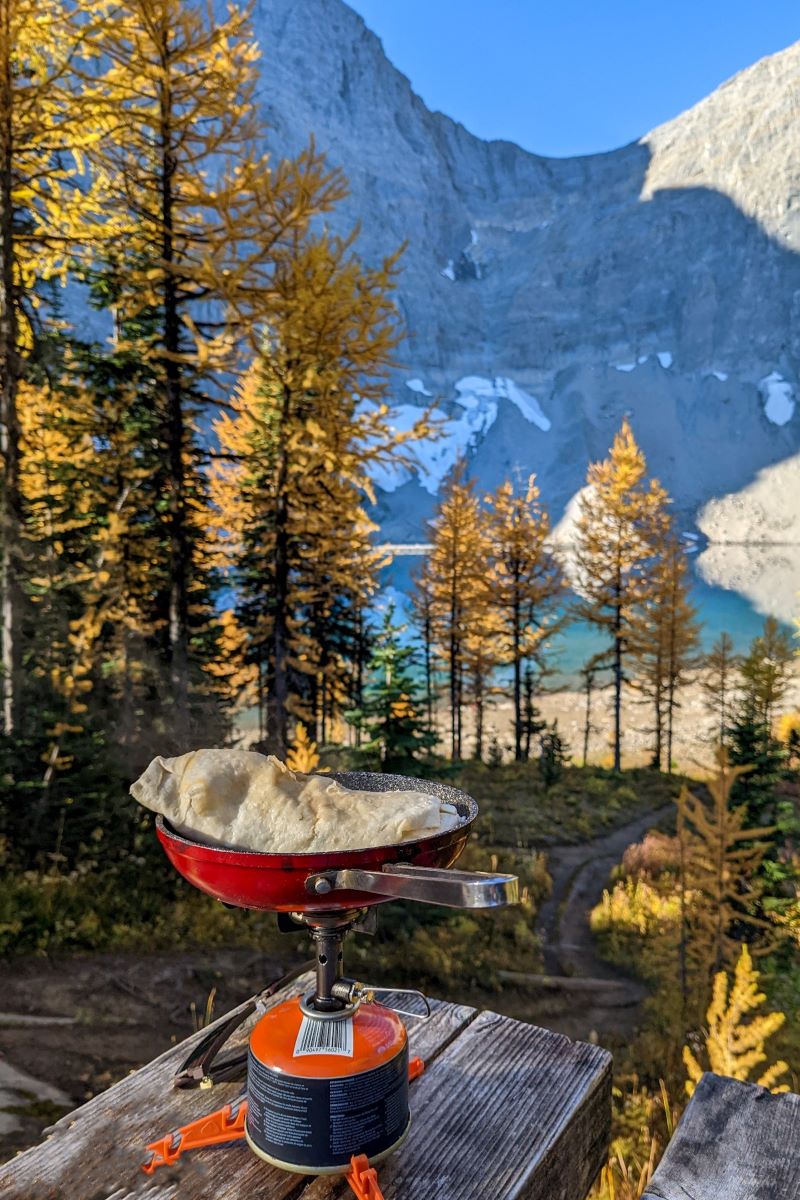
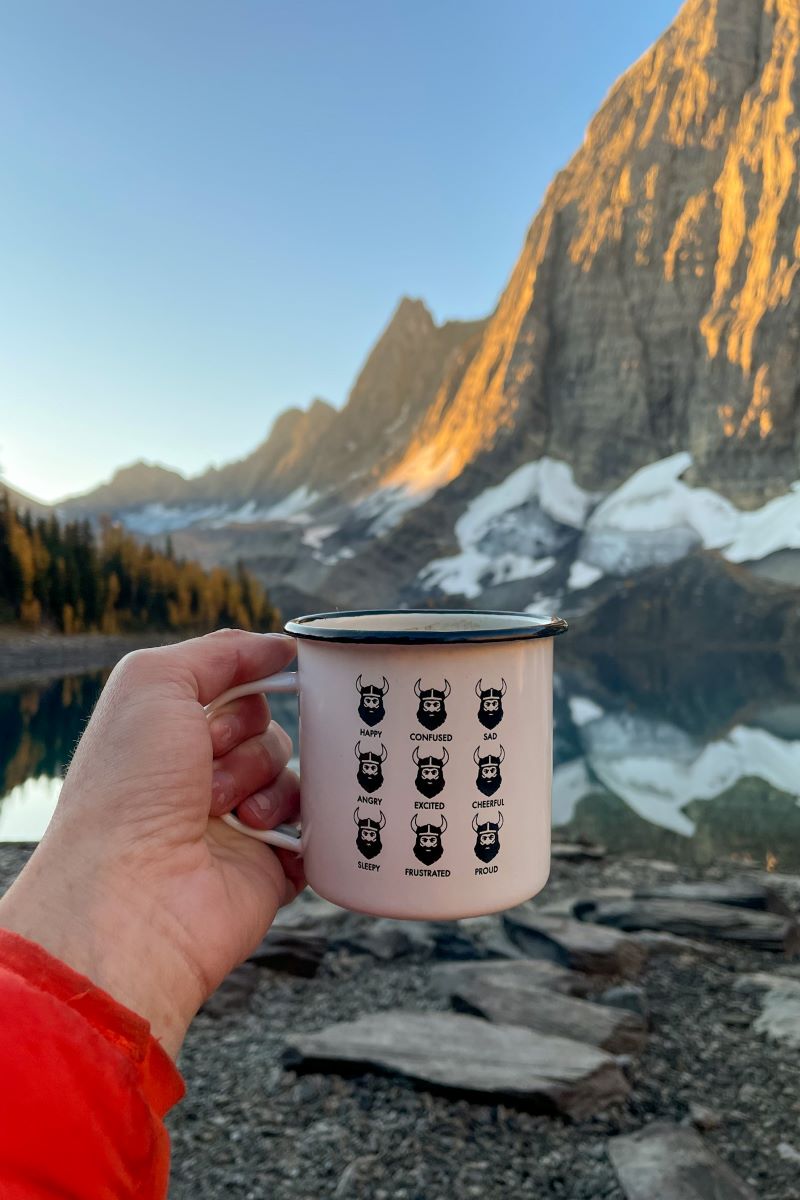
Fires are not allowed at Floe Lake, so you must bring your own supplies to prepare food. The lakeside location offers a convenient water source, but treatment/filtration is still recommended for safe consumption. We enjoyed turning glacier melt into hot coffee while watching the early morning light gradually illuminate Floe Peak.
The campground also provides two outhouses, one near the second dining site and another further uphill, beyond all the campsites. Remember to bring your own toilet paper and sanitizer as these are not supplied in backcountry campgrounds.
I also suggest noting the outhouse locations during the day, as the crisscrossing campground paths make it difficult to find these facilities in the dark. Hopefully you can avoid such midnight wanderings all together!
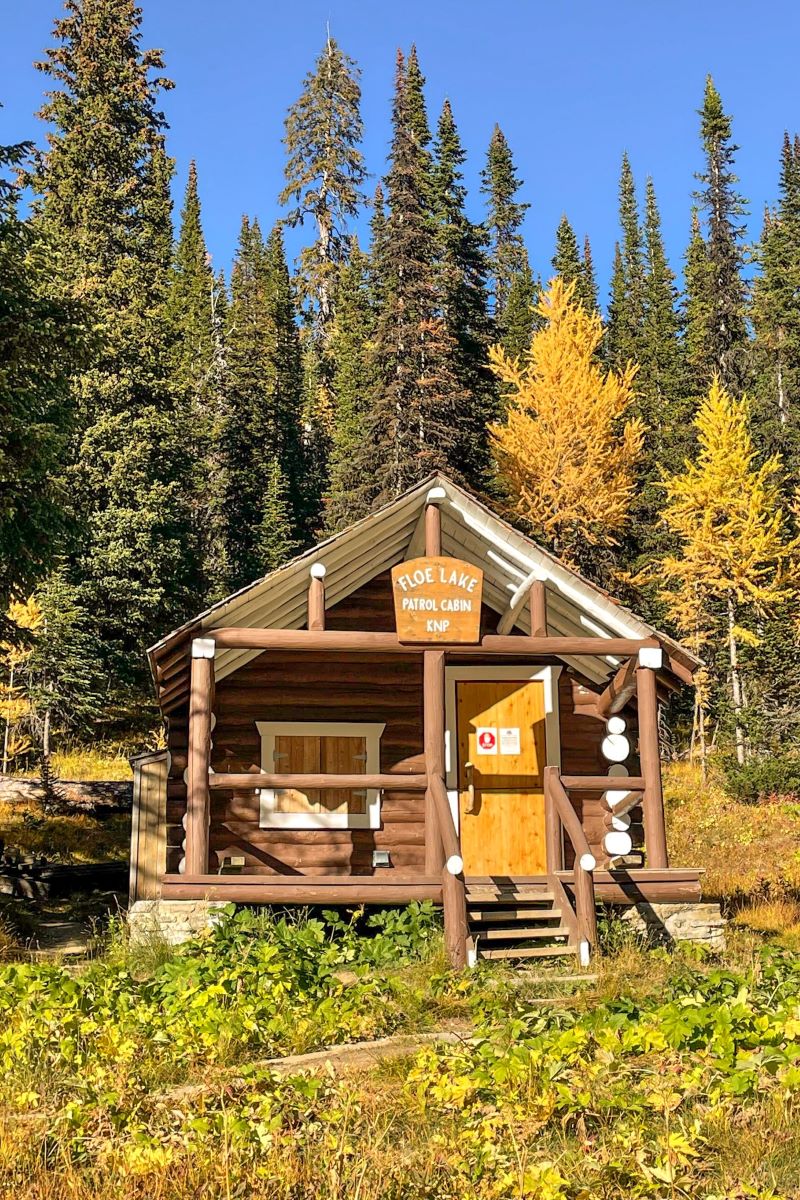
The rustic cabin onsite is sadly not for visitor use, aside from providing historic value (it has special heritage building status!) and a fun photo feature. Originally constructed for park wardens to enable the enforcement of regulations throughout the mountains, these patrol cabins may still be used by Parks staff.
Campground Rules
- Camping is only permitted in designated areas by those with a reservation. Campers should keep a copy of their permit (either printed or an electronic download) to present to Parks Canada staff when requested.
- Campers can book a maximum stay of three nights.
- Only one tent is allowed per campsite, with a maximum of 5 people.
- All food must be stored in bear-proof lockers and should be consumed at designated picnic areas.
- Bring a backpacking stove for cooking, as campfires are not permitted.
- Dogs are permitted but must be kept on a leash.
Know Before You Go
- Camp reservations are required and must be secured ahead of time either through Parks Canada’s online reservation service or over the phone. As a popular backcountry site, trying to secure a reservation on opening day is strongly recommended. Check for cancellations if you are unsuccessful in booking early as it is possible to find available sites throughout the season.
- Check conditions before starting your trip as trails could be impacted by closures, particularly early in the season when snow and mud are still prevalent. Reviewing the latest trail reports from Parks Canada will help you pack appropriately.
- Be prepared for cold temperatures overnight. Even at the height of summer, mountain temperatures plummet once the sun has gone down. Pack layers and ensure the ratings on your camping gear are suited to the climate. As fires are prohibited, you’ll have to rely on clothing for warmth after sunset.
- There is no cell service at Floe Lake, along the trail, or on Highway 93S. Consider using offline maps and packing a satellite communicator in case of emergency.
- Be bear aware. Properly storing food and carrying bear spray at all times helps to protect both you and our furry friends. You can find more bear safety tips here.
- Leave no trace and make every effort to preserve this special place for future visitors. There are no trash bins beyond the trailhead so hikers and campers are responsible for packing out all waste.
Plan Your Trip to the Canadian Rockies
- We now have an interactive map! With over 350 stops and pre built itineraries around the Canadian Rockies, our personal map and guide is your one stop shop to an epic trip here.
- Recommended Experiences: There are many things to do in the Rockies, but our top recommendation is the Banff Gondola – a must do experience! Want to get up close and personal with a glacier? We cannot recommend this Icewalks tour enough! See more of our recommendations.
- Planning your visit to Moraine Lake and don’t want to deal with the Parks shuttles? We recommend using Moraine Lake Bus Company, Fairview Limo (leaves from Lake Louise Village) or booking with ViaVia (these leave from Banff/Canmore).
- Hotels in the Rockies: There are many places to stay, from luxury hotels to wilderness cabins. See all our favorites here.
- Get Around: We suggest renting a car to get around. You can search for rental cars on Discover Car. For a campervan trip, you can check prices and compare on Outdoorsy. Don’t forget the Guide Along Audio App for driving the Icefields Parkway (Use our link for 25% off!)
- We can help you plan your 2025 trip to Western Canada! If you’re feeling overwhelmed by planning we can assist! We’ll hop on a 1 on 1 phone call, and PERSONALLY go over your itinerary, and will save you previous time and money with our personal recommendations. Calls are followed up with detailed trip notes afterward that I write myself. See our services here.


This guide to Floe Lake is amazing! I’ve been wanting to explore that area for a while, and your tips on the best hiking routes and camping spots are super helpful. Can’t wait to check out the stunning views you mentioned! Thanks for sharing!