Pocaterra Ridge Hike in Kananaskis – All You NEED to Know
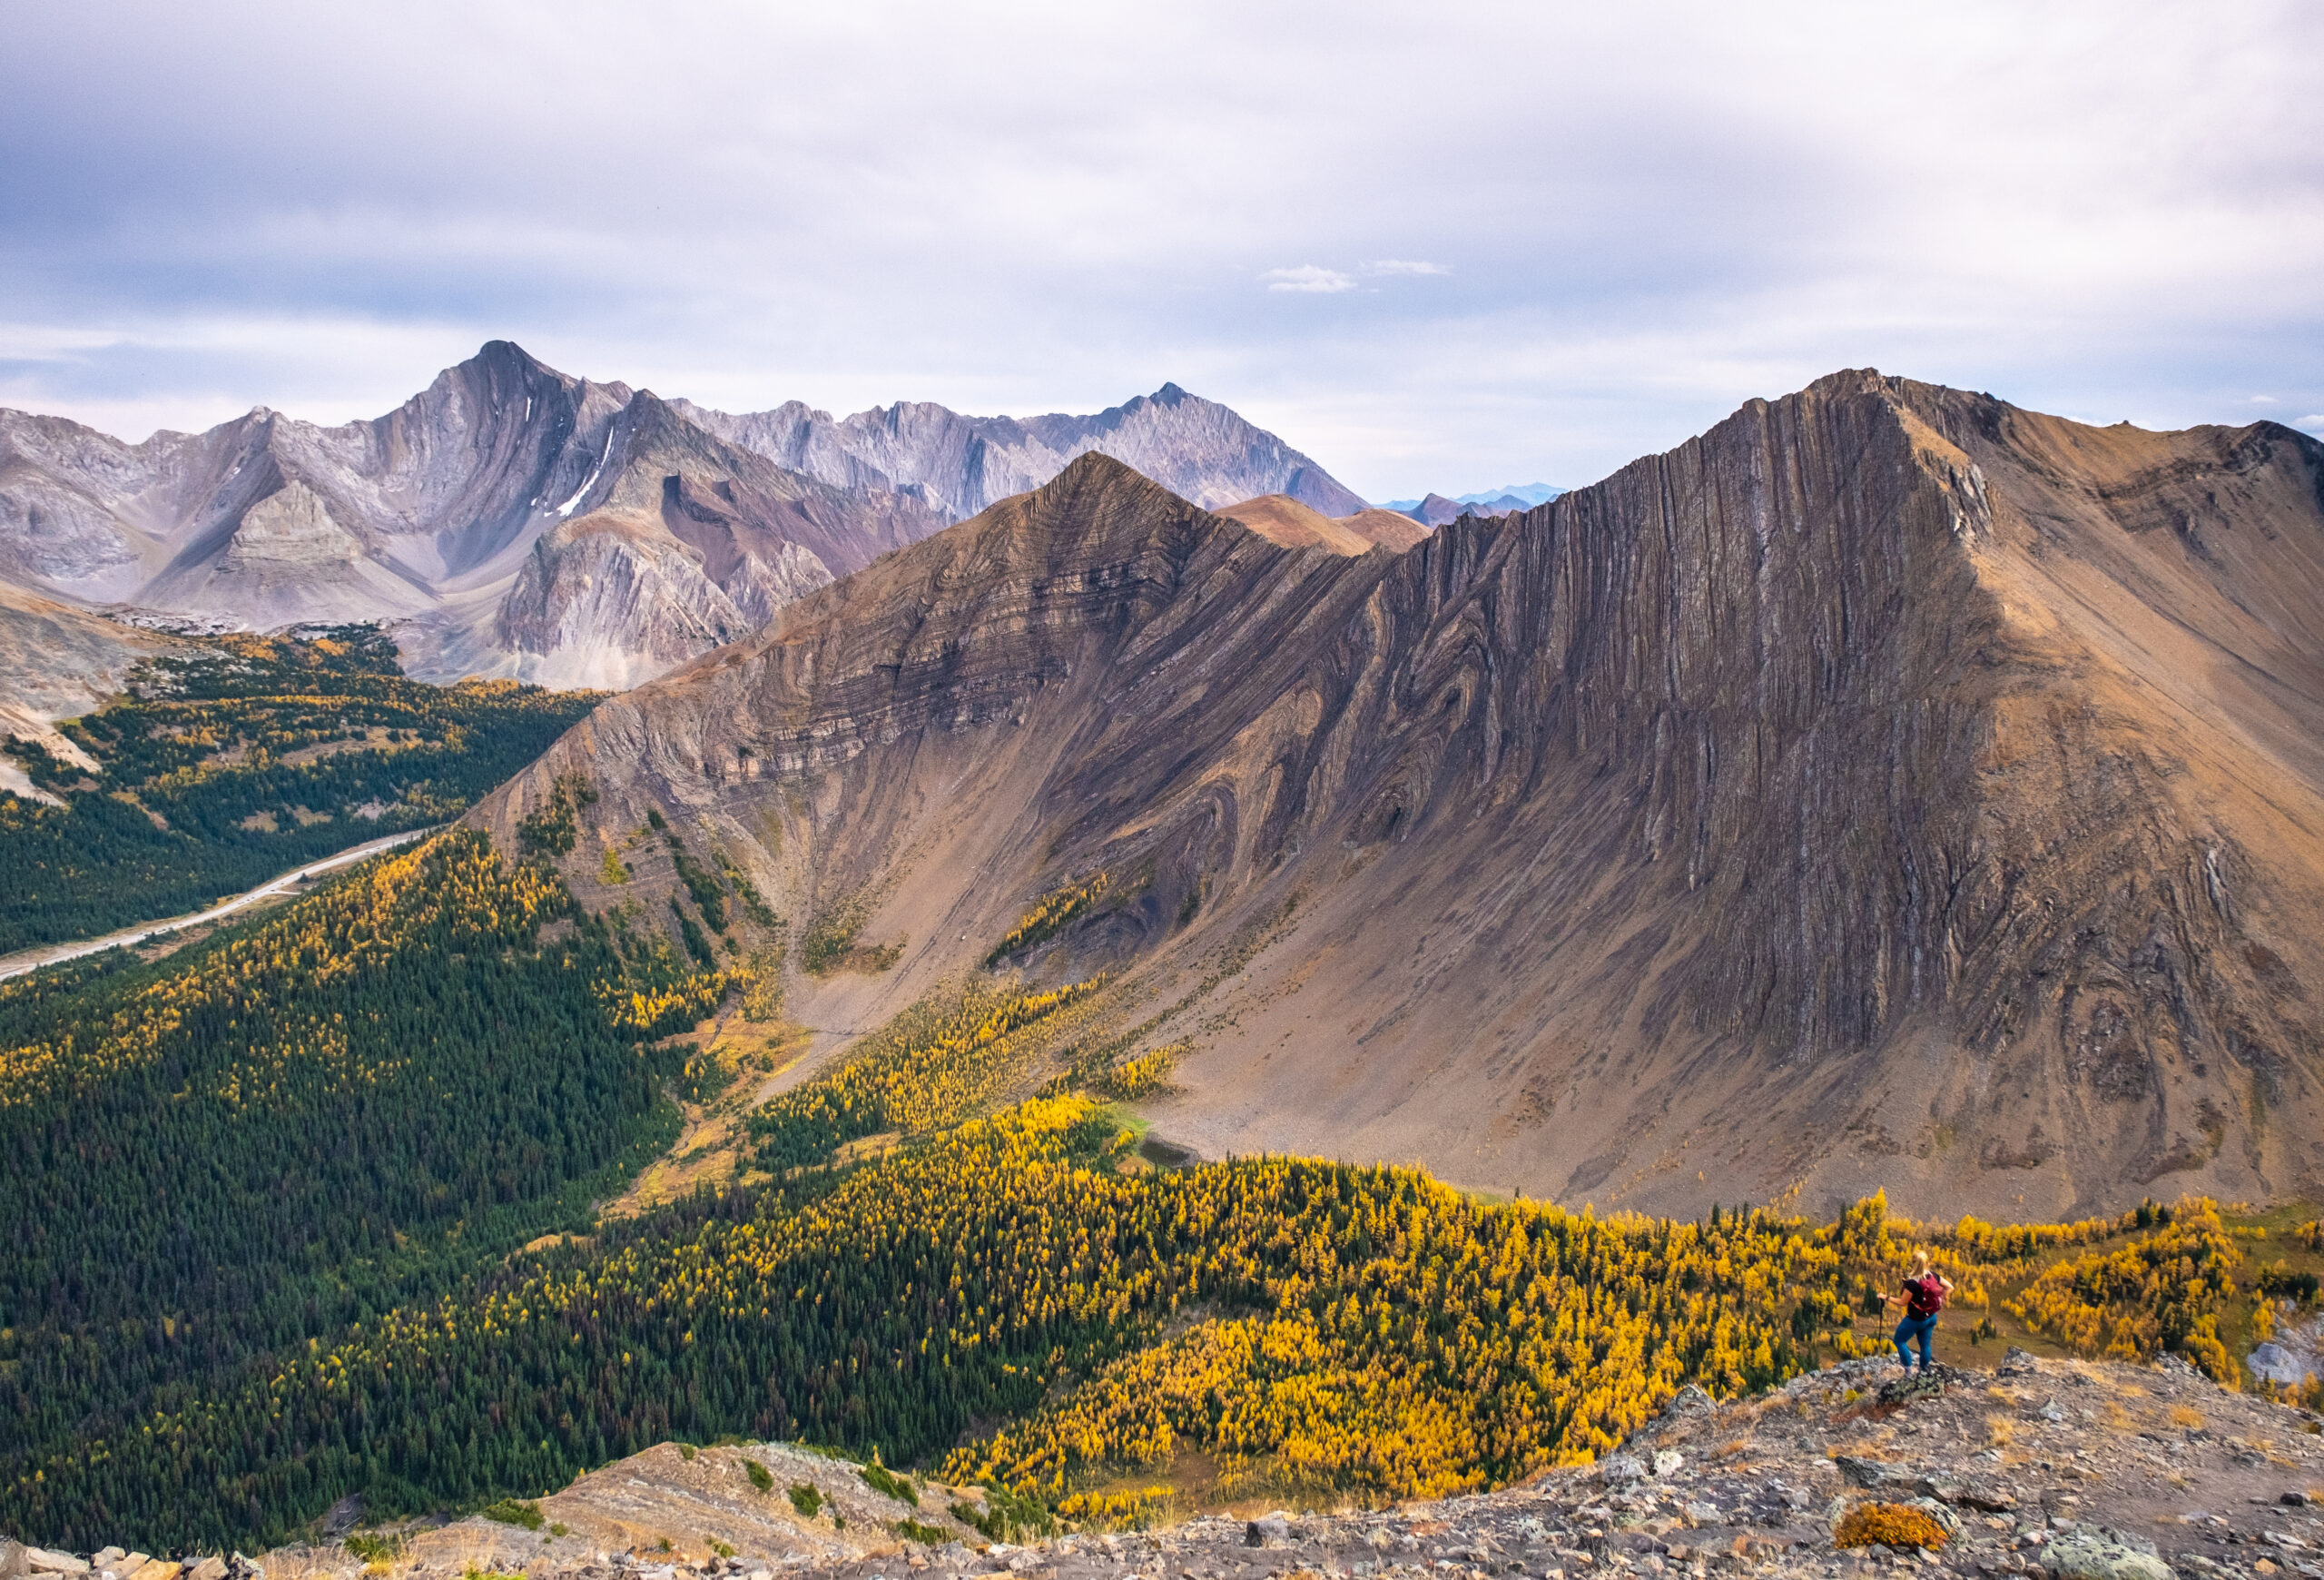
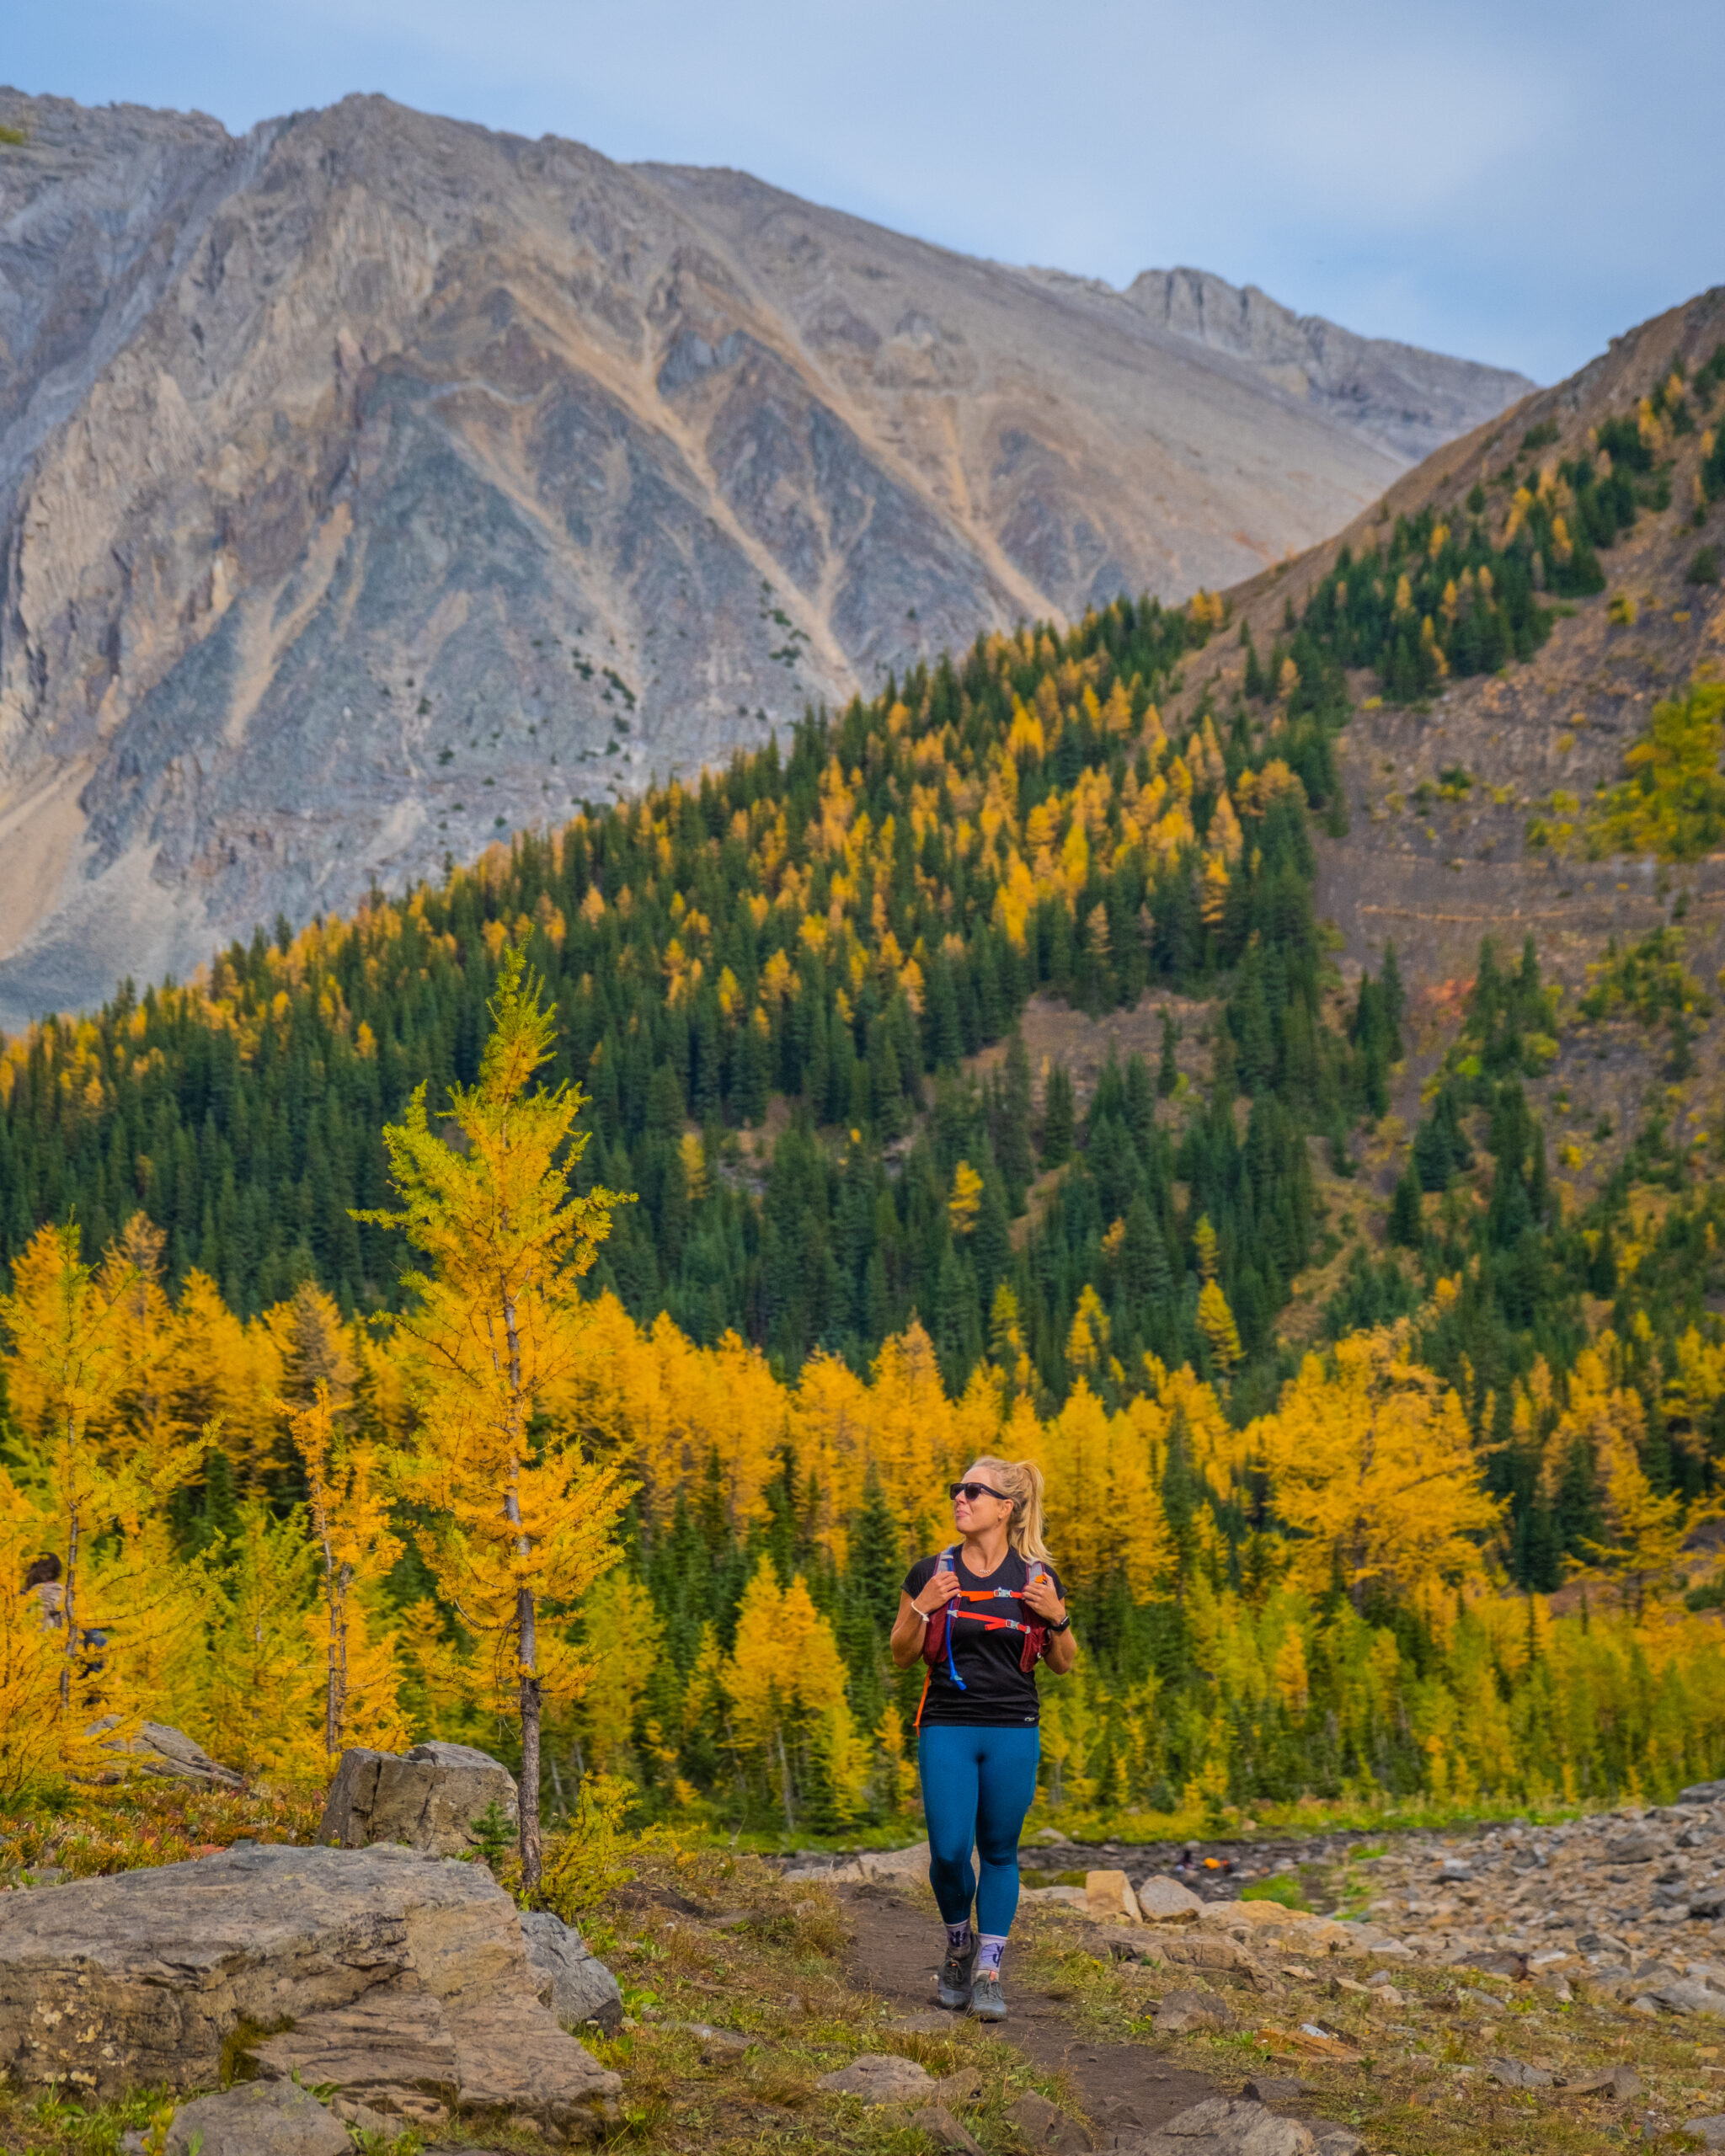
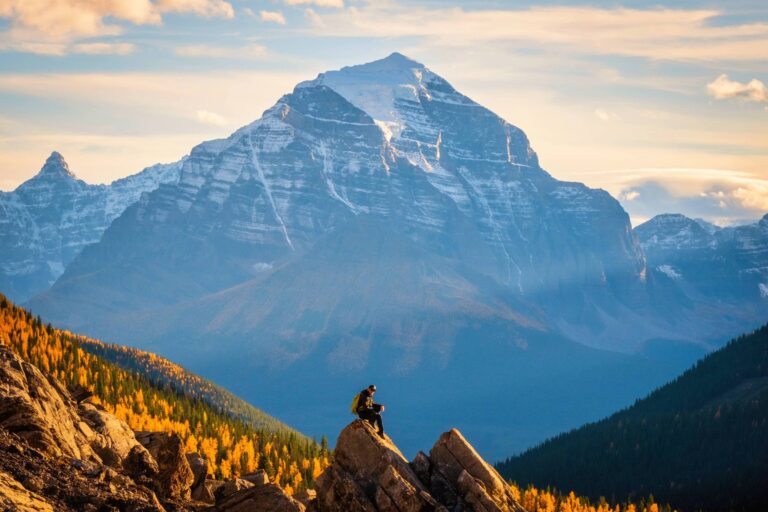
Pocaterra Ridge is one of the more popular hikes in Kananaskis. It’s a beautiful hike that doesn’t have crazy elevation gain or length and is very attainable as far as hikes in the Canadian Rockies go. It’s also well known for being a great larch hike in the fall.
Thanks to its thousands of larches in the valley, when the needles start to turn yellow in late September, this is one of the first places you should head. Although if you can, try and avoid weekends, especially during larch season – it’s a busy hike! For quieter hikes nearby with larch trees, consider Arethusa Cirque or Tryst Lake.
If Pocaterra Ridge is the main hike on your radar, we get it! Let’s dig in to all you need to know before setting out on this epic hike.
Pocaterra Ridge Key Stats

Length
11.4 km (point to point)

Duration
4 – 7 hours

Elevation
764 meters (point to point)

Difficulty
Moderate

Trailhead
Highwood Pass
A Pass is Needed to Hike in Kananaskis
Visitors are required to hold a Kananaskis Conservation Pass, which covers Kananaskis and the Bow Valley Corridor. This pass is separate from the National Parks Pass needed to visit Banff and the other national parks. Passes may be purchased online and are attached to a license plate number. Requirements are around vehicles and parking, not the individual. This includes parking at the Canmore Nordic Center or Grassi Lakes.
Pass Prices
- Daily Pass: $15 (registers one vehicle)
- Annual Pass: $90 (registers two cars)
A Guide to Understanding the Kananaskis Conservation Pass
Pocaterra Ridge Route Description
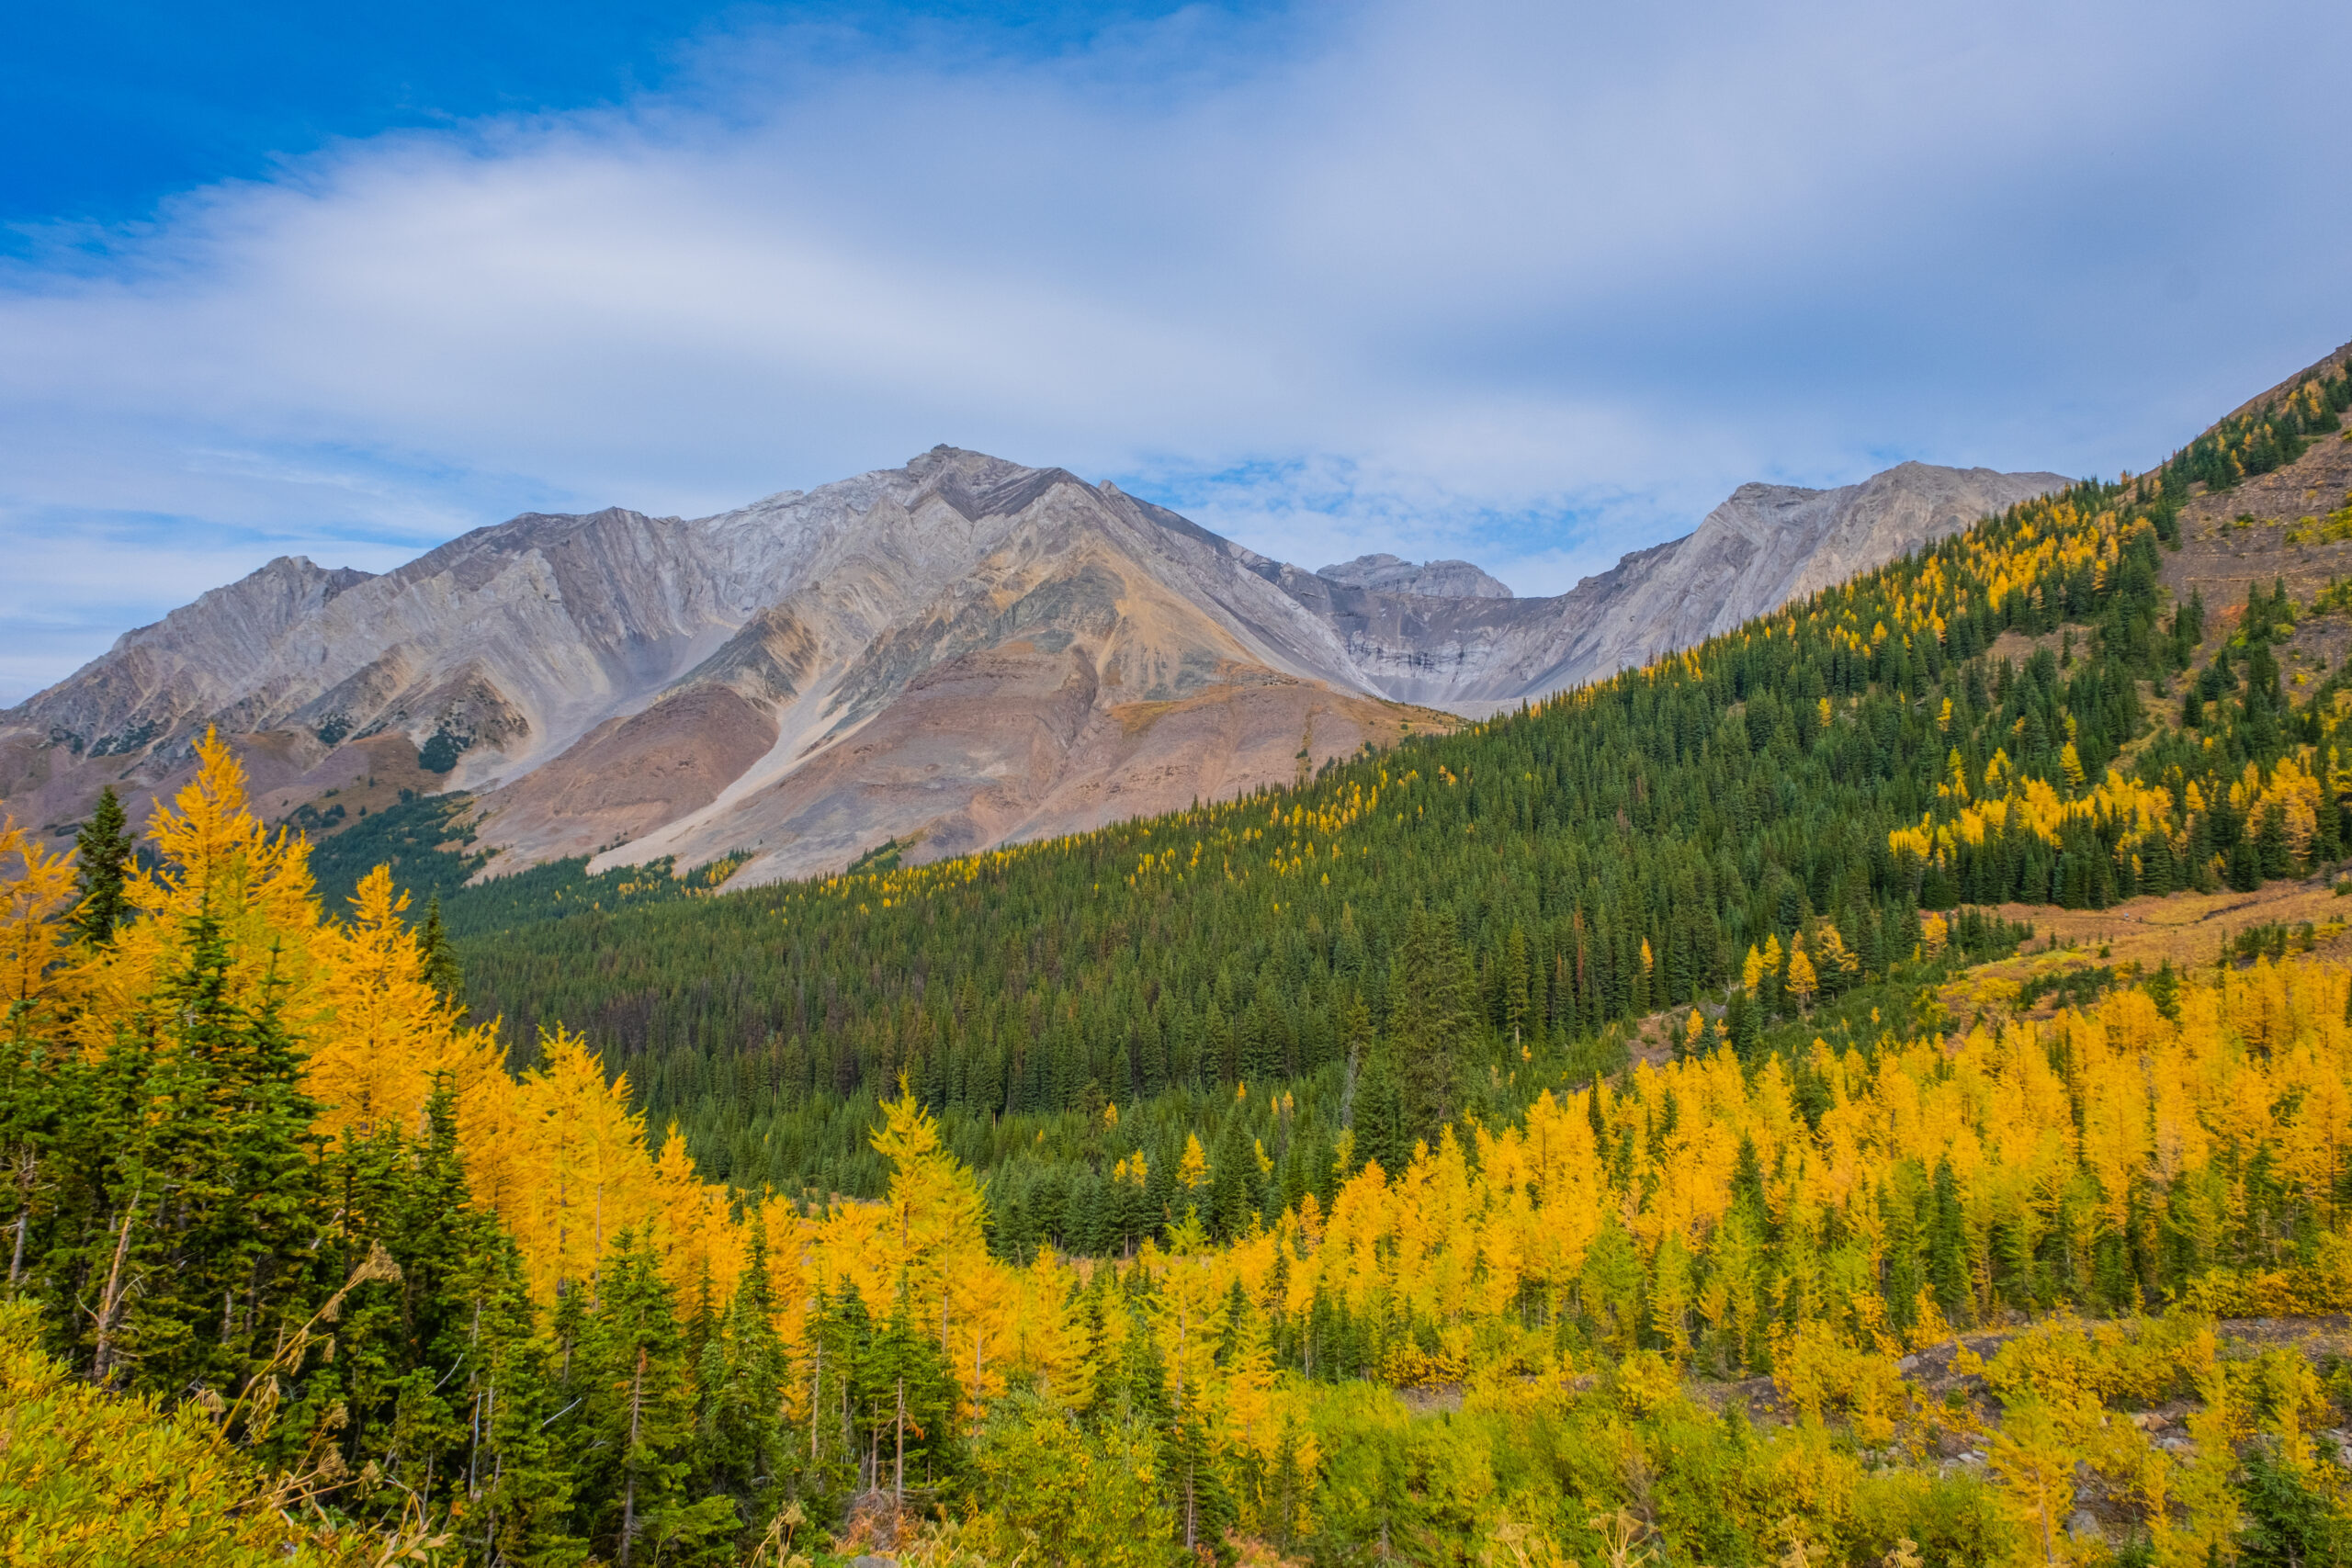
Pocaterra Ridge is typically done as a point-to-point hike, so if you have two cars I would definitely try to do it this way. If you only have one car, you can still do it as an out-and-back hike called South Pocaterra Ridge, and get amazing views, especially during larch season.
The turnaround for it would be at the summit of Pocaterra Ridge. The out-and-back would put your day at 9.3 km and 745 meters of gain.
To do this as a point to point park your cars correctly or stash bikes if you can’t get a car shuttle. I would suggest parking one car near Little Highwood Pass and starting the drive further up Highway 40 at the Highwood Pass Day Use Parking Lot and starting here.
To start, follow the signs for Ptarmigan Cirque from the car park. You’ll soon notice the trail goes to the left for Pocaterra Ridge. You’ll see a sign that says to stay on the trail, which is confusing as the trail you need to take on the left is far less maintained than the one on the right towards Ptarmigan Cirque.
Follow the Highwood Meadows Trail through the trees. The trail in this section is an absolute mess, as scores of people going off-trail have caused it to become extremely braided and confusing to navigate.
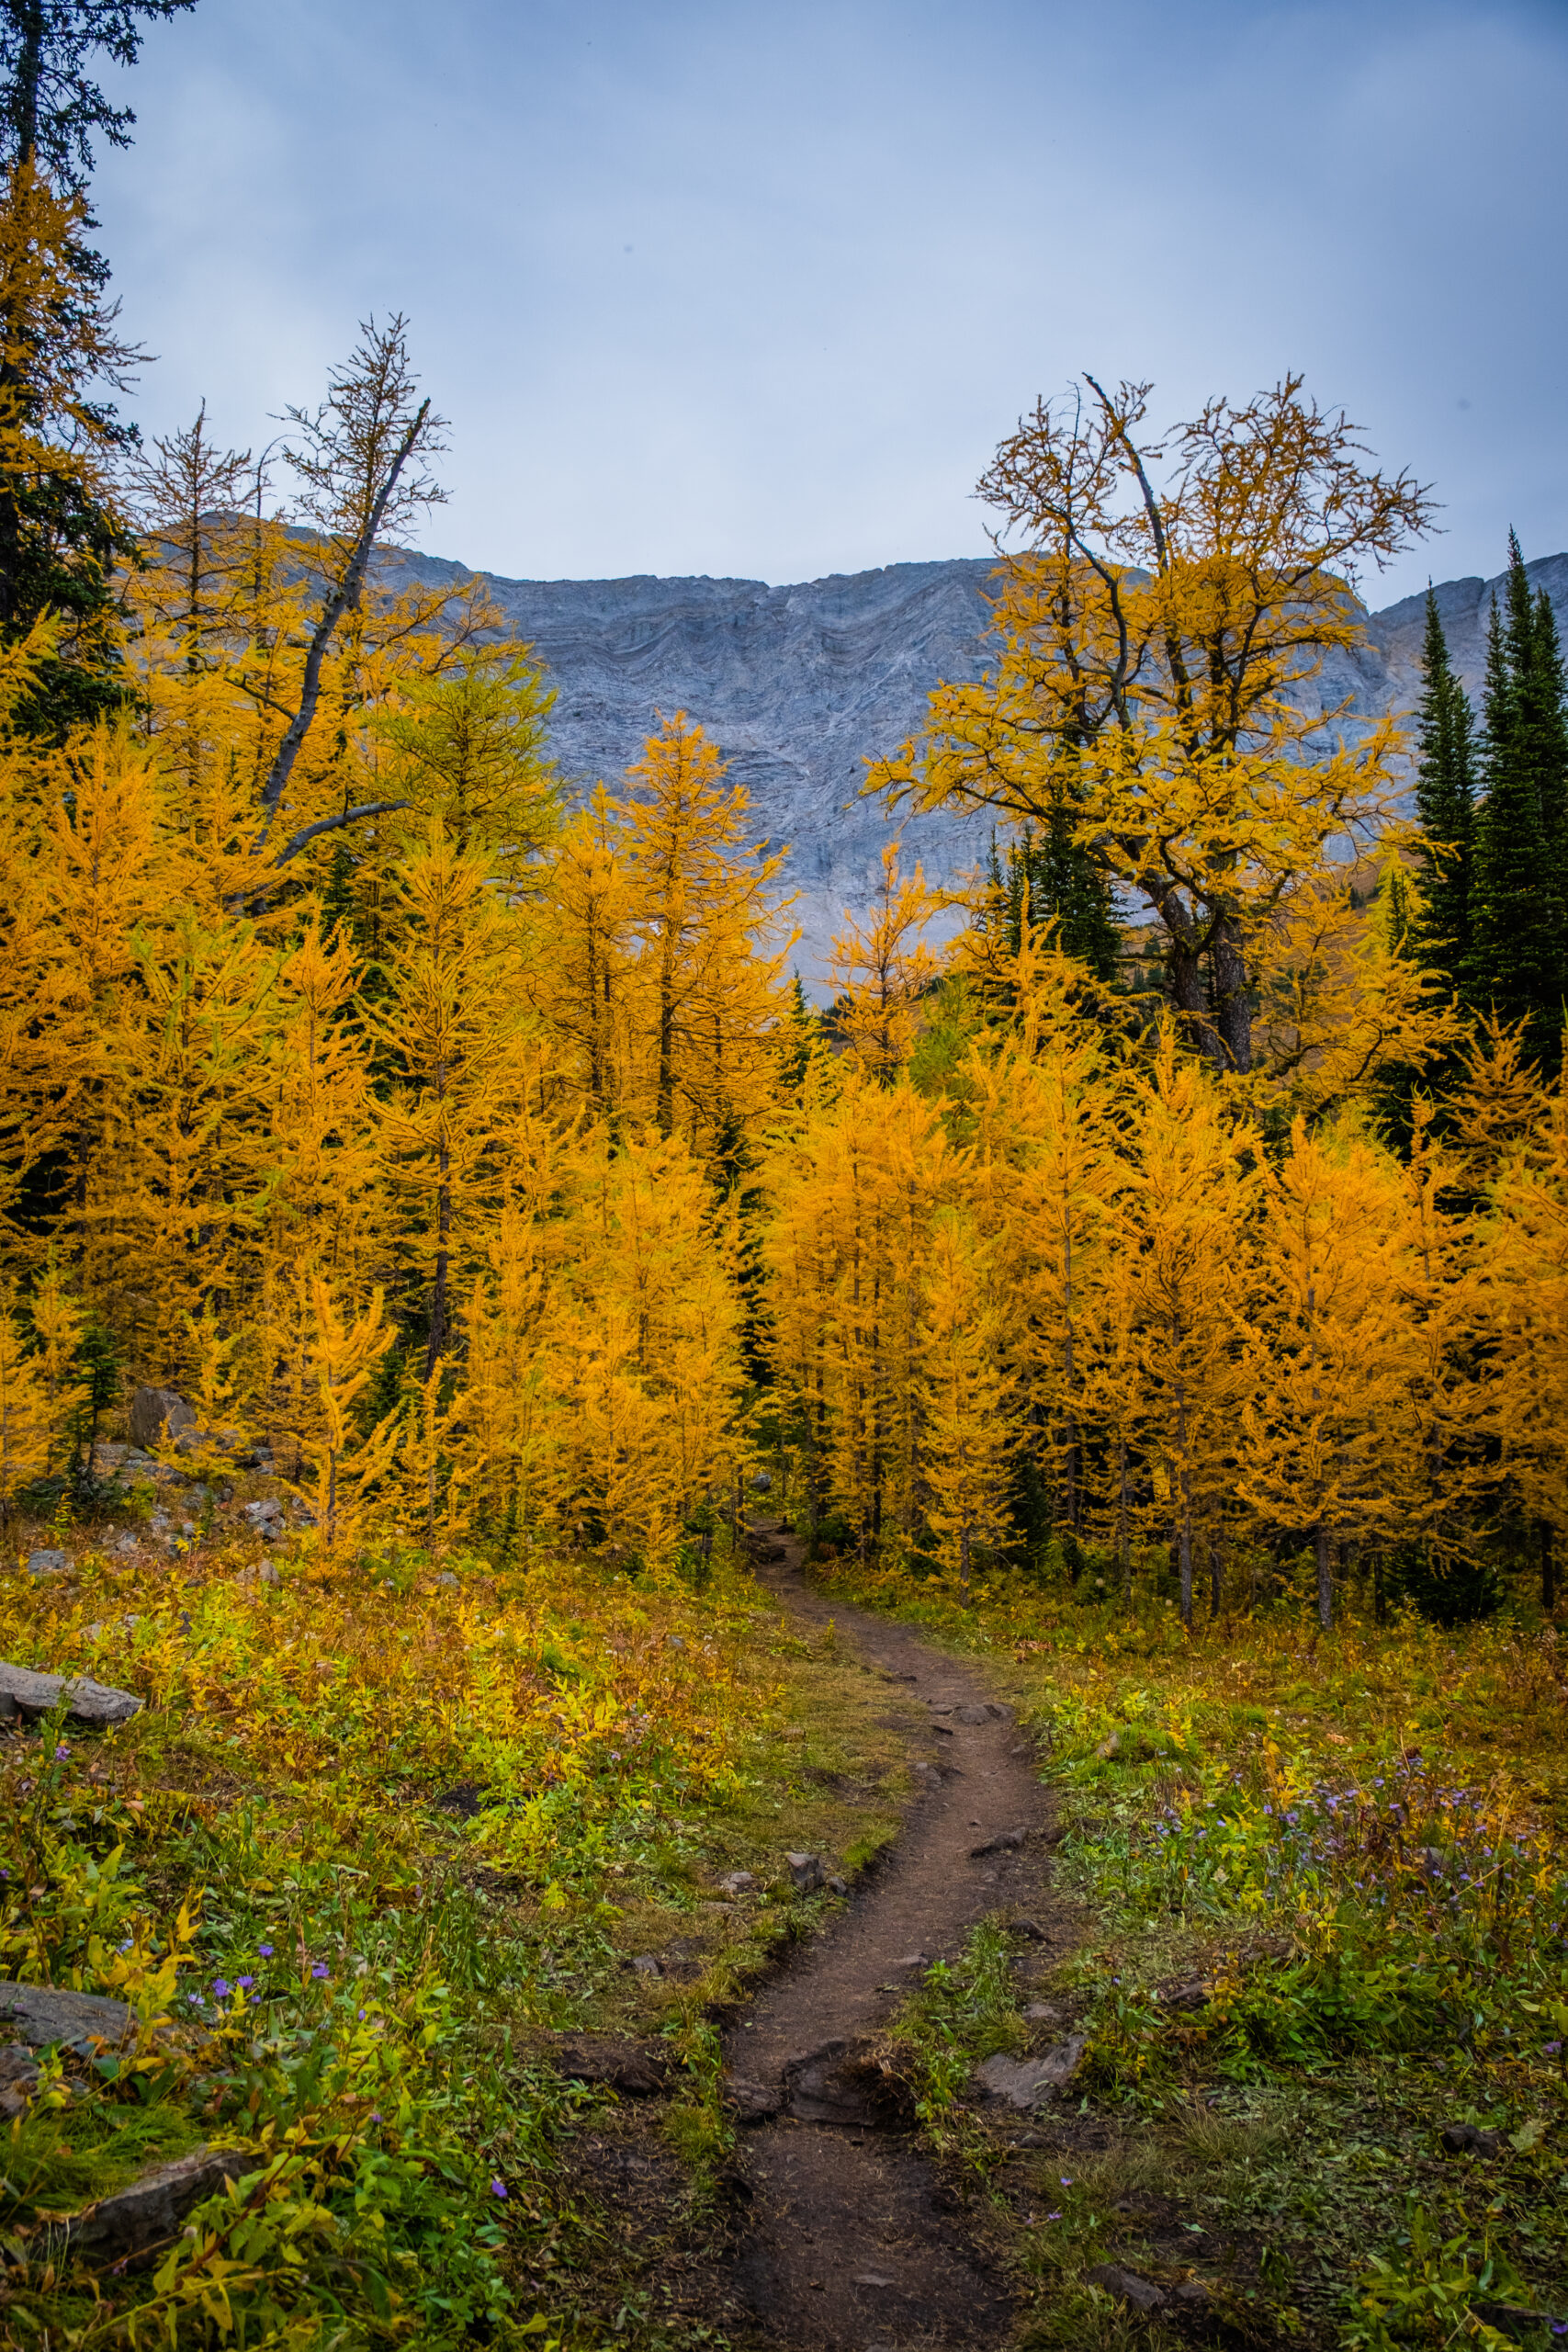
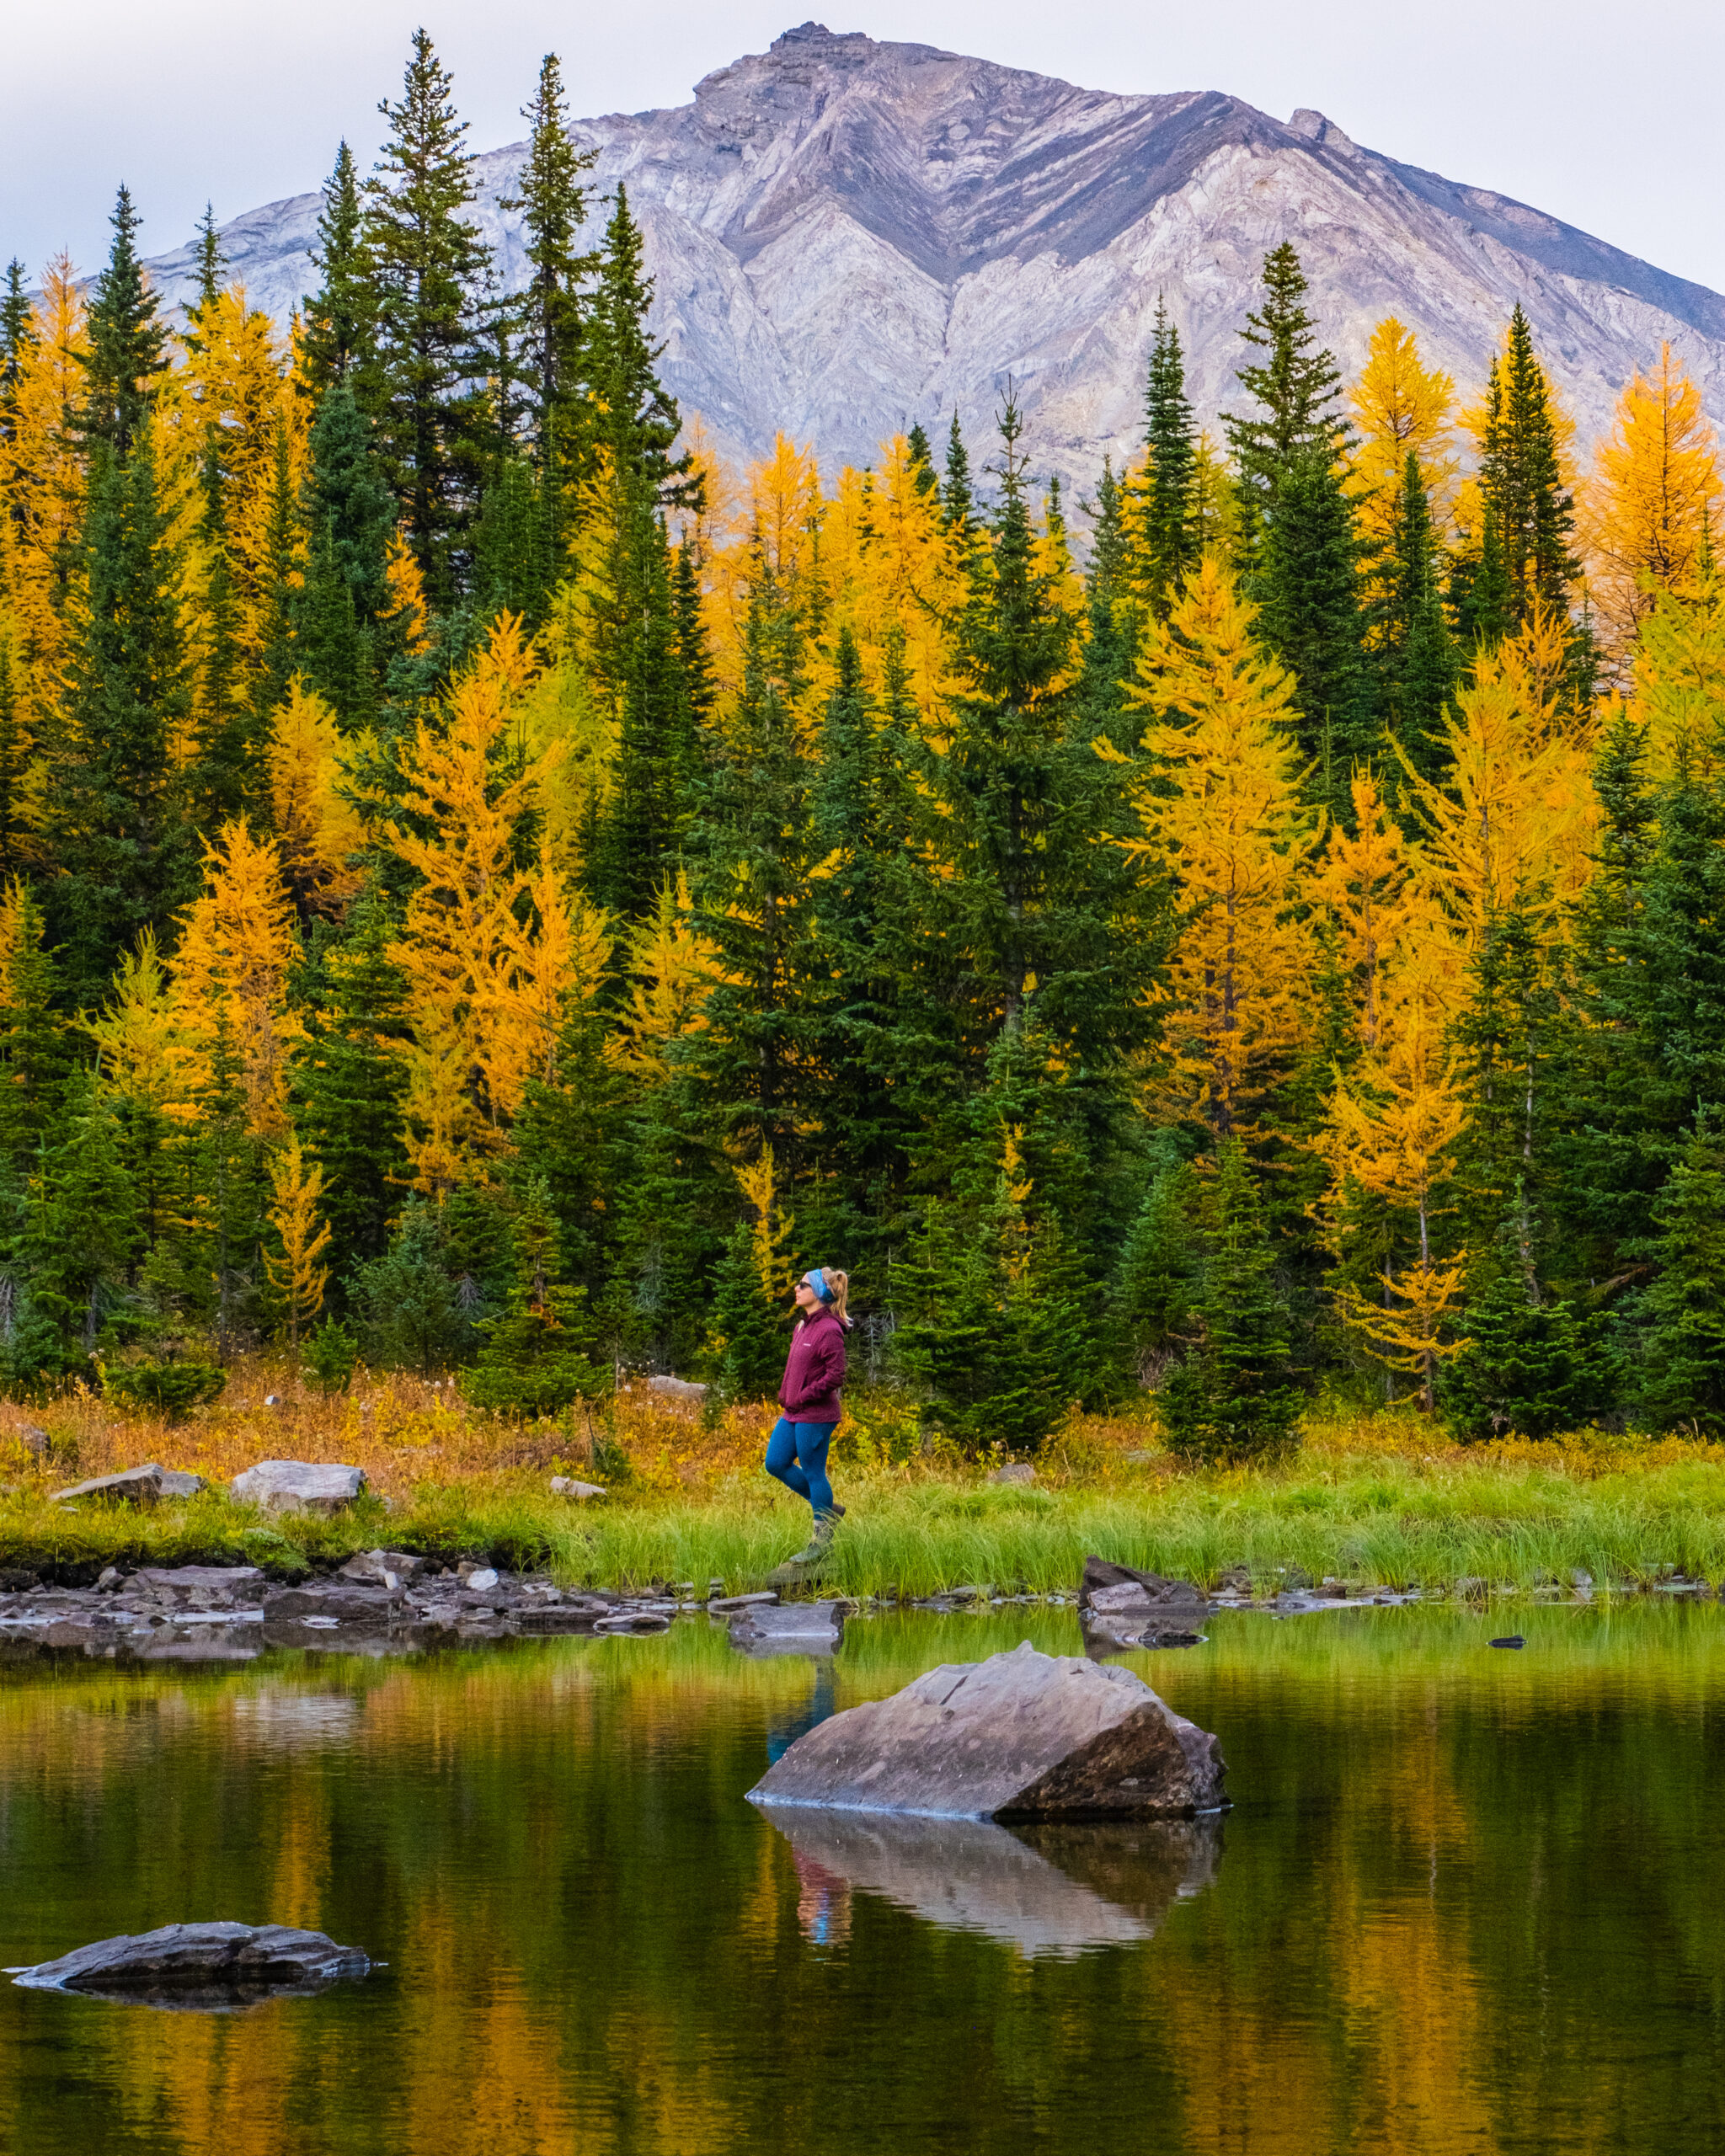
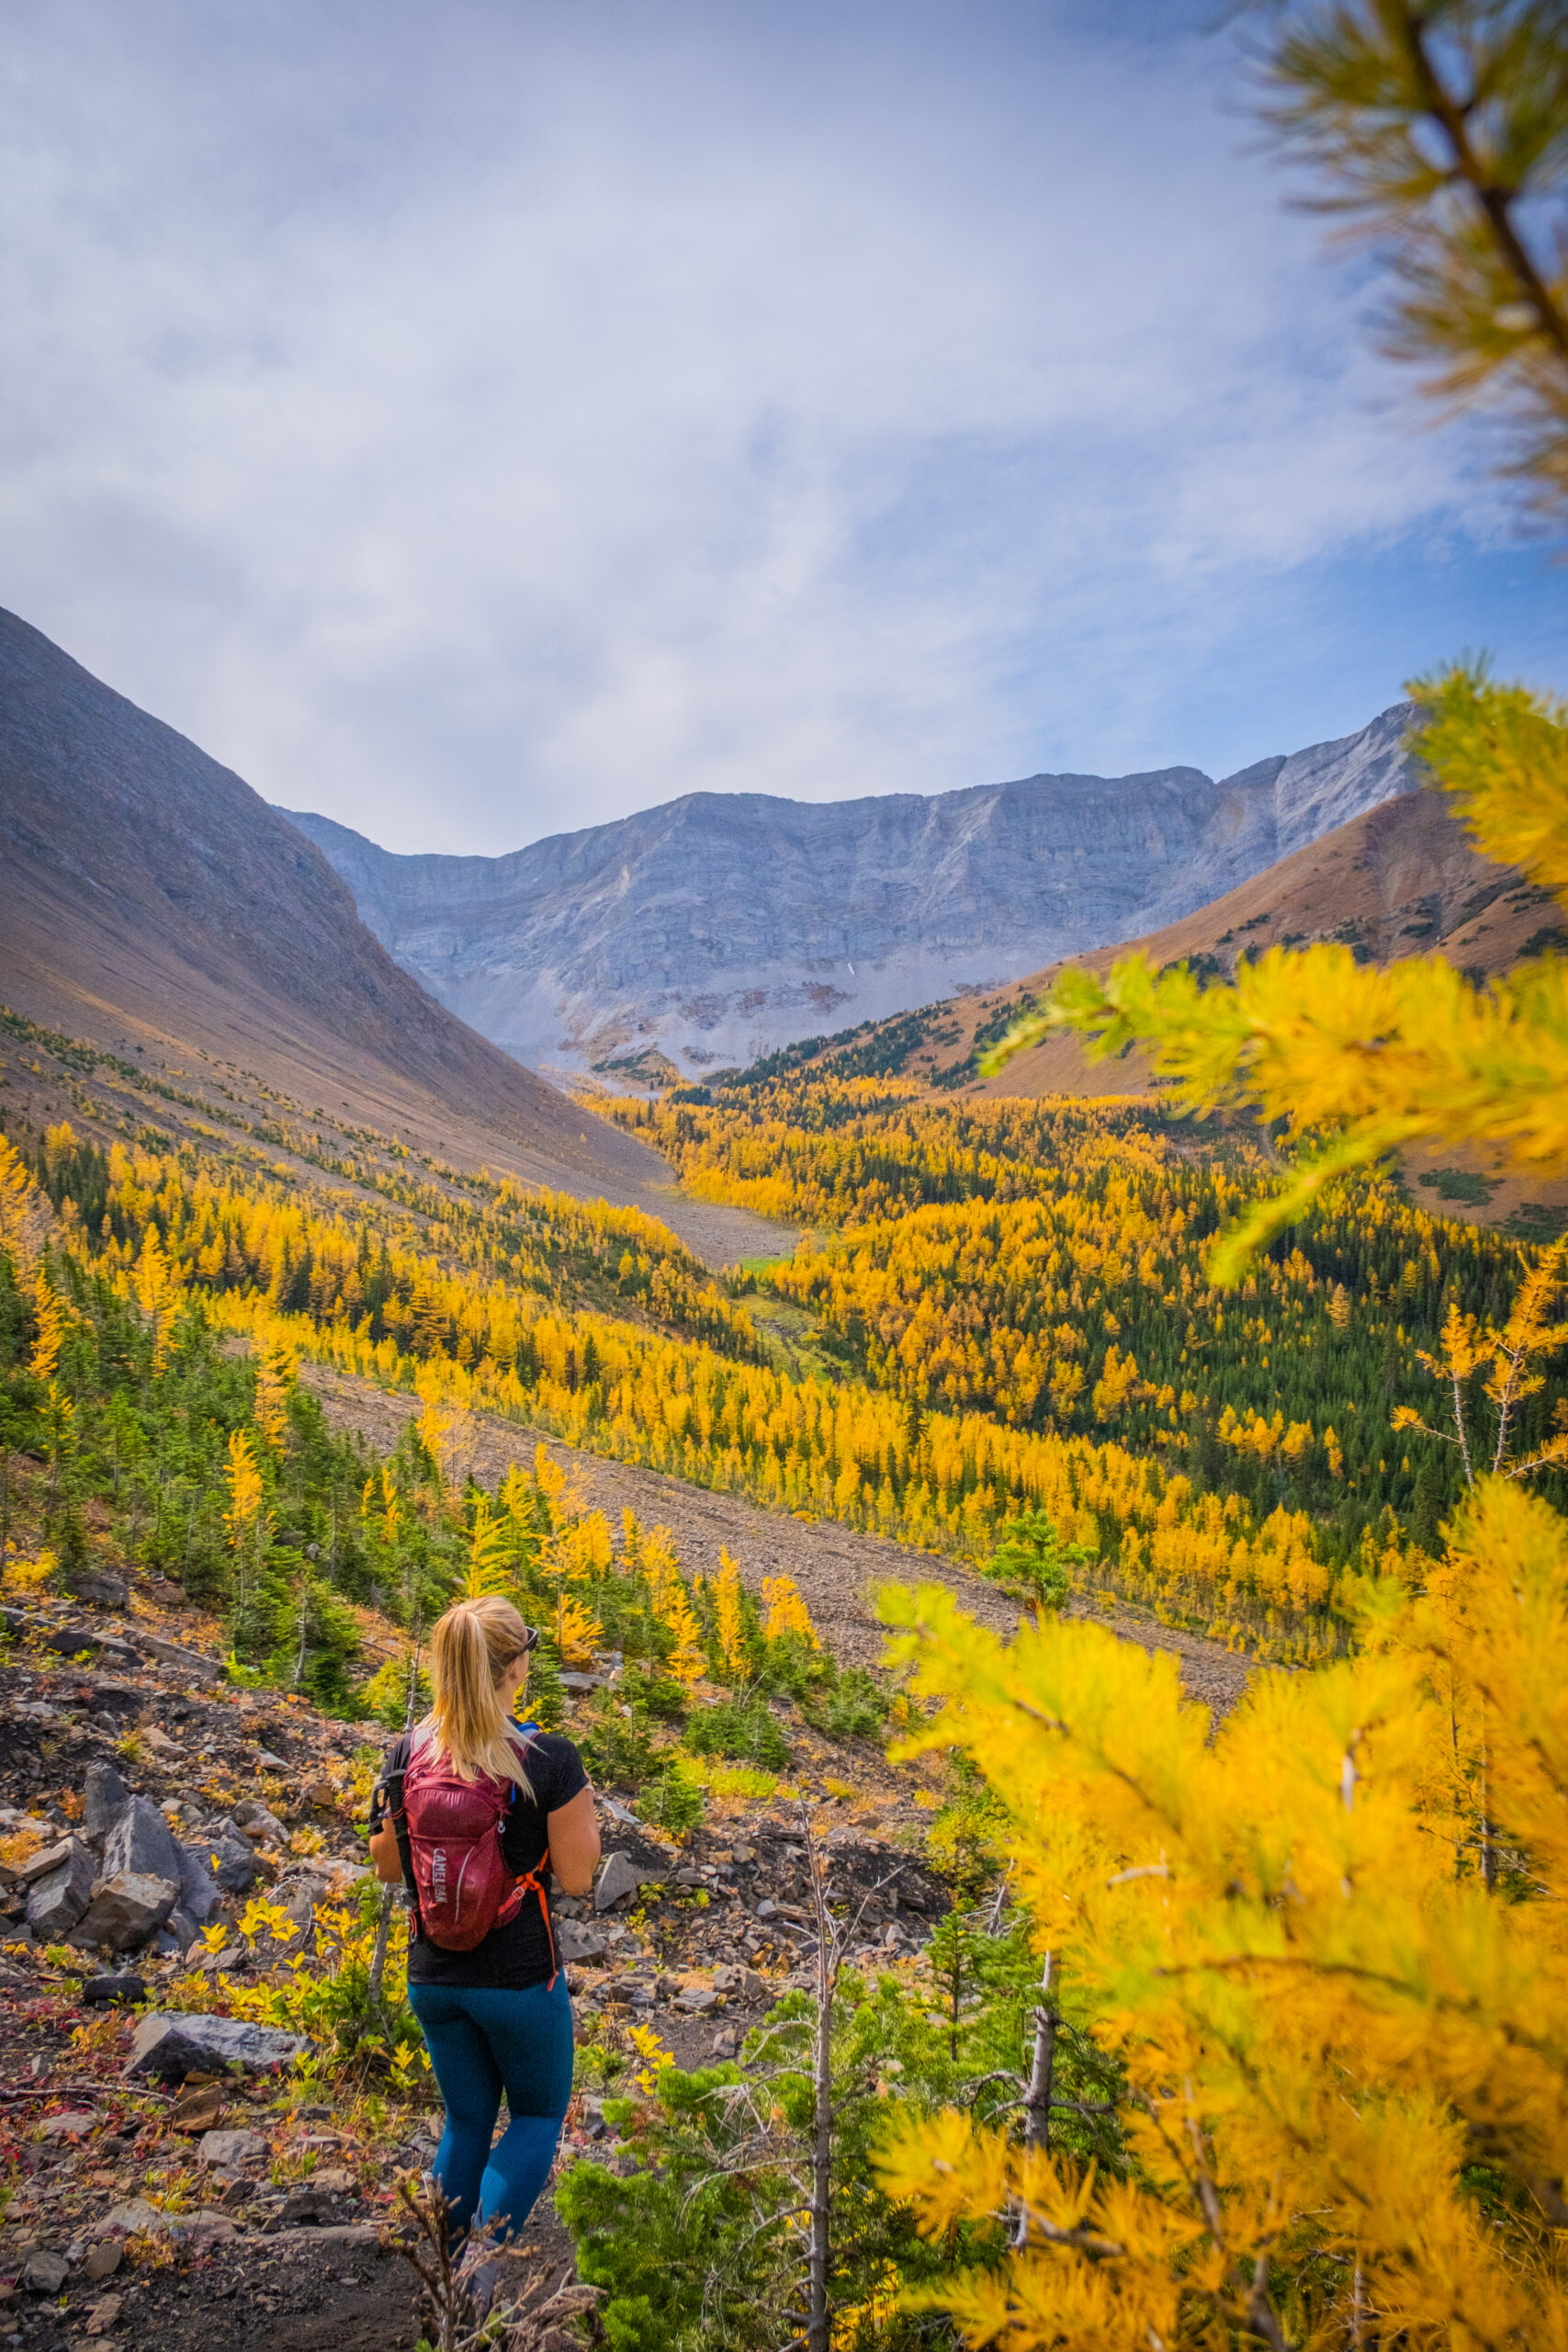
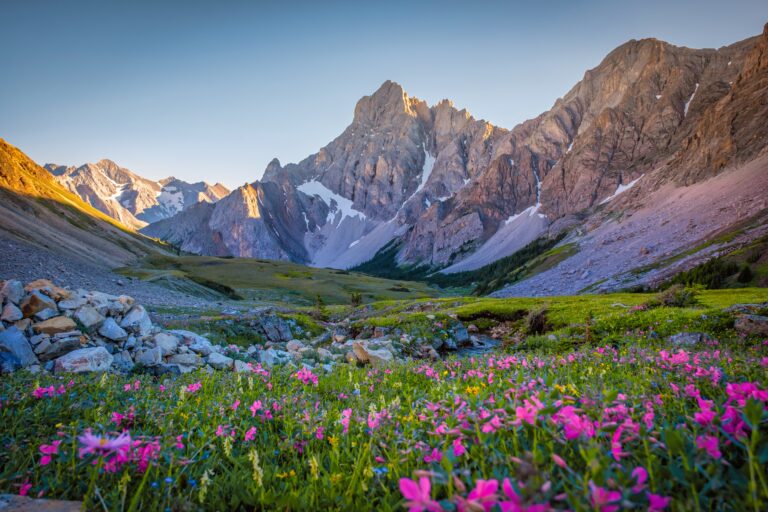
If you managed to stay on the right trail, it will soon open up into a vast valley where you’ll continue on for about 1 km through a sea of larch trees. If you are lucky enough to be here in late September take lots of photos. You’ll soon end up at a small pond. Continue on the well-worn path up Pocaterra Cirque. If you look to your right, you’ll see the Pocaterra Ridge summit and what lies ahead of you.
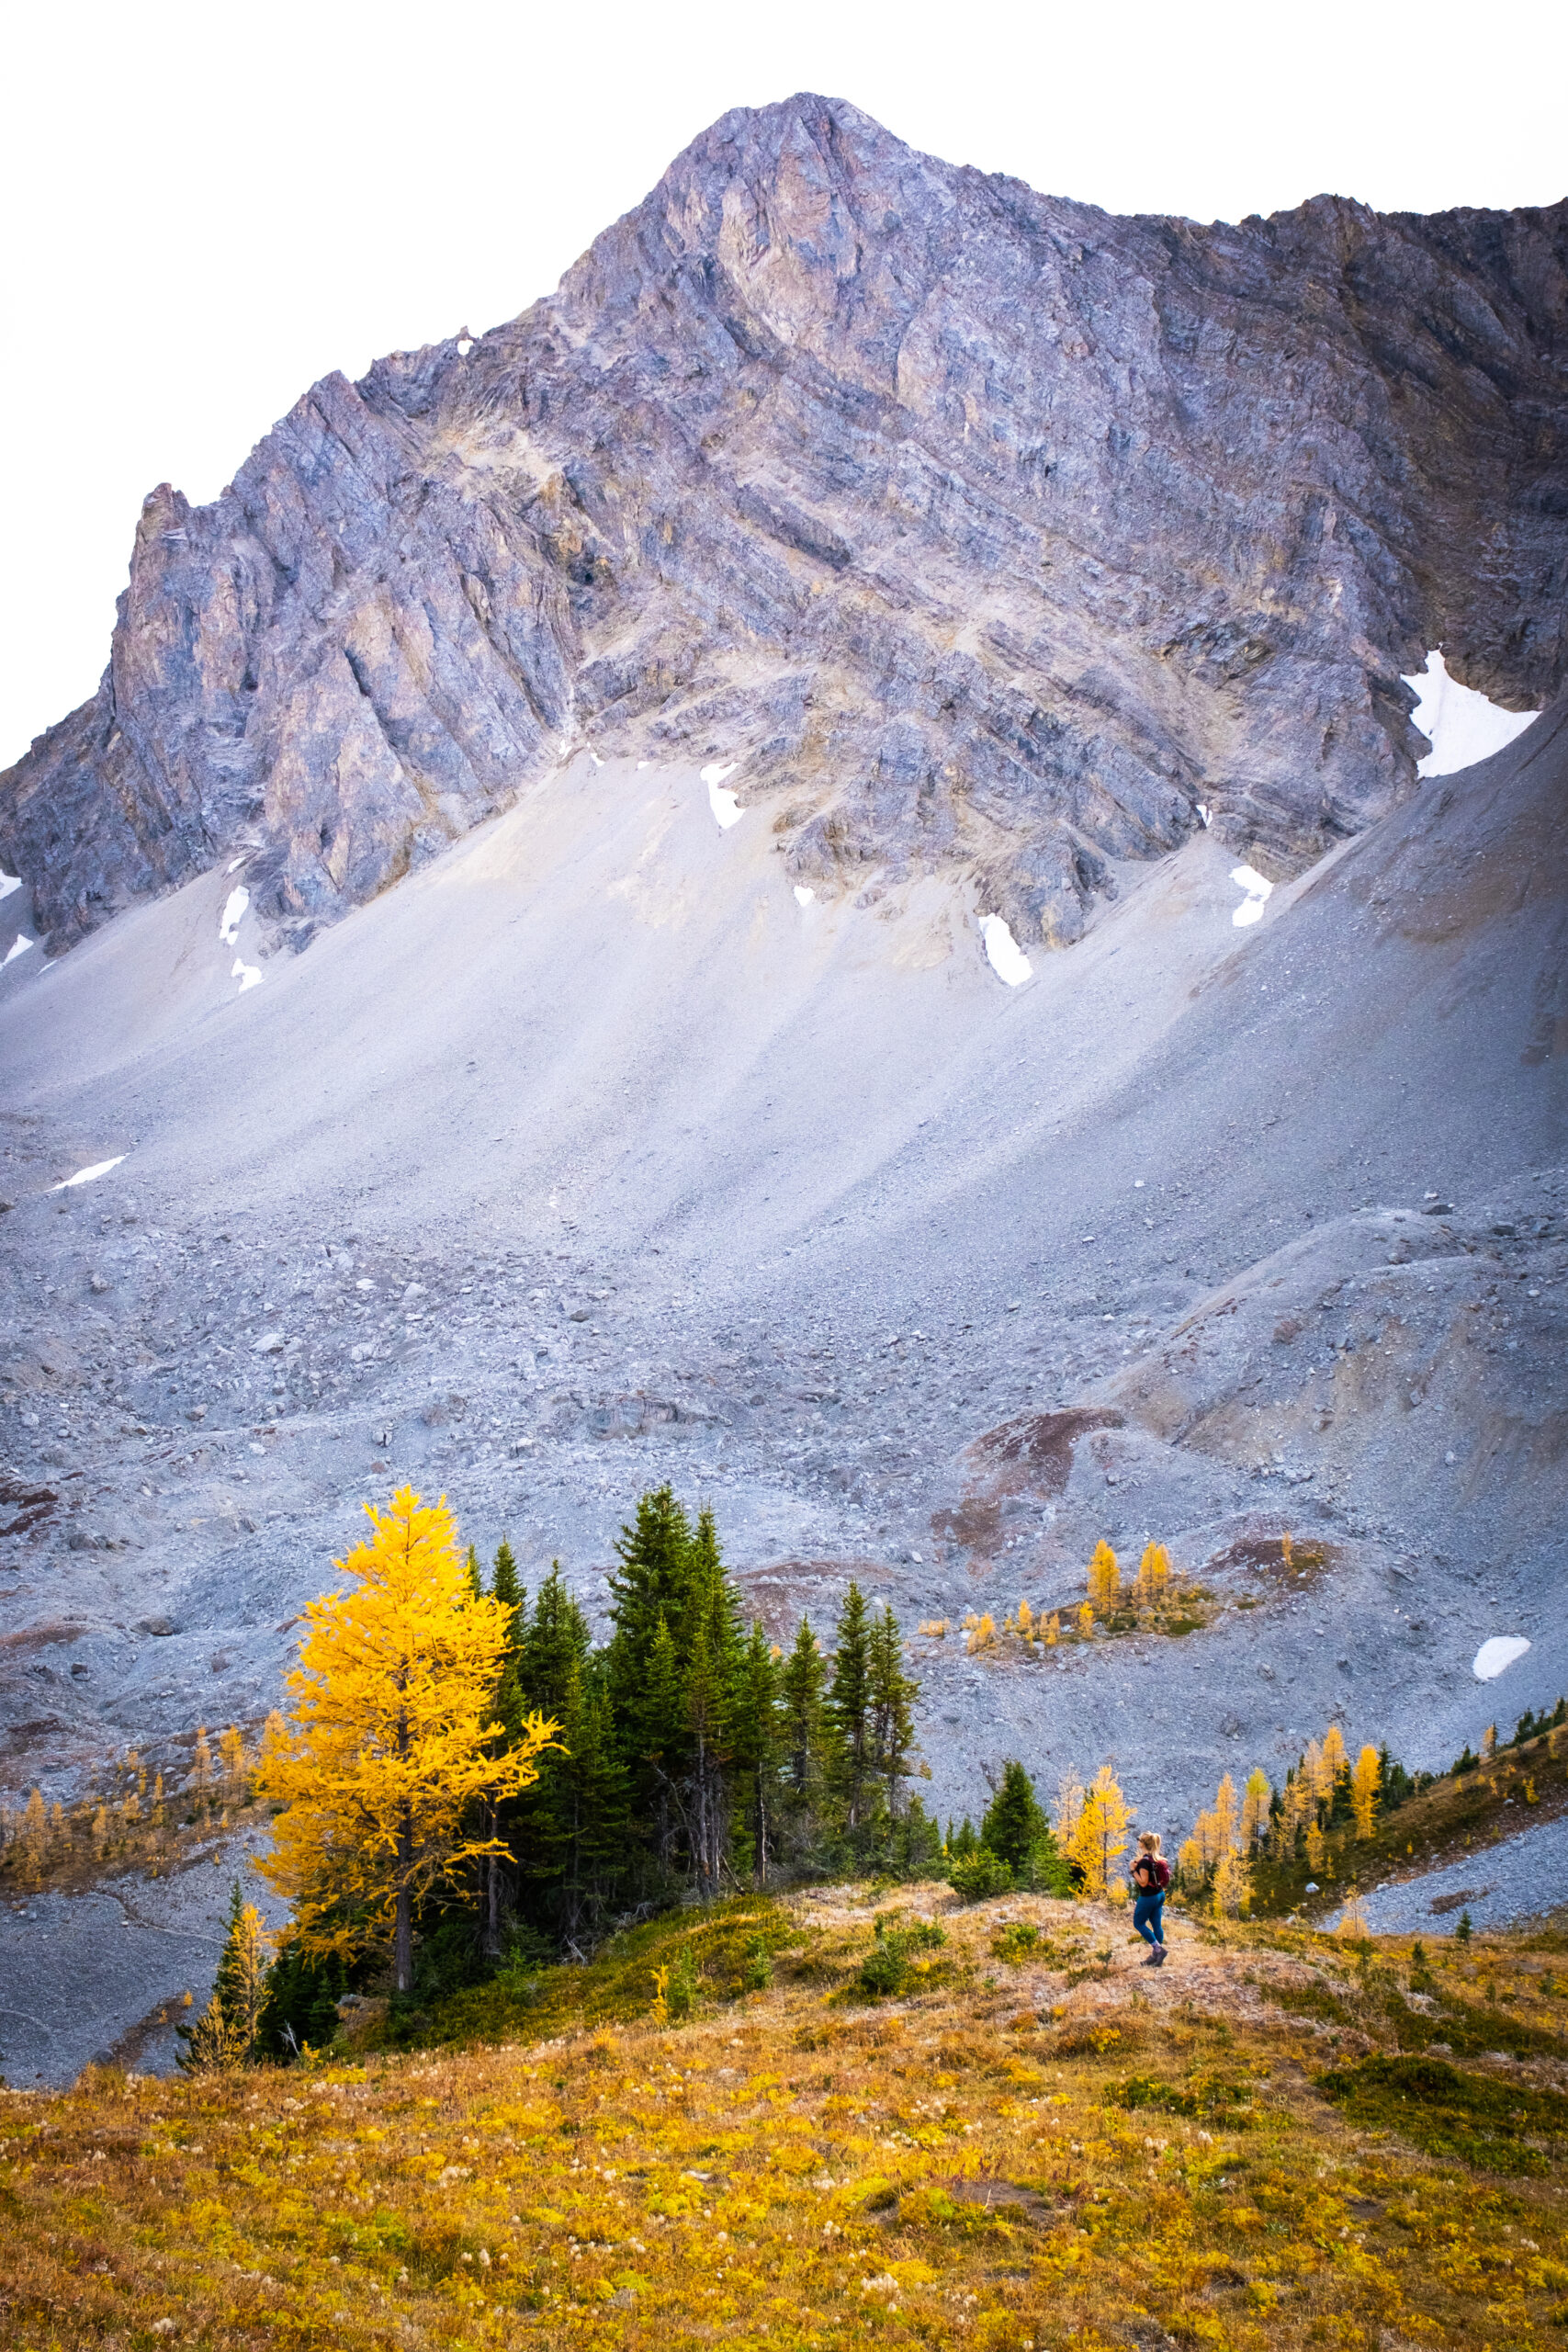
If it looks daunting, don’t worry, it goes by pretty fast. If you’re happy with your hike before the real elevation gain starts around 4km, stop here. Though you’re about 30-60 minutes to the summit of Pocaterra Ridge. There are steep sections of worn and loose dirt, but nothing too unmanageable.
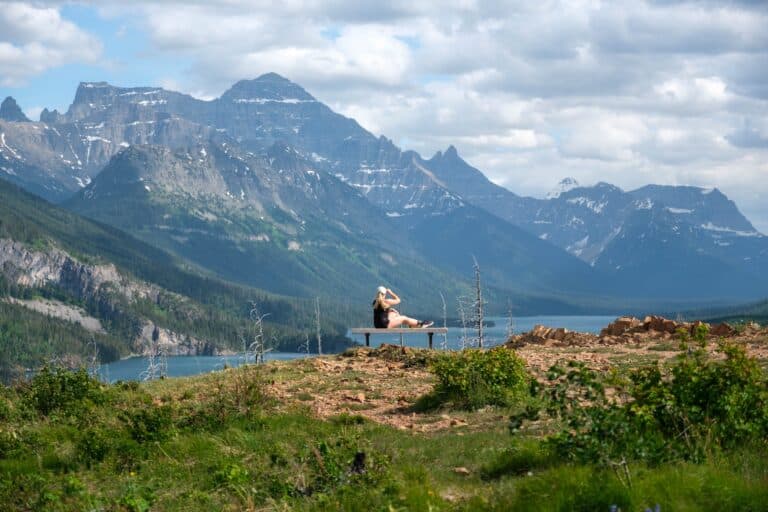
The first summit lies right ahead of you and this is where most of your elevation gain comes in. But once you reach the top of the ridge, you’ll have expansive views of Mist Mountain, Mount Tyrwhitt, and Mount Lipsett.
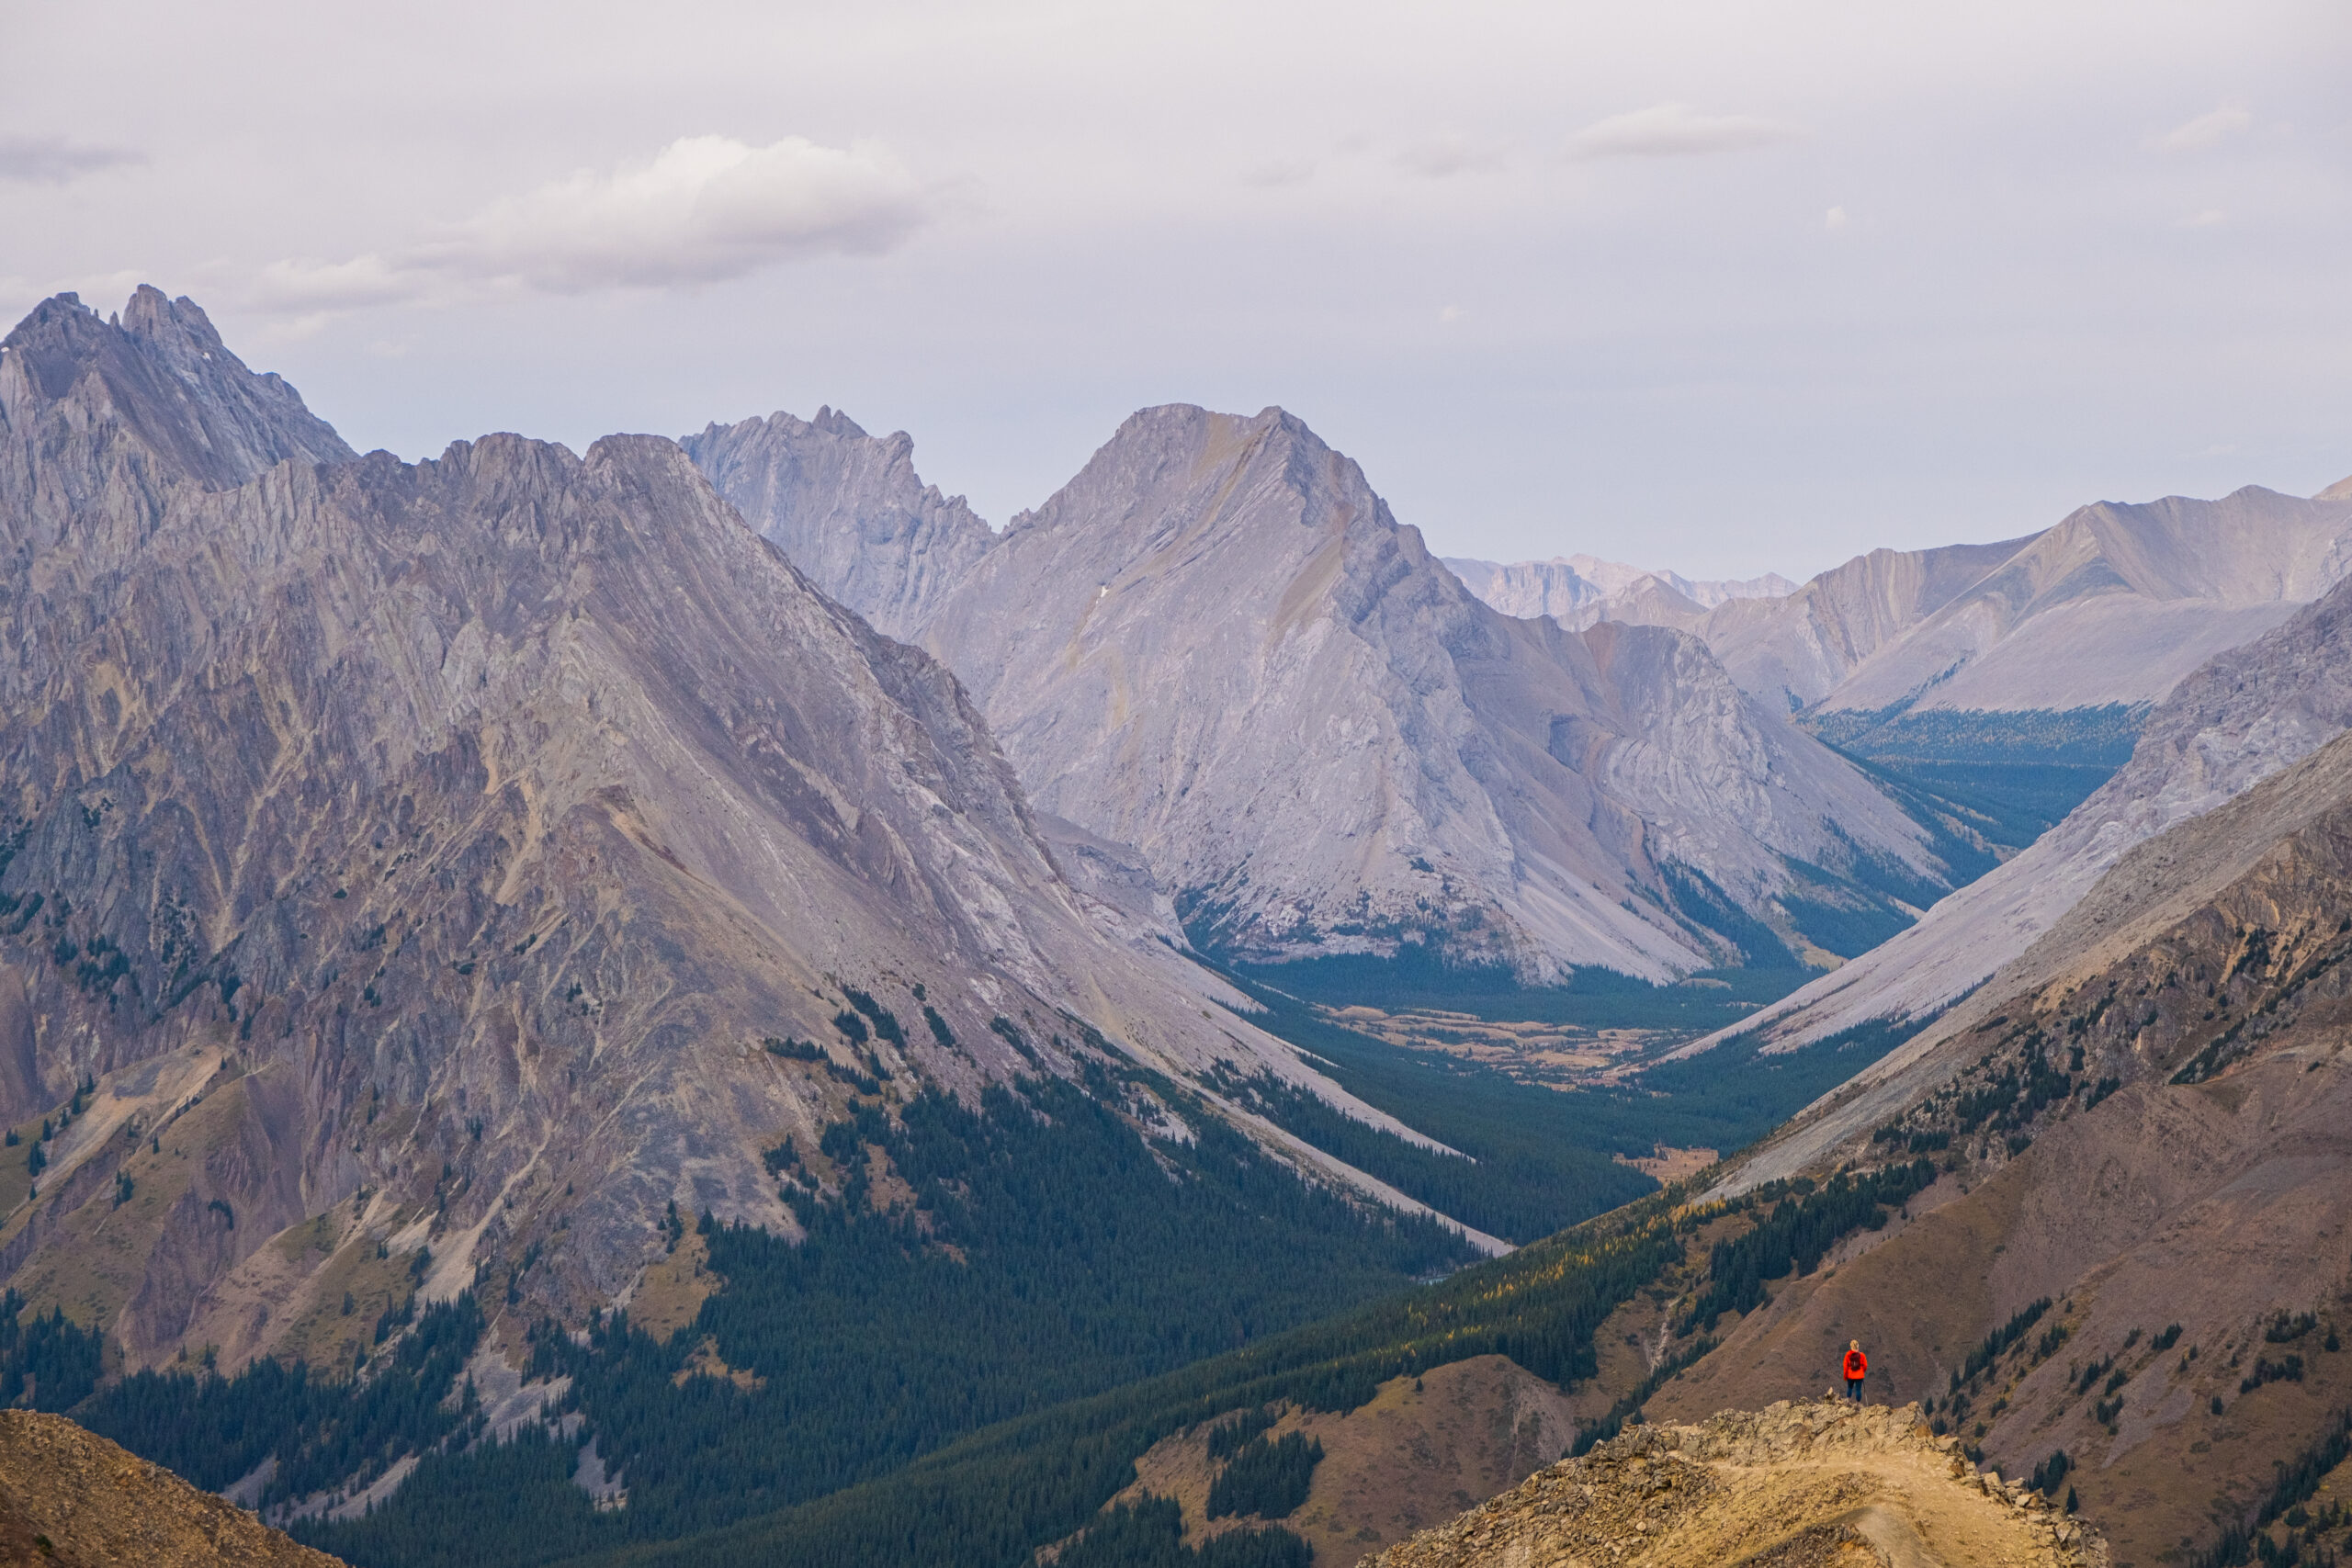
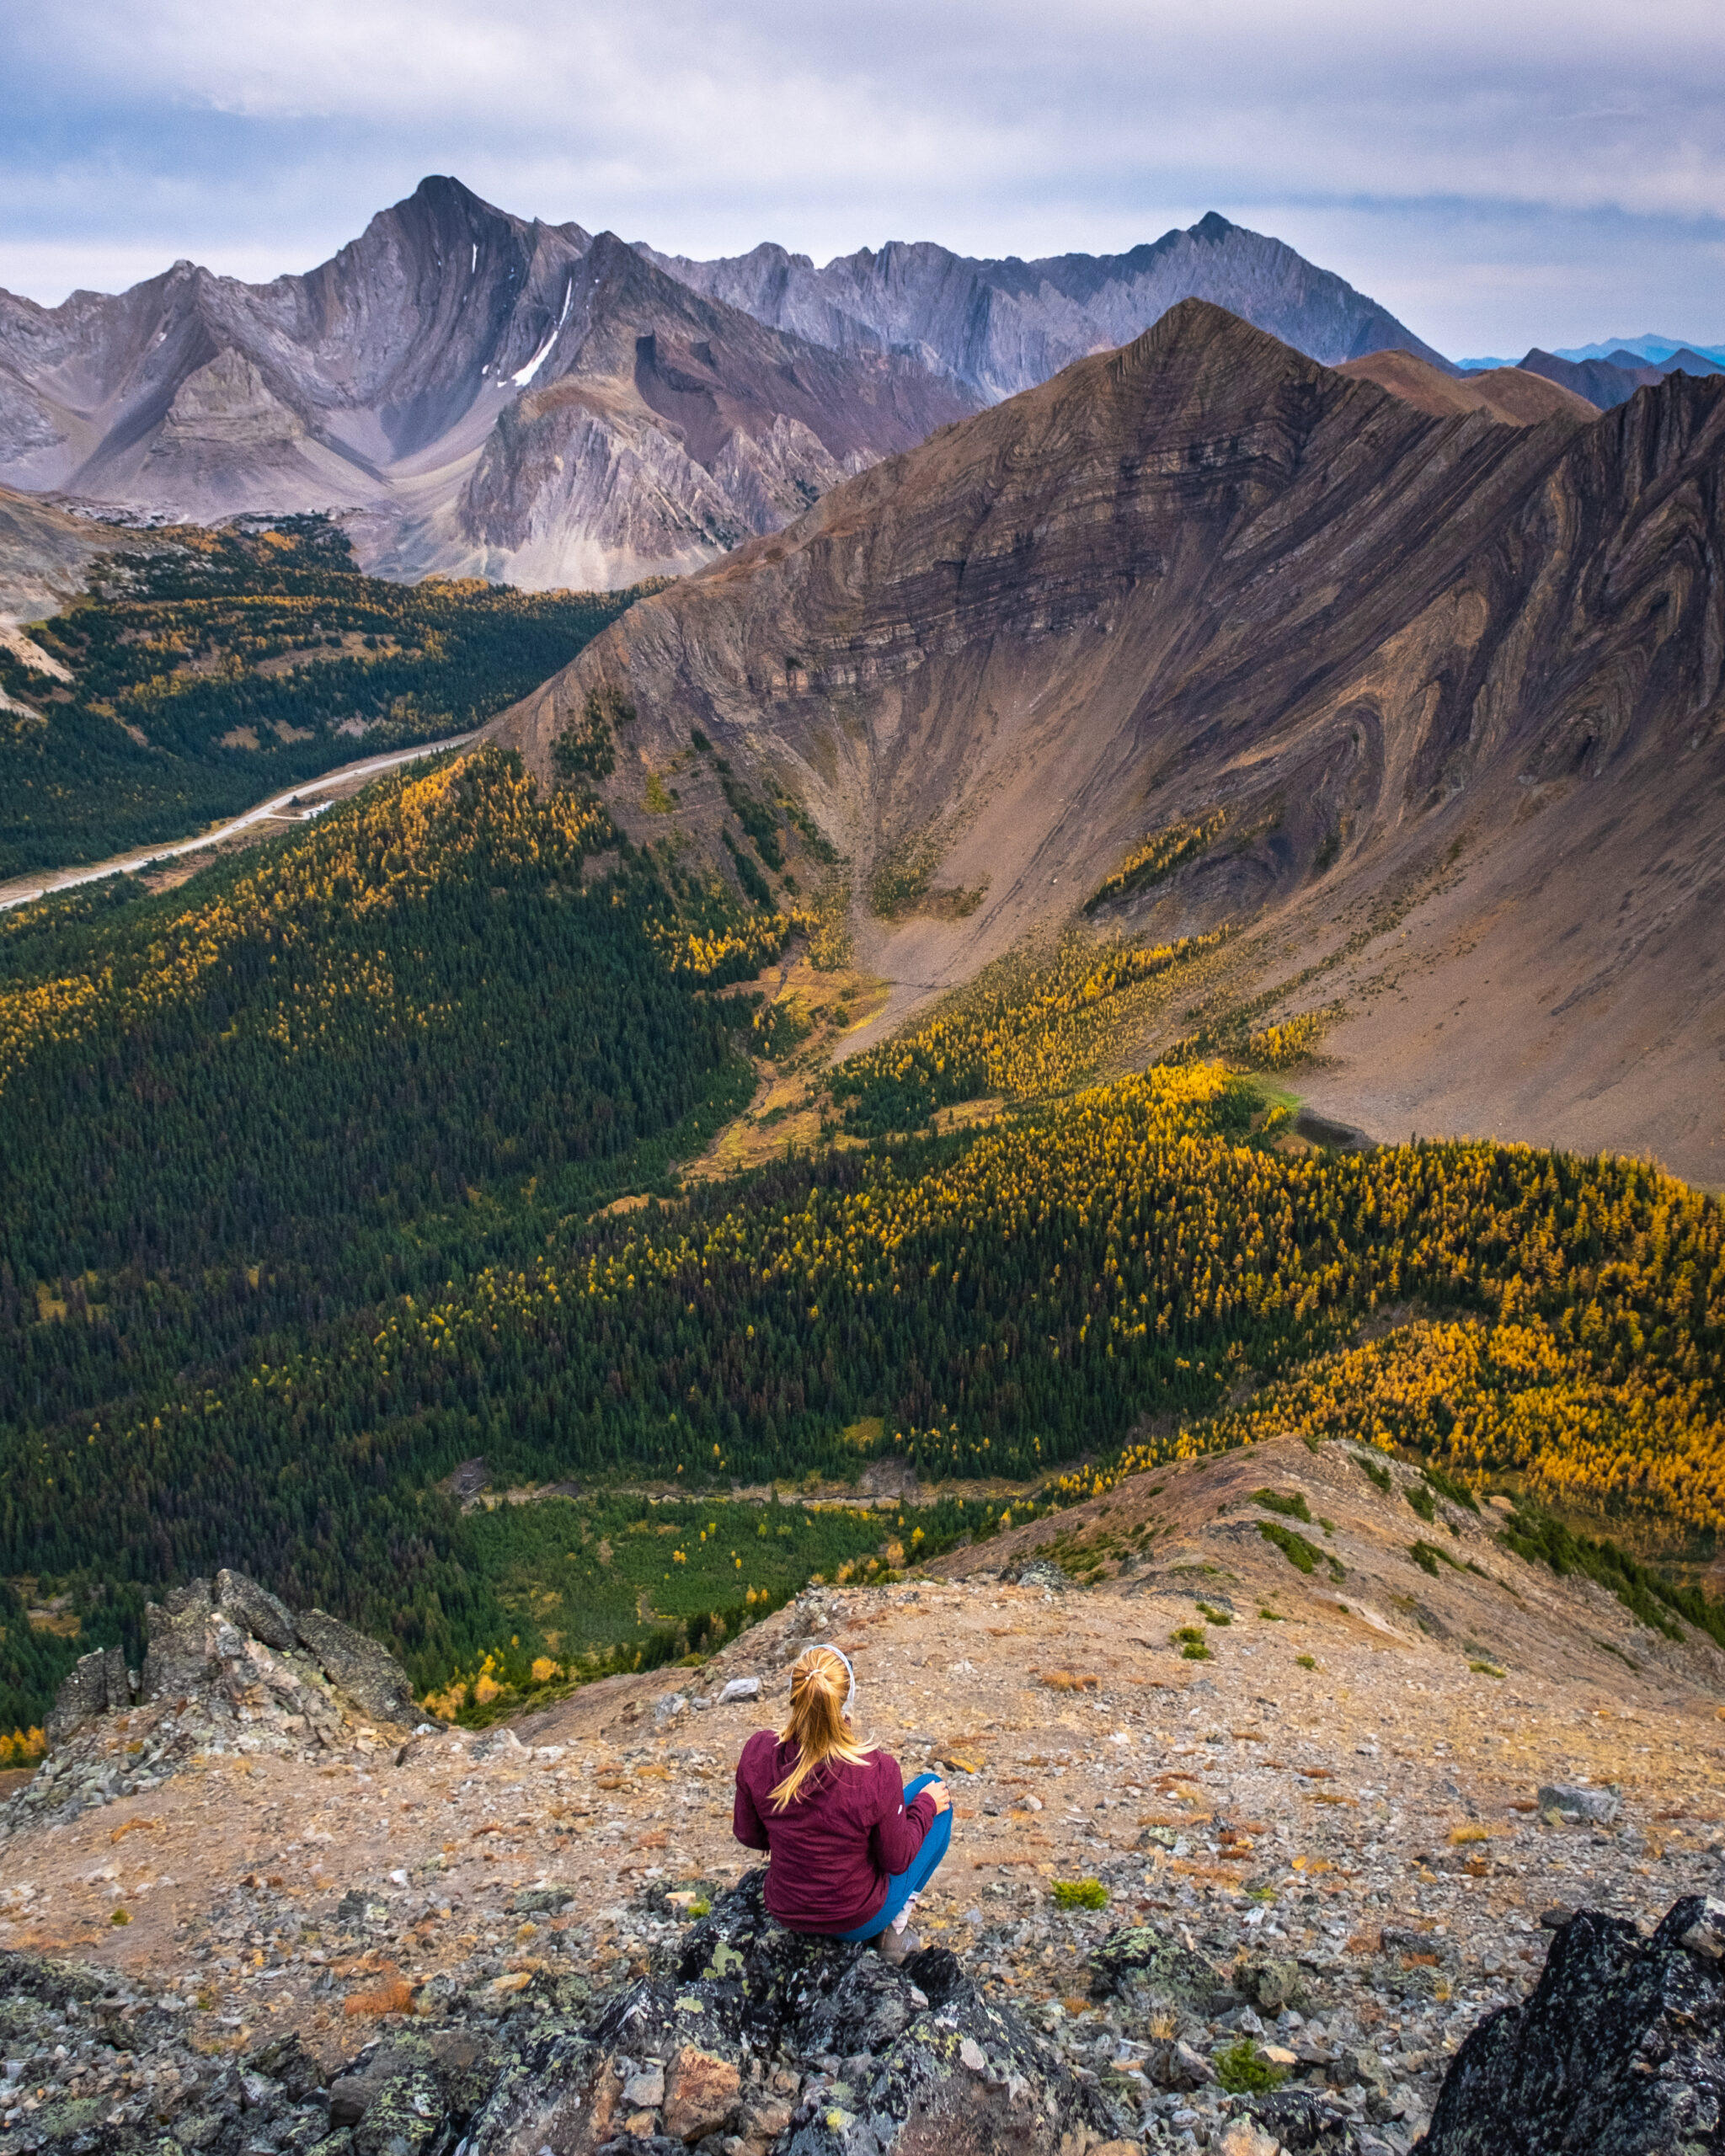
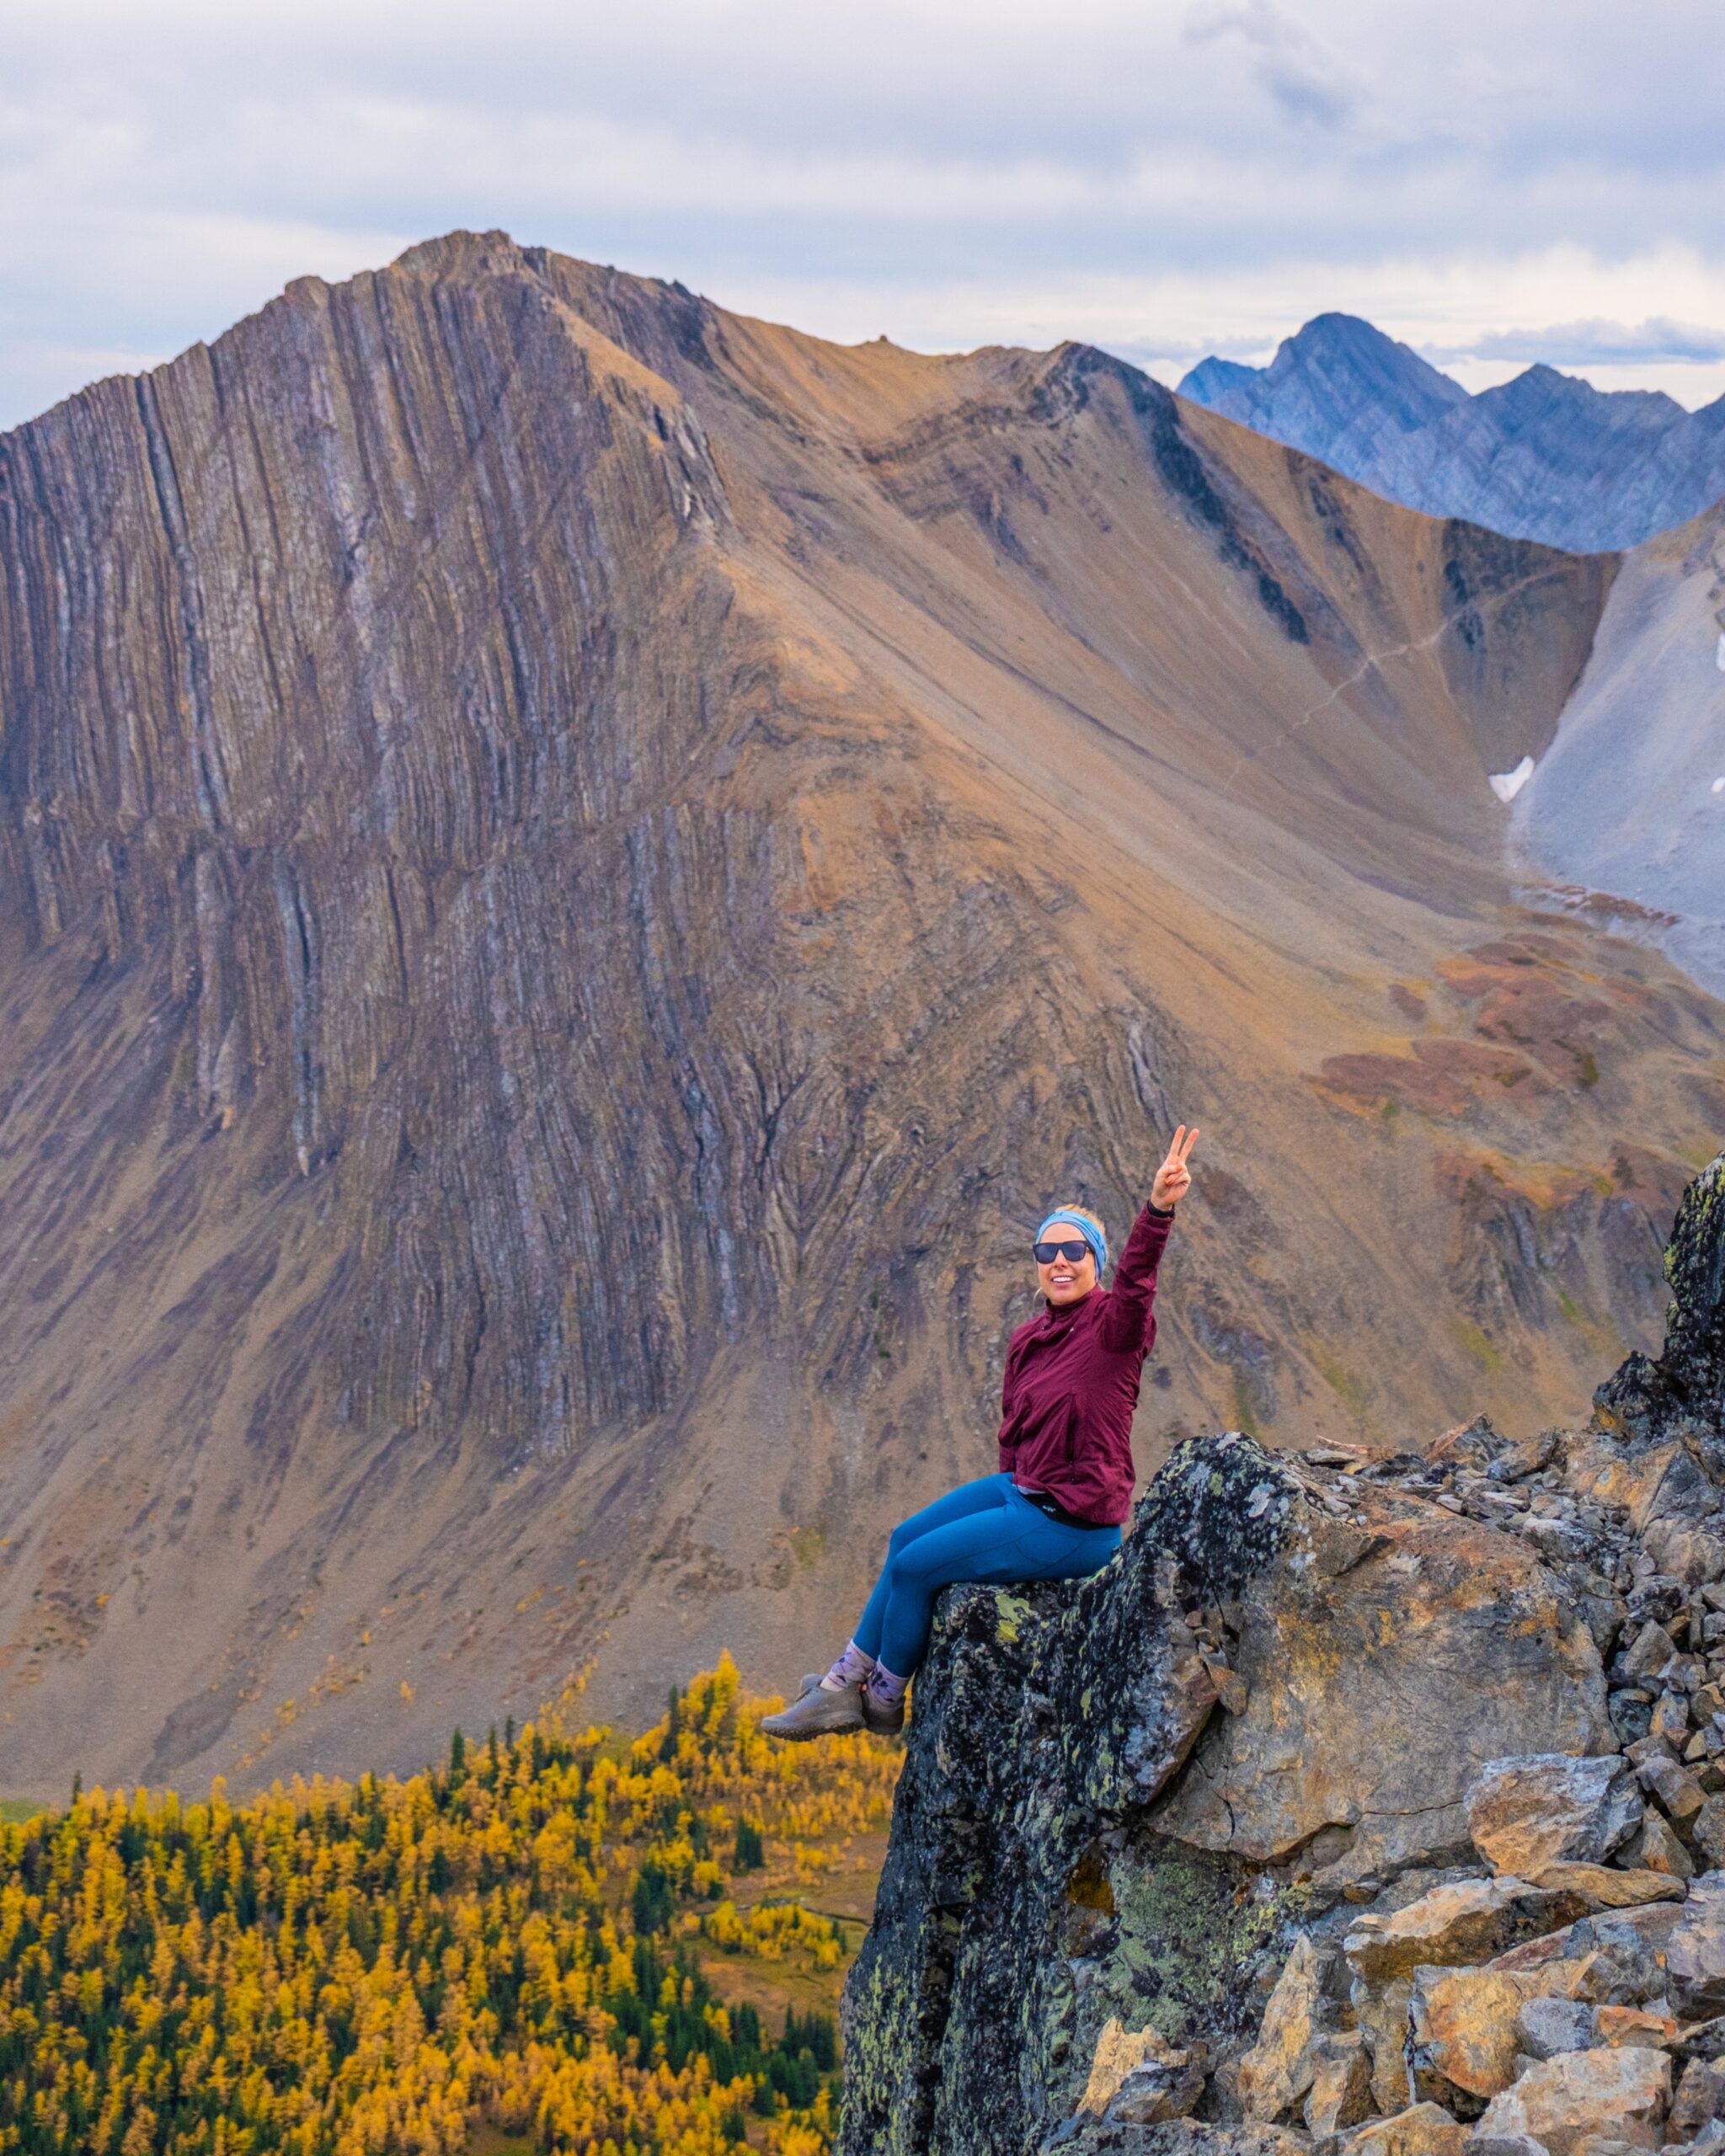
Here, you can either turn around and head back the way you came or continue along the ridge (this would have been needed to plan in advance with a car shuttle).
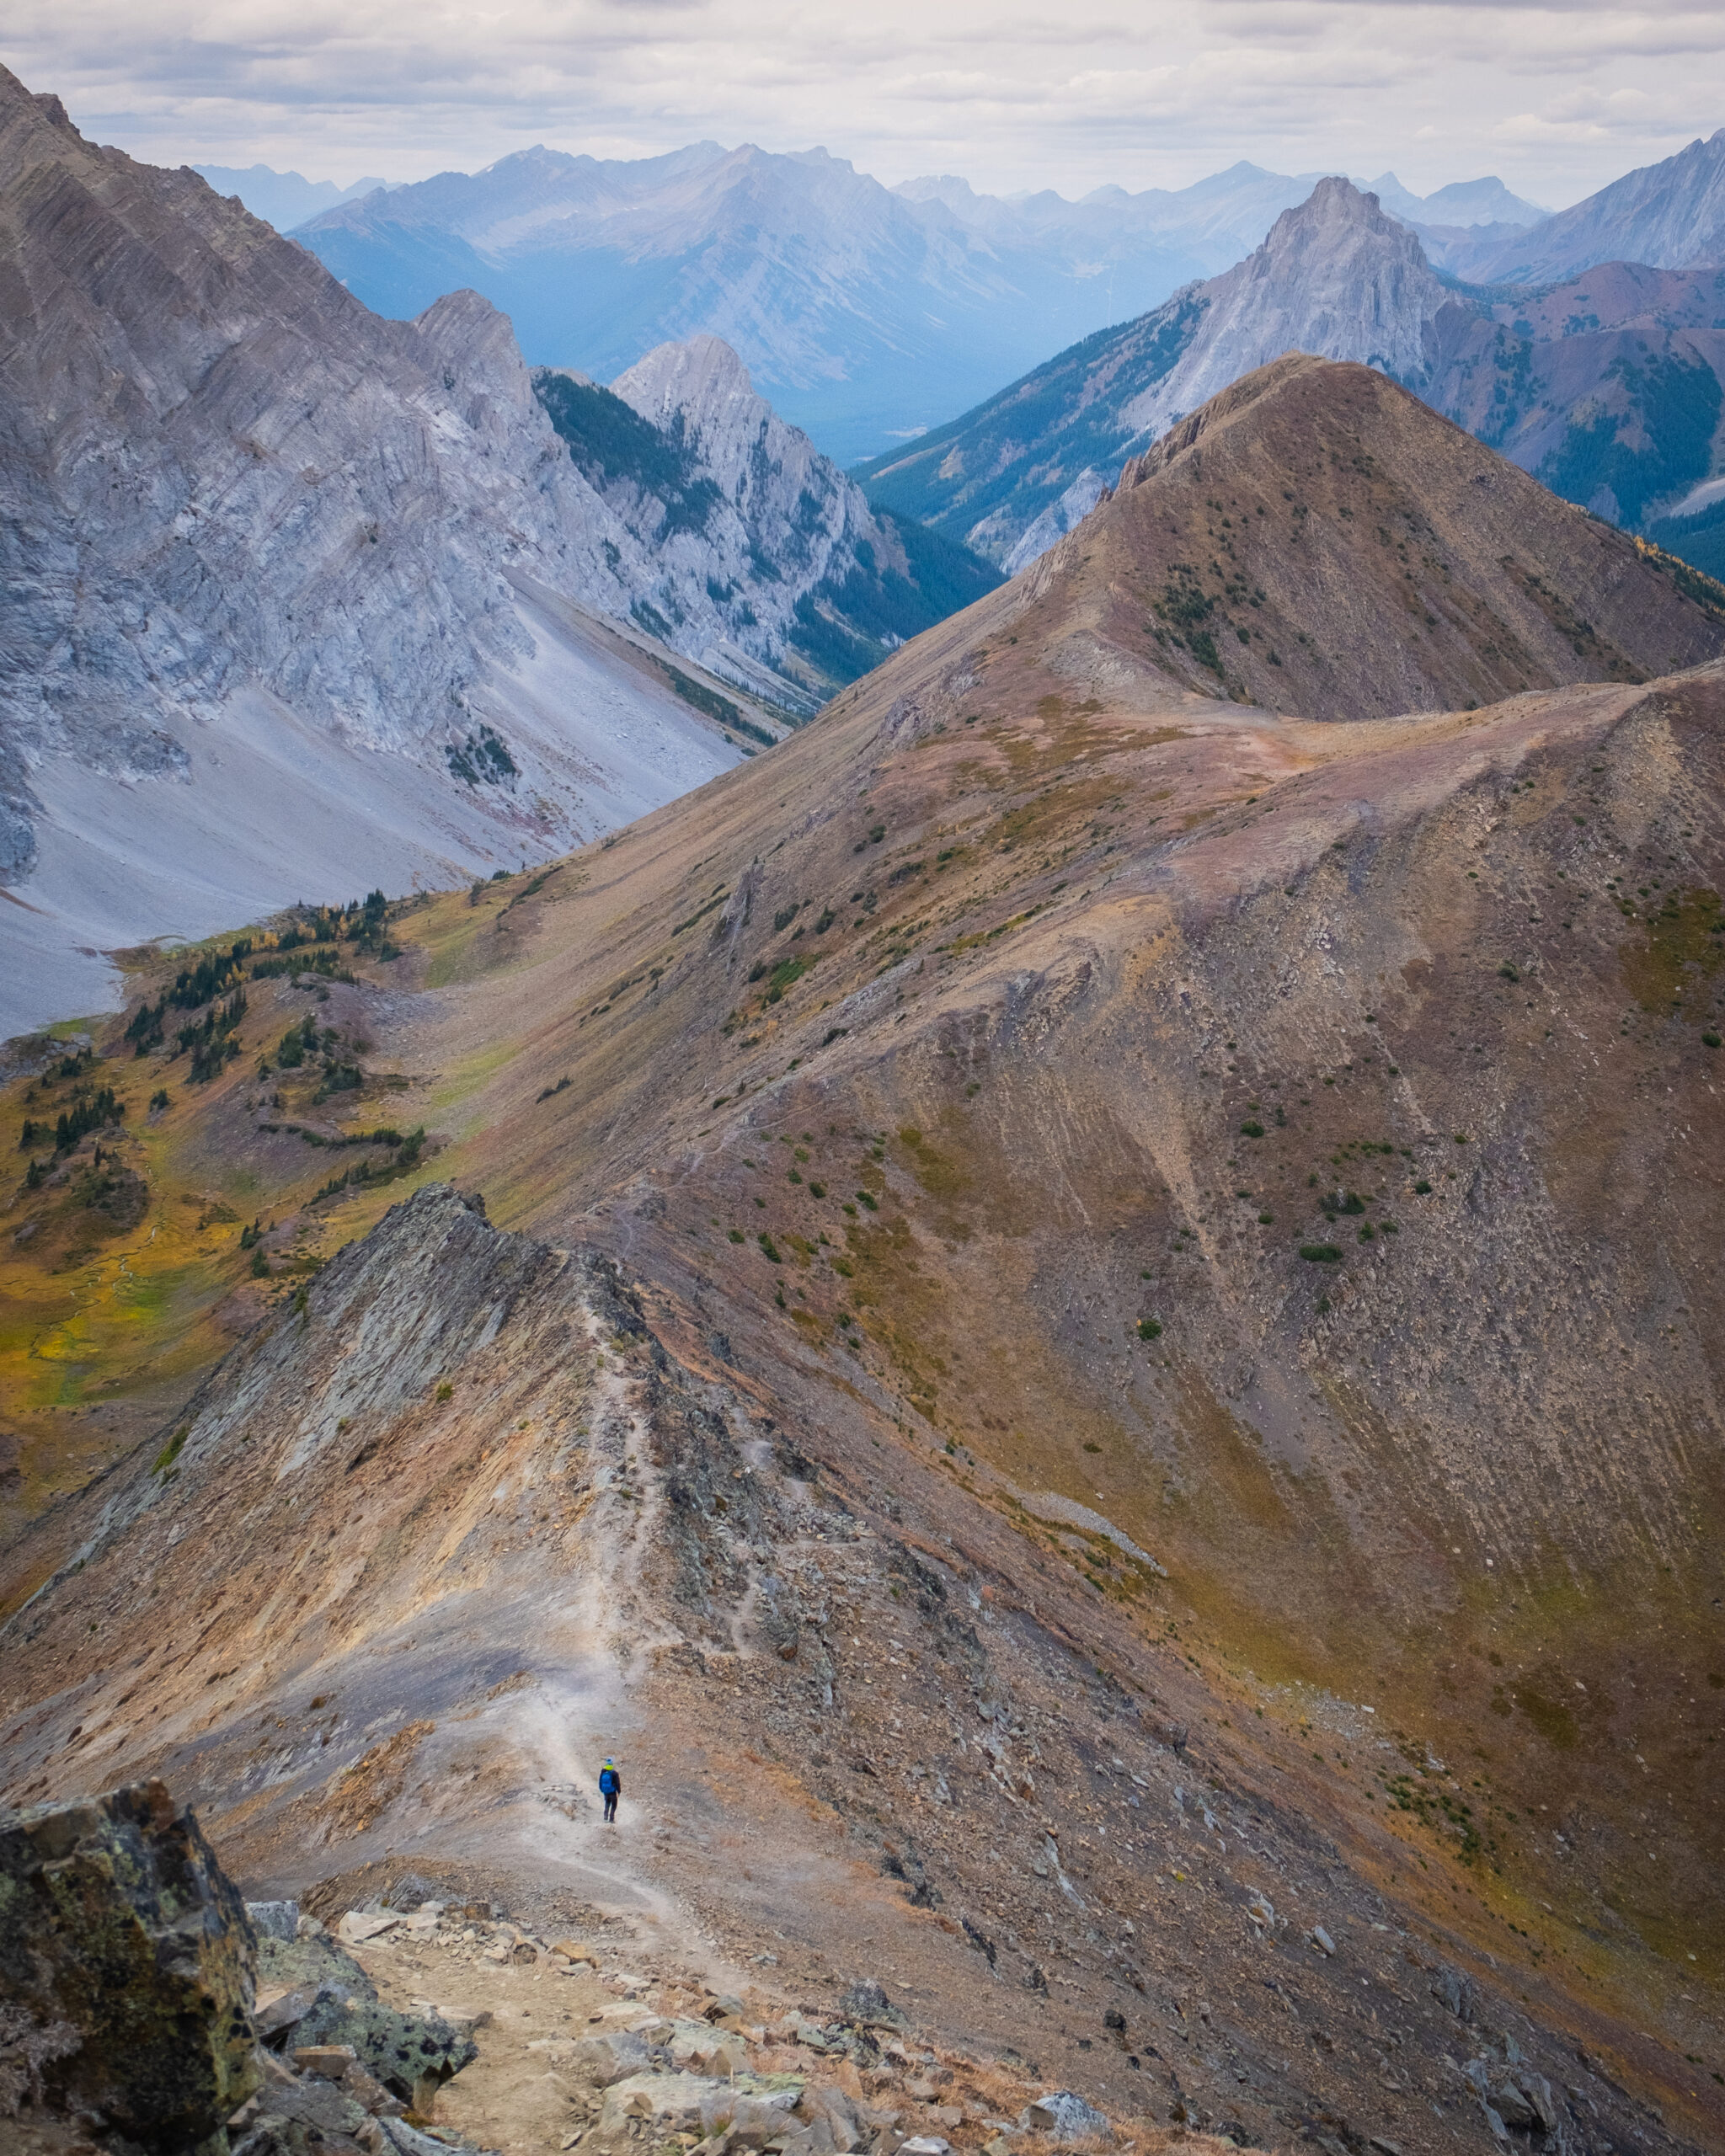
If you decide to continue along the ridge you’ll have views for a while. To continue along the ridge you’ll have to descend a steep section from the first summit, but once you get past this, the rest is relatively easy, ascending and descending multiple summits.
After you pass the fourth summit, you can look forward to all descending into the Little Highwood Pass parking lot where your second vehicle is waiting.
Pocaterra Ridge Hike Duration
If you plan on heading up to Pocaterra Ridge summit and returning the same way, making it an out-and-back hike, this hike will take you anywhere between 3-5 hours. If you do Pocaterra Ridge as a point-to-point hike I would estimate 4-7 hours to hike Pocaterra Ridge.
When Can You Hike Pocaterra Ridge?
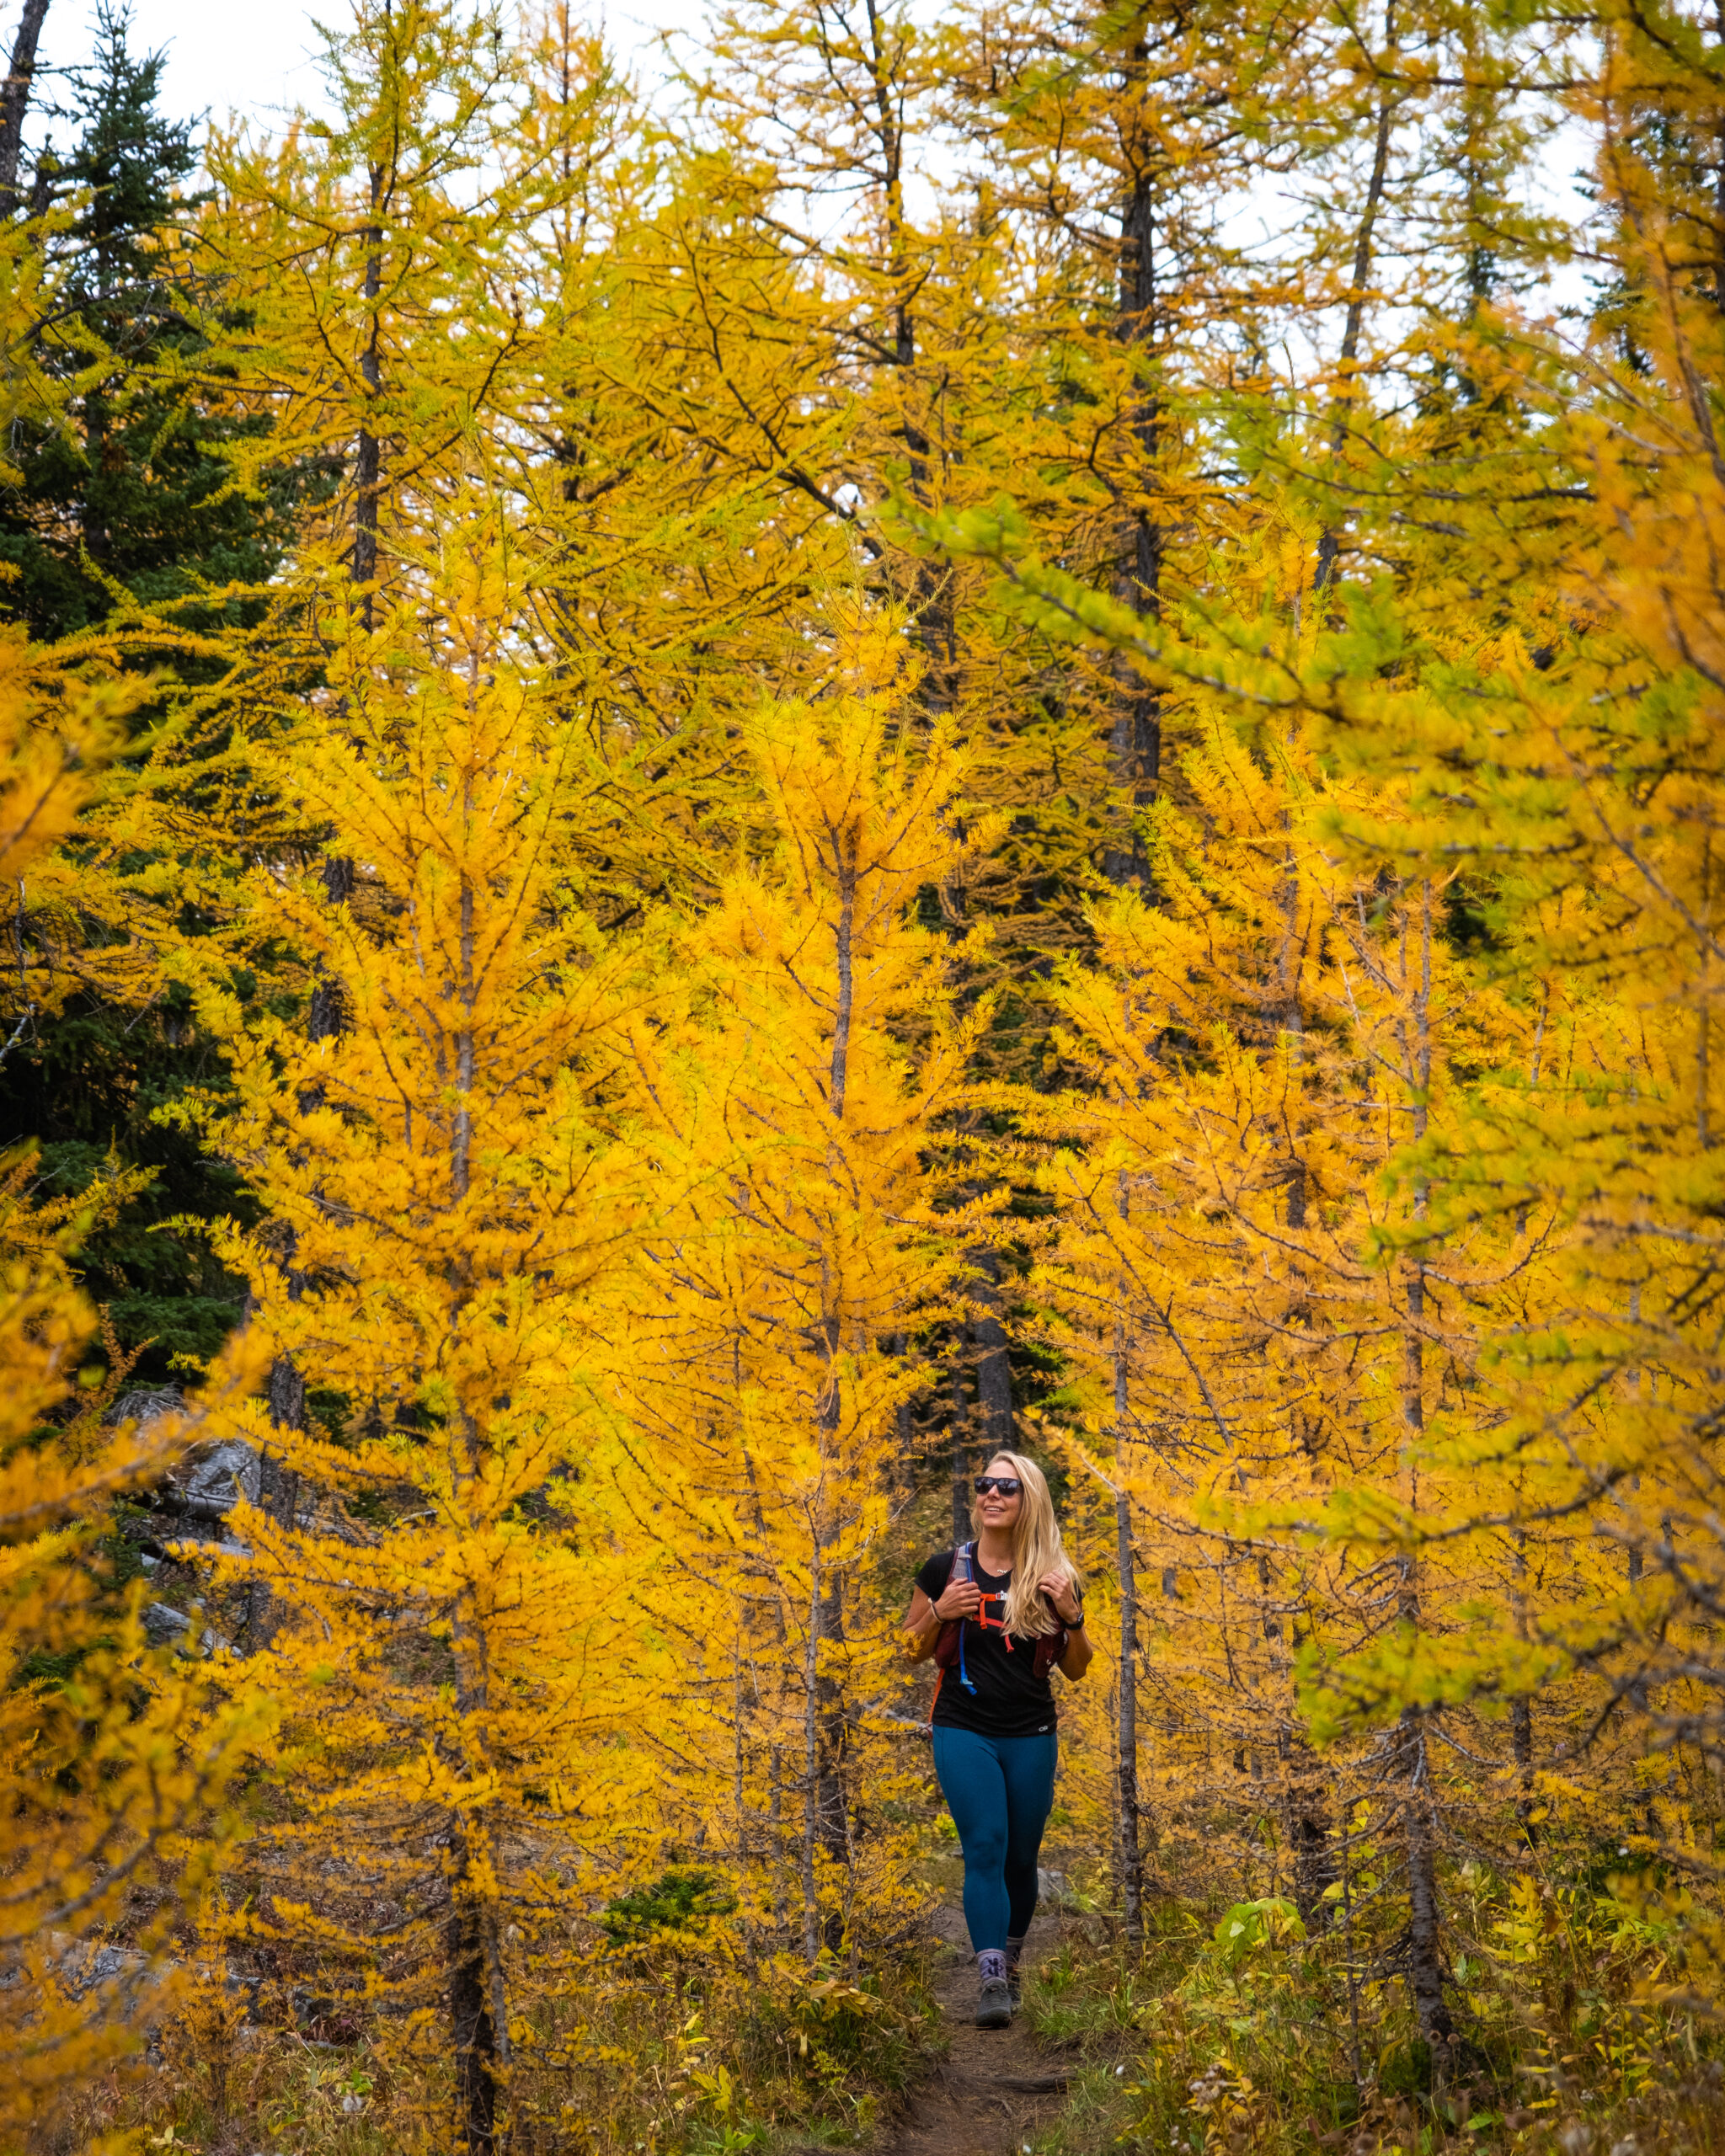
Pocaterra Ridge is best hiked after June 15th, when Highwood Pass opens up to cars, and is typically good to go until the first week of October, or before the first major snowfall hits. Pocaterra Ridge is known for being one of the best larch hikes in Alberta to see the famous larch trees in the fall.
Head here in Late September to Early October to walk through a field of golden larches. They’ll be wildflowers in the summer too, but if you can wait, I would recommend saving this hike for larch season.
How Hard is Pocaterra Ridge?
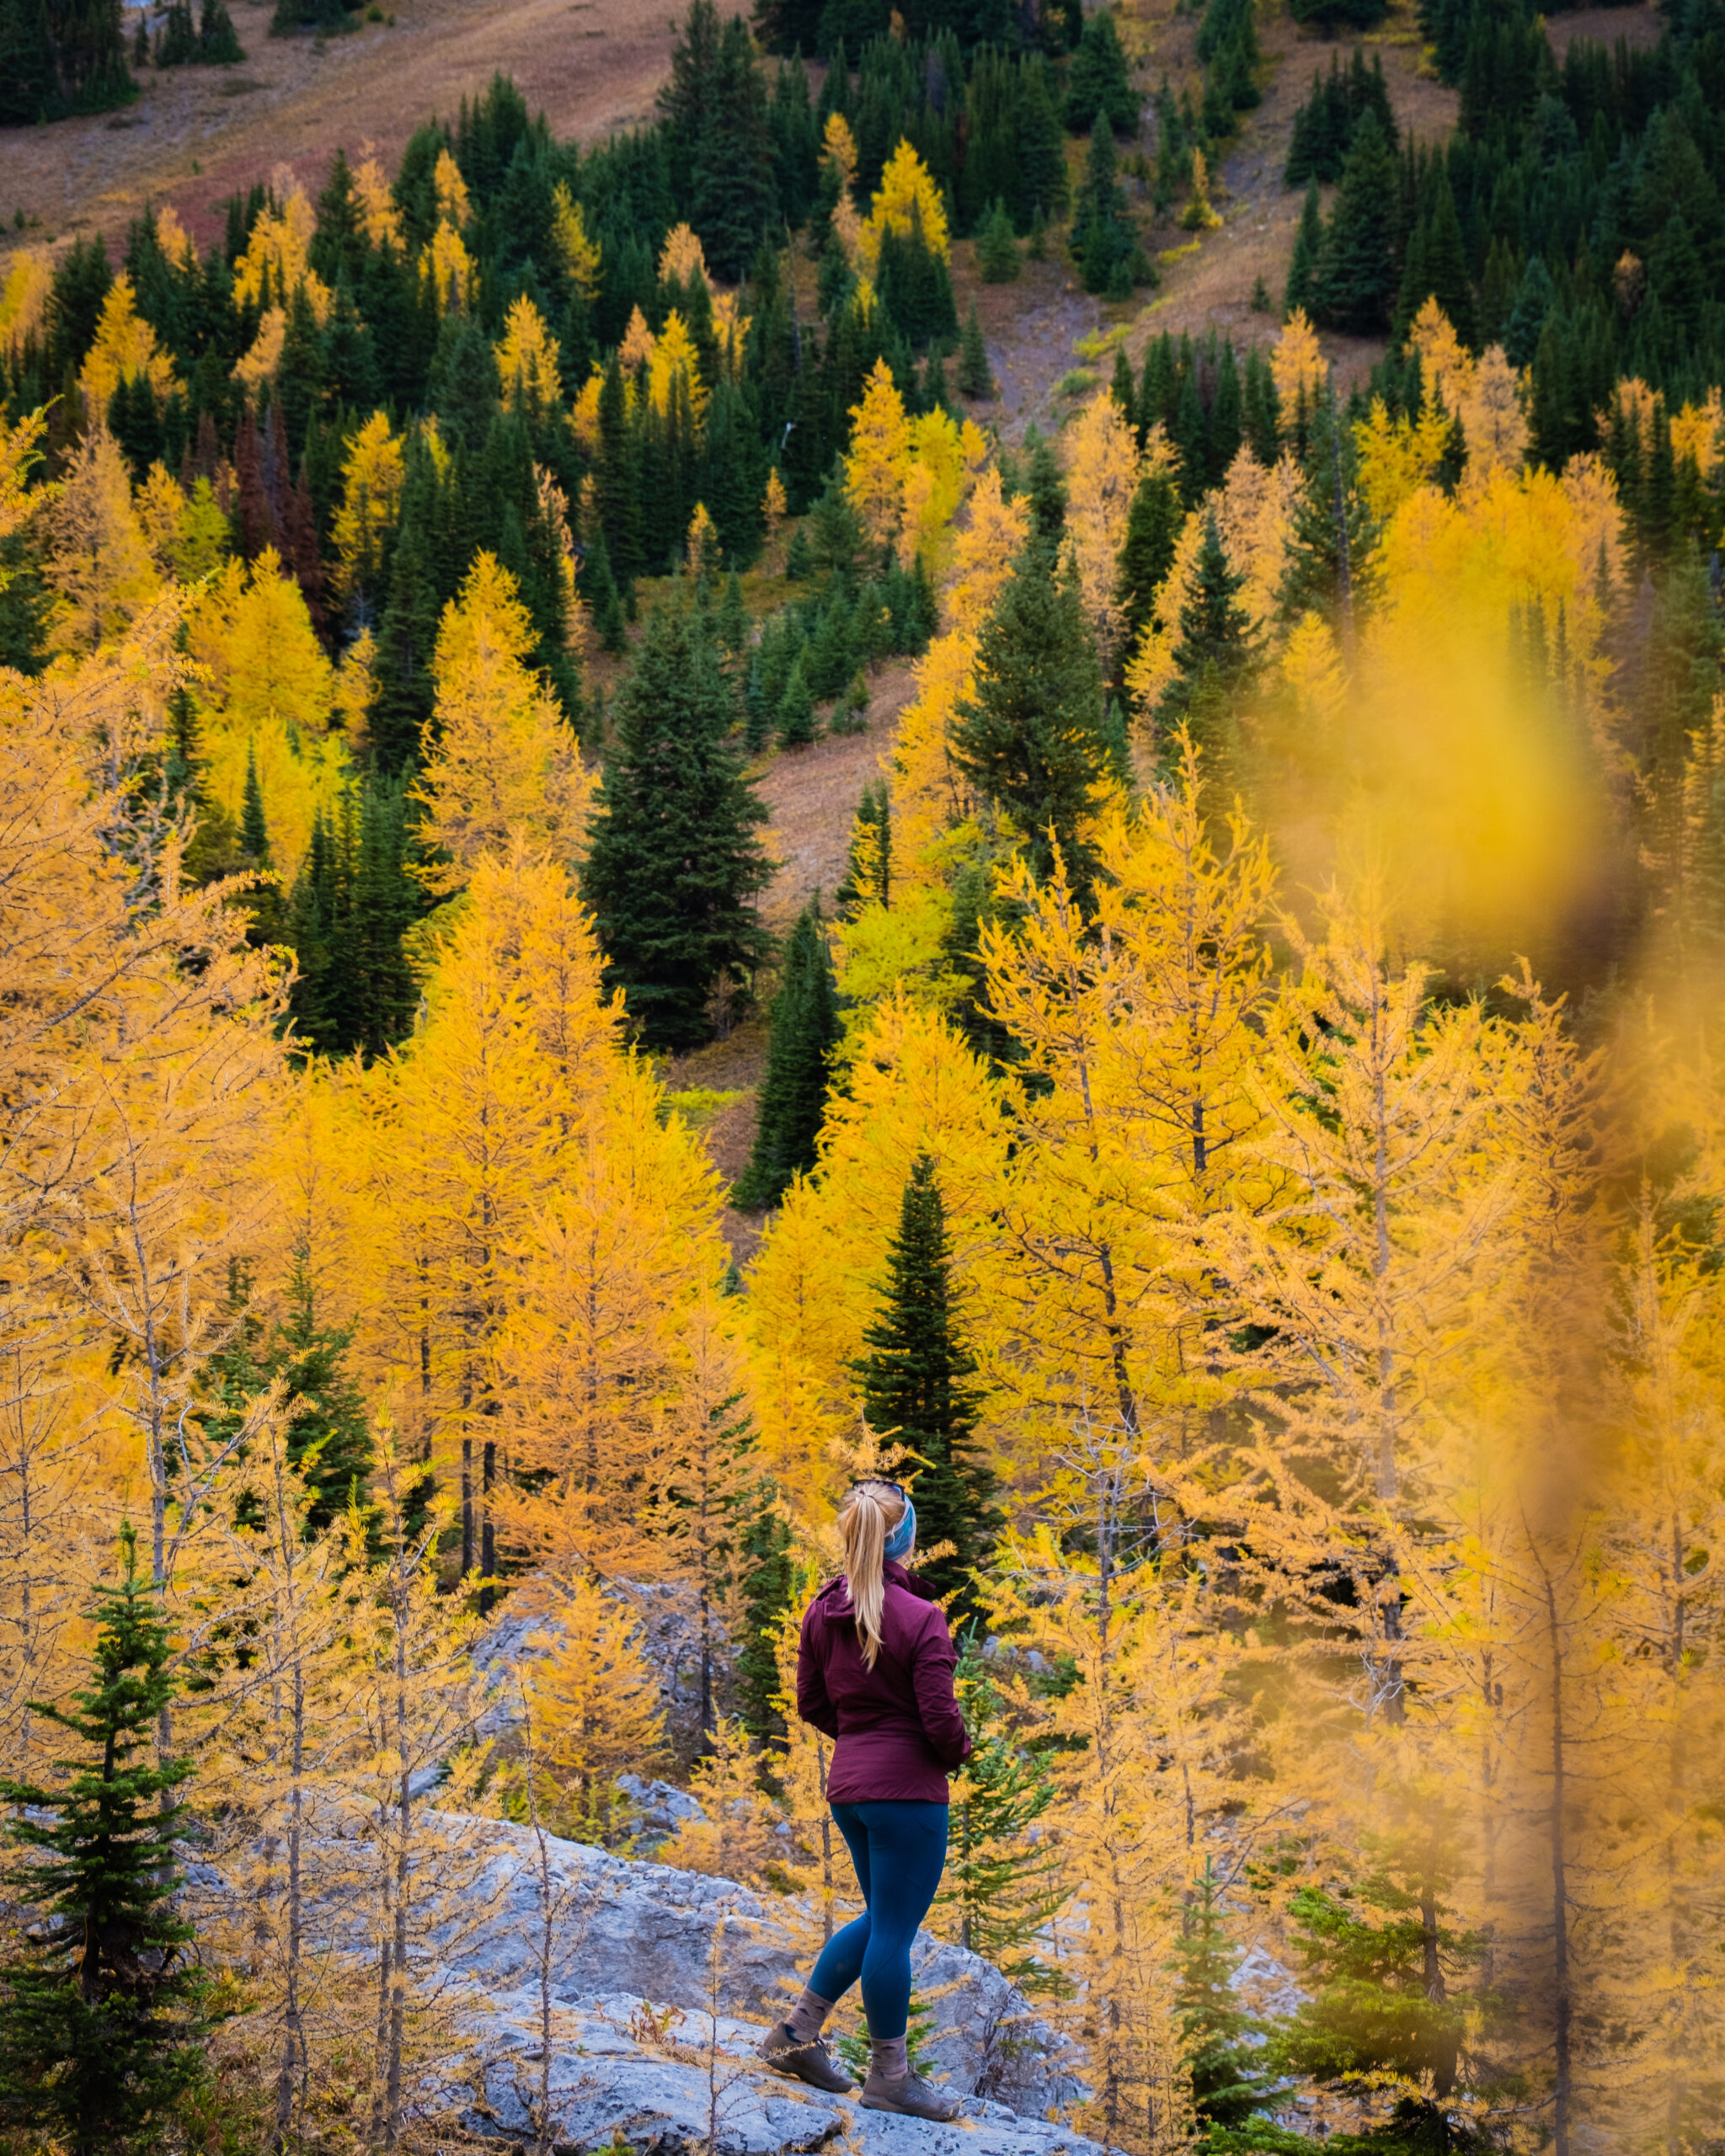
Pocaterra is rated a moderate and I would have to agree, out of many hikes in Kananaskis this is one of the easier ones I’ve been on. You don’t gain much elevation until the Pocaterra Ridge summit, and even that is pretty short.
We saw all sorts of people on this trail – old and young. Just take the time you need to complete it! If you want something slightly easier, check out Arethusa Cirque or Ptarmigan nearby!
Should You Bring Dogs & Kids on Pocaterra Ridge?
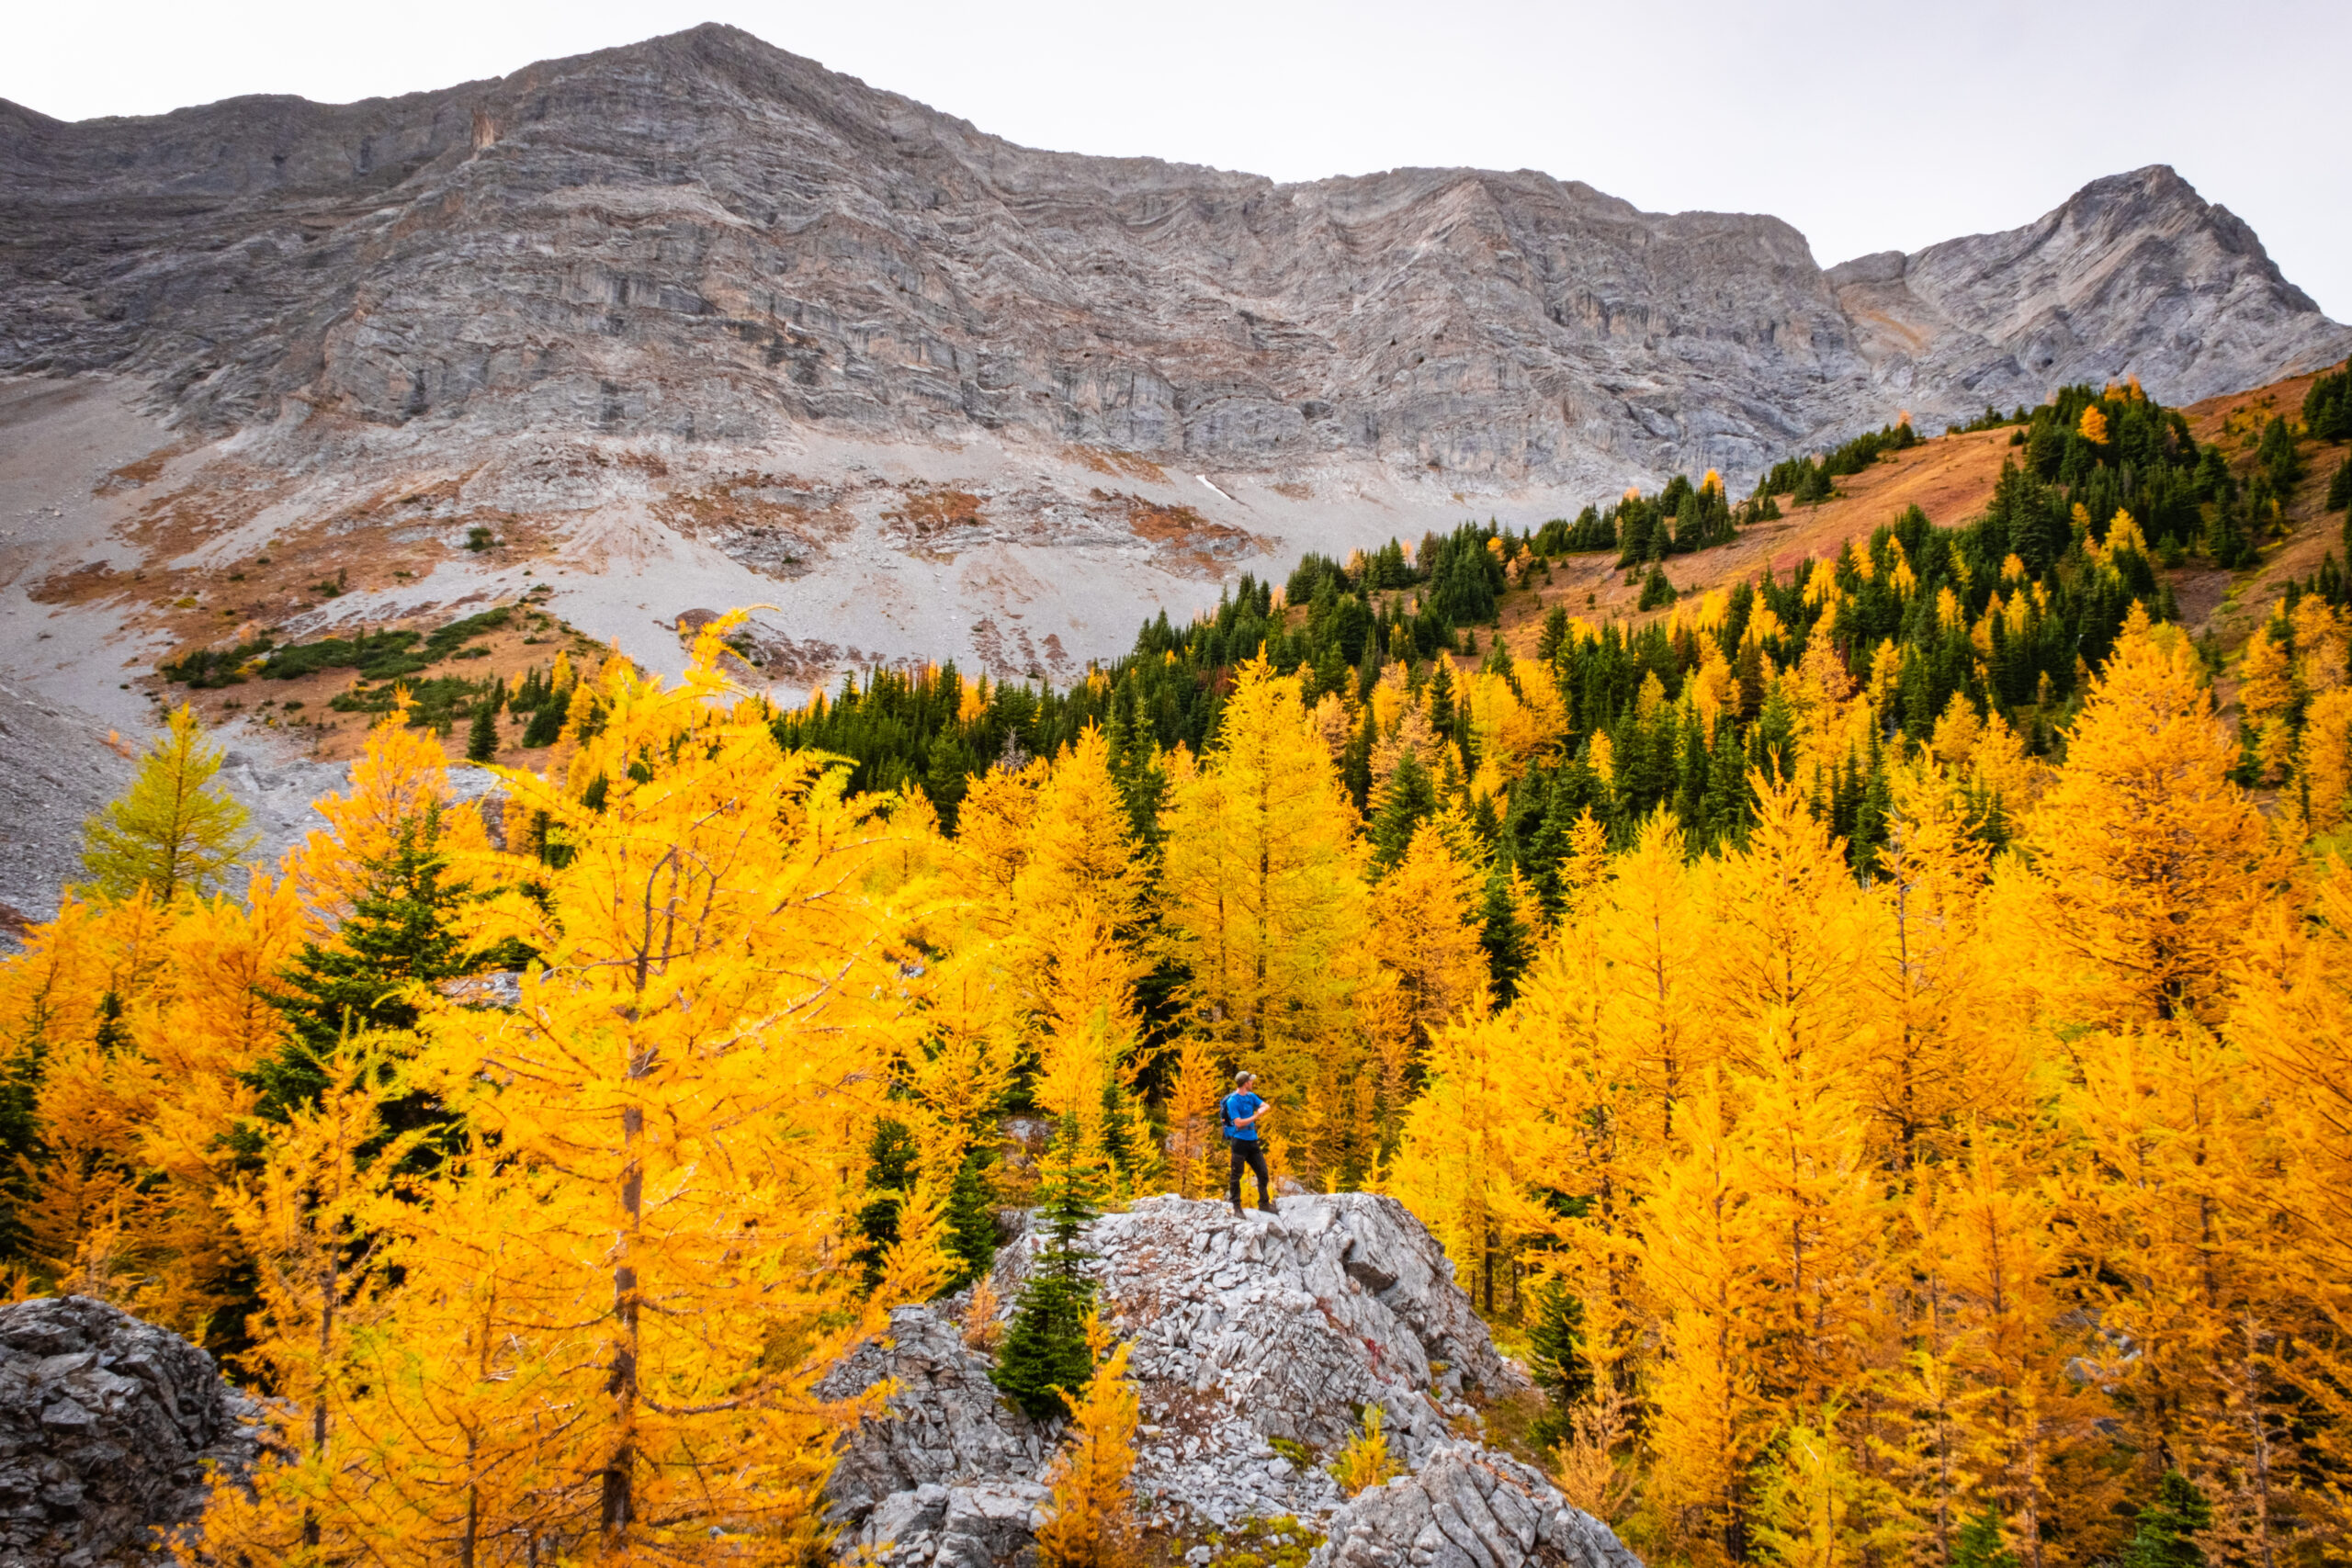
Pocaterra Ridge is a mild enough hike for most dogs and kiddos. It’s not much of a scramble and anything that is hands-on scrambling on the ridge can be avoided if necessary. Pocaterra Ridge is not stroller-friendly.
Is There Cell Service on the Pocaterra Ridge Hike?
Don’t expect to have any cell service around Highwood Pass or on the Pocaterra Ridge trail.
Are there toilet facilities?
There are toilet facilities at the Highwood Meadows Day Use area.
Advice on Hikes in the Canadian Rockies
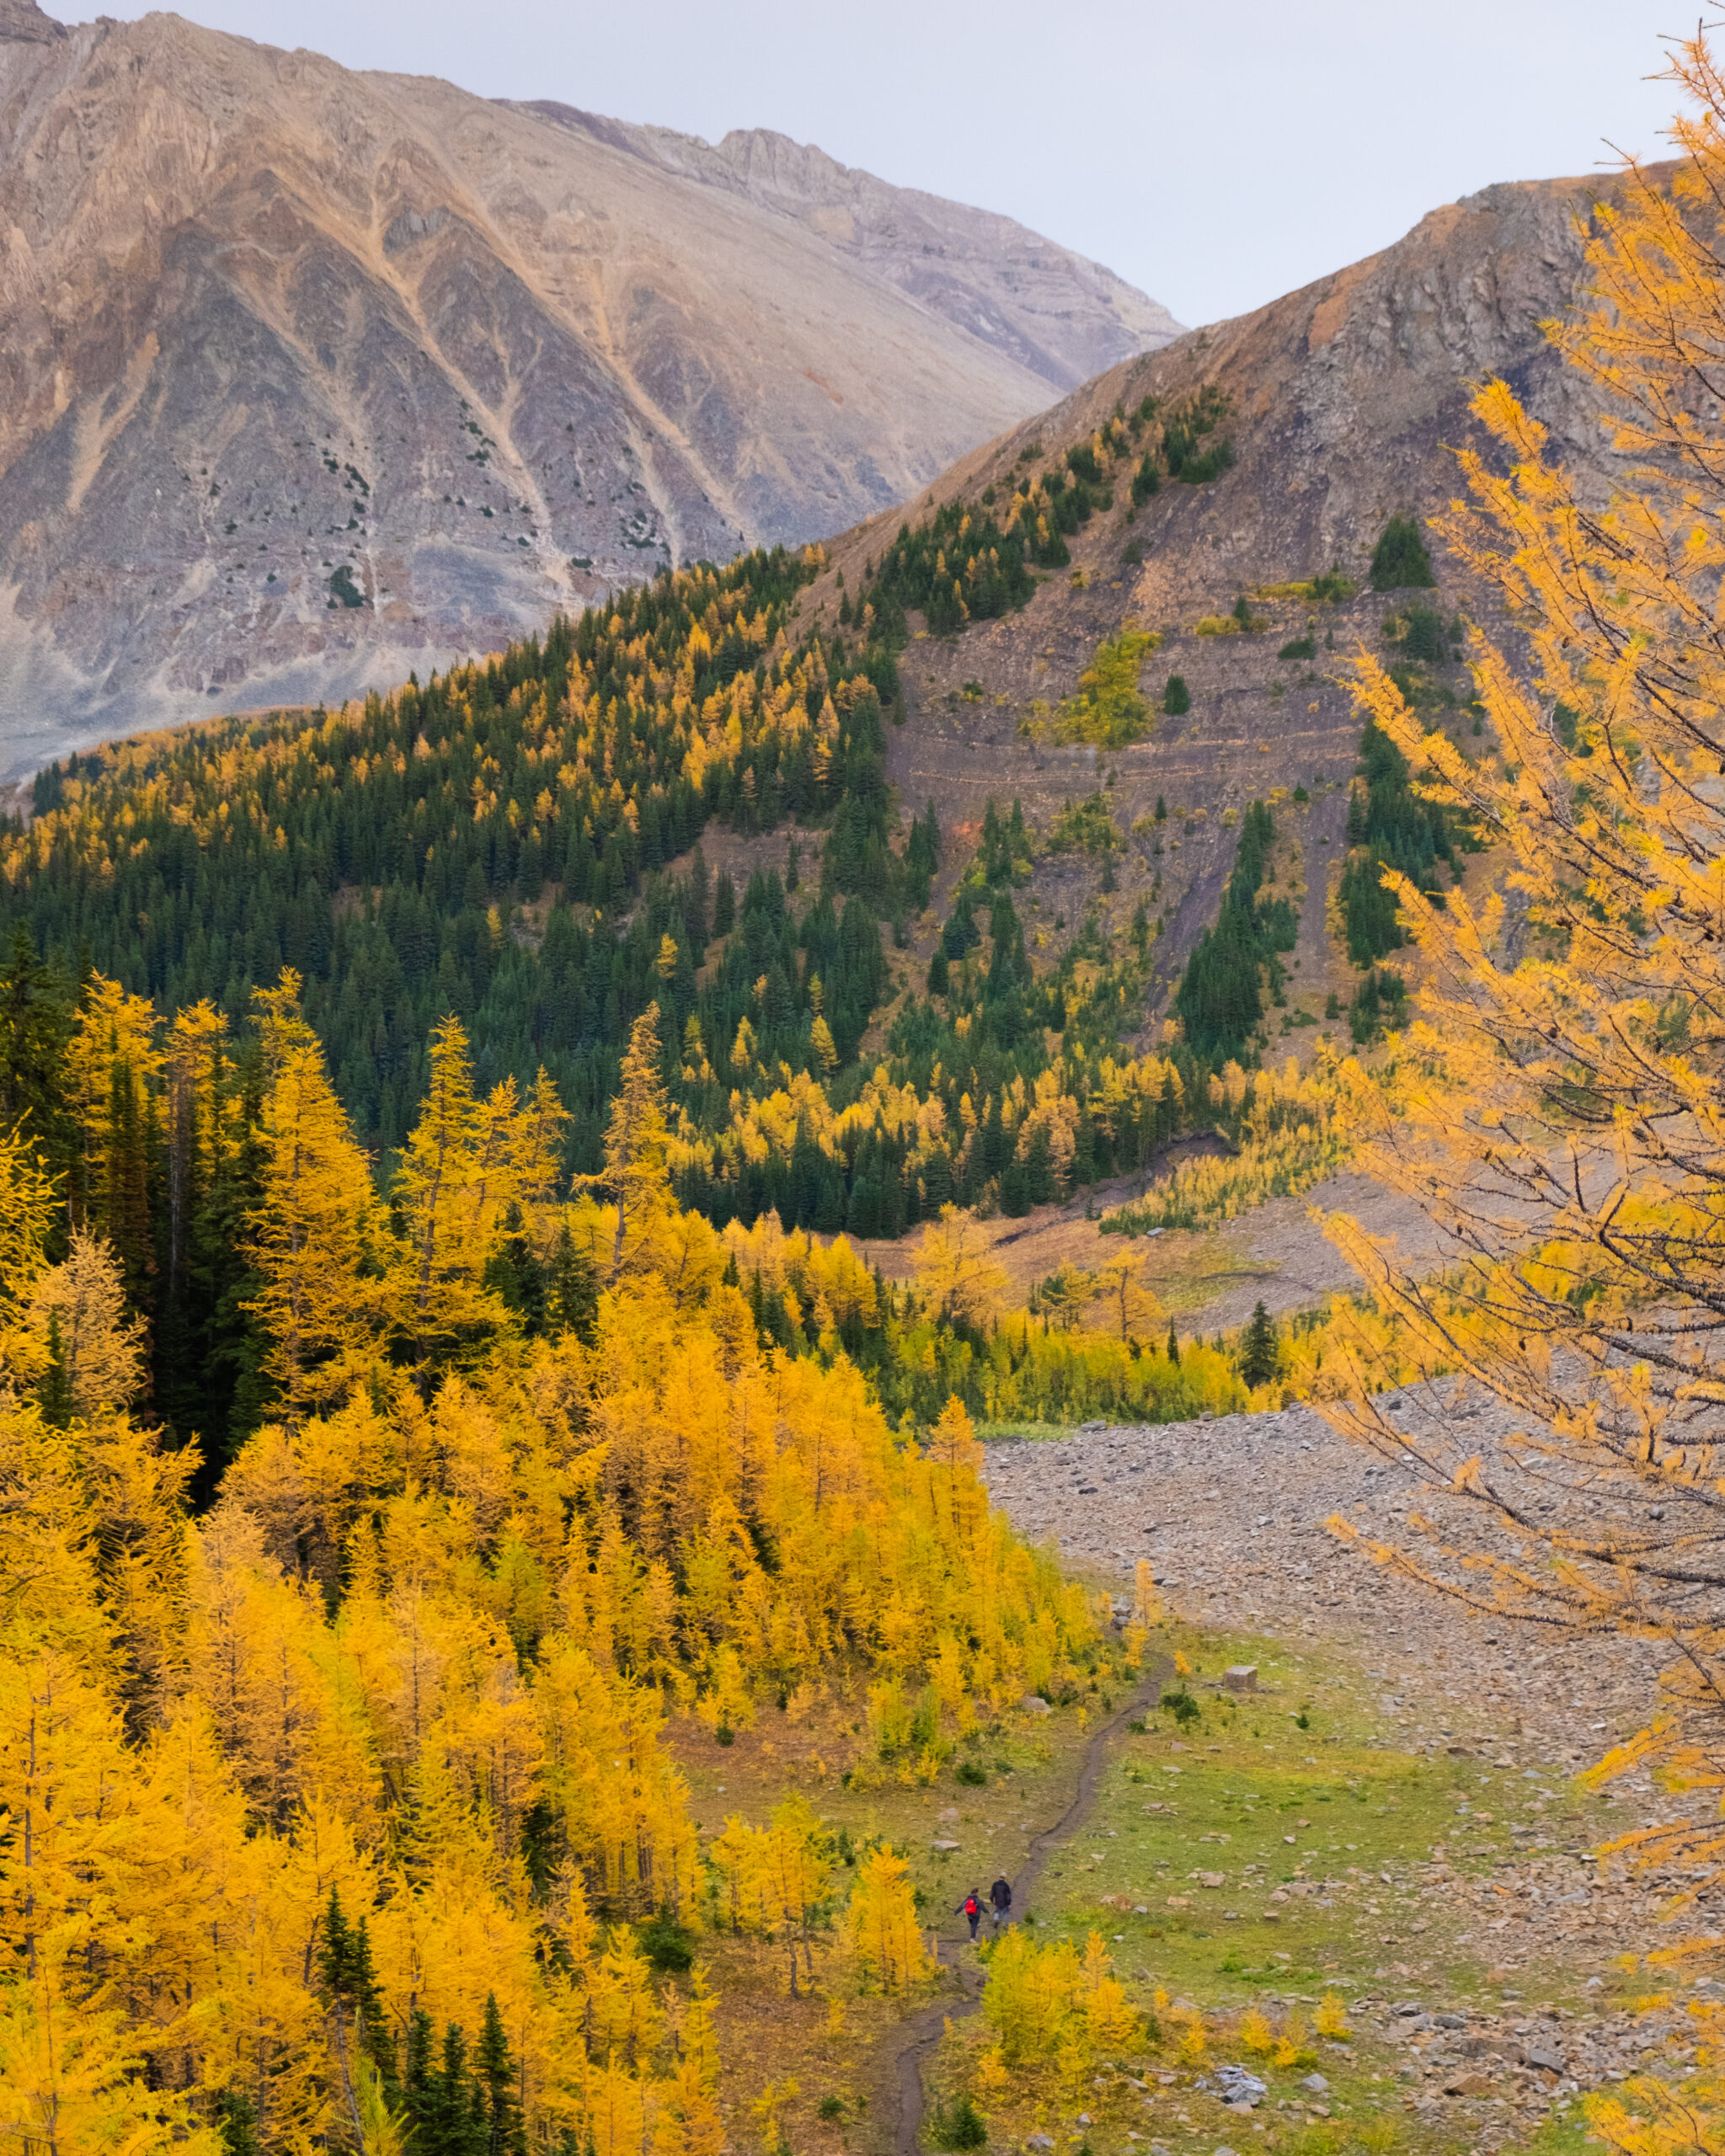
If this is your first time hiking in the Rockies take a conservative approach. Pick an adequate hike for your fitness, plan for plenty of time, pack water and food, and don’t be afraid to turn around. If you want to learn more about what to wear hiking we have a great post.
For long hikes, set a turnaround time at the departure. Any time we set out for an objective I determine a time at which we need to turn around in order to arrive at the parking lot or campsite by dark. I would recommend not hiking in the dark as it’s easy to get lost and it’s not fun in bear country.
Always carry bear spray if you plan to hike in the park, they frequent this area a lot. We carry ours in the neighborhood and bears have been known to stroll through town and busy parking lots. Always practice wildlife awareness when you’re on a trail, and please give animals space.
In regards to times, keep in mind your mountain fitness as it is different from the gym. The low end of the times in this post is a constant fast pace uphill with little to no breaks and a brisk pace downhill. Most hikers should plan for a middle-of-the-road time with the estimated duration.
Lastly, a GPS tracker could save your life – it’s one of those backpacking essentials I like to have on me just in case I need to hit SOS. Alltrails is our favorite app to have on a hike. It shows the correct trail way, elevation, and other hiker reviews. We paid the subscription fee so that we could download all the data we need to our phones.
What to Wear On a Hike?
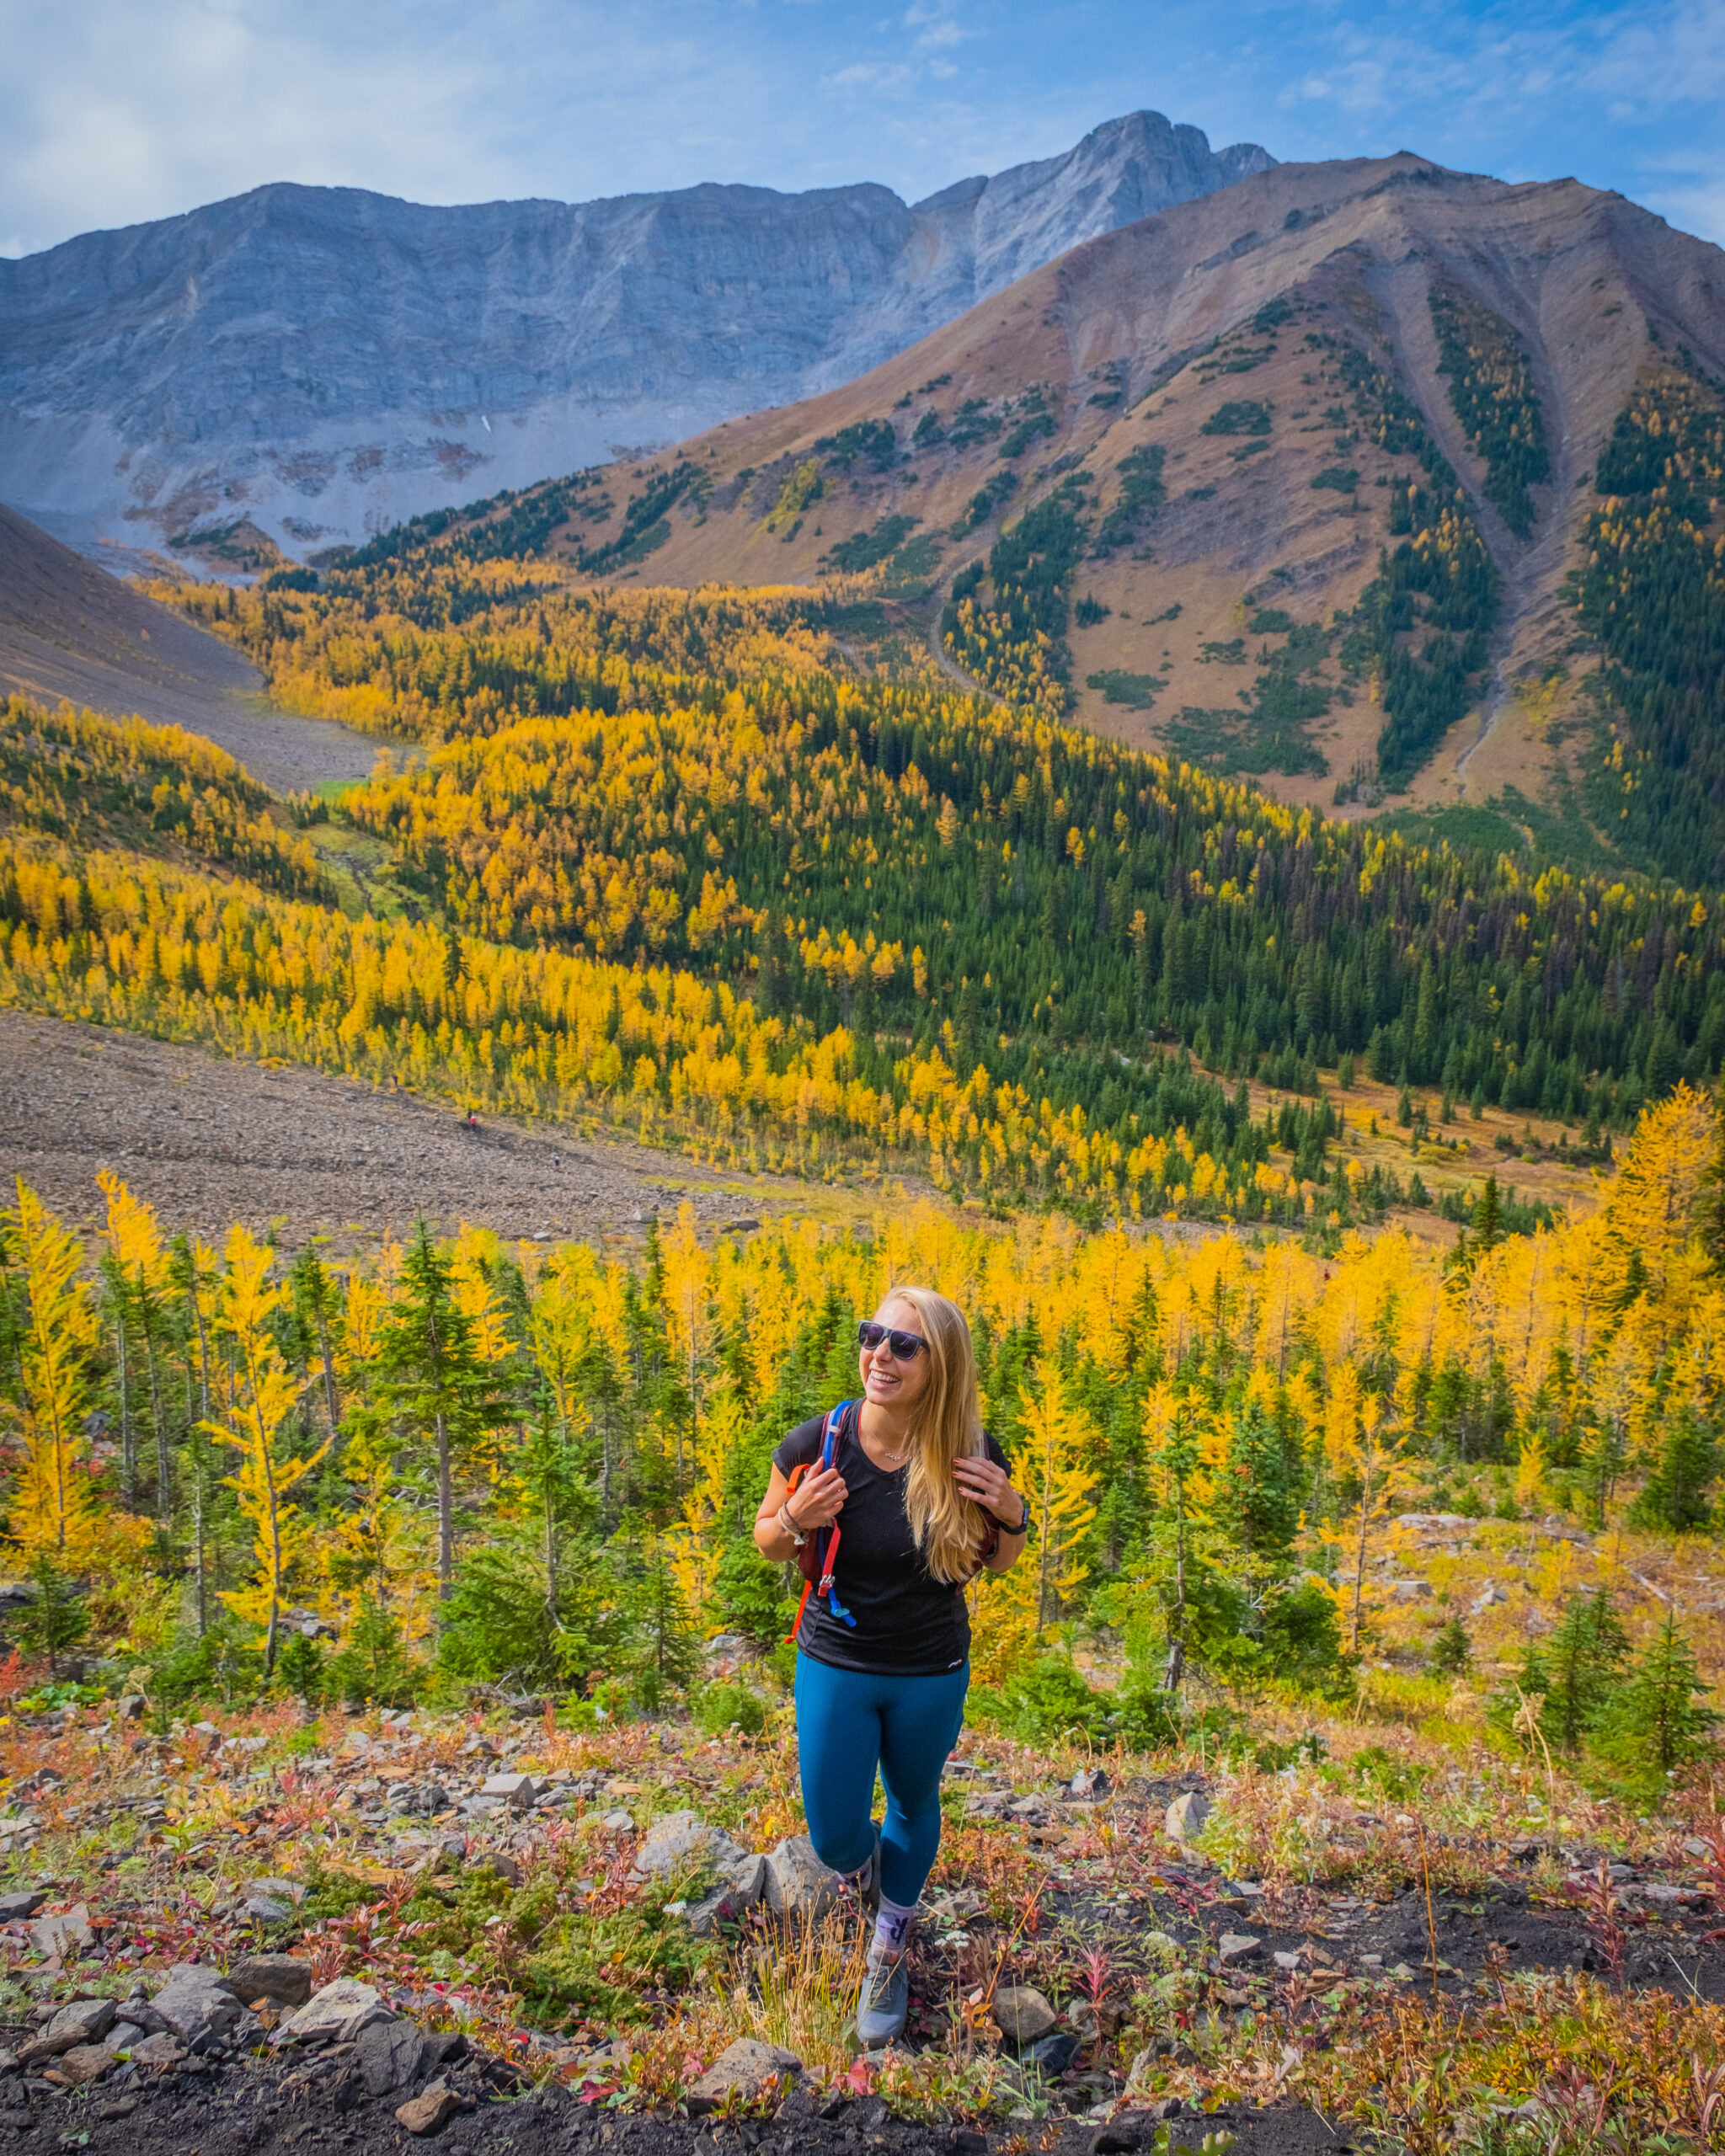
The most basic principle of what to wear hiking is layering. Anyone who has spent time in the wilderness or mountains can speak to the fact that your temperature can fluctuate a lot on a hike.
You can easily start off cool at the base of the mountain and get hot as soon as you begin moving. We break down an entire hiking packing list here to give you an idea of what to wear.
Gear We Recommend for Hiking in the Rockies
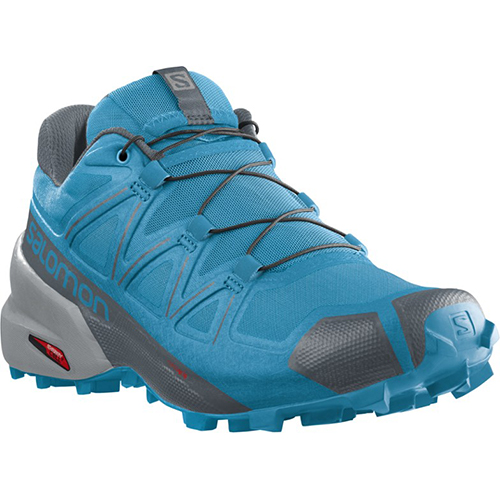
The vast majority of hikes and easy scrambles in the Rockies, you’ll find us in our trusty Salomon Speedcross.
Arc’teryx Cerium is our pick for the best down jacket. It’s incredibly light, and we bring it on almost every hike in the Rockies.

This nifty clip from Peak Design secures a camera to my backpack strap for easy reach. No more digging in the backpack!
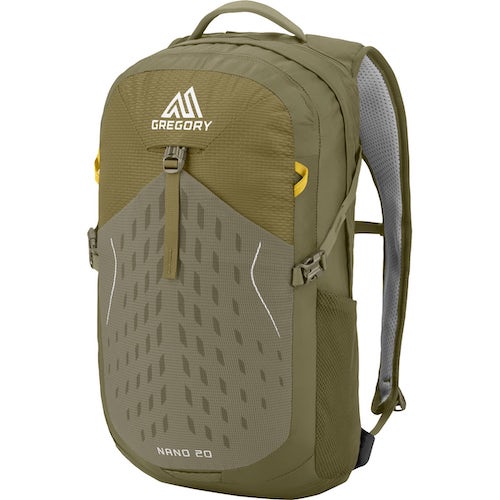
20L feels like the ideal size for quick hikes and scrambles. We love the Nano from Gregory with a hydration reservoir.

There is not much cell service in the Canadian Rockies. In case of emergencies, we carry an emergency beacon with GPS.
Looking for More Hikes in Kananaskis ?
Looking for Other Great Larch Hikes?
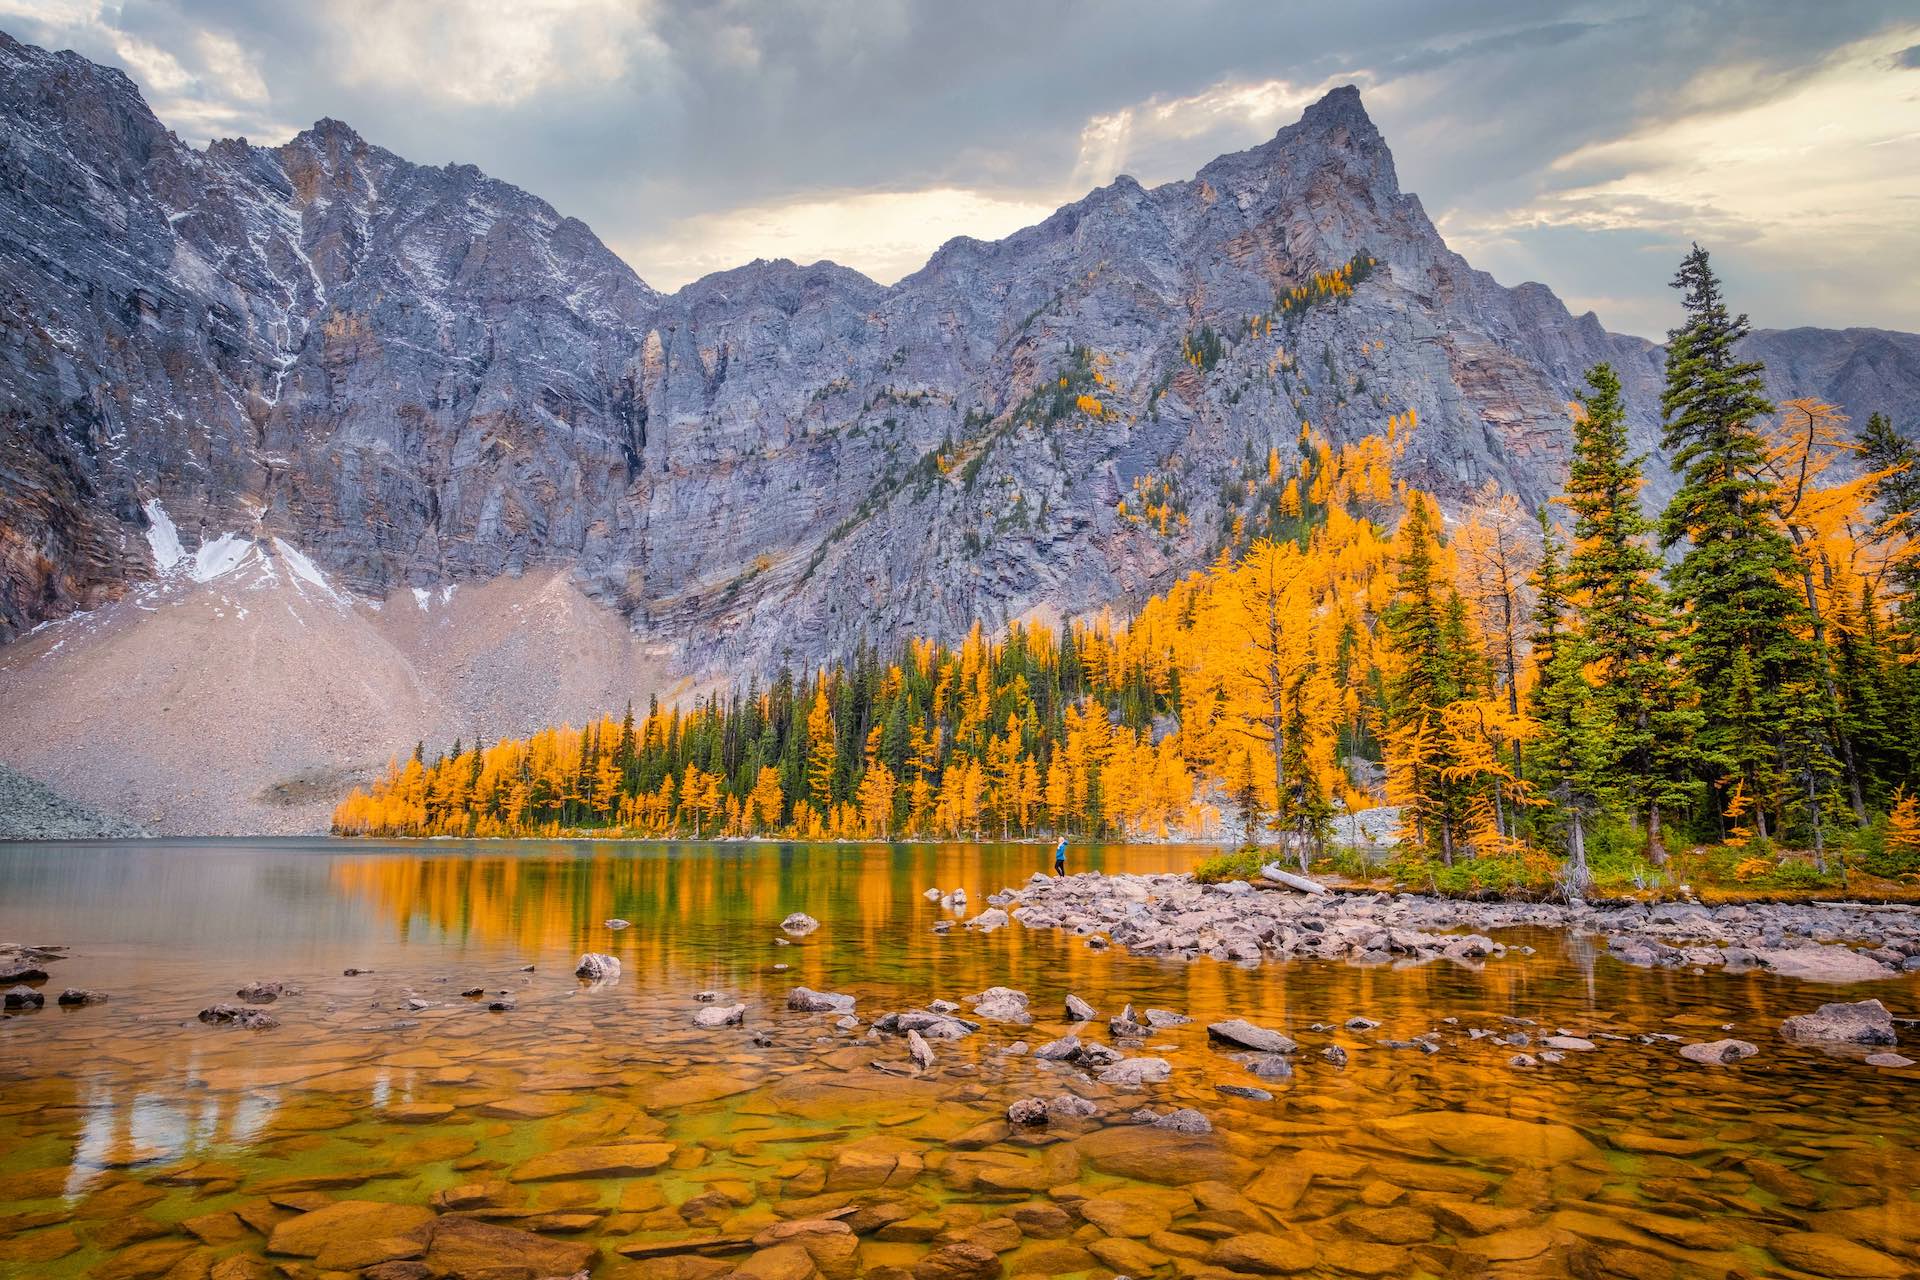
Pocaterra Ridge is a great hike to see the golden larches in the fall, but there are so many others in the Rockies. Some are far less busy. We dig into our favorite larch hikes here!
Plan Your Trip to the Canadian Rockies
- We now have an interactive map! With over 350 stops and pre built itineraries around the Canadian Rockies, our personal map and guide is your one stop shop to an epic trip here.
- Recommended Experiences: There are many things to do in the Rockies, but our top recommendation is the Banff Gondola – a must do experience! Want to get up close and personal with a glacier? We cannot recommend this Icewalks tour enough! See more of our recommendations.
- Planning your visit to Moraine Lake and don’t want to deal with the Parks shuttles? We recommend using Moraine Lake Bus Company, Fairview Limo (leaves from Lake Louise Village) or booking with ViaVia (these leave from Banff/Canmore).
- Hotels in the Rockies: There are many places to stay, from luxury hotels to wilderness cabins. See all our favorites here.
- Get Around: We suggest renting a car to get around. You can search for rental cars on Discover Car. For a campervan trip, you can check prices and compare on Outdoorsy. Don’t forget the Guide Along Audio App for driving the Icefields Parkway (Use our link for 25% off!)
- We can help you plan your 2025 trip to Western Canada! If you’re feeling overwhelmed by planning we can assist! We’ll hop on a 1 on 1 phone call, and PERSONALLY go over your itinerary, and will save you previous time and money with our personal recommendations. Calls are followed up with detailed trip notes afterward that I write myself. See our services here.


This post is incredibly helpful! I’ve been wanting to hike Pocaterra Ridge, and your detailed tips on the trail conditions and best times to visit are exactly what I needed. The photos are stunning too! Can’t wait to hit the trail!