21 EASY Hikes in Kananaskis to Enjoy

Kananaskis Country is one of the most beautiful parts of Alberta, and everyone should get out and enjoy it. The interconnected collection of provincial parks and wildland areas offers plenty of space to relax in the mountains. You don’t have to summit a mountain to feel fulfilled, as there are plenty of easy hikes in Kananaskis that everyone can enjoy.
Whether you’re with your parents or young children on a sunset hike, winter hike, or sunrise hike, or just want a lovely day out in the mountains without too much work and stress, we’ve broken down some of our favorite easy Kananaskis hiking trails for you. When you’re up for more, see our full list of our top hikes in Kananaskis and Banff!
A Pass is Needed to Hike in Kananaskis
Visitors are required to hold a Kananaskis Conservation Pass, which covers Kananaskis and the Bow Valley Corridor. This pass is separate from the National Parks Pass needed to visit Banff and the other national parks. Passes may be purchased online and are attached to a license plate number. Requirements are around vehicles and parking, not the individual. This includes parking at the Canmore Nordic Center or Grassi Lakes.
Pass Prices
- Daily Pass: $15 (registers one vehicle)
- Annual Pass: $90 (registers two cars)
A Guide to Understanding the Kananaskis Conservation Pass
Easy Hikes in Kananaskis for All to Enjoy!
Watridge Lake

Watridge Lake, near Mount Shark, makes for a nice day on the trail. We love to recommend the hike as it is very approachable. The trail to the lake is wide and ascends slowly to the lovely lakeshore. It’s an easy hike, but still a decent length at around eight kilometers.
It’s a mixed-use trail for hiking, snowshoeing, biking, and cross-country skiing in the winter! It’s also a beautiful lake with great mountain views, the perfect spot to relax and enjoy nature. If you are up for it, you can add the short and steep hike to Karst Spring, a highlight of the entire area.
Troll Falls

Troll Falls is a great trail year-round, with something to offer throughout the seasons. It’s most popular in the summer when the roaring waterfall cascades down into the narrow canyon. Few trails are as popular as Troll Falls, and if you plan to check off the hike, we suggest being strategic with your timing and dates. Avoid busy summer weekend days.
Winter is a great time to visit as it’s a quieter experience, and the frozen waterfall, with its towering icicles, is a sight to behold. If you are planning a trip in the winter, hiking poles, and microspikes are helpful.
It’s a short hike, and we recommend continuing to Marmot Falls and Upper Troll Falls if you don’t mind getting a few extra kilometers under your belt. Seeing all three falls is well worth the effort!
Grassi Lakes

Grassi Lakes is a hike in Kananaskis just outside Canmore. Grassi Lakes is one of our favorites and the one hike we’ve probably done the most in the Canadian Rockies, as we live just down the road from the trailhead in Canmore. Our visiting family loves this walk as it’s easy on the knees—perfect for kids, the elderly, and leashed pets!
The lakes are easy to reach, about five kilometers south of town. They make for a fabulous picnic spot, as they’re one of the most picturesque places around Canmore. The lake water is remarkable, and the lakes are in a wonderful natural setting with tremendous views.
Though there are other trails in the area that are less busy, Grassi Lakes trails are clearly marked, and you’ll know to turn around when you’ve reached the very steep part, reserved for rock climbers (or those with a helmet – rockfall is common). Grassi Lakes is one of the most popular hikes in the region, and few wonder why. Due to the popularity, we suggest avoiding on weekends or holidays.
Grotto Canyon

Grotto Canyon is an easy hike that’s good to go year-round. However, it’s even more popular in the winter, as this is when you can walk along the frozen creek and see multiple frozen waterfalls. You may even spot an ice climber or two! If you plan to tackle Grotto Canyon in the winter, microspikes may be helpful, as it can be very icy.
In the summertime, it’s popular for families seeking to enjoy the narrow slot canyon and climbers looking to scale its walls. At only 5km in length, you can check this one off the list in an hour or two, and you can always turn around whenever you are ready to call it quits. Keep your eye out for rock art along the walls.
Wedge Pond Loop

Wedge Pond is not so much a “hike ” as a nice place for a meander. The popular lake is great for a pleasant loop walk to take in the views or even cast a line for fishing. The scenic lake is always an enjoyable stop we can recommend for those looking to enjoy the mountains while driving down Highway 40.
It’s a very short walk from the car park to the pond and the small pond is easy to walk around, even for kids. If you happen to venture this way in the fall, you’re in for a real treat!
Mount Lorette Ponds

Mount Lorette Ponds is another area great for walking and spending time outside. Walk around the gentle ponds, with no elevation gain.
The walkways around Mount Lorette Ponds provide a nice, easy stroll for everyone in the family. There are plenty of picnic tables around the ponds for those who want to enjoy lunch in this serene place – please remember to Leave No Trace.
Elbow Lake

Elbow Lake is a short hike perfect for picnics, fishing, or camping. We love the lake as it’s a nice setting along Highway 40. Due to its short approach distance, it presents several options to recreate in the backcountry without much hassle. People carry paddleboards to the lake, and it’s a great first backcountry camping trip for families at the Elbow Lake Campground.
If you want a longer hike in the area, consider the trek up to Piper Pass from Elbow Lake. It’s a stunning hike that is a wonderful way to escape crowds on more popular hikes. However, we should warn you that it’s a longer hike than most on this list.
Blackshale Suspension Bridge

The Blackshale Suspension Bridge is a short hike that makes for a nice addition to a day exploring Kananaskis Country. It’s not much more than a short walk and can be done by anyone in less than an hour. It’s still worth the time, as the suspension bridge is cool and offers some nice views up and down the steep Blackshale Creek, but we recommend adding it to another easy like Chester or Rawson Lake for a more full day on the trail.
The hike is a short loop, and we don’t believe the direction you take in the loop makes much difference. It isn’t the most exciting, with few views, and the main highlight is crossing the bridge itself. I wouldn’t expect to be blown away, but it still makes for a cool stop when visiting nearby lakes. It makes for a nice photo, too!
Ptarmigan Cirque

Ptarmigan Cirque is a short and sweet hike in Kananaskis that the whole family can enjoy. It’s just off Highway 40 at Highwood Pass, so it can only be accessed once the highway opens for the season. The hike is known for the larch trees that turn golden in Late September, but it is enjoyable any time in the summer.
The hike makes a short loop around the Ptarmigan Cirque and provides sweeping views as it stays just above the treeline. For a longer and slightly more challenging hike, check out Pocaterra Ridge or Arethusa Cirque.
Chester Lake

Another short and sweet hike on this list is great for beginner hikers, families with children, or anyone seeking a relaxing pace. Chester Lake is a popular winter hike and a fantastic snowshoe trail. It’s also a beloved hike in the fall, as the area is home to many amazing larch trees.
Most of the trail is pretty boring, but eventually it opens up into a stunning Alpine meadow until you reach Chester Lake. Here, you can walk around the entire lake and the surroundings—the Elephant Rocks, a huge boulder field, is a popular addition to this hike.
Take your time at the lake to enjoy the views of Fortress Mountain, Mount Chester, and Little Chester! The trail is closed from May 1 to June 29th to allow the area some relief from recreation, as it’s popular all year.
Rummel Lake

Rummel Lake is a great, easy hike across the Smith Dorrien from Mount Engadine Lodge. The trailhead is right off the road and immediately takes hikers on a peaceful and easy trail that gradually gains elevation until you reach the lake.
Along the route, multiple forest openings offer fantastic views of the Spray Valley. Commonwealth Peak, Tent Ridge, The Fist, and Spray Lakes are notable peaks. There’s even a nice bench perfectly placed to take in the views.
After the viewpoint, you’ll continue climbing until reaching Rummel Lake. Here, take a seat and enjoy the lake under Mount Galatea. It’s a tranquil setting and the perfect spot for a picnic lunch in nature. The cirque, headwall, and Rummel Lake are all of particular beauty. If you’re visiting in September, there are plenty of surrounding larch trees that will turn golden toward the end of the month!
West Wind Pass

West Wind Pass is a fun and rewarding hike with superb views of Spray Lakes. However, some of the elevation gains on the trail may really get your heart pumping – it gets pretty steep in some sections. When you make it to West Wind Pass, you’ll have great views of Canmore on one side and epic views of the Spray Lakes.
This is a popular hike in the summer, especially on weekends. For optimal enjoyment, head here during the mid-week at off-season times. If you have a little more in you, consider continuing to the Windtower or Rimwall summits.
Burstall Pass

Burstall Pass is an approachable hike that offers a full day out on the trail. The full route is longer than most other hikes on this list. However, it’s 667 meters of gain spread across 8 km, meaning the gain is gradual almost the entire way. It’s just a little steep at two sections on the trail. The hike passes several marshy lakes and streams before a steep ascent to an alpine meadow, then finishes at a high mountain pass with grand glaciated mountain views.
We’ve now hiked Burstall Pass many times throughout all the seasons, as it’s become a familiar favorite. Every time we venture into it, we love our time as we spend most of our time alone in the woods. It has everything you could want out of a Canadian Rockies hike – grand views, marshes, glacial views, streams, and wide open valleys. If it’s a little too long of a day for you, don’t worry – you can turn around at any time and follow the same trail back! Though we promise the push is worth it!
Rawson Lake

The trail to Rawson Lake, starting at Kananaskis Lakes, is popular in the summertime. It is exciting as it skirts Upper Kananaskis Lake for its beginning, passing by waterfalls and streams along the way. The elevation starts around 1.3 km and continues climbing until Rawson Lake.
Once you reach Rawson Lake, you can walk around it and pick a nice spot to sit and relax. I suggest bringing some picnic supplies and enjoying the scenery under the mountains. It’s a lovely alpine lake frequented by wildlife such as marmots and pikas. Check for closures on this one, as a female grizzly bear often dens with her cubs along the slopes above the lake.
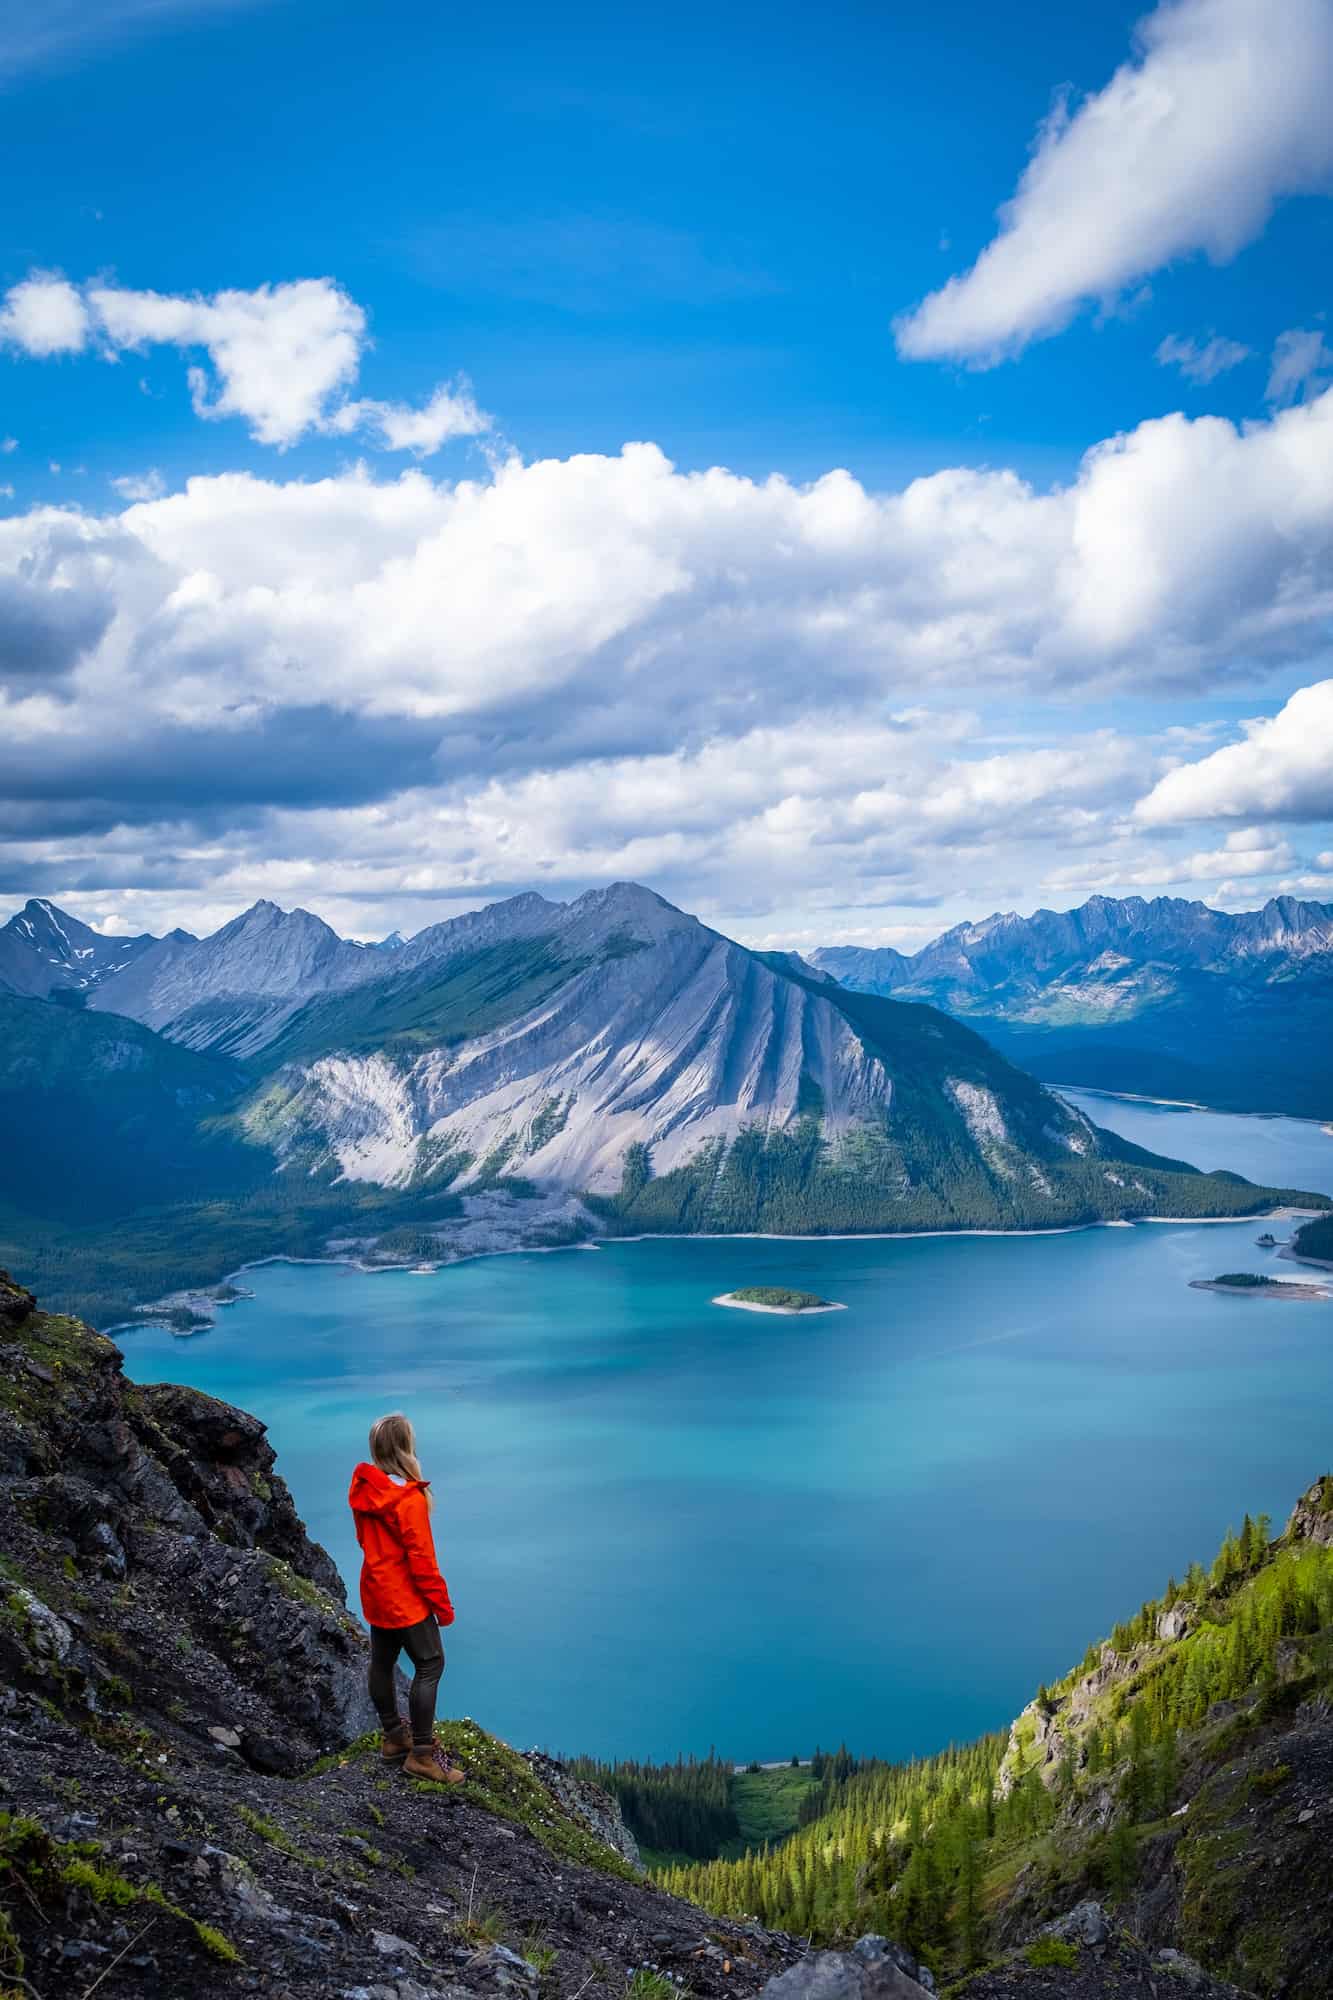
For those looking for a more extended and challenging day, consider hiking the (very) steep trail to Sarrail Ridge. It has some surreal views over the Upper and Lower Kananaskis Lakes. Be warned, it is one of the most popular photography locations in the park system, so be prepared for crowds in the summer.
Arethusa Cirque

As a well-known, family-friendly hike in Kananaskis, I wasn’t expecting much from Arethusa Cirque. We decided to do it with a 4-week-old newborn since it looked simple for a new mama. Boy, was I wrong about my perceptions of this one? The views from the trail completely blew me away, and it quickly shot up to one of my favorite larch hikes in Alberta.
If you are looking for an easy half-day larch hike, put Arethusa Cirque on your list. This is a loop trail that I would suggest taking clockwise. One very steep and loose section is better to ascend than descend – especially with children or older hikers. If you want to kill two birds with one stone, I recommend combining Arethusa Cirque with Ptarmigan Cirque!
Prairie View Trail/Barrier Lake Trail

Barrier Lake is one of the most popular places to head in the park. It’s one of the first stops as you drive into Kananaskis from Calgary, and it can easily be reached within an hour. Many choose to sit and enjoy the lakeshore, walk around the lake, or go for a paddle – though there is a hike that gets you above the lake. The Prairie View Trail is an enticing option for hikers for sunrise, sunset, or a winter hike.
The trail is well-maintained and offers stunning views over Barrier Lake at the Prairie View Lookout. It’s a quick trail that you can complete in just a few hours. Once you reach the viewpoint, you can head back down the way you came or make it a loop by following the Jewell Pass Trail. Those with more time and energy can head to the summit of Yates Mountain for views to the northwest.

The summit of Yates Mountain requires just 130 meters of elevation gain from the Barrier Lake Lookout. While the views of Barrier Lake are far better at the lookout point, if you continue on to Yates Mountain, you get to say you summited a mountain, see the fire lookout, and get views towards Mount Yamnuska. I highly recommend adding it to your day for a little extra challenge, as it’s not a hard trail and requires no scrambling.
Mist Mountain Hot Springs

The Mist Mountain Hot Springs, once a hidden gem, became popular due to social media. Reaching the hot springs can easily be done in under an hour, but be forewarned, if you visit at any time in the summer that isn’t sunrise or sunset, you’ll likely be waiting in a line to sit in the springs.
The springs consist of just two tiny pools capable of fitting five people or so. They are also not very hot, leaving you feeling chilled even on the hottest mountain day in the Rockies. There’s no privacy or trees for changing, so it’s best to hike with your bathing suit on or with a partner who can hold a towel over you while you change.
I say this not to put you off from visiting, just to manage expectations. The hot springs are a cool spot in the Rockies with amazing views, but unfortunately, they have been a little overshared on Instagram.
Mount Lipsett

Mount Lipsett is far from the easiest hike on this list, but it is an easy mountain peak to bag in Kananaskis. Though be forewarned, you’ll have to trek nearly 15 km round trip, but the elevation gained throughout the hike is gradual.
The trail starts out boring, but once you get above the tree line, you’ll have expansive views of the entire valley. As you work your way to the summit, you’ll get to enjoy views of the mammoth Mist Mountain right ahead.
The final push to the summit is perhaps the hardest 10 minutes of this entire hike, as the terrain becomes moderately steep. Though it’s more than worth it – once at the summit, you get great views down the whole valley.
The wildflowers are abundant on this trail in the summer. Because of this, we recommend completing this hike in July and August. You’ll be met with bursts of yellow, purple, and red on each step.
South Pocaterra Ridge

This is one of the more moderate hikes on this list, but it’s still relatively easy and requires no scrambling. Pocaterra Ridge is among the most popular larch hikes in the Canadian Rockies. Pocaterra Ridge is traditionally a point-to-point hike, making for a more prolonged and strenuous day.
However, if you only have one car and are looking for something shorter and easy, you can hike South Pocaterra Ridge. The hike to this “summit” is stunning, and it’s hard to believe your eyes during the larch season. The most difficult and steepest part is towards the end, as views open up towards Mist Mountain and Mount Tyrwhitt.
Porcupine Ridge

Porcupine Ridge is across the valley from Wasootch Ridge (mentioned below). It’s a similar Kananaskis hike to Wasootch Ridge, with similar views. However, I found it slightly easier regarding distance and elevation gained, so it’s why it’s mentioned before Wasootch.
The main difference here is the approach to the hike, which requires you to navigate a creek bed and crisscross over water a few times. This is not a problem in the late summer season, but you may get a little wet if you set out in the early season while there is still snowmelt.
Wasootch Ridge
Wasootch Ridge is far from what many consider “easy,” but if you’ve checked off many of the other short hikes on this list and want to bump up the effort a bit, then Wasootch Ridge is a great starting point. The onset is steep, making this a moderate hike, but the trail is approachable enough for teenagers or strong children. Though dog and kid-friendly, it is a long day at 15.4 km and 938 meters of gain if you do the full route. It’s easily the hardest hike we have on this list.
The great news about this hike is that you are navigating a ridge most of the time and can turn around whenever you want. So if you get tired before the 7.5 km mark, you can easily turn around. The trail eventually turns into a scramble along the ridge, but most consider that the trail’s end. It’s best reserved for experienced scramblers as it has some high exposure.
More Information On Hiking in Kananaskis Country
Hiking Gear We Recommend

It’s tough to beat the comfort and stability of the Speedgoat. A more technical shoe would be the Salomon X Ultra.

It’s always jacket season in the Rockies. We always carry a down jacket on every adventure.

This nifty clip from Peak Design secures a camera to my backpack strap for easy reach. No more digging in the backpack!


A lightweight backpack is perfect for most hikes in the Rockies. We suggest keeping it simple and carrying the basics.

In case of emergencies, we carry a GPS-enabled emergency beacon. Solid for regular backcountry users.
Hiking Advice & Tips

- Take a conservative approach if this is your first time hiking in the Rockies. Our post for beginner hikers in the Canadian Rockies provides helpful tips.
- Pick an adequate hike for your fitness level, plan for plenty of time, pack water and food, and don’t be afraid to turn around. If you want to learn more, we have a great post about what to wear hiking.
- For some of these longer hikes, like Wasootch Ridge and Porcupine Ridge, set a turnaround time at the departure.
- If you plan to hike in Kananaskis, always carry bear spray. Practice wildlife awareness on the trail, and please give animals space.
- Leash your dogs. Dogs are allowed on these easy Kananaskis hikes but must be kept on a leash at all times in Kananaskis Country.
- If you plan on tackling some of these easy hikes in Kananaskis in the winter, snowshoes, microspikes, and poles are a huge help. If you plan on hiking a lot in the winter, taking an Avalanche Safety Course is recommended.
- Since there is no cell service for most of these hikes, a Garmin Inreach or something similar could save your life!
Where to Stay in Kananaskis

Camping—Kananaskis has plenty of front- and back-country camping sites. A few of our favorites are Spray Lakes West and Mount Kidd. We break down all the best camping spots in Kananaskis here.
Glamping—Camp in luxury at Mount Engadine! Mount Engadine is one of our favorite cabins in Kananaskis. They offer excellent all-inclusive packages at the remote property and offer a variety of rooms, from a yurt to glamping tents.
Kananaskis Hotels—There aren’t many accommodation options in Kananaskis Country, and only a few hotels. Our most recommended in the park is Kananaskis Mountain Lodge near the base of the Nakiska Ski Resort.
Want More Kananaskis Hikes?

For more of a challenge, check out our list of amazing hikes in Kananaskis! A few highlights are Mount Allan, Smutwood Peak, and Tent Ridge!
Plan Your Trip to the Canadian Rockies

If you’re heading to Western Canada soon make sure to check out our interactive map with over 450 spots to help you plan!
- ✅ Hiking trails with links to trails & insider tips you won’t find online
- ✅ Our favorite photo spots, scenic views, waterfalls, must-visit attractions, and even swimming holes
- ✅ Our favorite restaurants, coffee shop & local spots that many skip.
- ✅ We add as we explore ourselves. That means we add new points every month!
- ✅ Map works with Google Maps!
- ✅ Pre built itineraries you can replicate,
- ✅ Discover spots via an ad-free interactive map and a grid, full of original content and videos
- ✅ Use on the go, mobile-first, offline-friendly, and made for the road.
- ✅ Local insights you won’t find on Google or AI – all in one place!


