Ultimate Hike Guide to Bugaboo Provincial Park
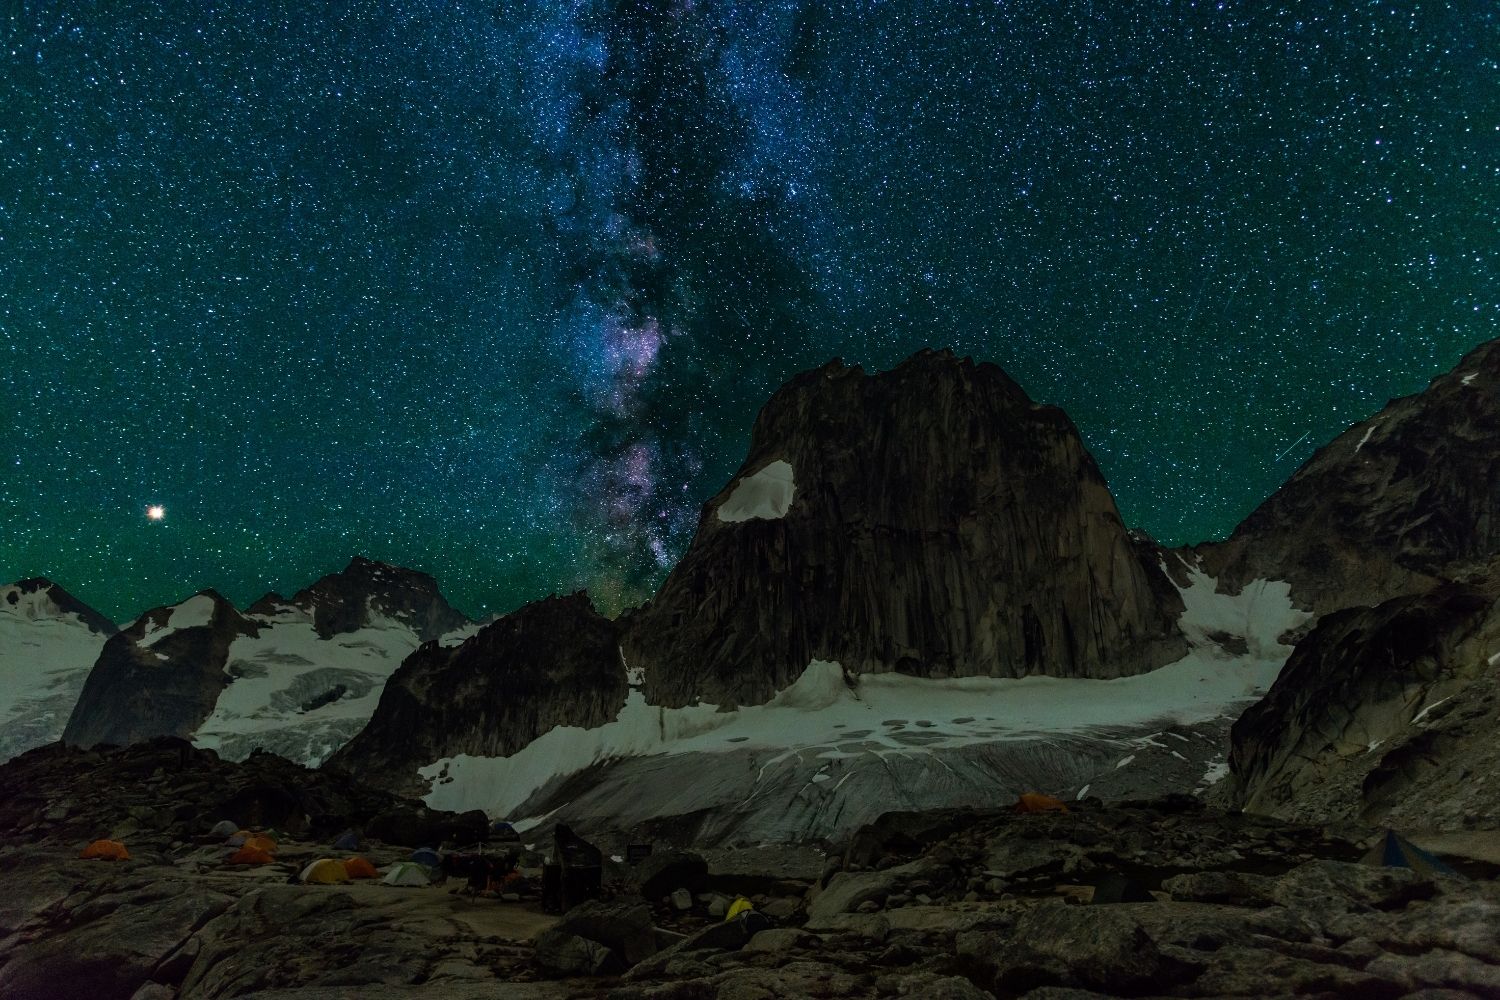
The incredible Applebee Dome Campground is located in Bugaboo Provincial Park in the Purcell Mountains of British Columbia. This backcountry camping destination is accessed using the Conrad Kain Hut Trail and is home to the Bugaboo Glacier, alpine lakes, and unmatched views.
Thanks to the stunning granite spires that tower over this campground, the Applebee Dome is on every rock climber’s bucket list. If climbing isn’t for you, do not miss out on this incomparable camping location. Sitting at an elevation of 2465 meters, you can set up your tent or enjoy a backcountry hut amid the most remarkable views I have experienced between here and the Rocky Mountains.
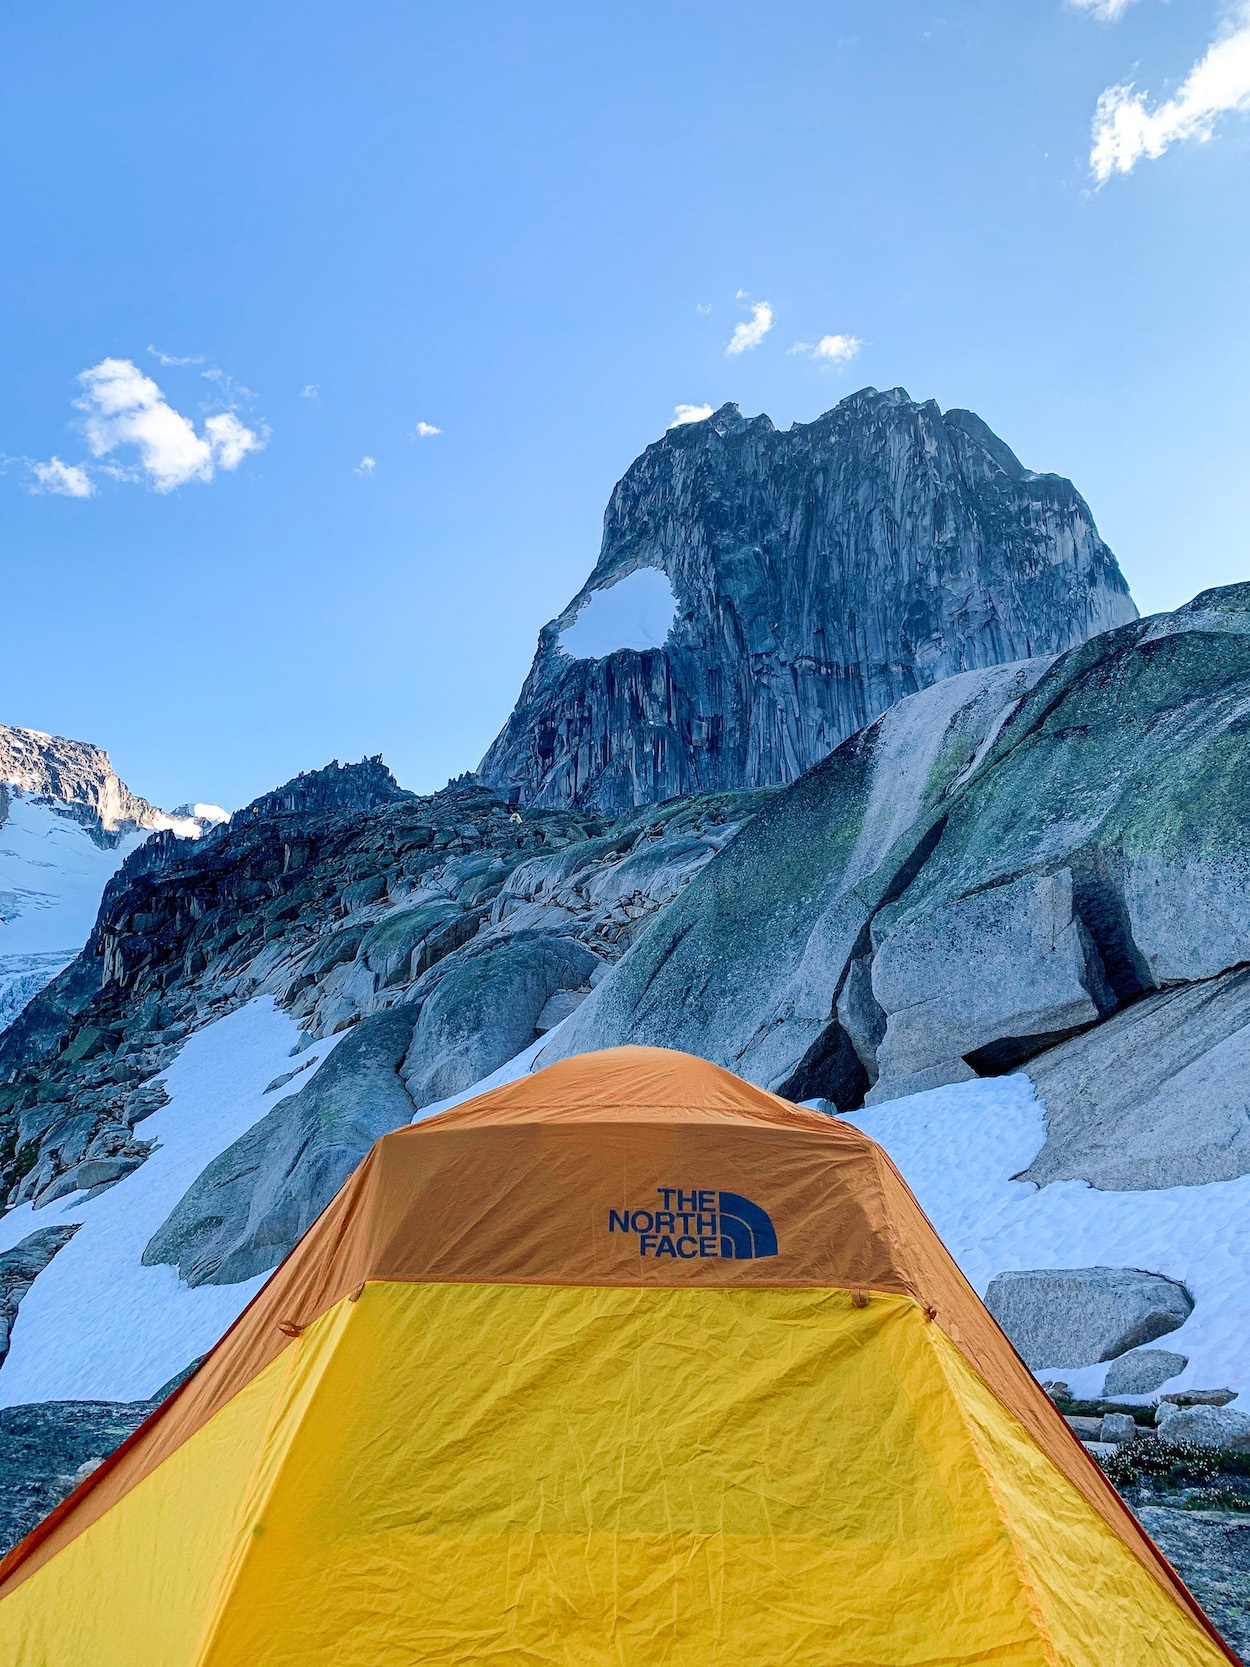
We visited the magical Applebee Dome Campground in early August for a single-night trip. We took our time enjoying the views and glacial baths on the hike, soaked up the sunset and starry night from beside our tent, and headed out after breakfast in the morning.
Many rock climbers we enjoyed chatting with made this a multi-night stay. They set up their home base and challenged themselves on the countless routes accessible from this campground.
Hiking the Kain Hut Trail to Applebee Campground
Backcountry Camping in the Bugaboos
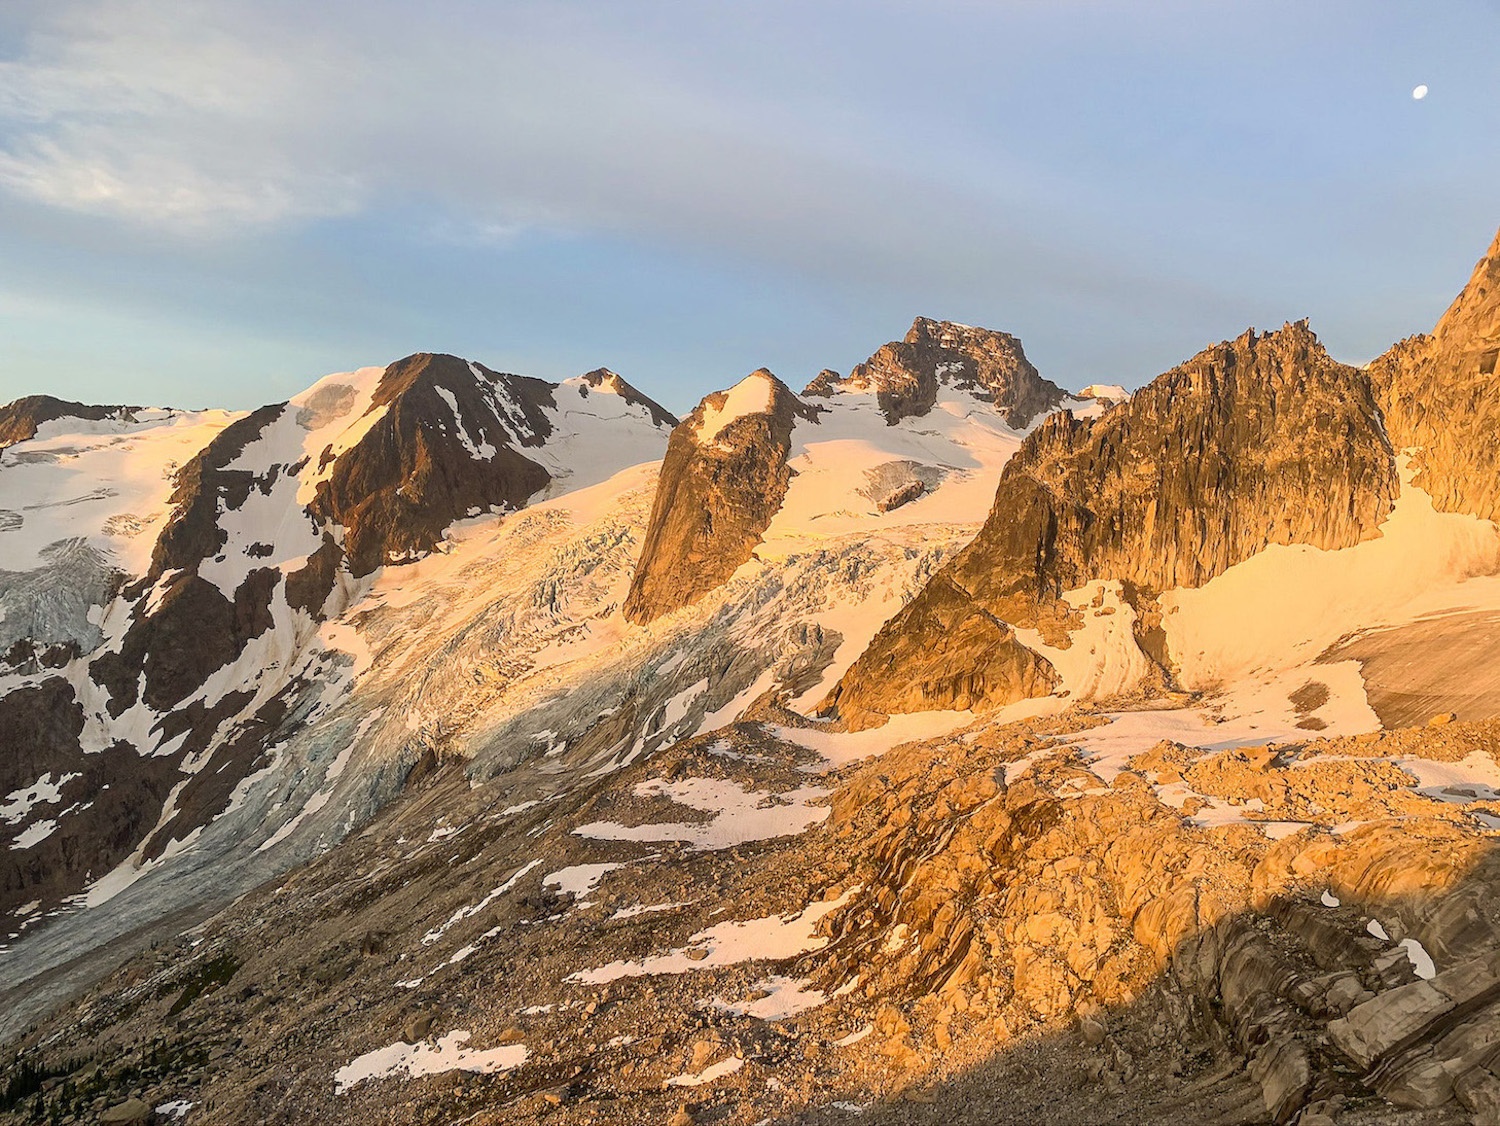
If you want to sleep under the stars, with the mountains and glaciers as your neighbors, then Bugaboo Provincial Park is for you. In this park, you can enjoy the comfort of your own tent or the perks of a backcountry hut.
Both campgrounds, the Boulder Campground and Applebee Dome Campground, run on a first-come, first-served basis. Not having to reserve a campsite is a huge benefit of this park compared to National Park campsites that can fill up months in advance. There are no designated campsites at these campgrounds either. You choose the area that best suits you, so it pays to be the early bird.
The Boulder Campground is the quieter campground, as it is a further approach to the climbing routes. If you don’t plan on climbing and want a more isolated stay, this is the right campground. When camping here, be sure to allocate some time to hike the extra kilometer to the Applebee Dome – the views and glacial lake here should not be missed.
The Applebee Dome Campground is where you will want to be if you plan on climbing. From here, you will have a short approach to the climbing routes and meet plenty of fellow climbers. Even though we weren’t climbing, we chose to stay at the Applebee Dome Campground over the Boulder Campground for the excitement, busyness, and stunning views.
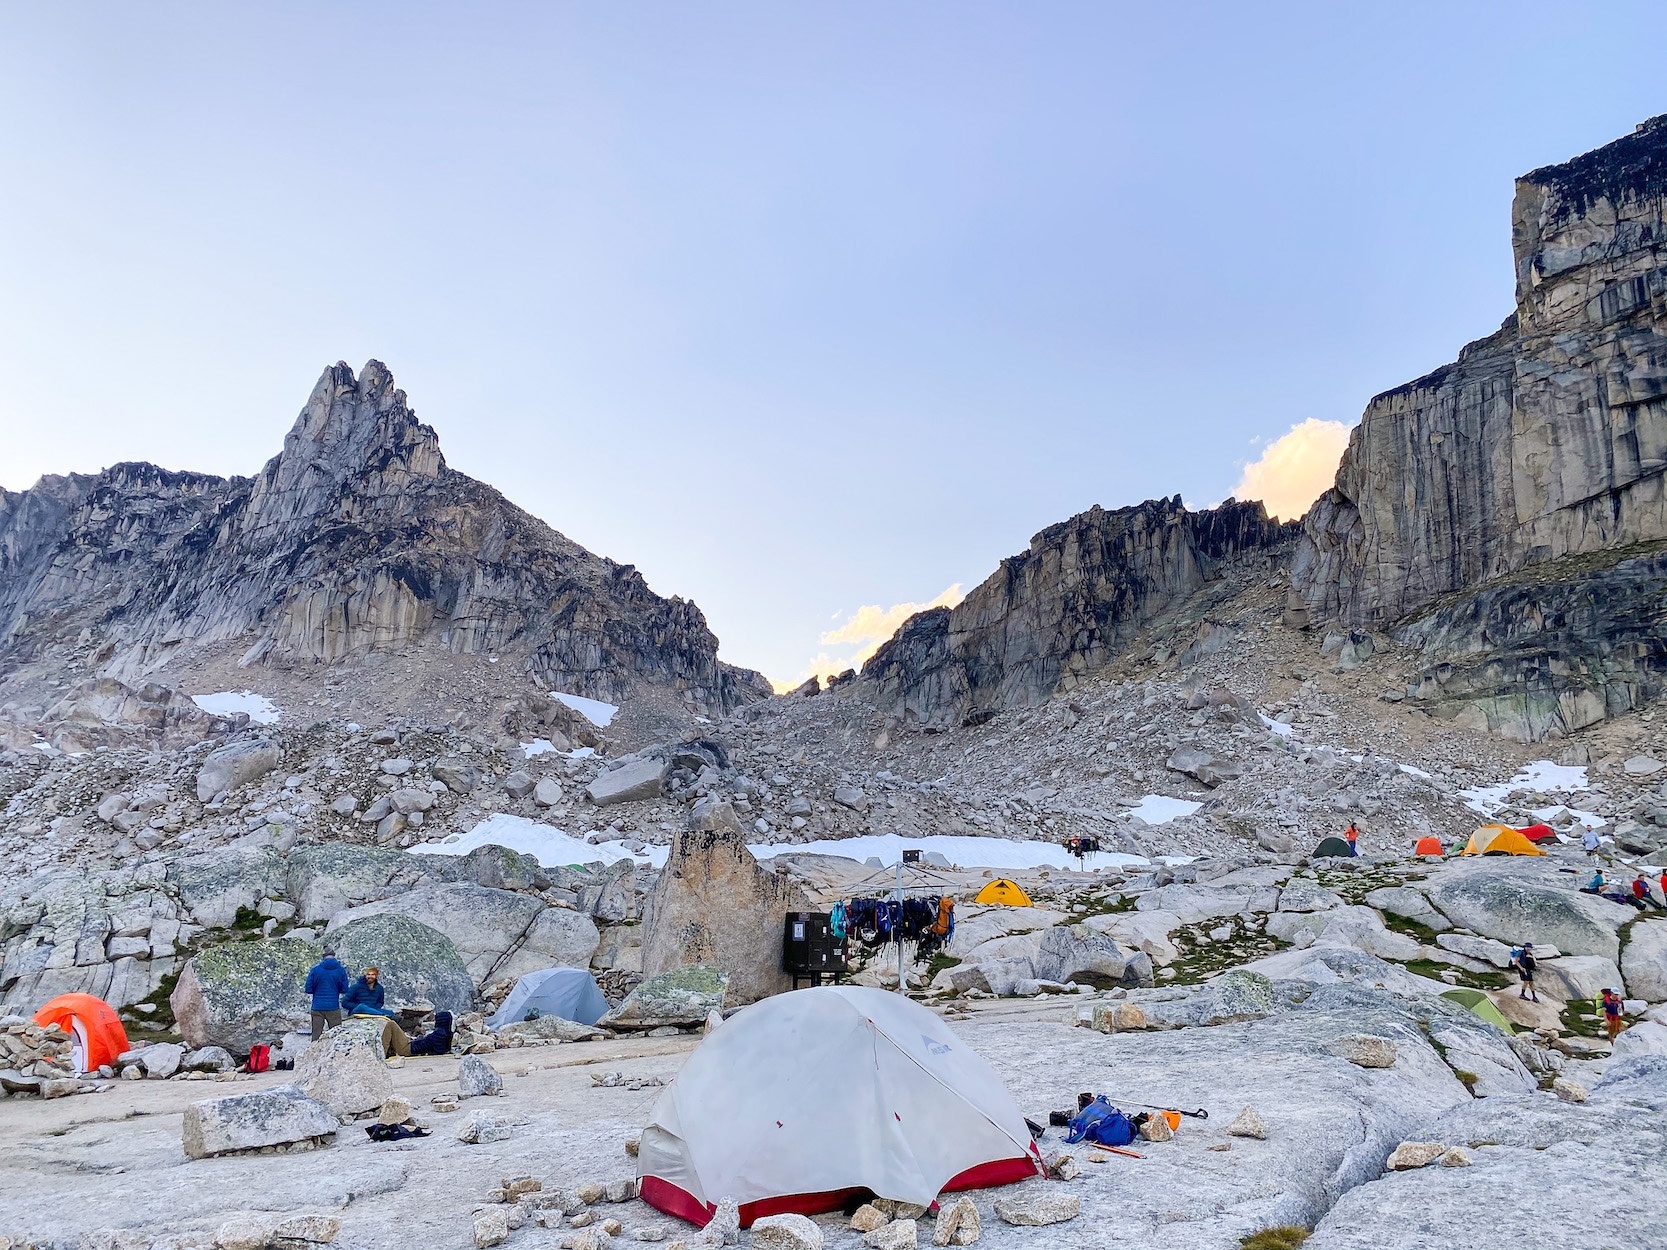
If you prefer the comforts and convenience of huts over tenting it, check out the Conrad Kain Hut. Located between the two campsites, this hut offers a communal kitchen and sleeping area with a capacity of 15. You have to book your stay here in advance and can do so using the Alpine Club of Canada website.
Key Facts
- Trailhead: Kain Hut Parking Lot
- Dome elevation: 2465 m
- Hike length: 9 km out and back (3.5 km to the Kain Hut, an additional 1km to the Applebee Dome)
- Elevation gain: 991 meters
- Difficulty: Hard
- Campsite type: First-come, first-served
- Estimated hiking time: 3-4 hours to the hut, an additional 1 hour to the Applebee Dome
Getting to the Kain Hut Trailhead
This hike is roughly three hours from Banff, just an hour past the town of Radium Hot Springs. If using Google Maps, you will want to search “Conrad Kain Hut Trailhead” specifically, as the Bugaboos Park is quite vast. Alternatively, the Bugaboo Provincial Park website lists detailed driving directions.
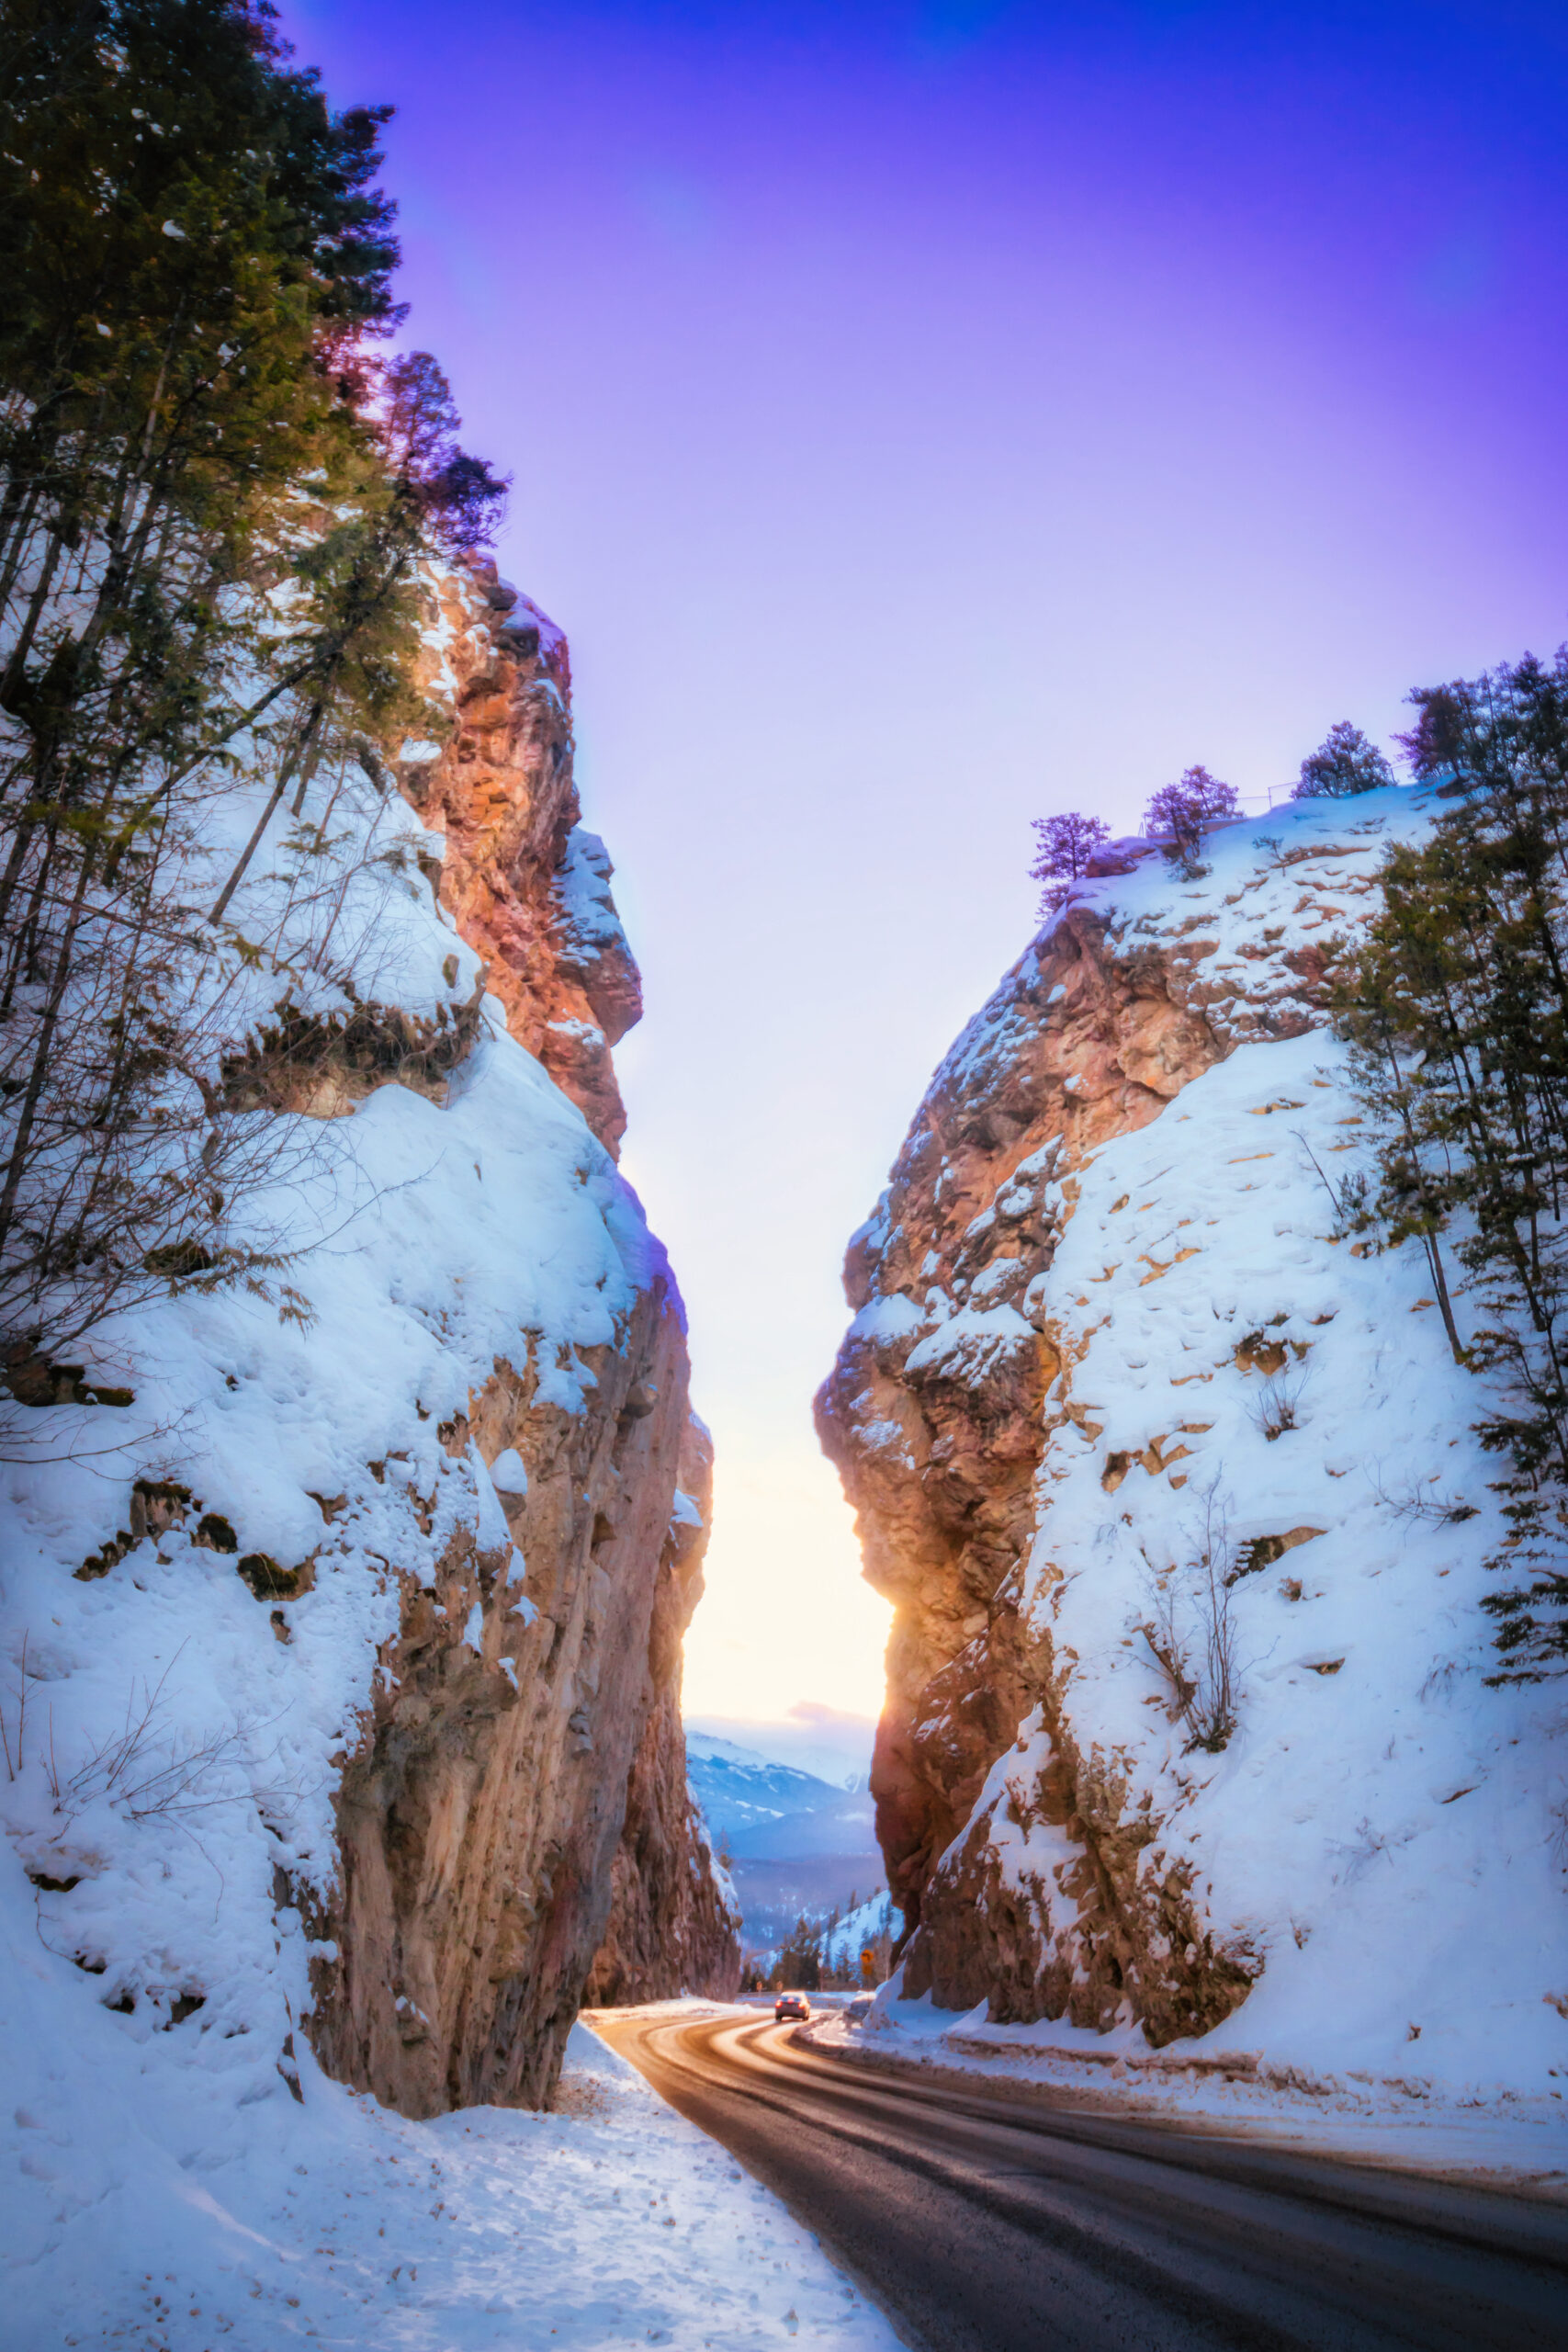
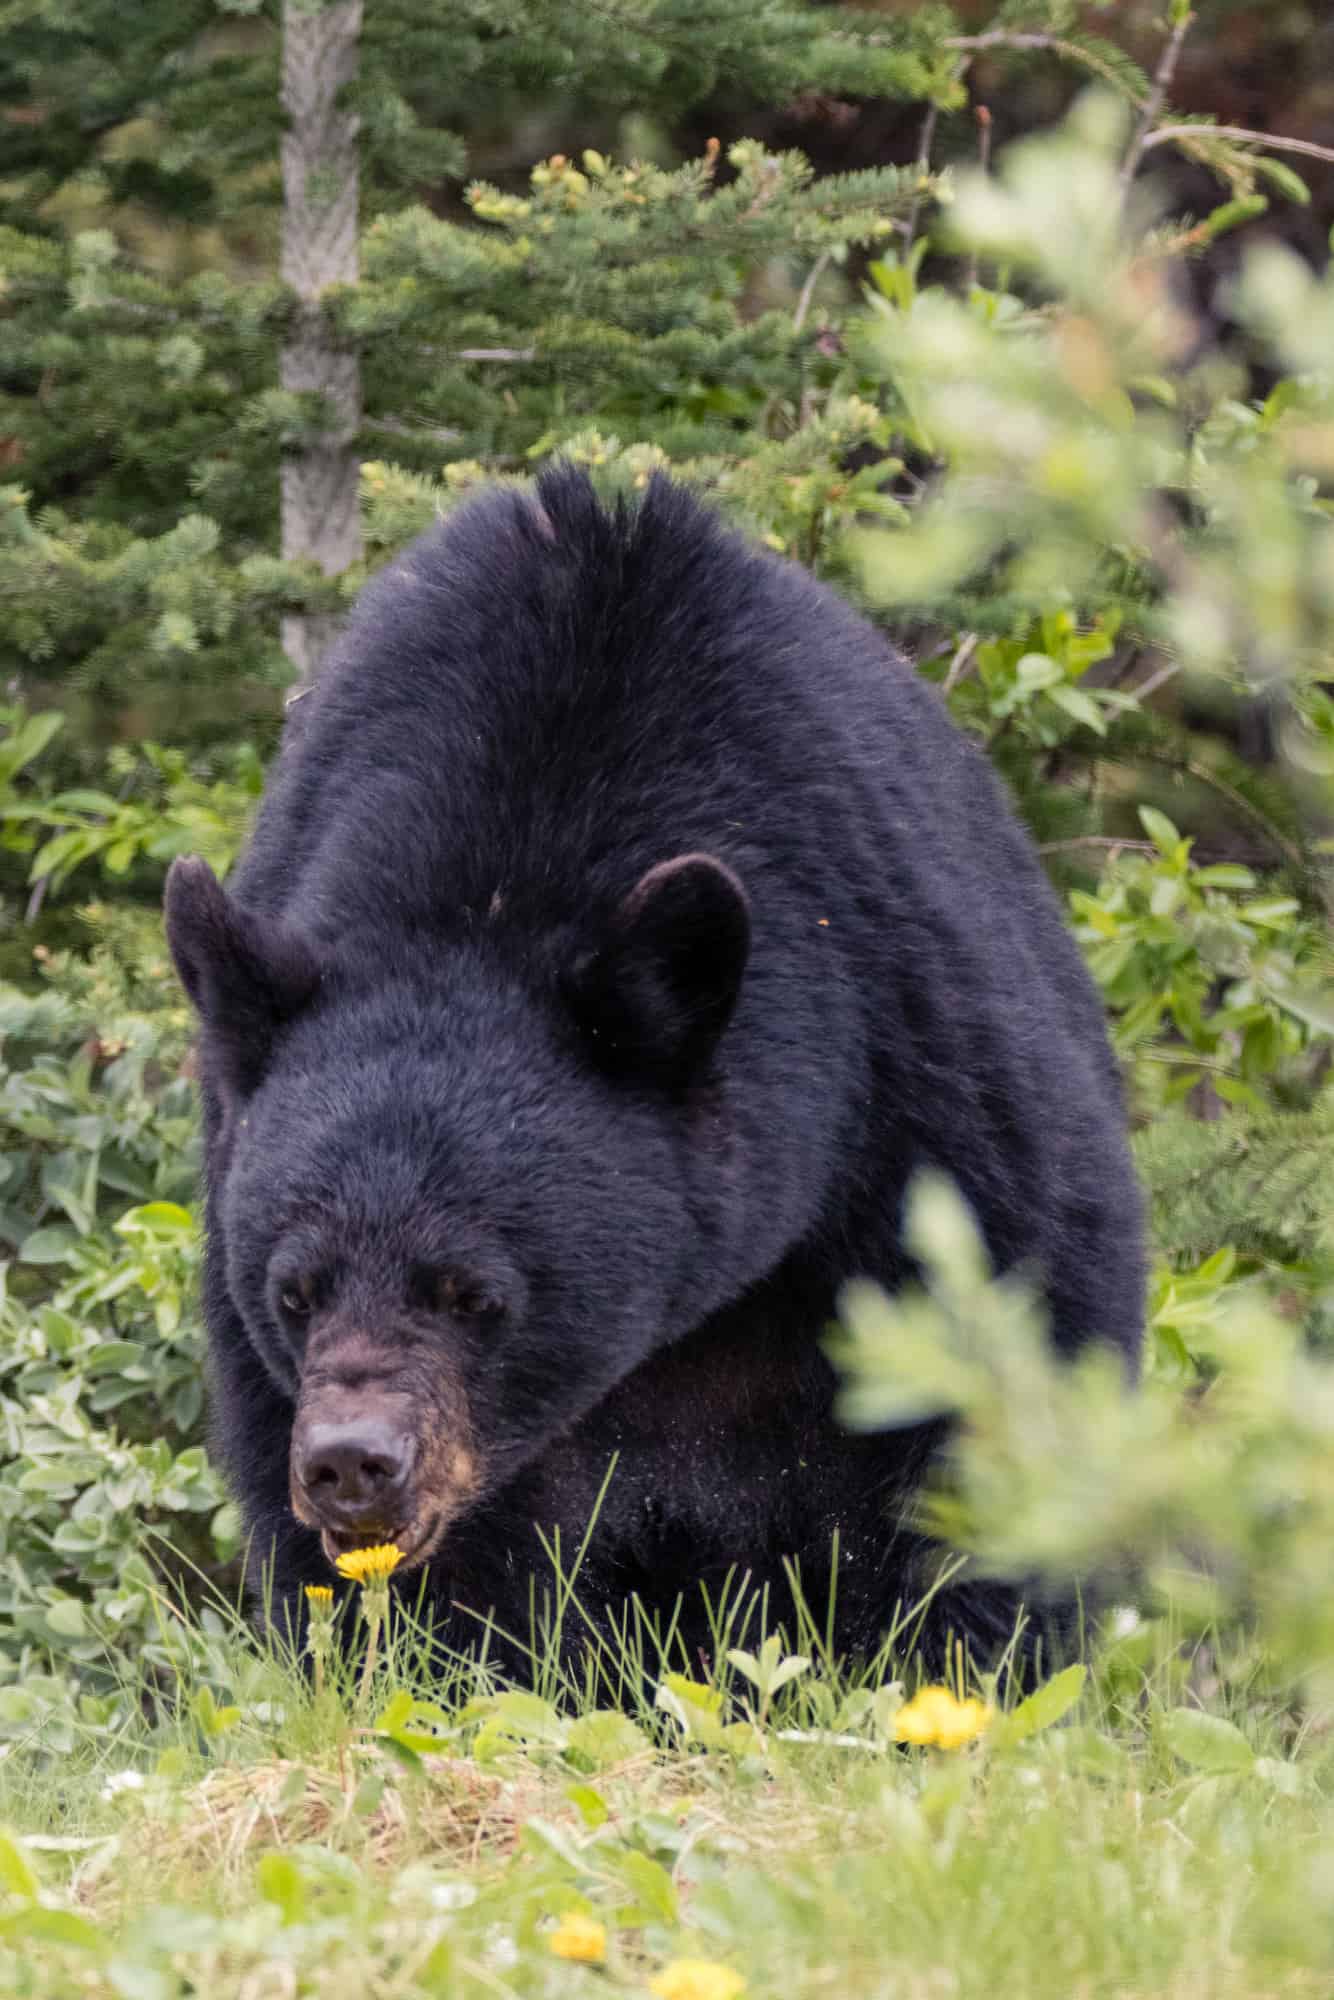
The drive from Banff to Radium is an adventure, providing stunning views as the mountain ranges change around you. The road between the towns is easy to drive in the warm months, winding around mountains, beside rivers, and through the Sinclair Canyon. The main thing to be careful of when making this trip is the various wildlife that ventures along, and often across, the highway.
Once you reach the quaint town of Radium, the drive starts to become a bit more challenging. The map leads you off the highway, and onto a forestry road that is home to as many potholes as it is to free-range cattle! The first few kilometers of this dirt road are in decent condition, but the last 30 km before the trailhead are something to be wary of.
Without the right vehicle and proper weather conditions, the logging road for the last 30 km of the trip is a bit of a nightmare. With many potholes and extruding rocks, I highly recommend a vehicle with decent clearance. We made it up this road in our small, 2-wheel-drive vehicle, but with extremely cautious driving and a lot of time added to our trip, I would not recommend doing this. No matter the vehicle, allocate at least an hour of driving time for this road alone.
The forestry road is challenging in dry conditions, so you do not want to drive it after heavy rainfall. With the dirt road turning into a massive mud pile after rain, even the toughest vehicles get stuck here. Before setting out on this adventure, you must consider the weather leading up to your trip. It’s a remote area of British Columbia that is subject to mountain weather.
After a bumpy ride, the parking lot finally appears. Here, you will find piles of chicken wire, sticks, and rocks, that are free to borrow to protect your tires from rubber chewing porcupines. You wrap the chicken wire around your vehicle, using the sticks and rocks to secure it. There should be plenty of wire to go around, but if you visit during a holiday, you may want to BYOW just to be safe.
All Up Hill From Here
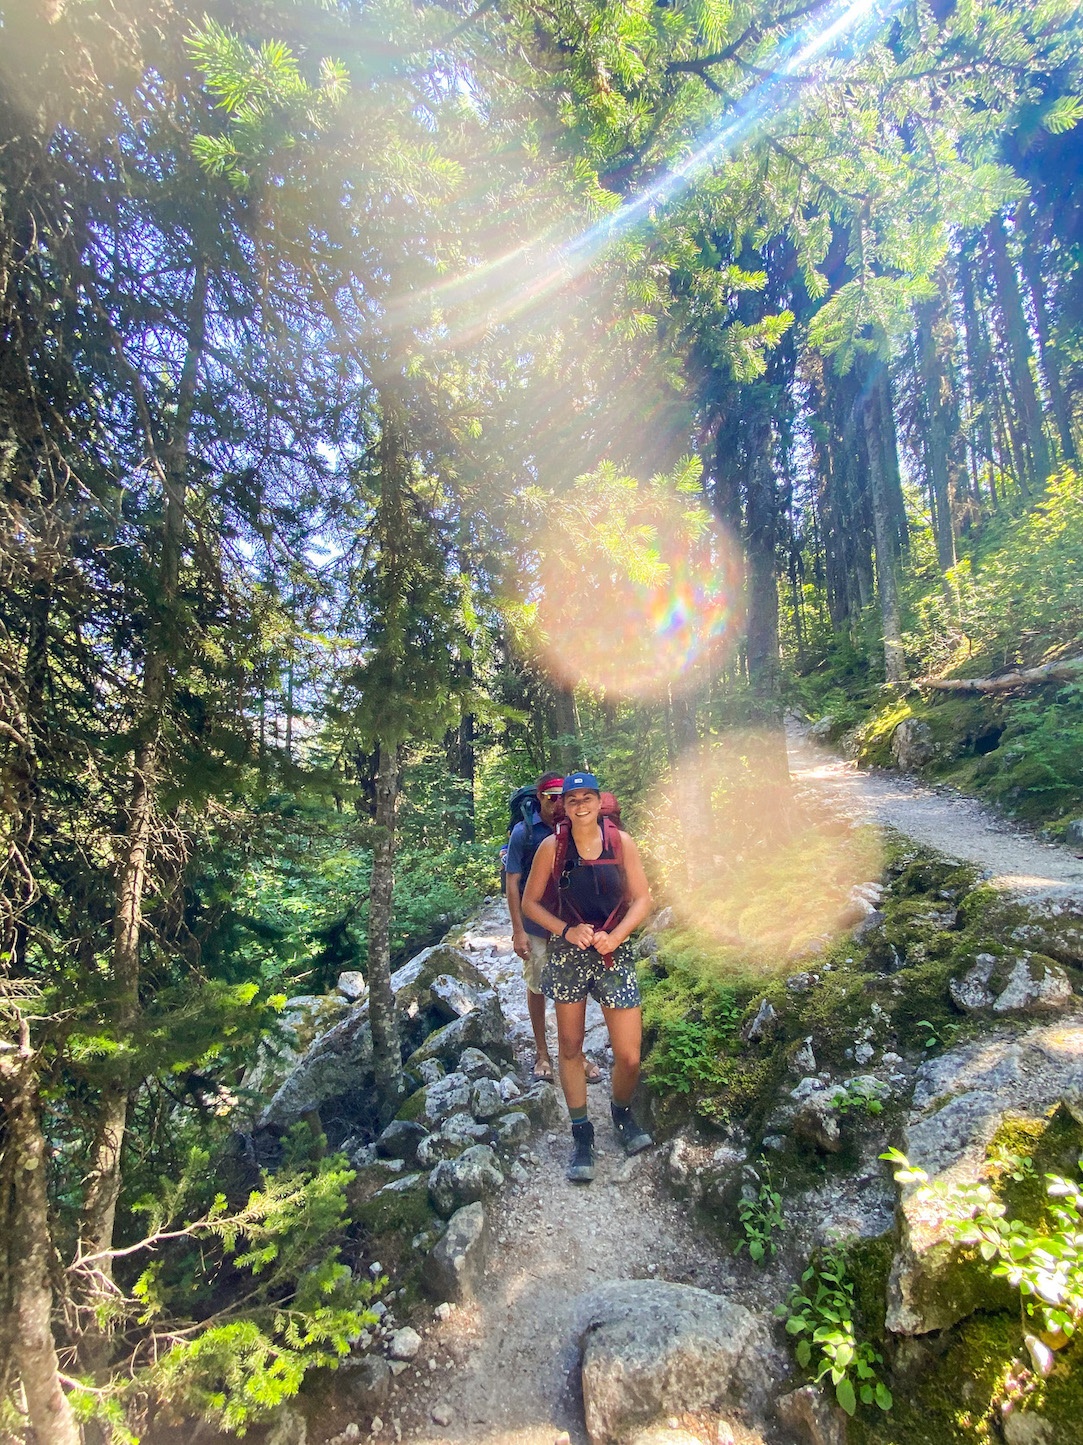
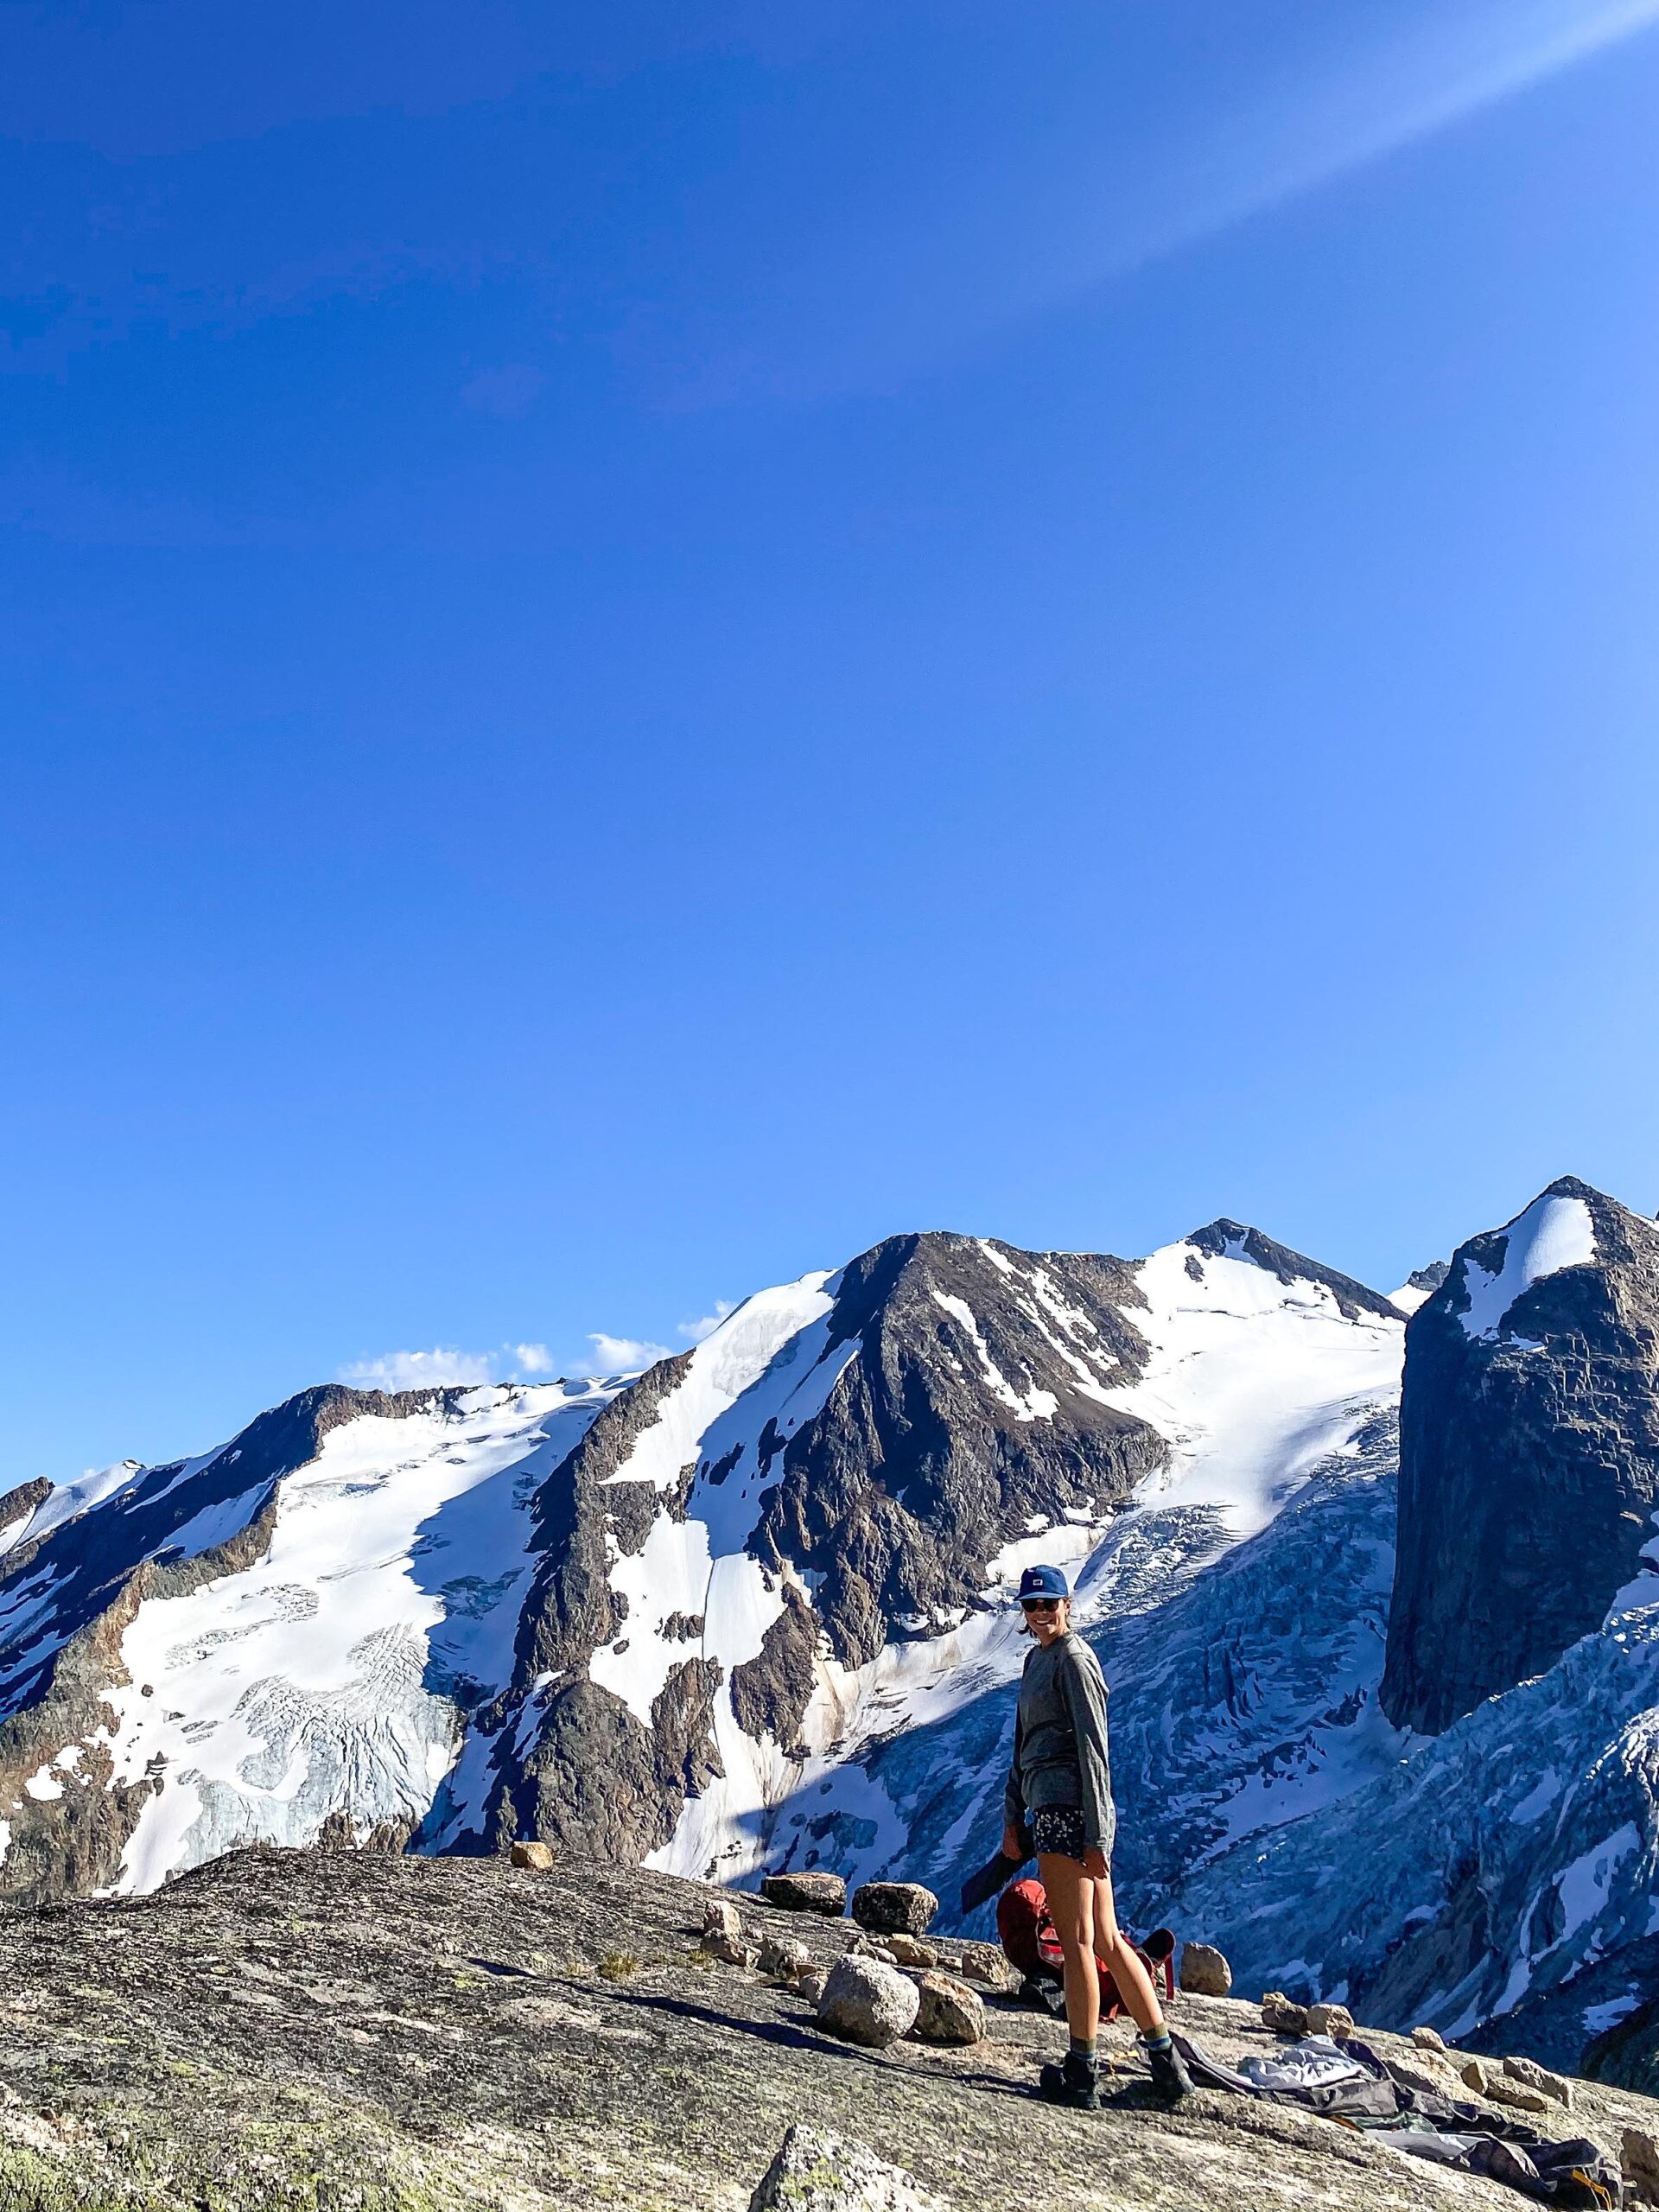
Once your vehicle is safe from pesky porcupines, you can hike to the Applebee Dome Campground. The trailhead begins at the edge of the tree line, as the dirt path leads you into the forest. The first kilometer of the hike is a good warm-up with little elevation gain.
After a kilometer or so, the trees open to a massive pile of boulders that marks the real start of the hike – it is all uphill from here! In the next 3.5 kilometers, you will gain roughly 990 meters in elevation. Beyond this point, there is no shaded area so be sure to have proper sun protection with you.
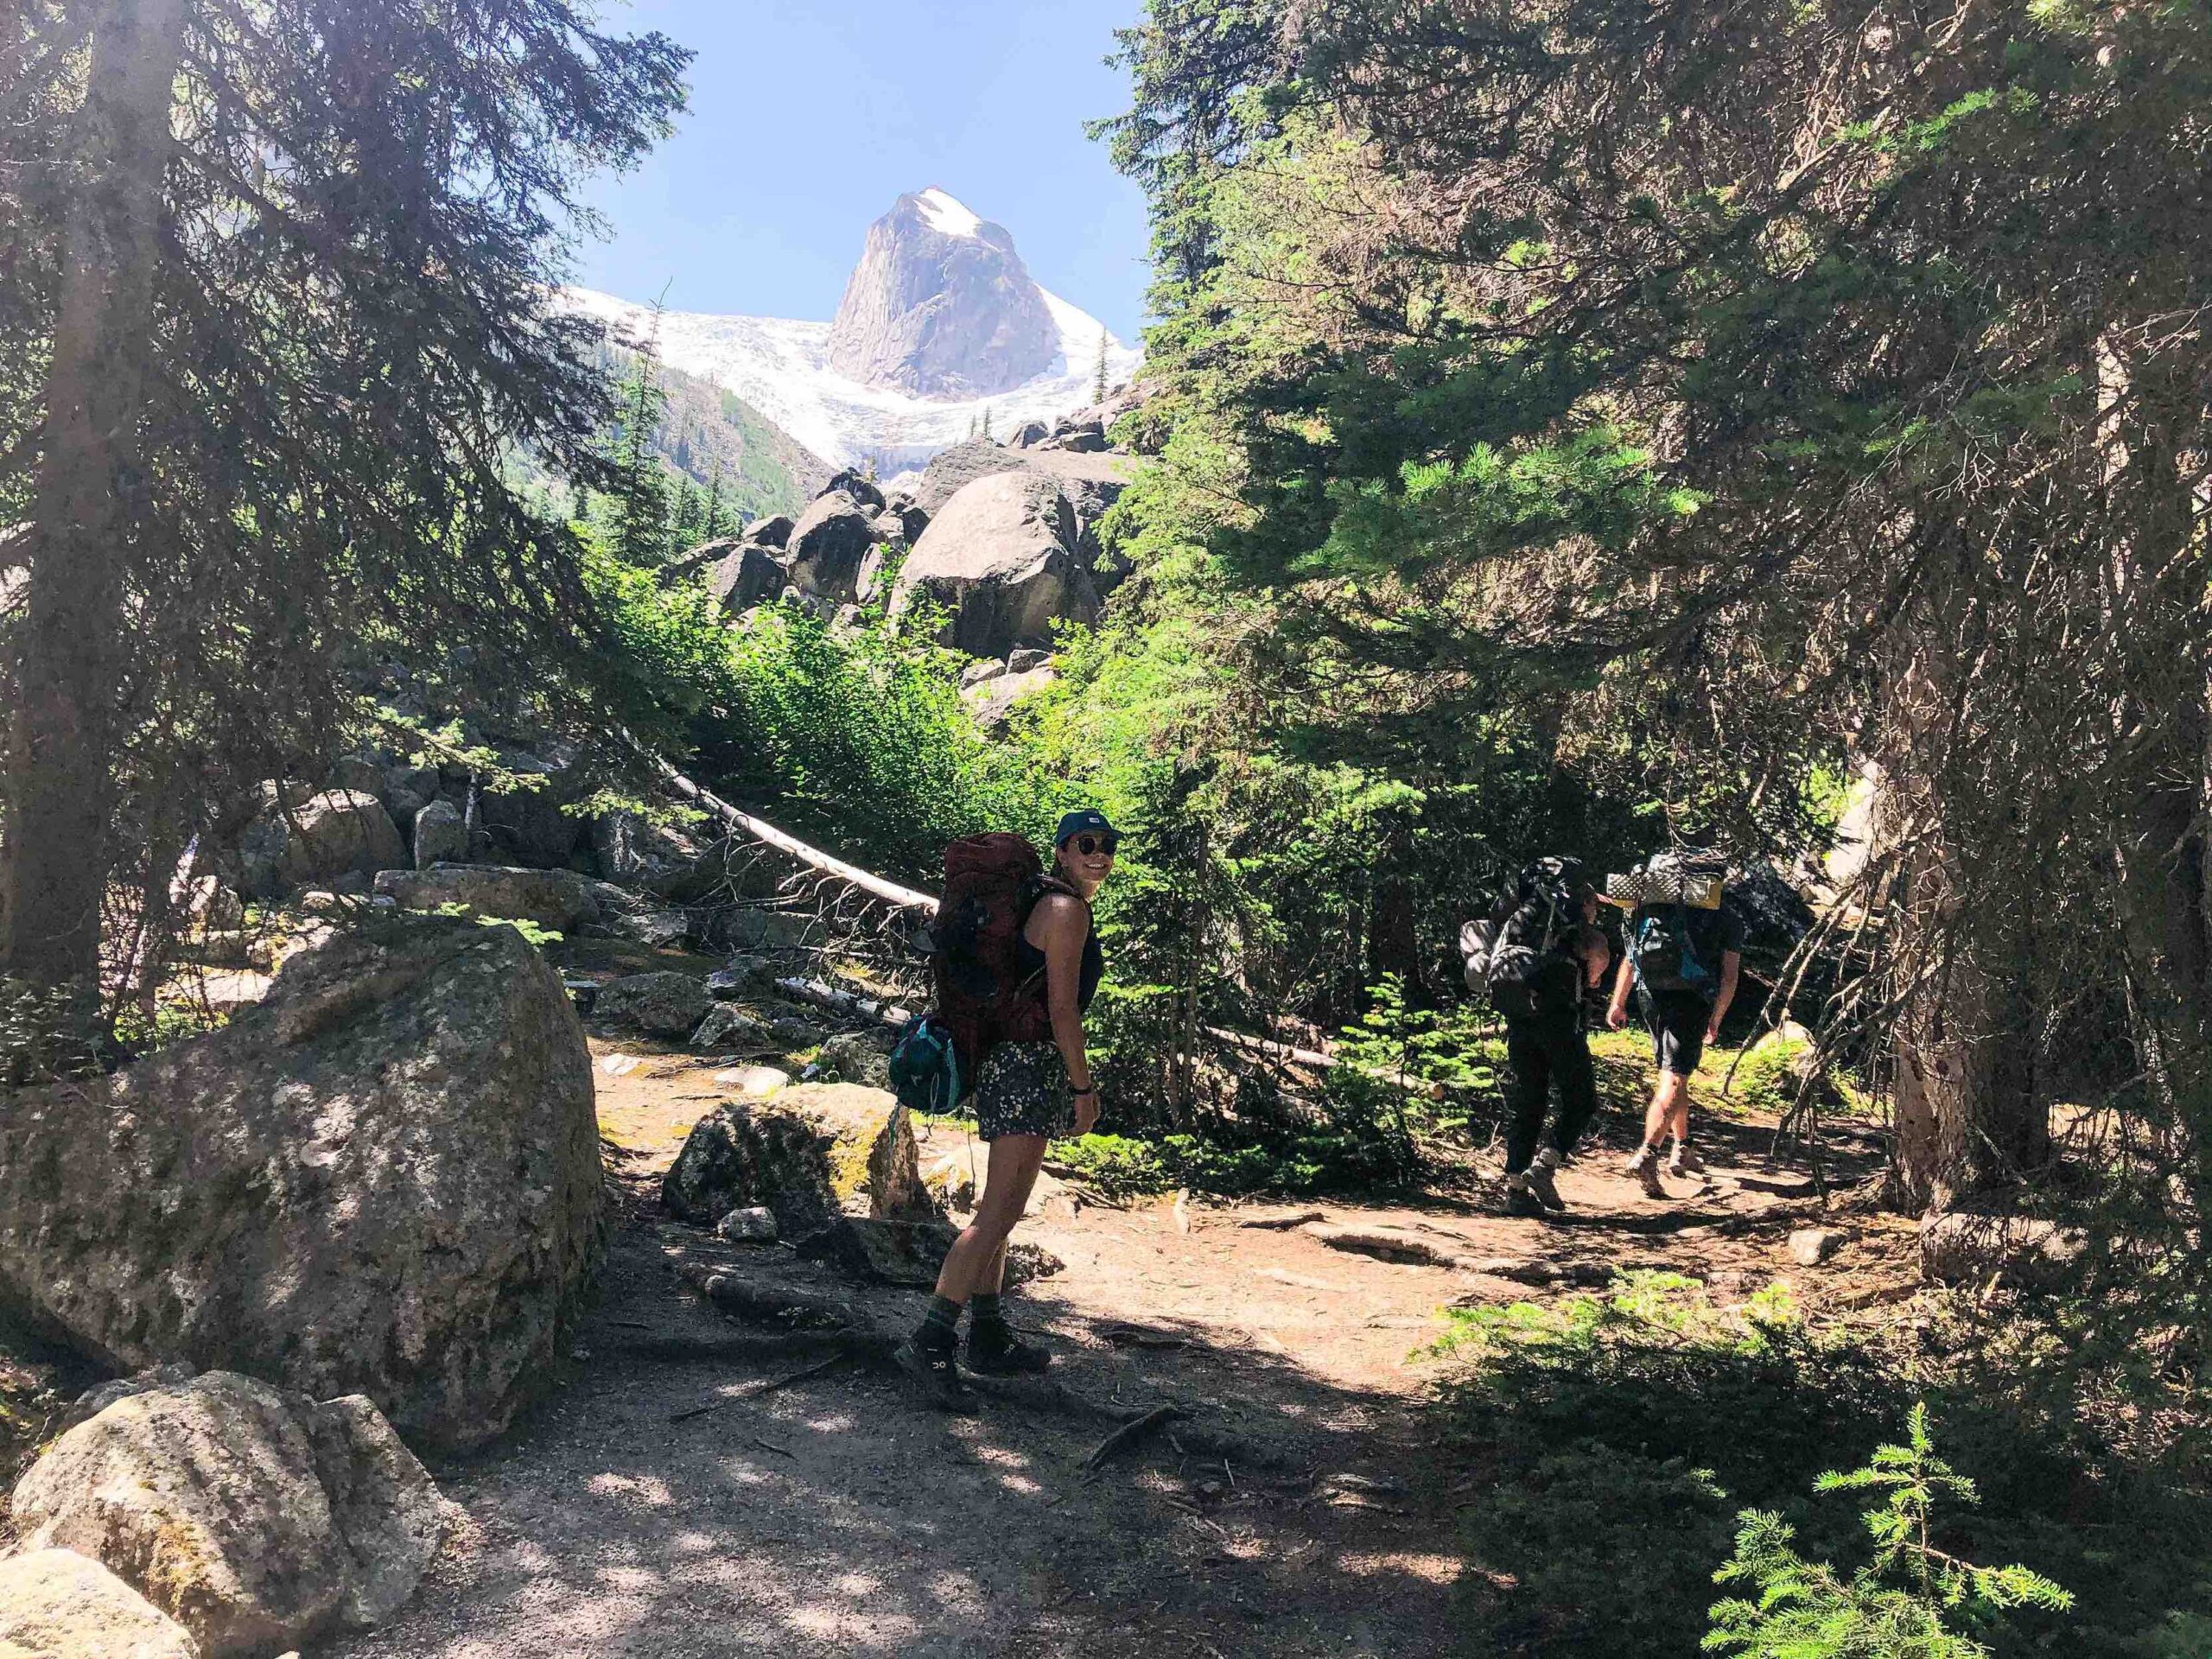
As you trek to the Applebee Dome Campground, the glacier sits massively in the distance, marking roughly the elevation you aim for. Not only does this glacier provide you with a stunning view for the entirety of the hike, but it also gifts you flowing streams and glacial pools that are the perfect place to cool down on a summer day. If it wasn’t for this refreshing water to relax, I think our ascent time could have been cut in half.
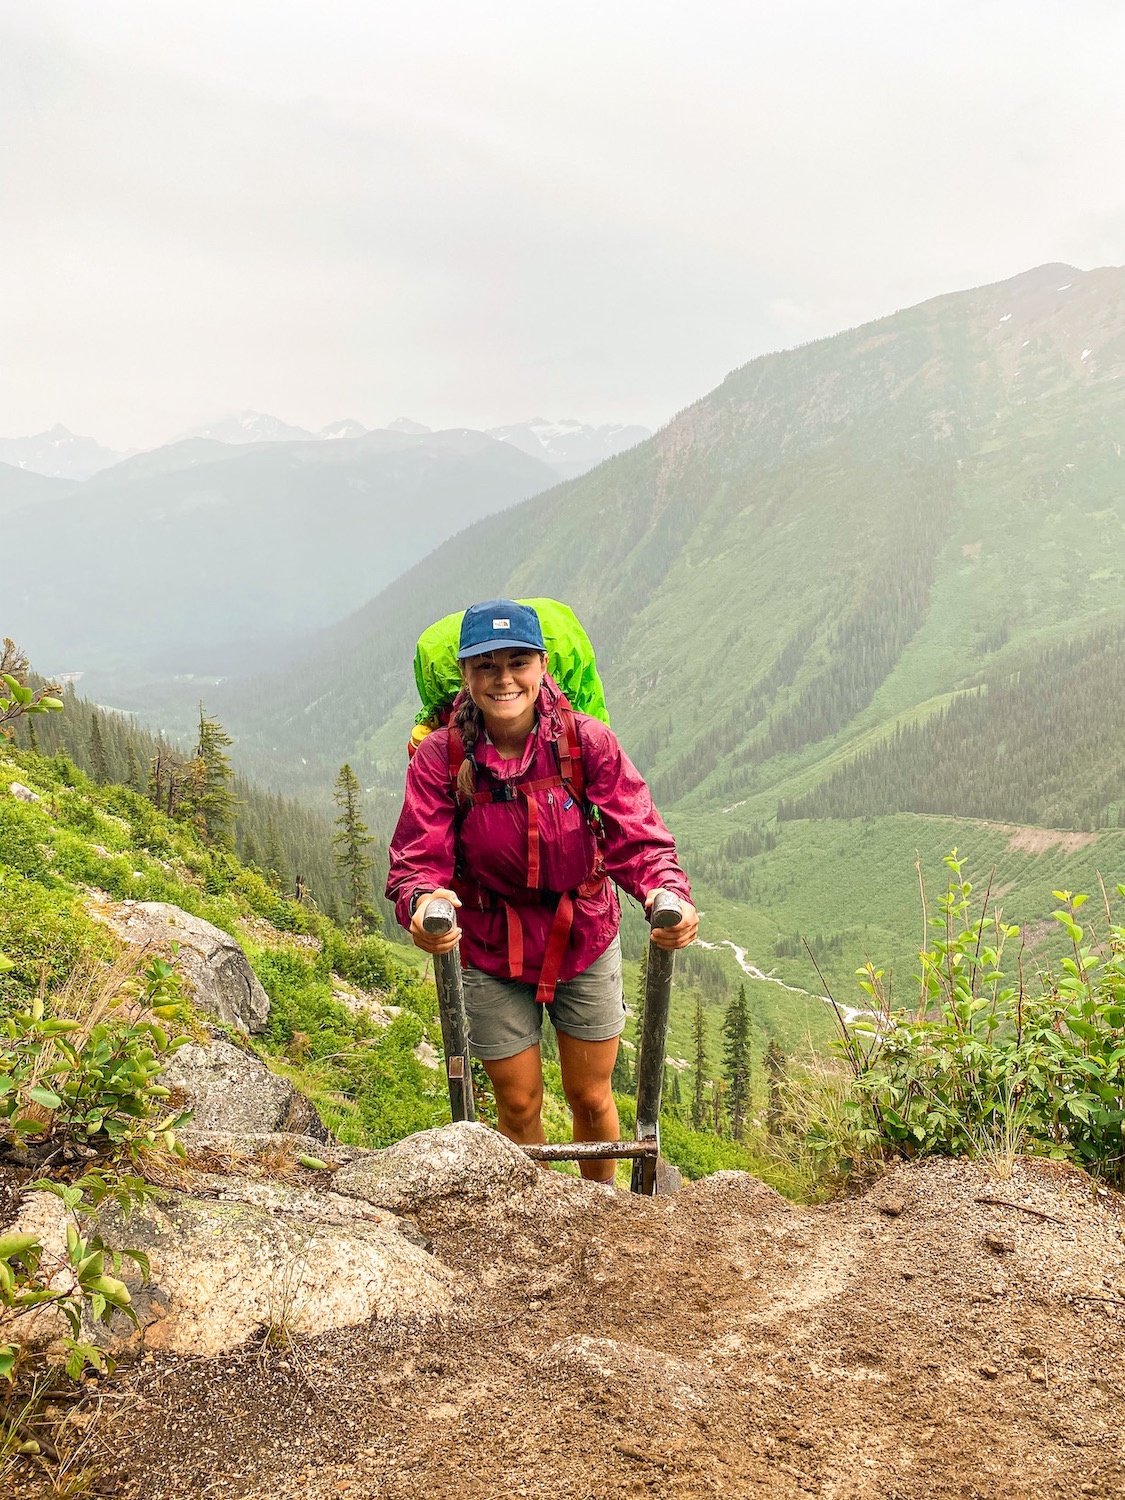
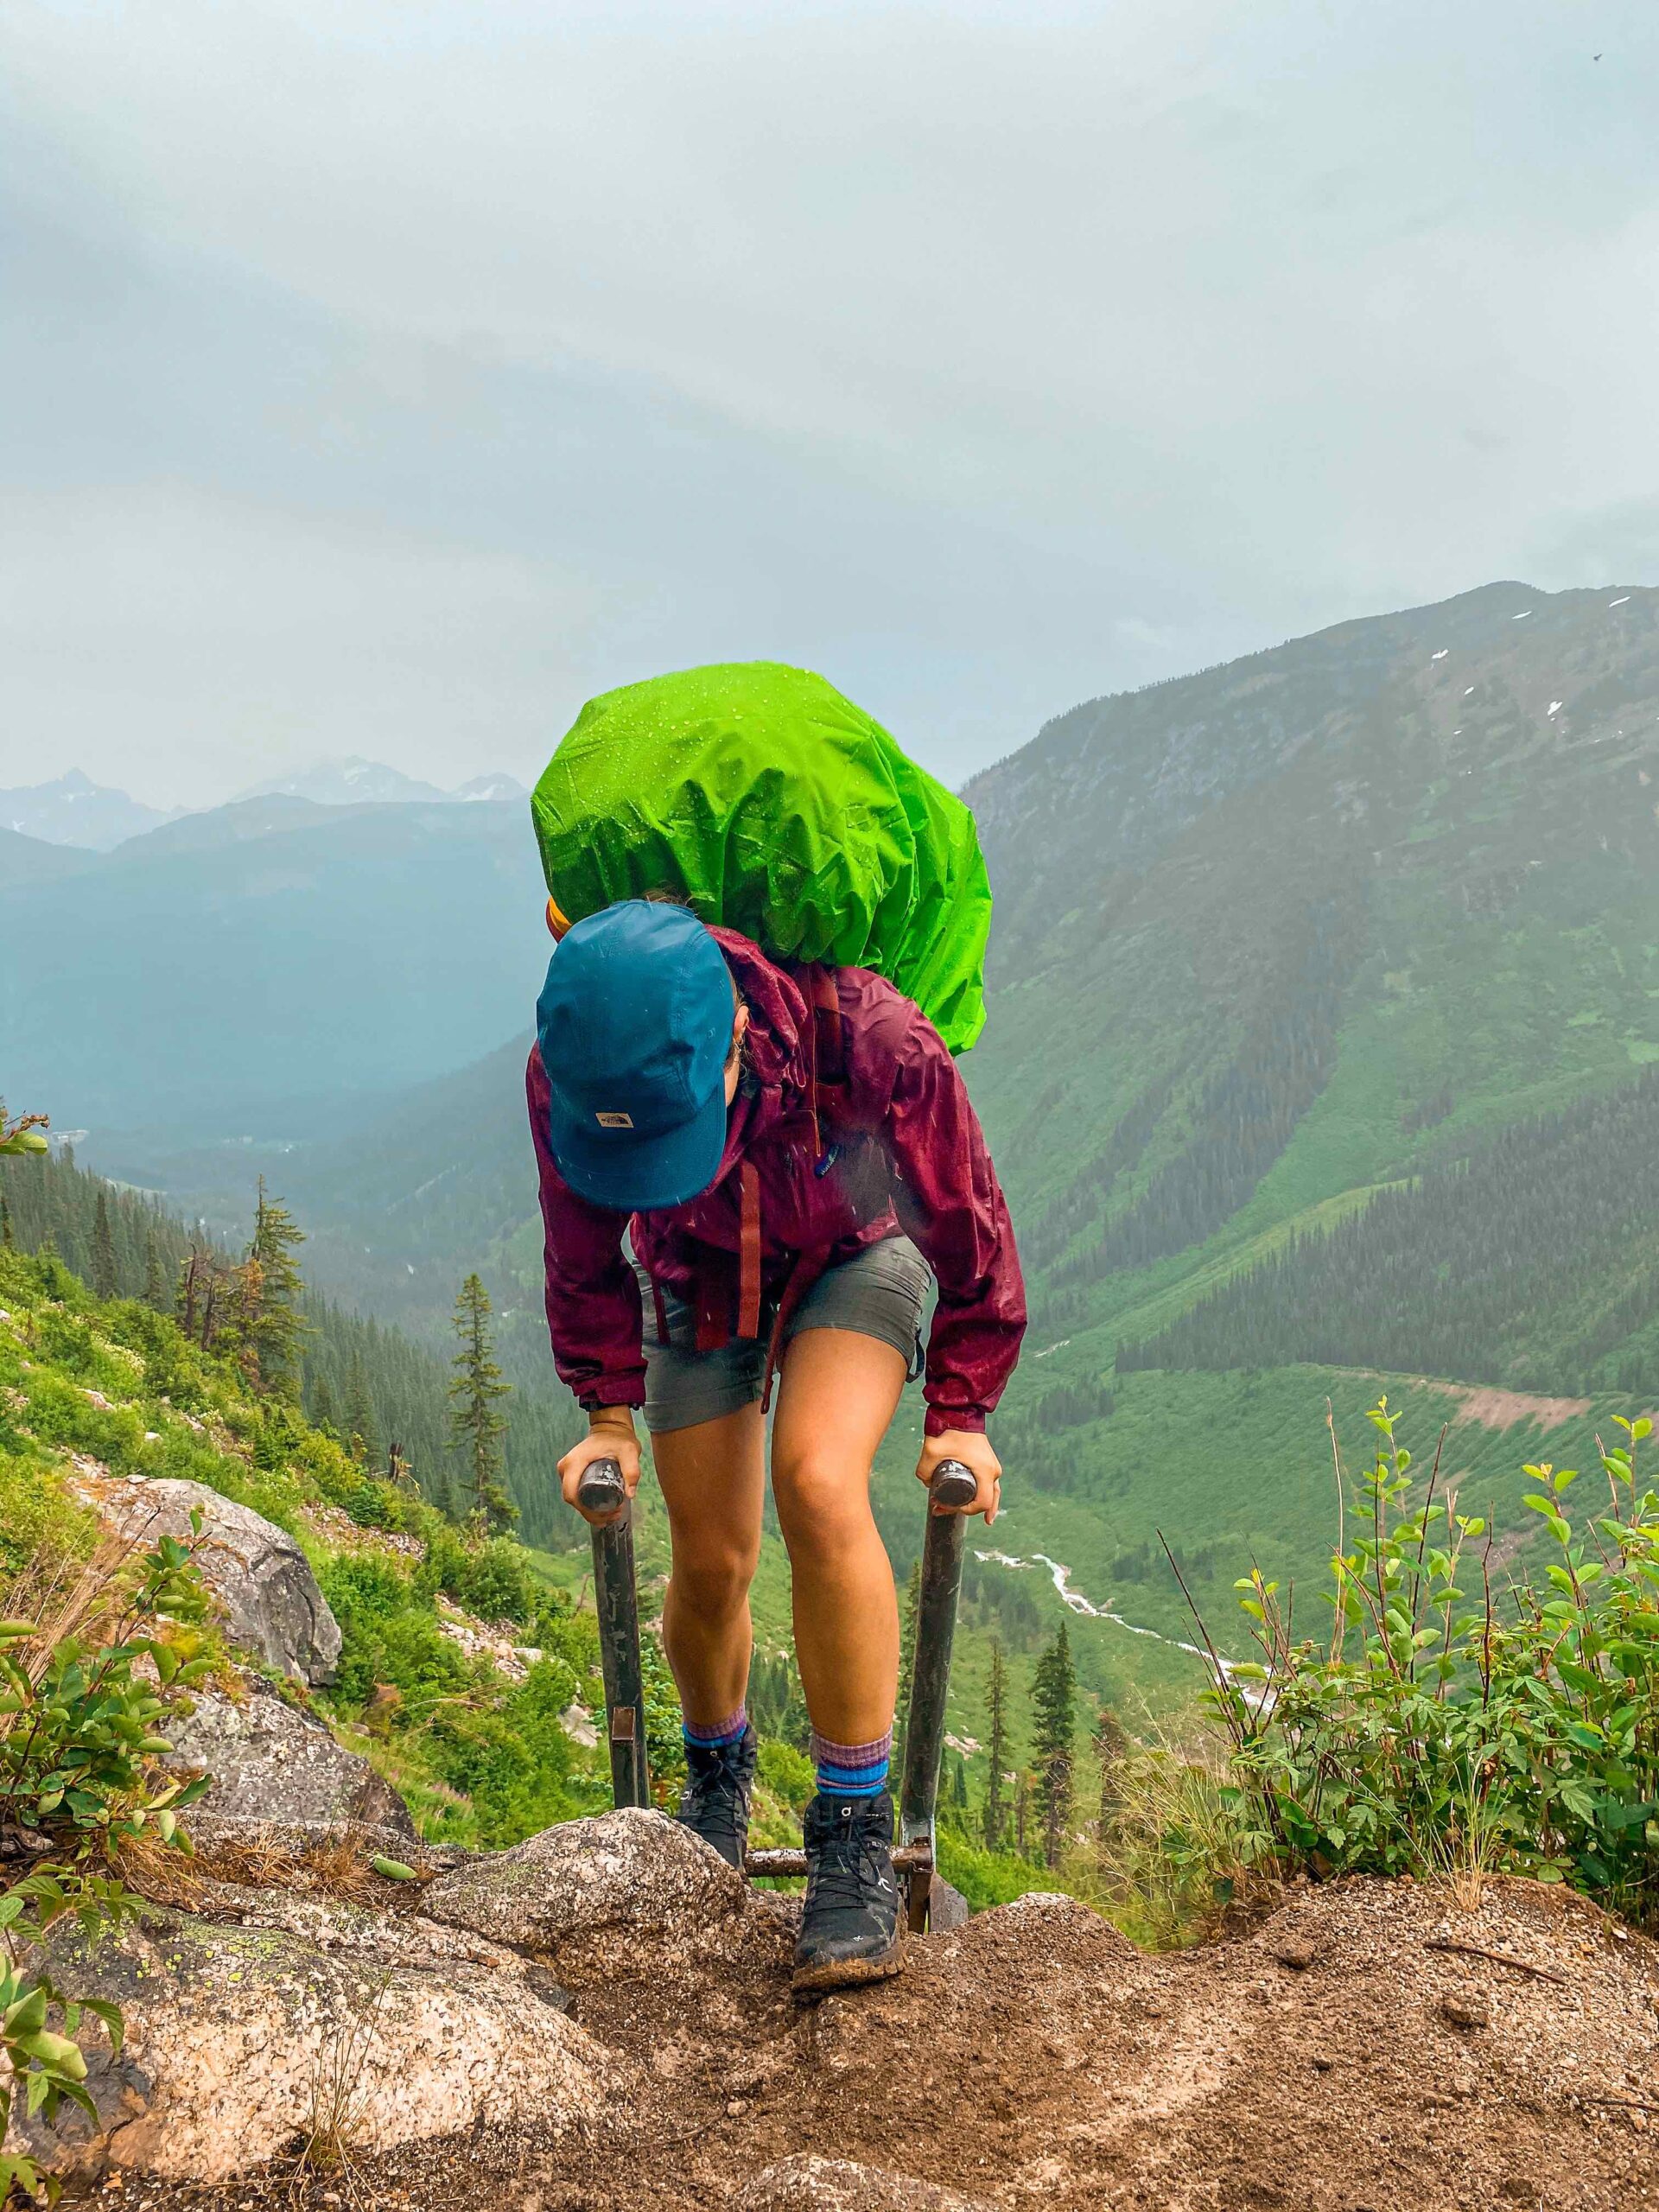
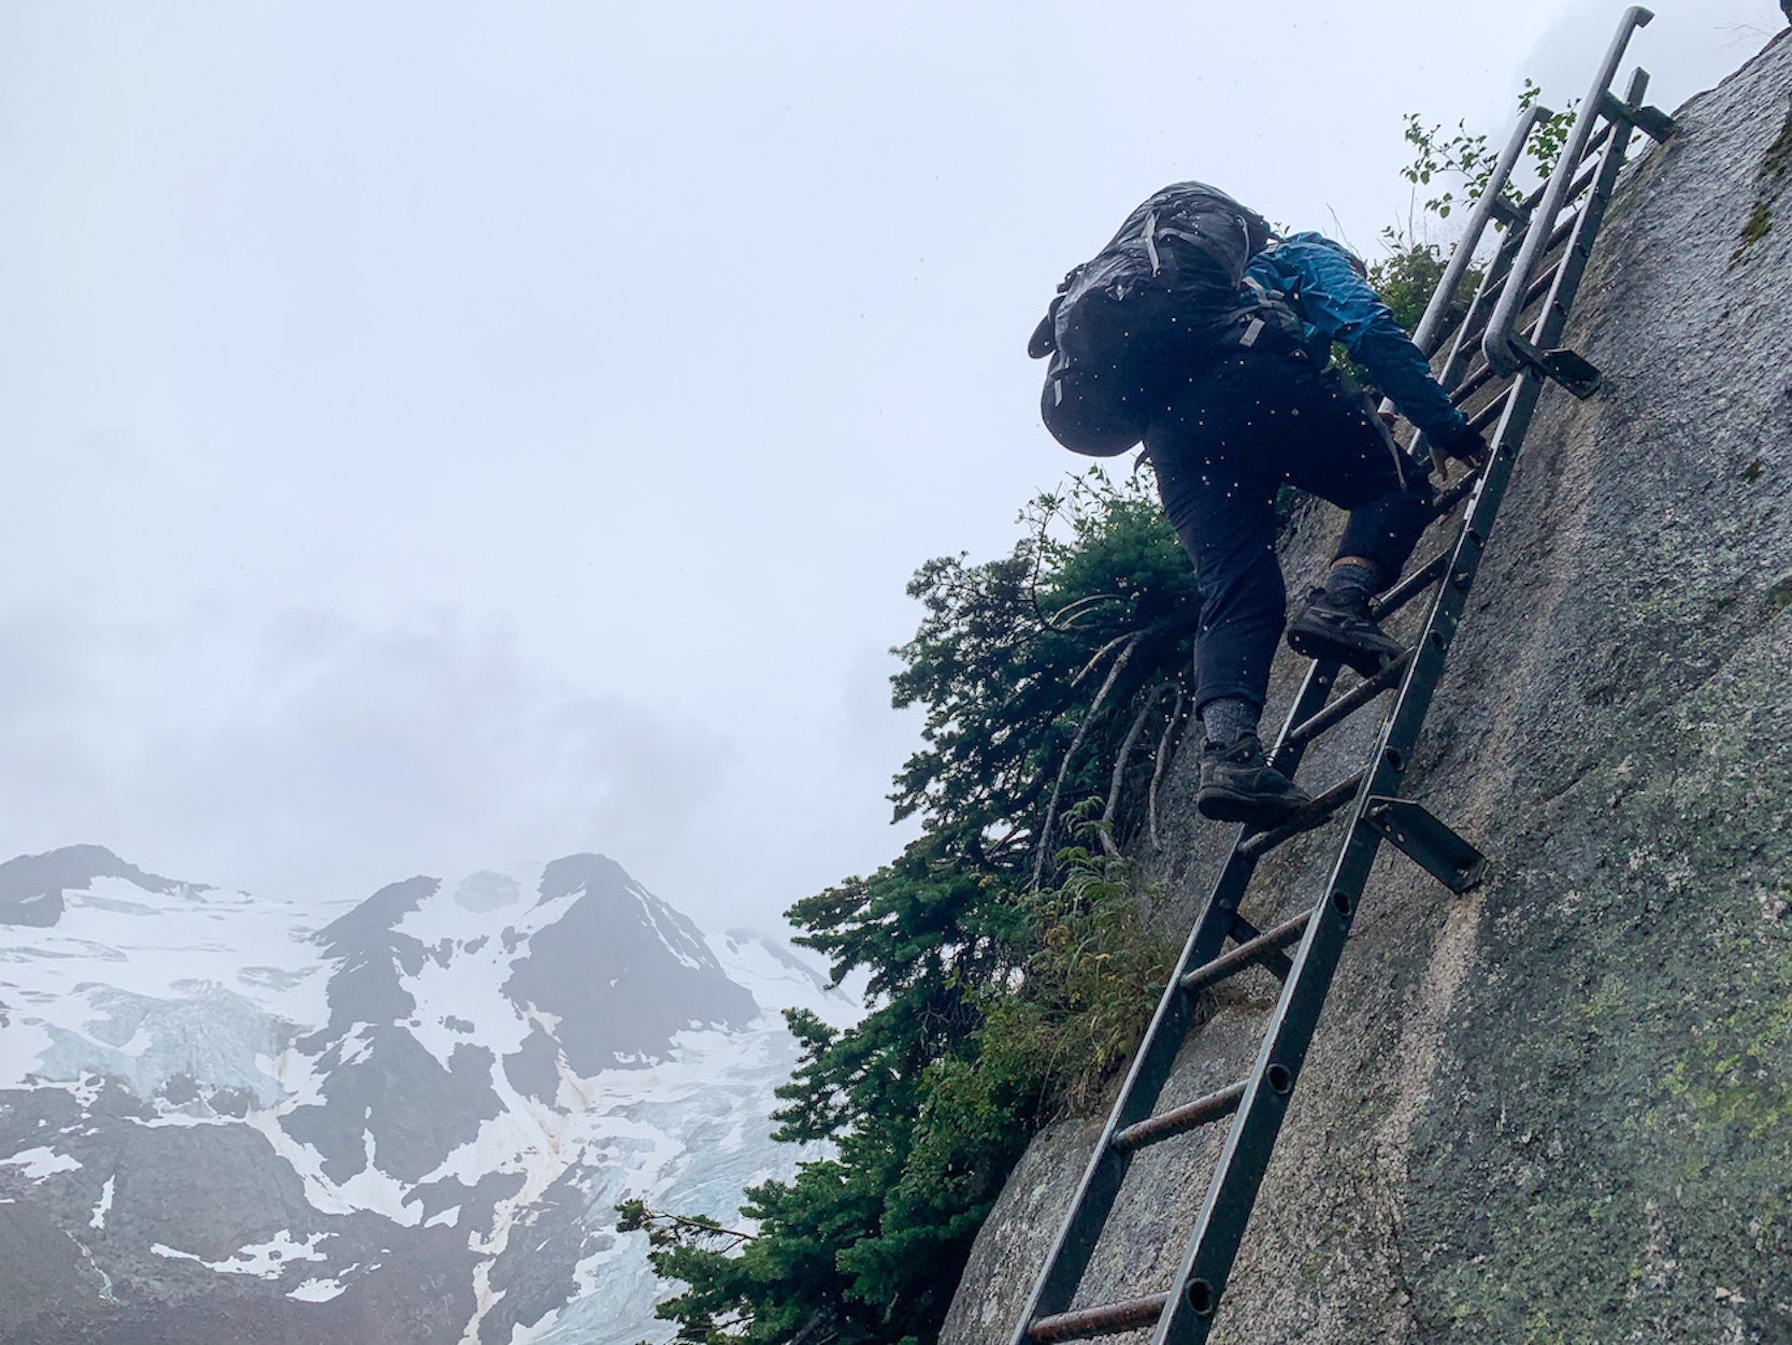
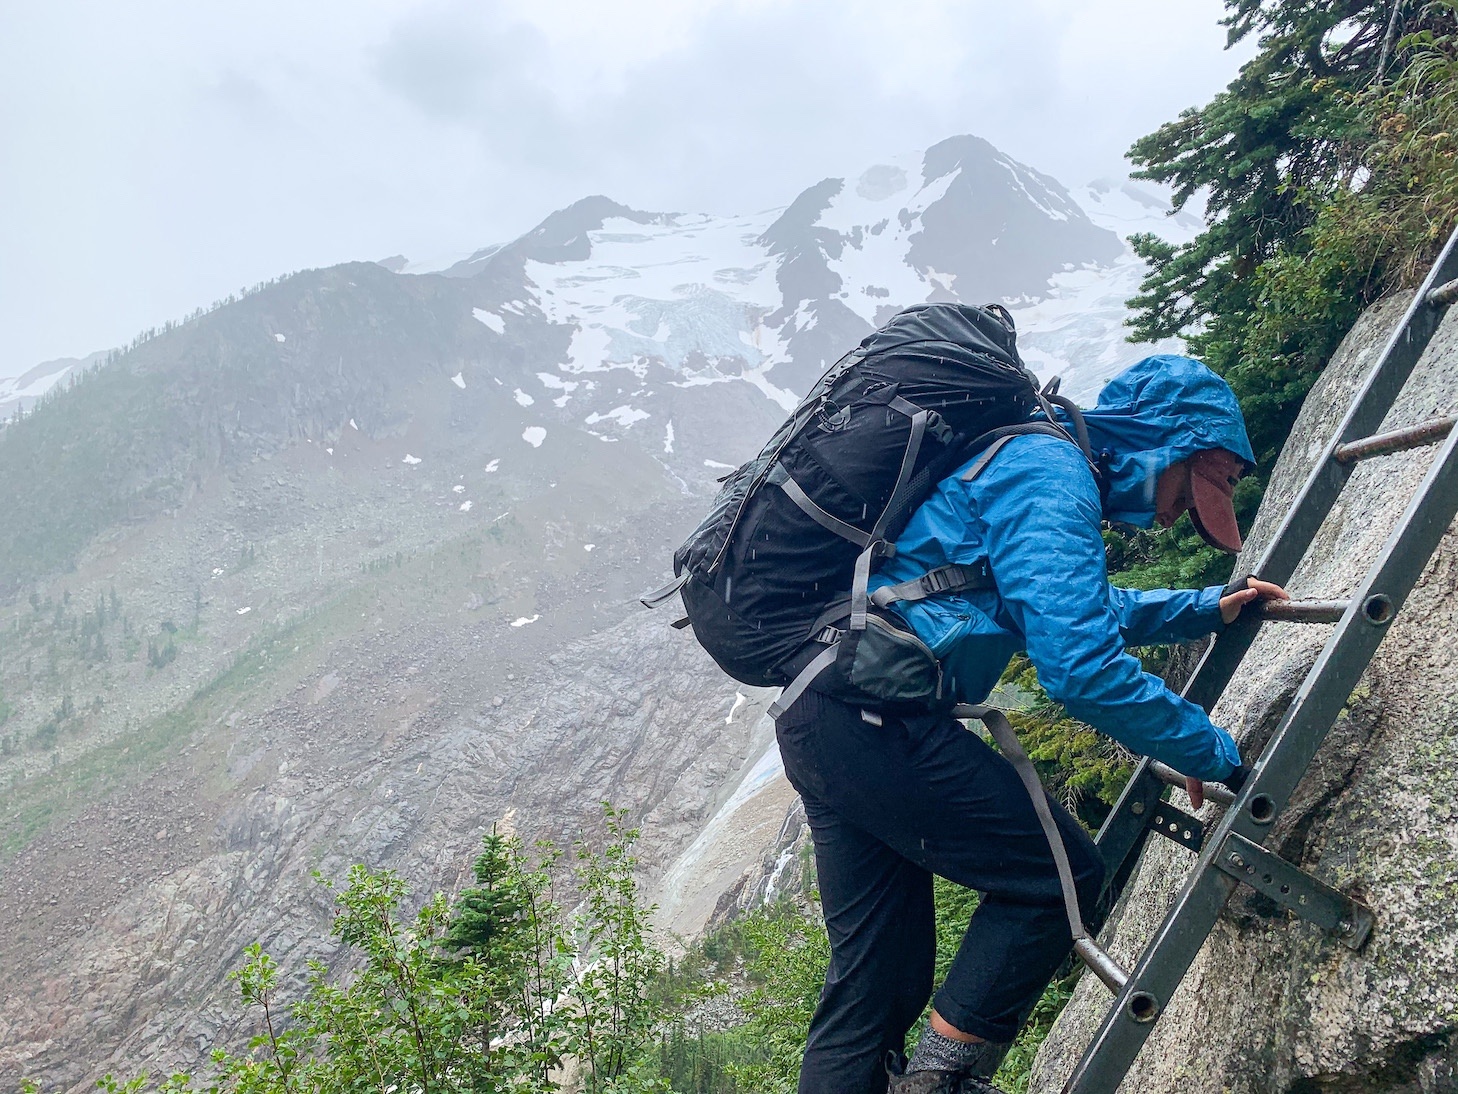
Though this hike leads to a dome rather than a summit, there is still an extensive amount of exposure that may leave acrophobes removing this hike from their bucket list. Throughout the hike, there are many exciting challenges: a ladder leading you straight up a rock face, bridges without handrails taking you across streams, and rock ledges that require chains to shimmy across.
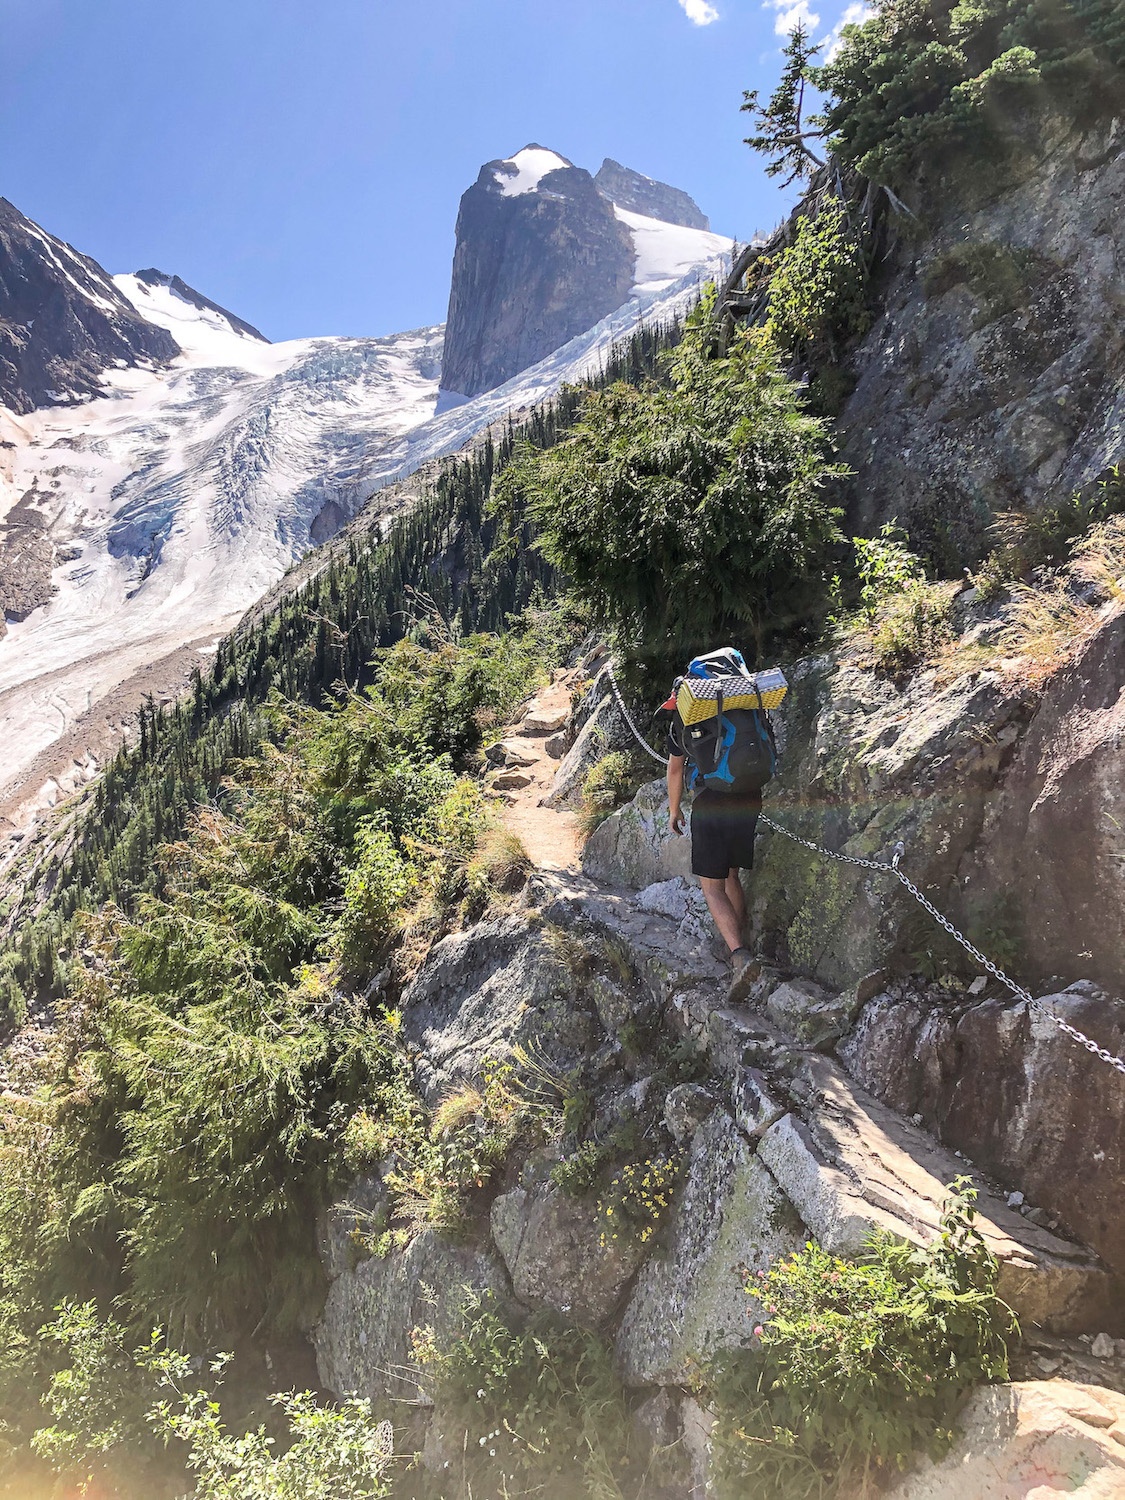
After 3.5 kilometers of stunning wildflowers, challenging features, glacial baths, and a whole lot of hard work, you reach the notorious Konrad Cain Hut. From here, there are three different possibilities:
- If you booked the hut in advance, then congratulations – You have made it to your destination. Time to get that pack off your back and appreciate your gorgeous surroundings.
- If you are headed to the Boulder Campground, take a left turn and head 300 meters to your campsite – you’ve almost made it!
- If you are going all the way to the remarkable Applebee Dome Campground, you still have one kilometer to go. It may not seem like a lot, but fair warning: this was definitely the most challenging part of the hike. Don’t forget to take advantage of the washrooms near the hut before continuing.
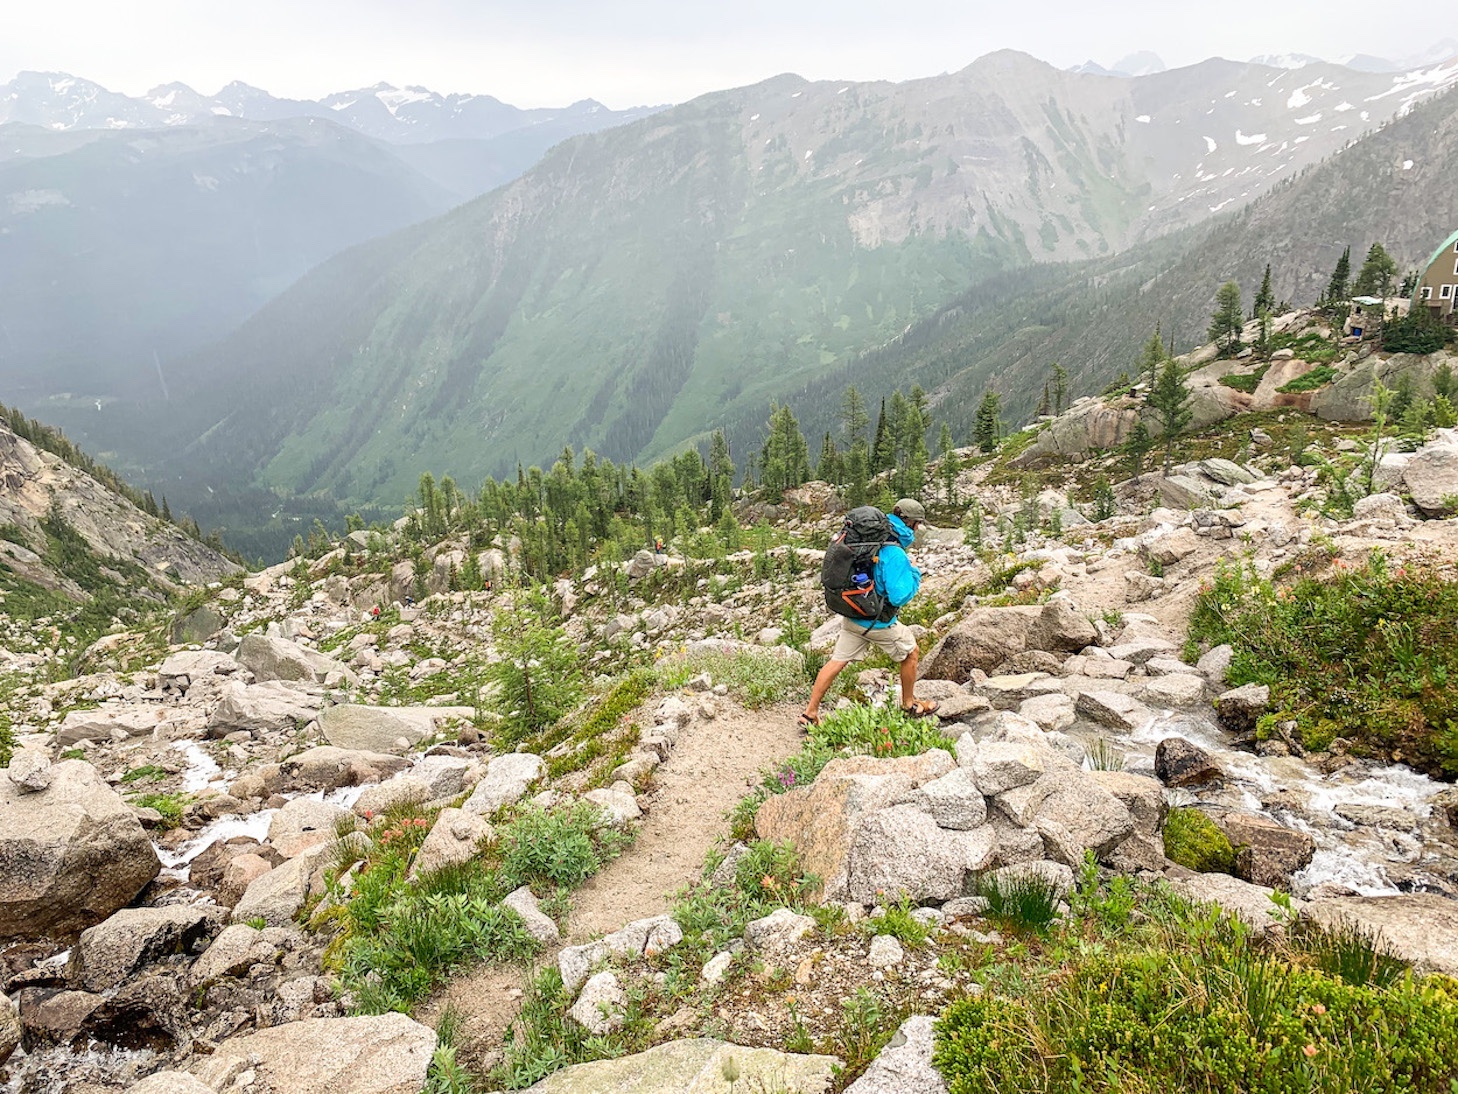
The last kilometer to the Applebee Dome Campground tests your endurance and determination. During our ascent, there wasn’t a cloud in the sky, and the sun had definitely sucked some energy out of us, so this last part of the trek felt much longer than a single kilometer. Try to conserve energy before this stage and keep your spirits high during this section. It is so very worth it!
The final stretch to the campground is marked by a steep, snow-covered section that leads up to the dome. Despite visiting in August, the snow here was plentiful – I imagine this area is snow-covered all year round. I recommend staying on the boot pack trail as it was easy to punch through the snow, which is the last thing your leg muscles need after a big hike!
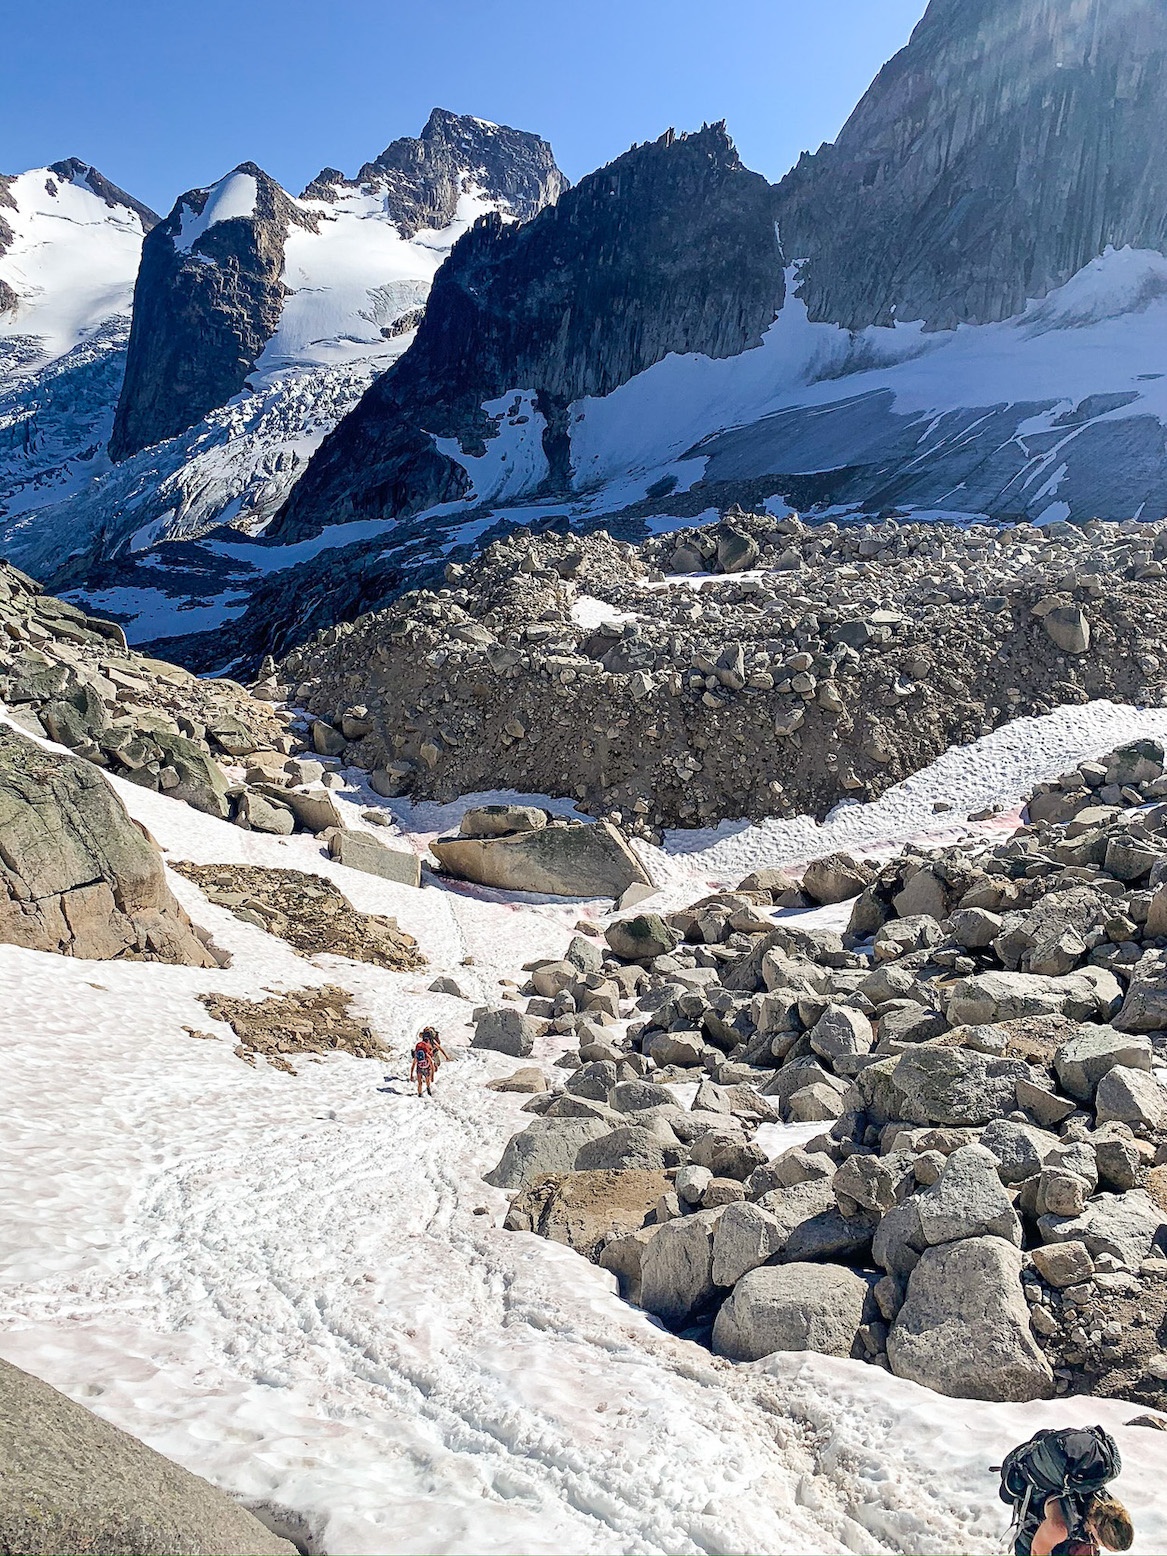
At the top of this snowy stretch, the Park Warden’s should be hanging out, ready to collect your camping fee. Once you settle your payment, it is time for the best part: choose your campsite!
Tips for Choosing Your Campsite at the Applebee Dome
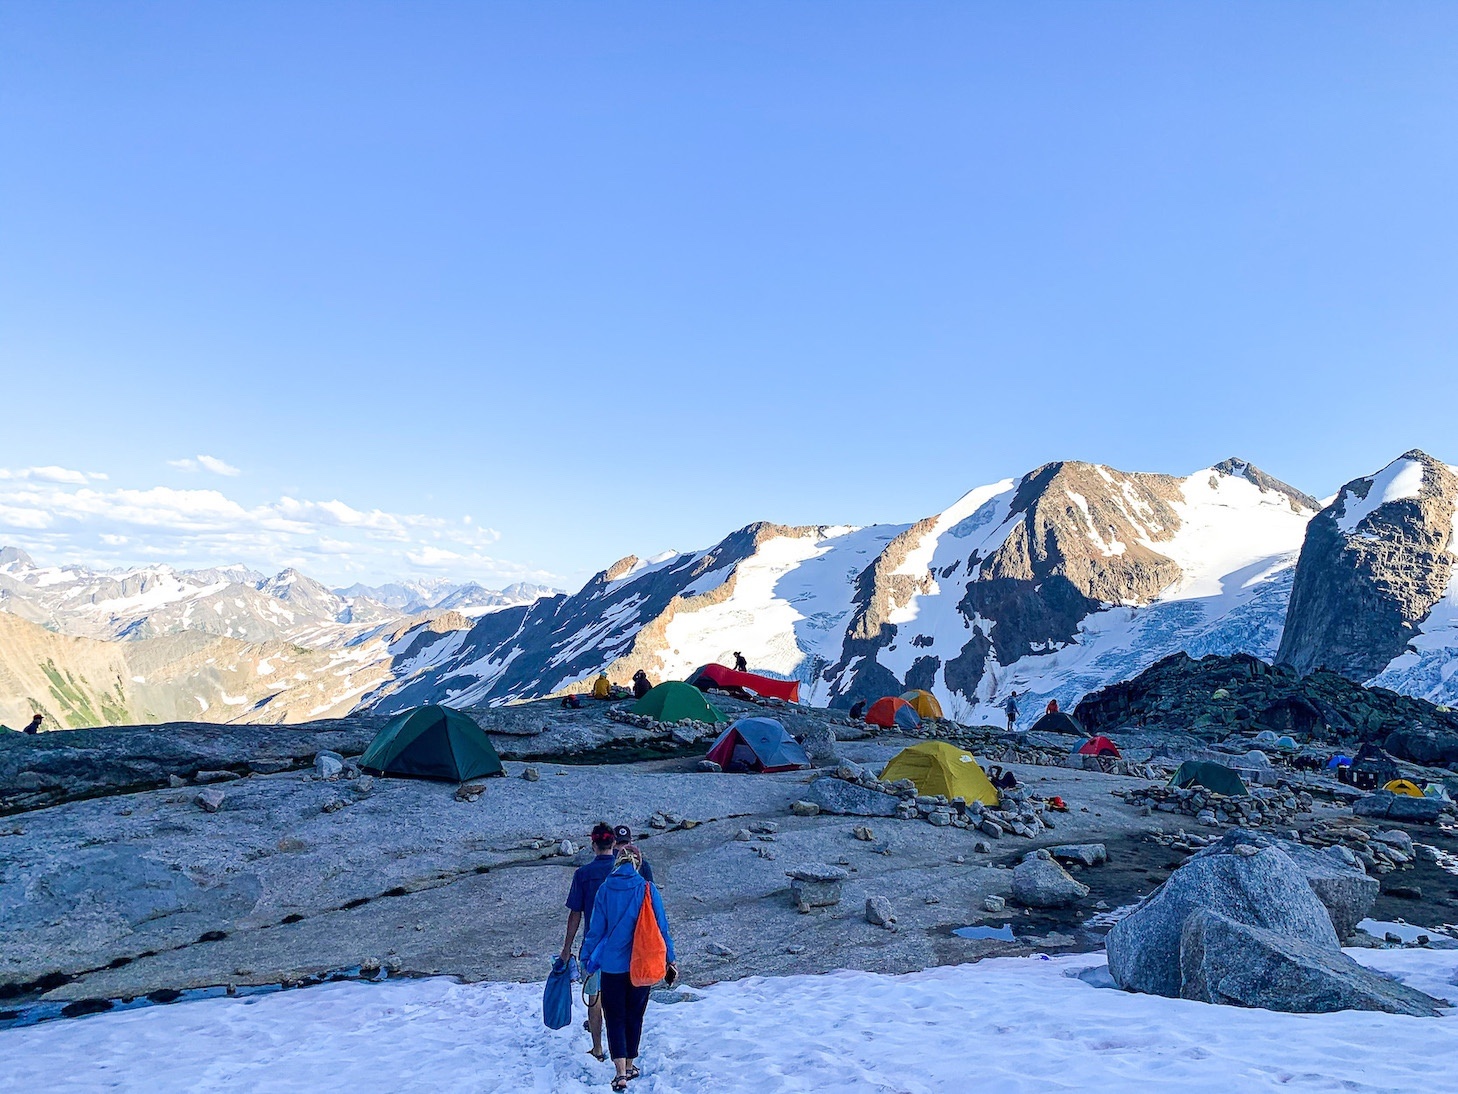
With the Applebee Dome Campground running on a first-come, first-served basis, you cannot reserve a campsite ahead of time. Instead, you can explore the area upon arrival and choose whatever spot you like. The only rules when choosing a campsite are to avoid grassy areas (often marked by signs) and stay within the campground boundaries, all to help with vegetation growth. Here are some tips for choosing the most ideal spot for you:
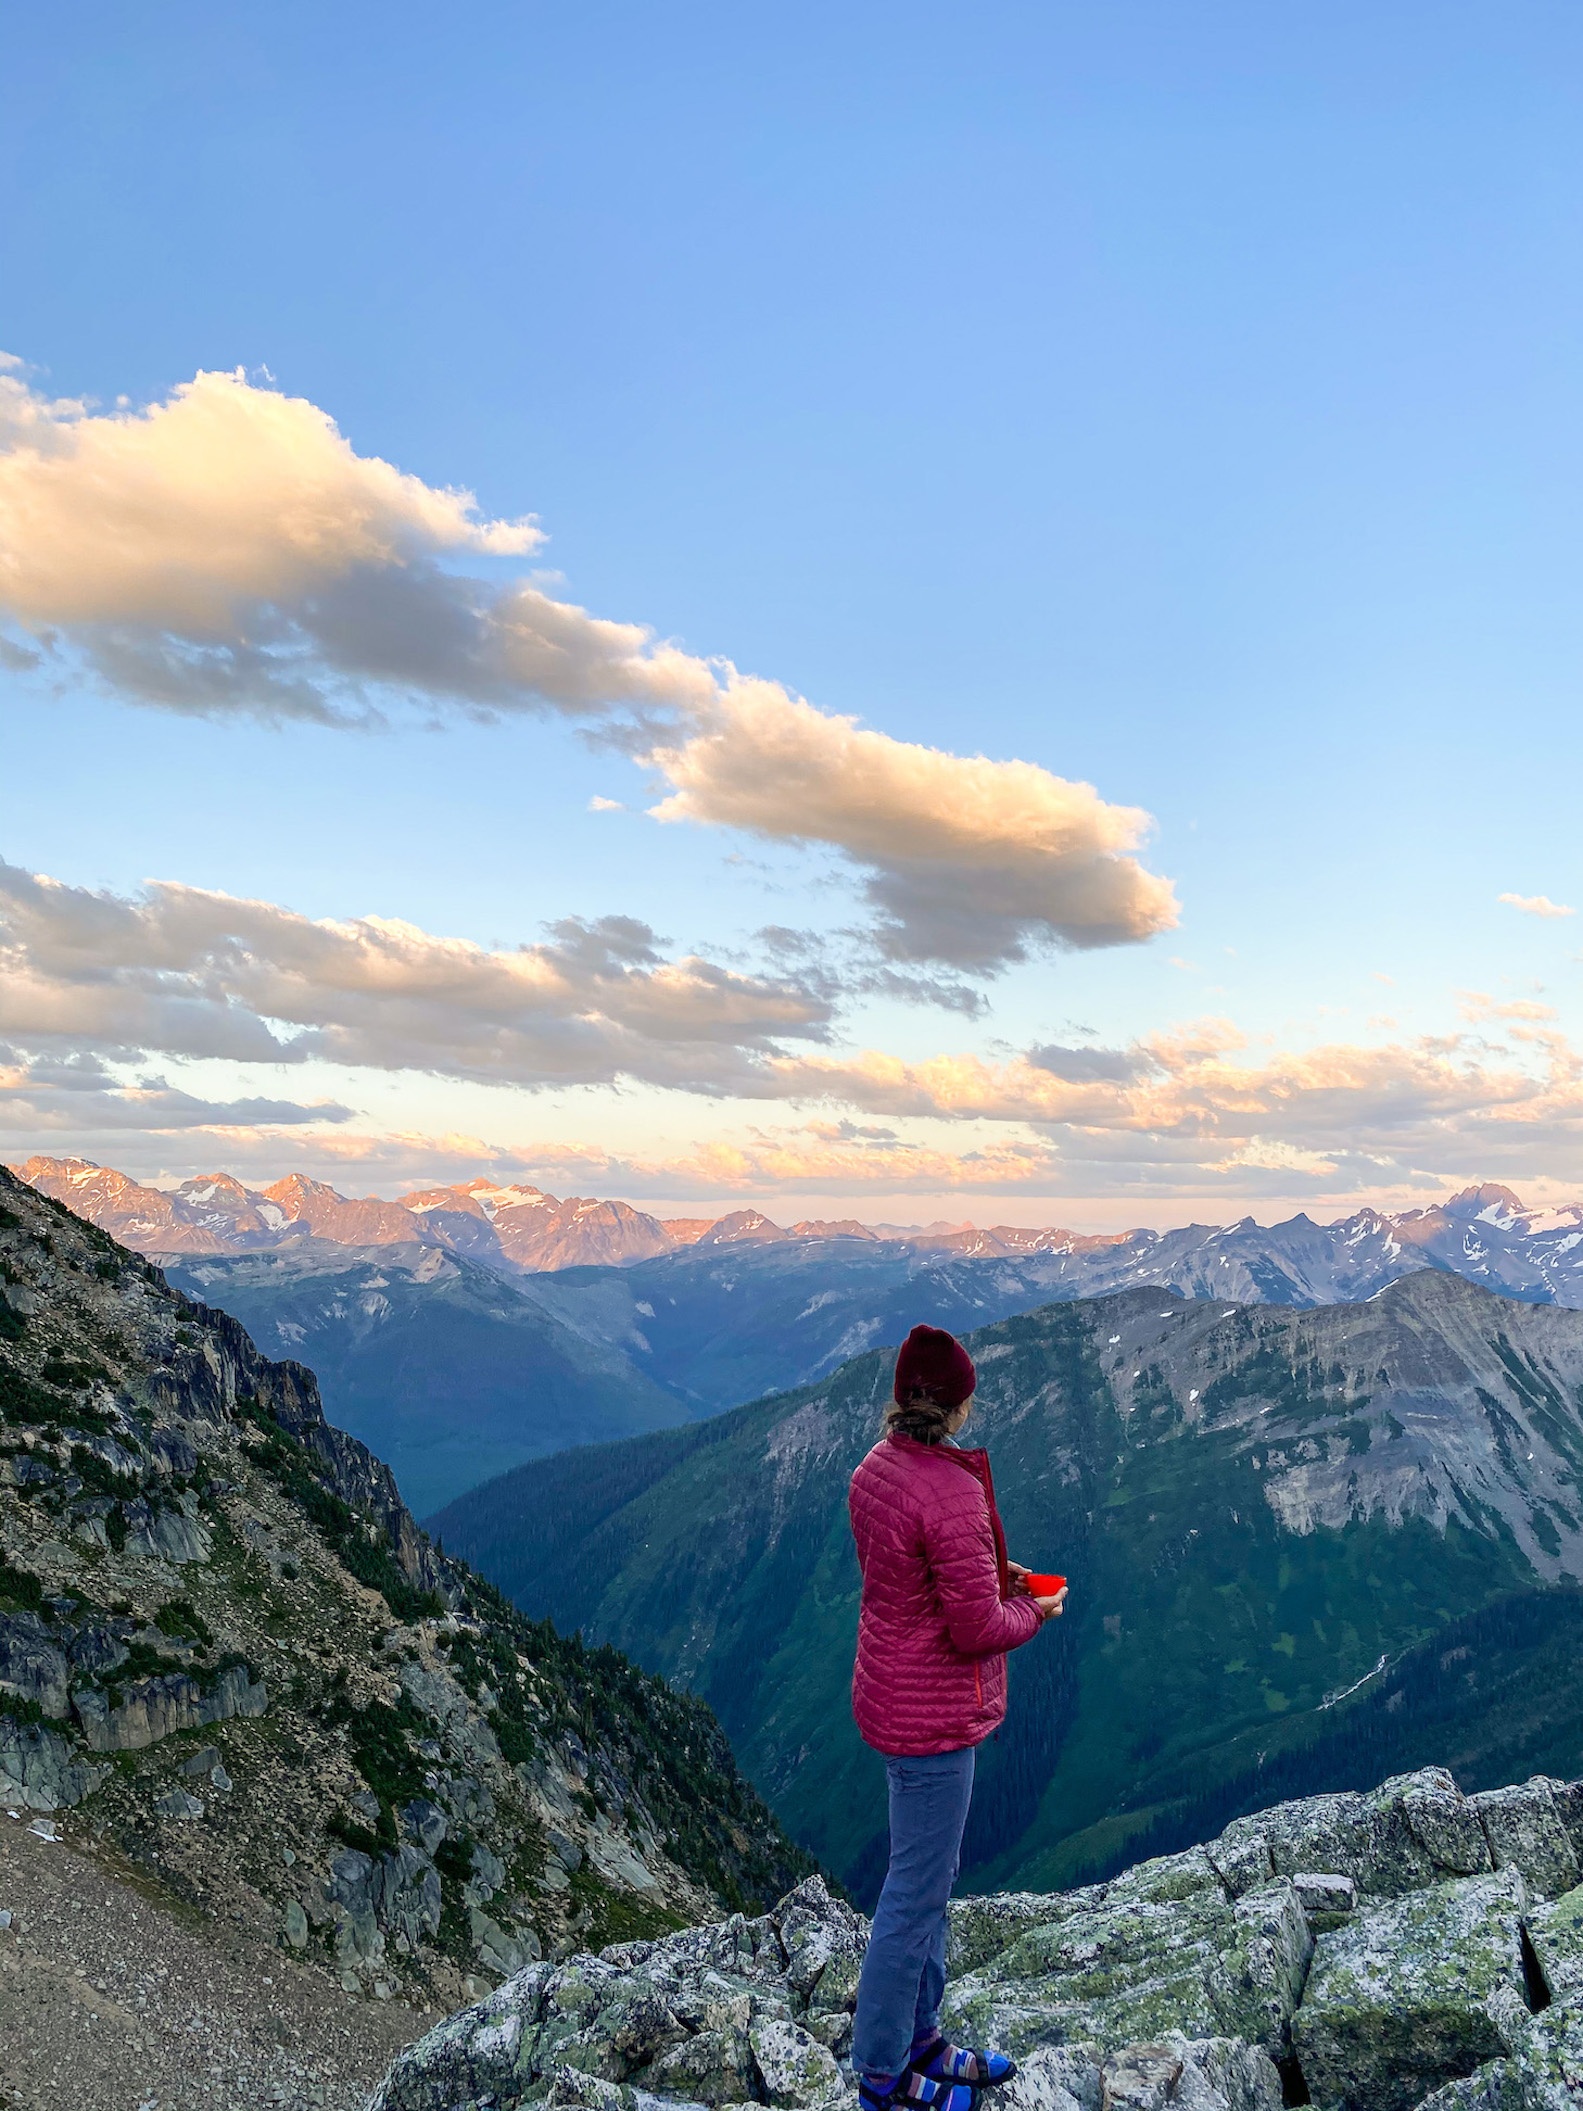
- My number one priority is always the view. We were stoked to watch the sunset over the mountains, so we set-up our site with this in mind (while being cautious of wind and other hazards). Whereas for some people, scouting the spire faces for your next climb or having an especially short approach may be the top priority.
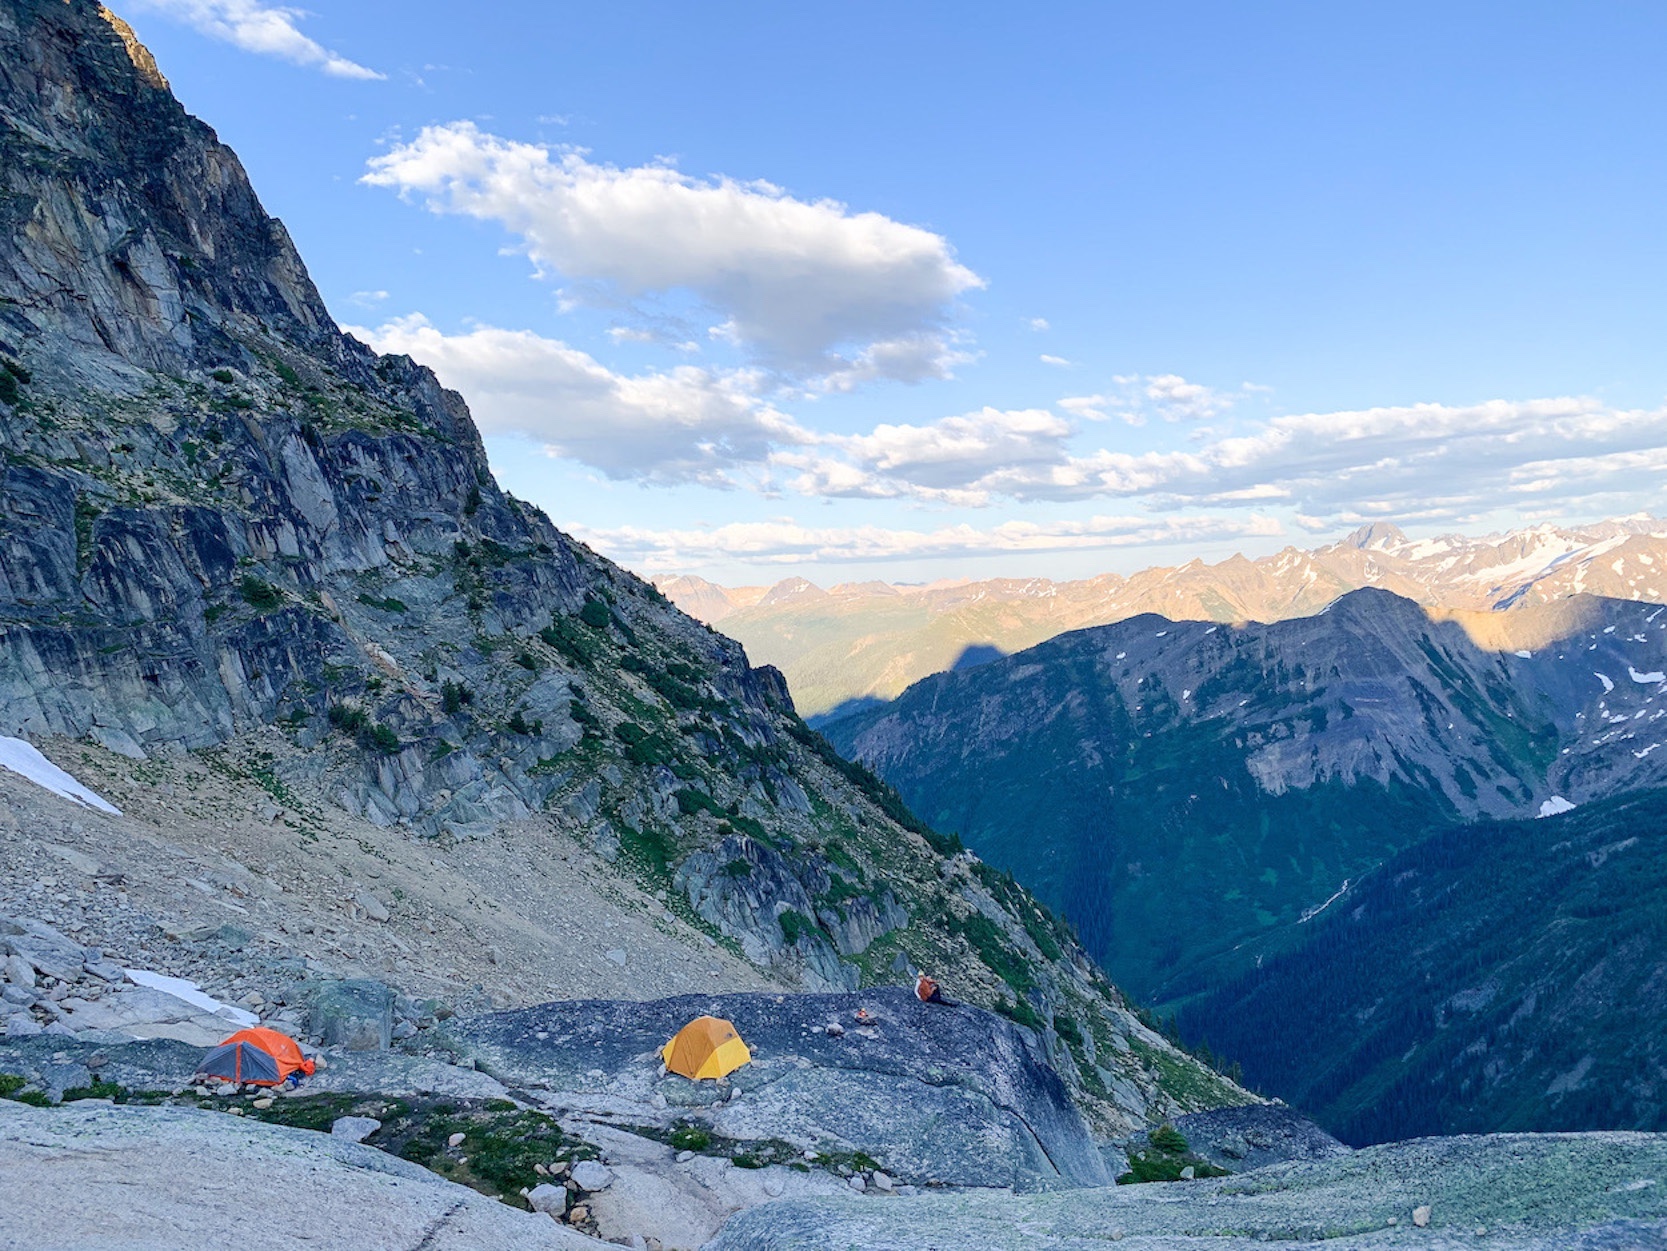
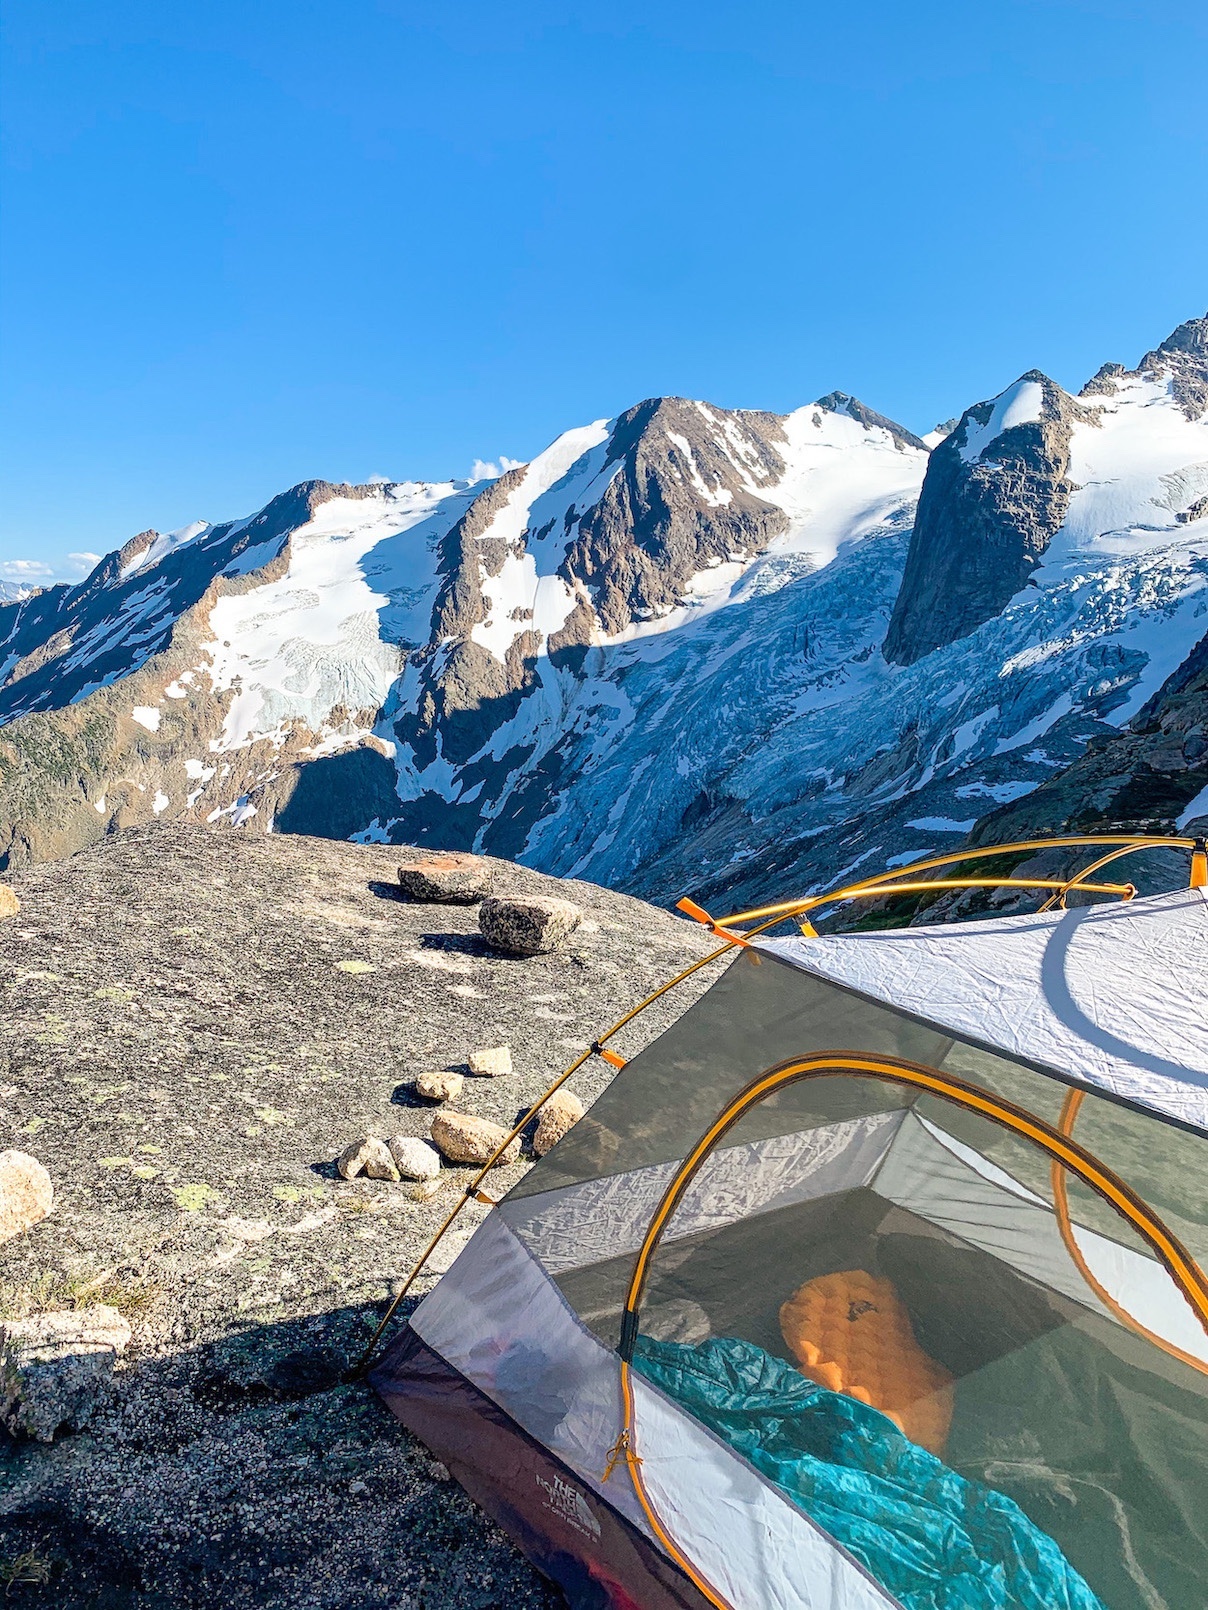
- Though an unobstructed view is important, keep in mind the strength of the wind in the alpine. Plenty of spots behind rock piles or in nooks can provide some wind protection for both safety and warmth. I will admit, this is definitely something we forfeited for the ultimate view, but only because the weather was permitting.
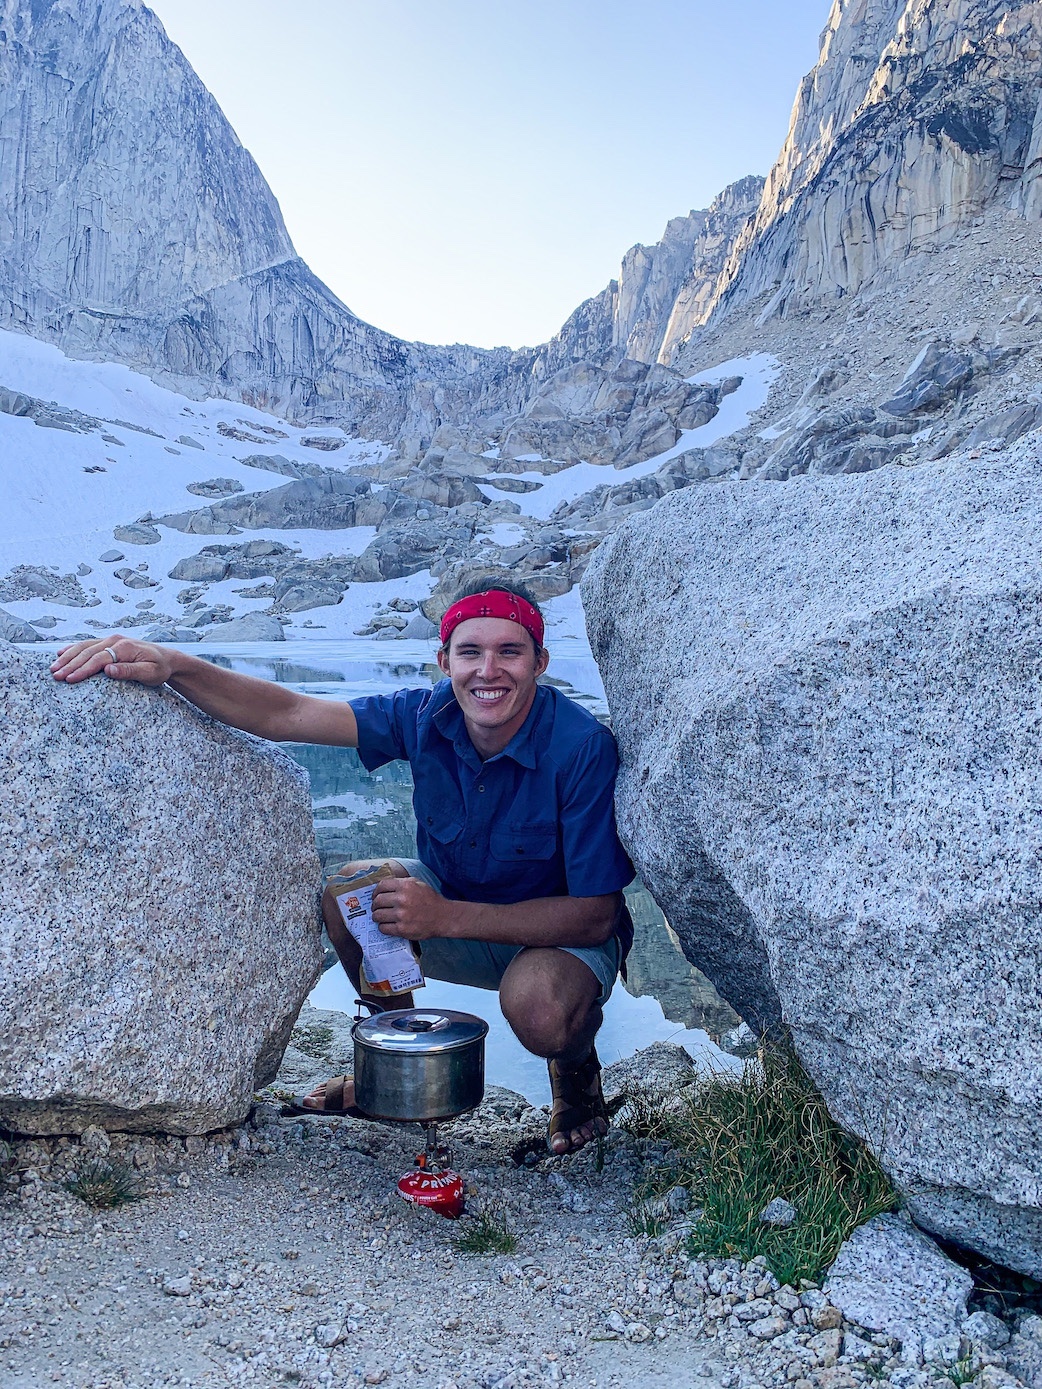
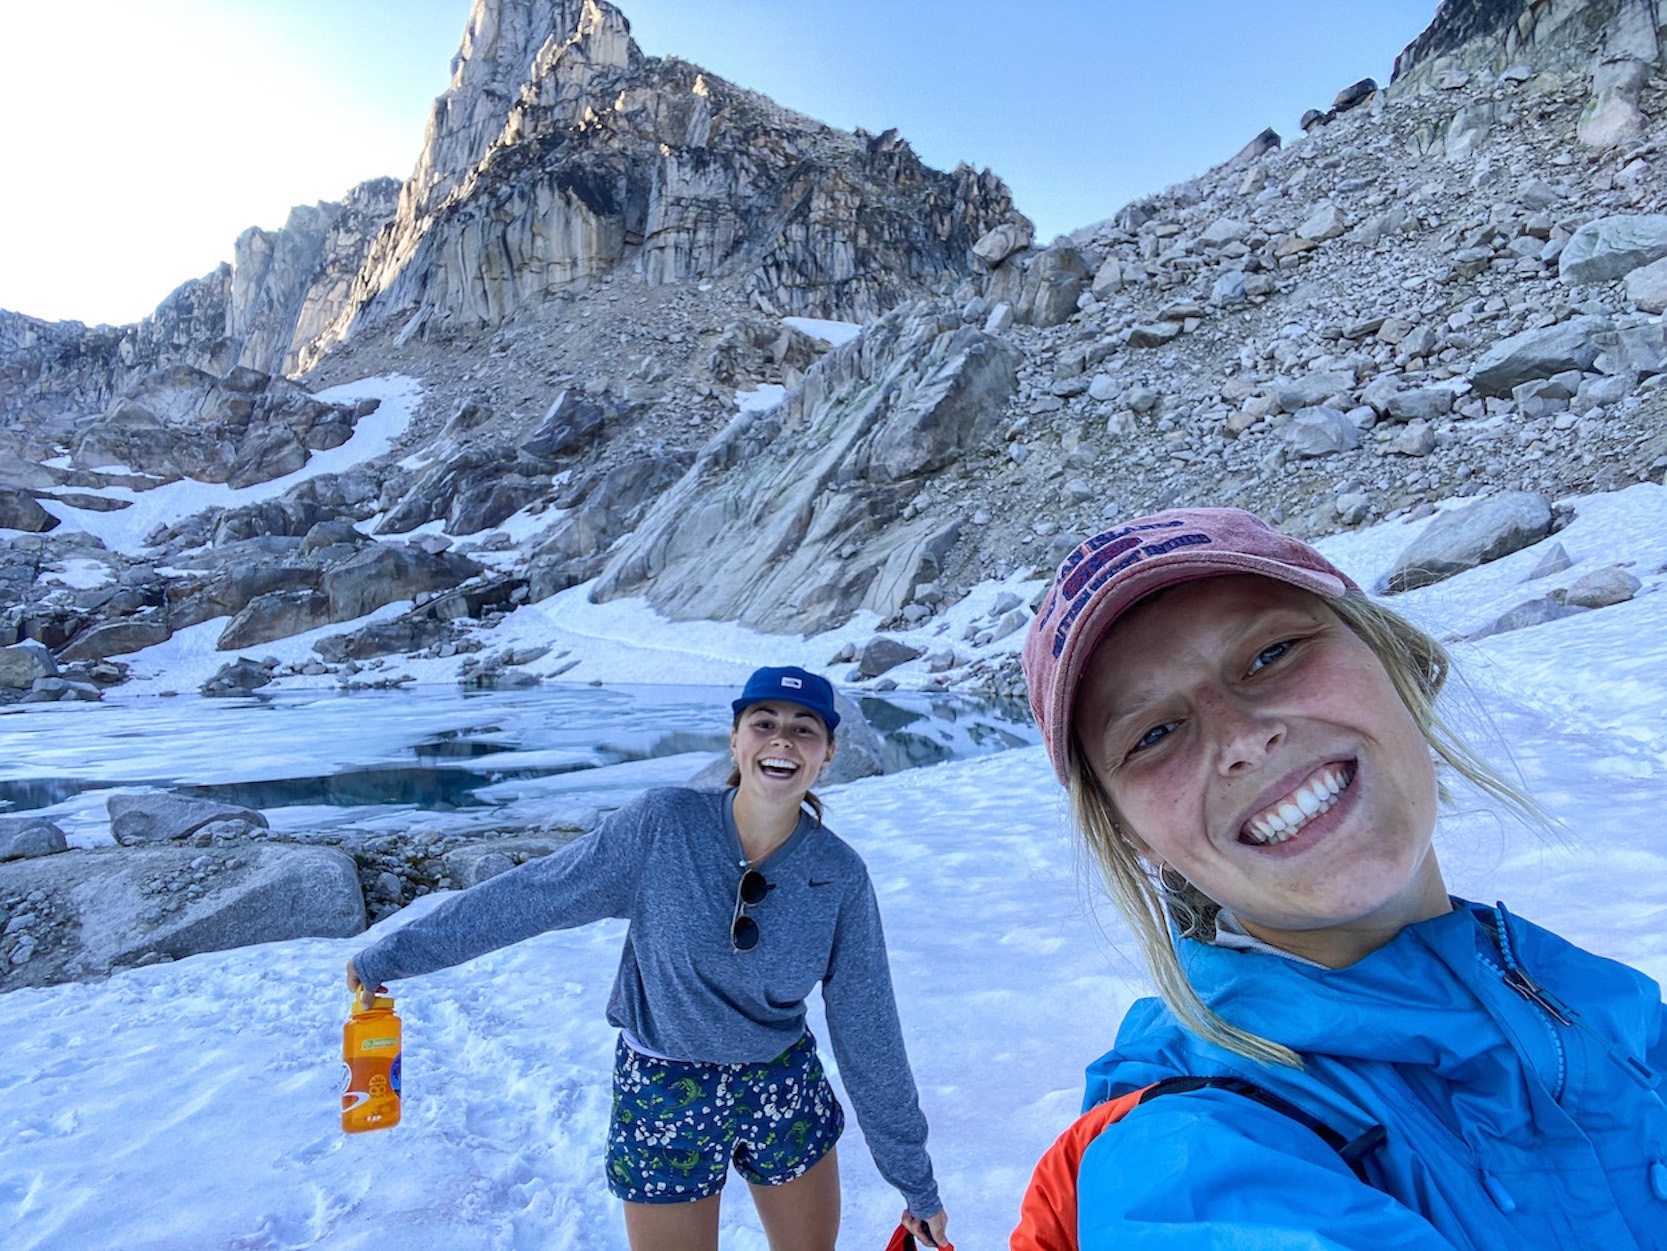
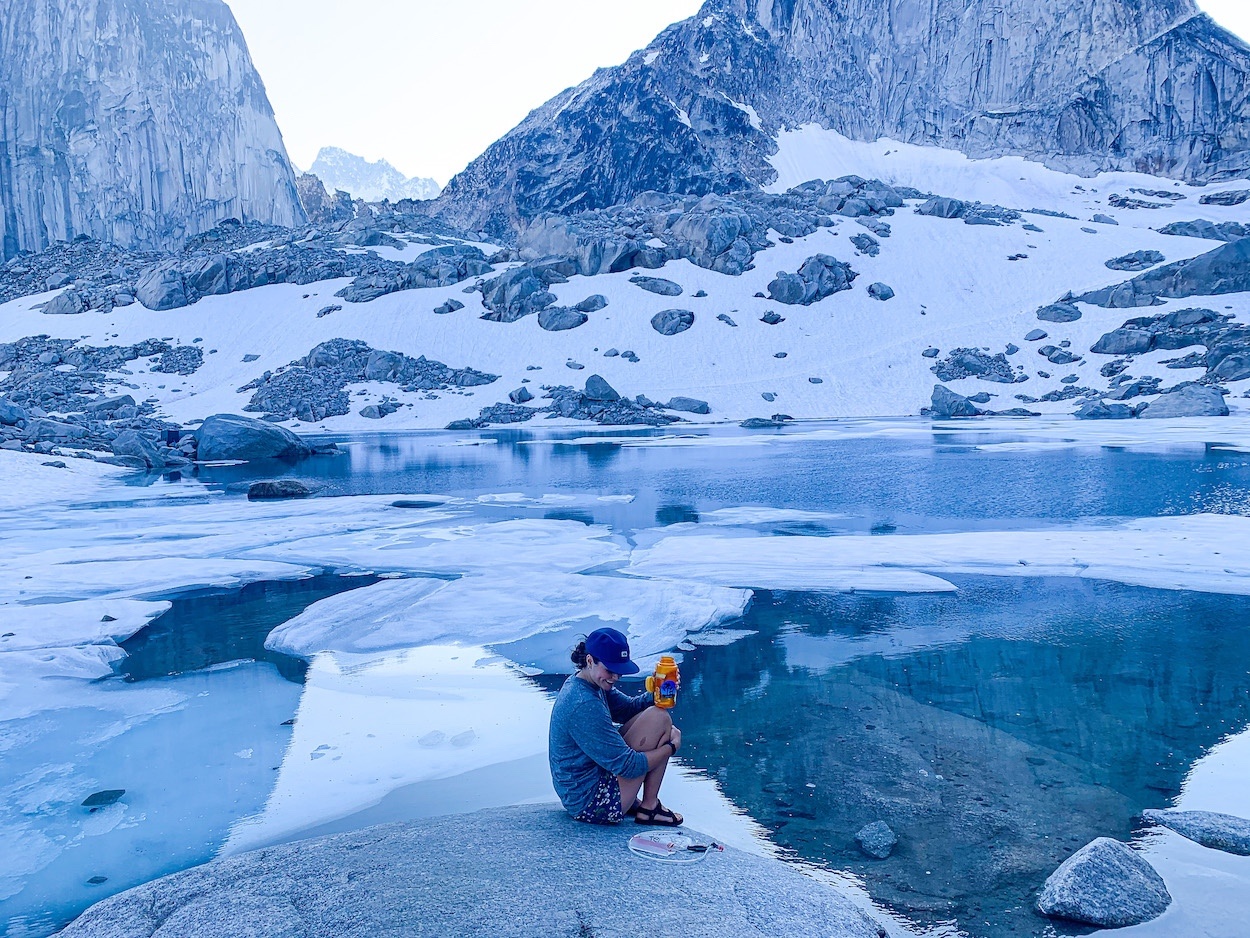
- The glacial lake that sits near the back of the dome could be a stunning place to camp. When we were here, this area was filled with snow, but if you can find a dry spot, this would be a cool and convenient place to stay.
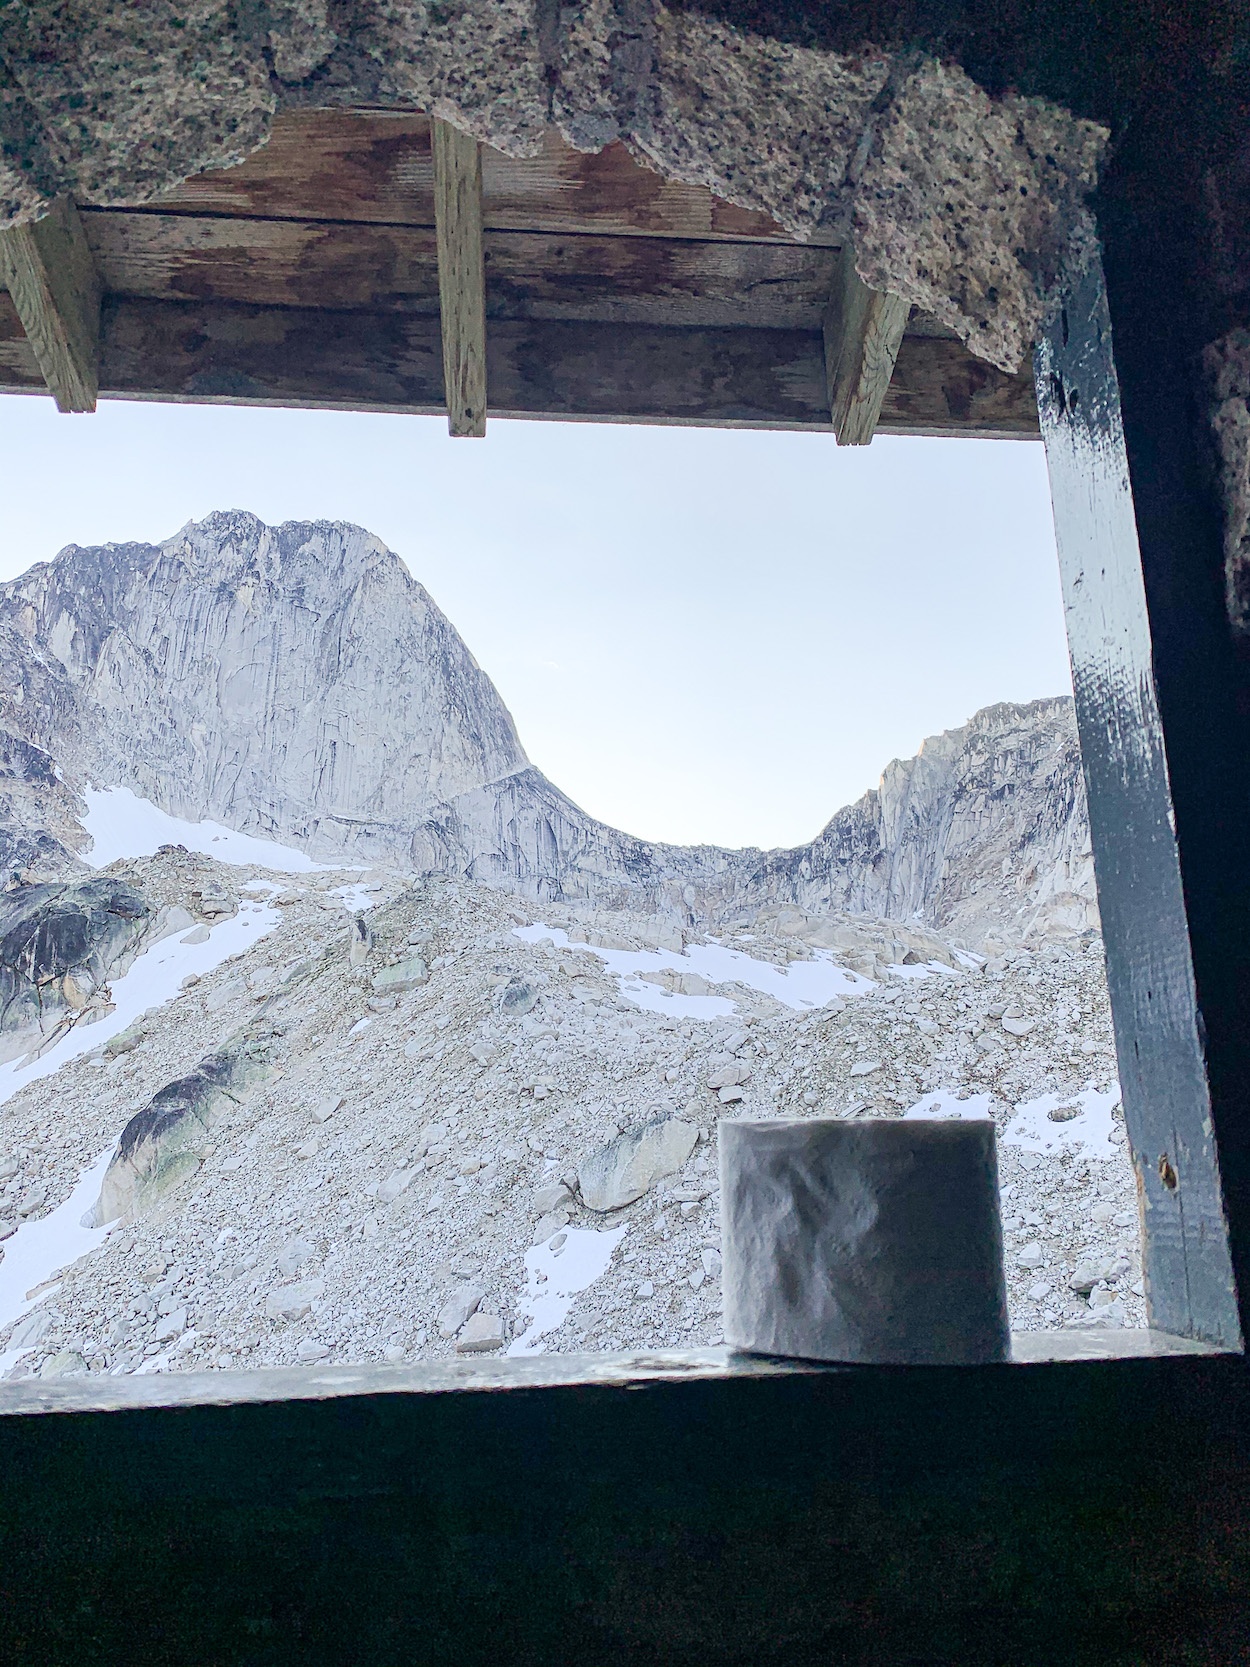
- There is only one outhouse in this area, so if being close to one is necessary, be sure to scout it out straight away. Some of the furthest camp spots from the toilet can be around a 5–10-minute walk. Be sure to take advantage of this facility, rather than nature’s toilet, to preserve the area and the glacial water that runs through it.
- This camping destination is highly trafficked, mainly with experienced climbers looking to tackle various climbing routes. I found a good mix between outgoing people looking for exciting conversations over a drink and people who want time to catch up on rest and relaxation after a big climbing day. Be sure to be mindful of who you are setting up next to, giving as much space as is needed.
Things to Know Before You Hike in Bugaboo Provincial Park
A Vehicle Fit for a Forestry Road
I know I mentioned this earlier, but I think it is so important that it needs repeating: the forestry road leading to the trailhead is a huge challenge! If you have an all-wheel-drive vehicle with decent clearance, you are golden, but still, allocate more time than estimated for the last 30 km of this road.
If you are like me and have a front-wheel drive, low clearance car, allocate A LOT of time and patience for this road. You will need to inch around a lot of potholes and rocks and encounter many areas where your car is likely to bottom out. Because we didn’t anticipate such a gnarly road, we ended up starting our hike much later in the day than we intended… do not make the same mistake.
Rock Climbing in the Bugaboos Alpine Playground
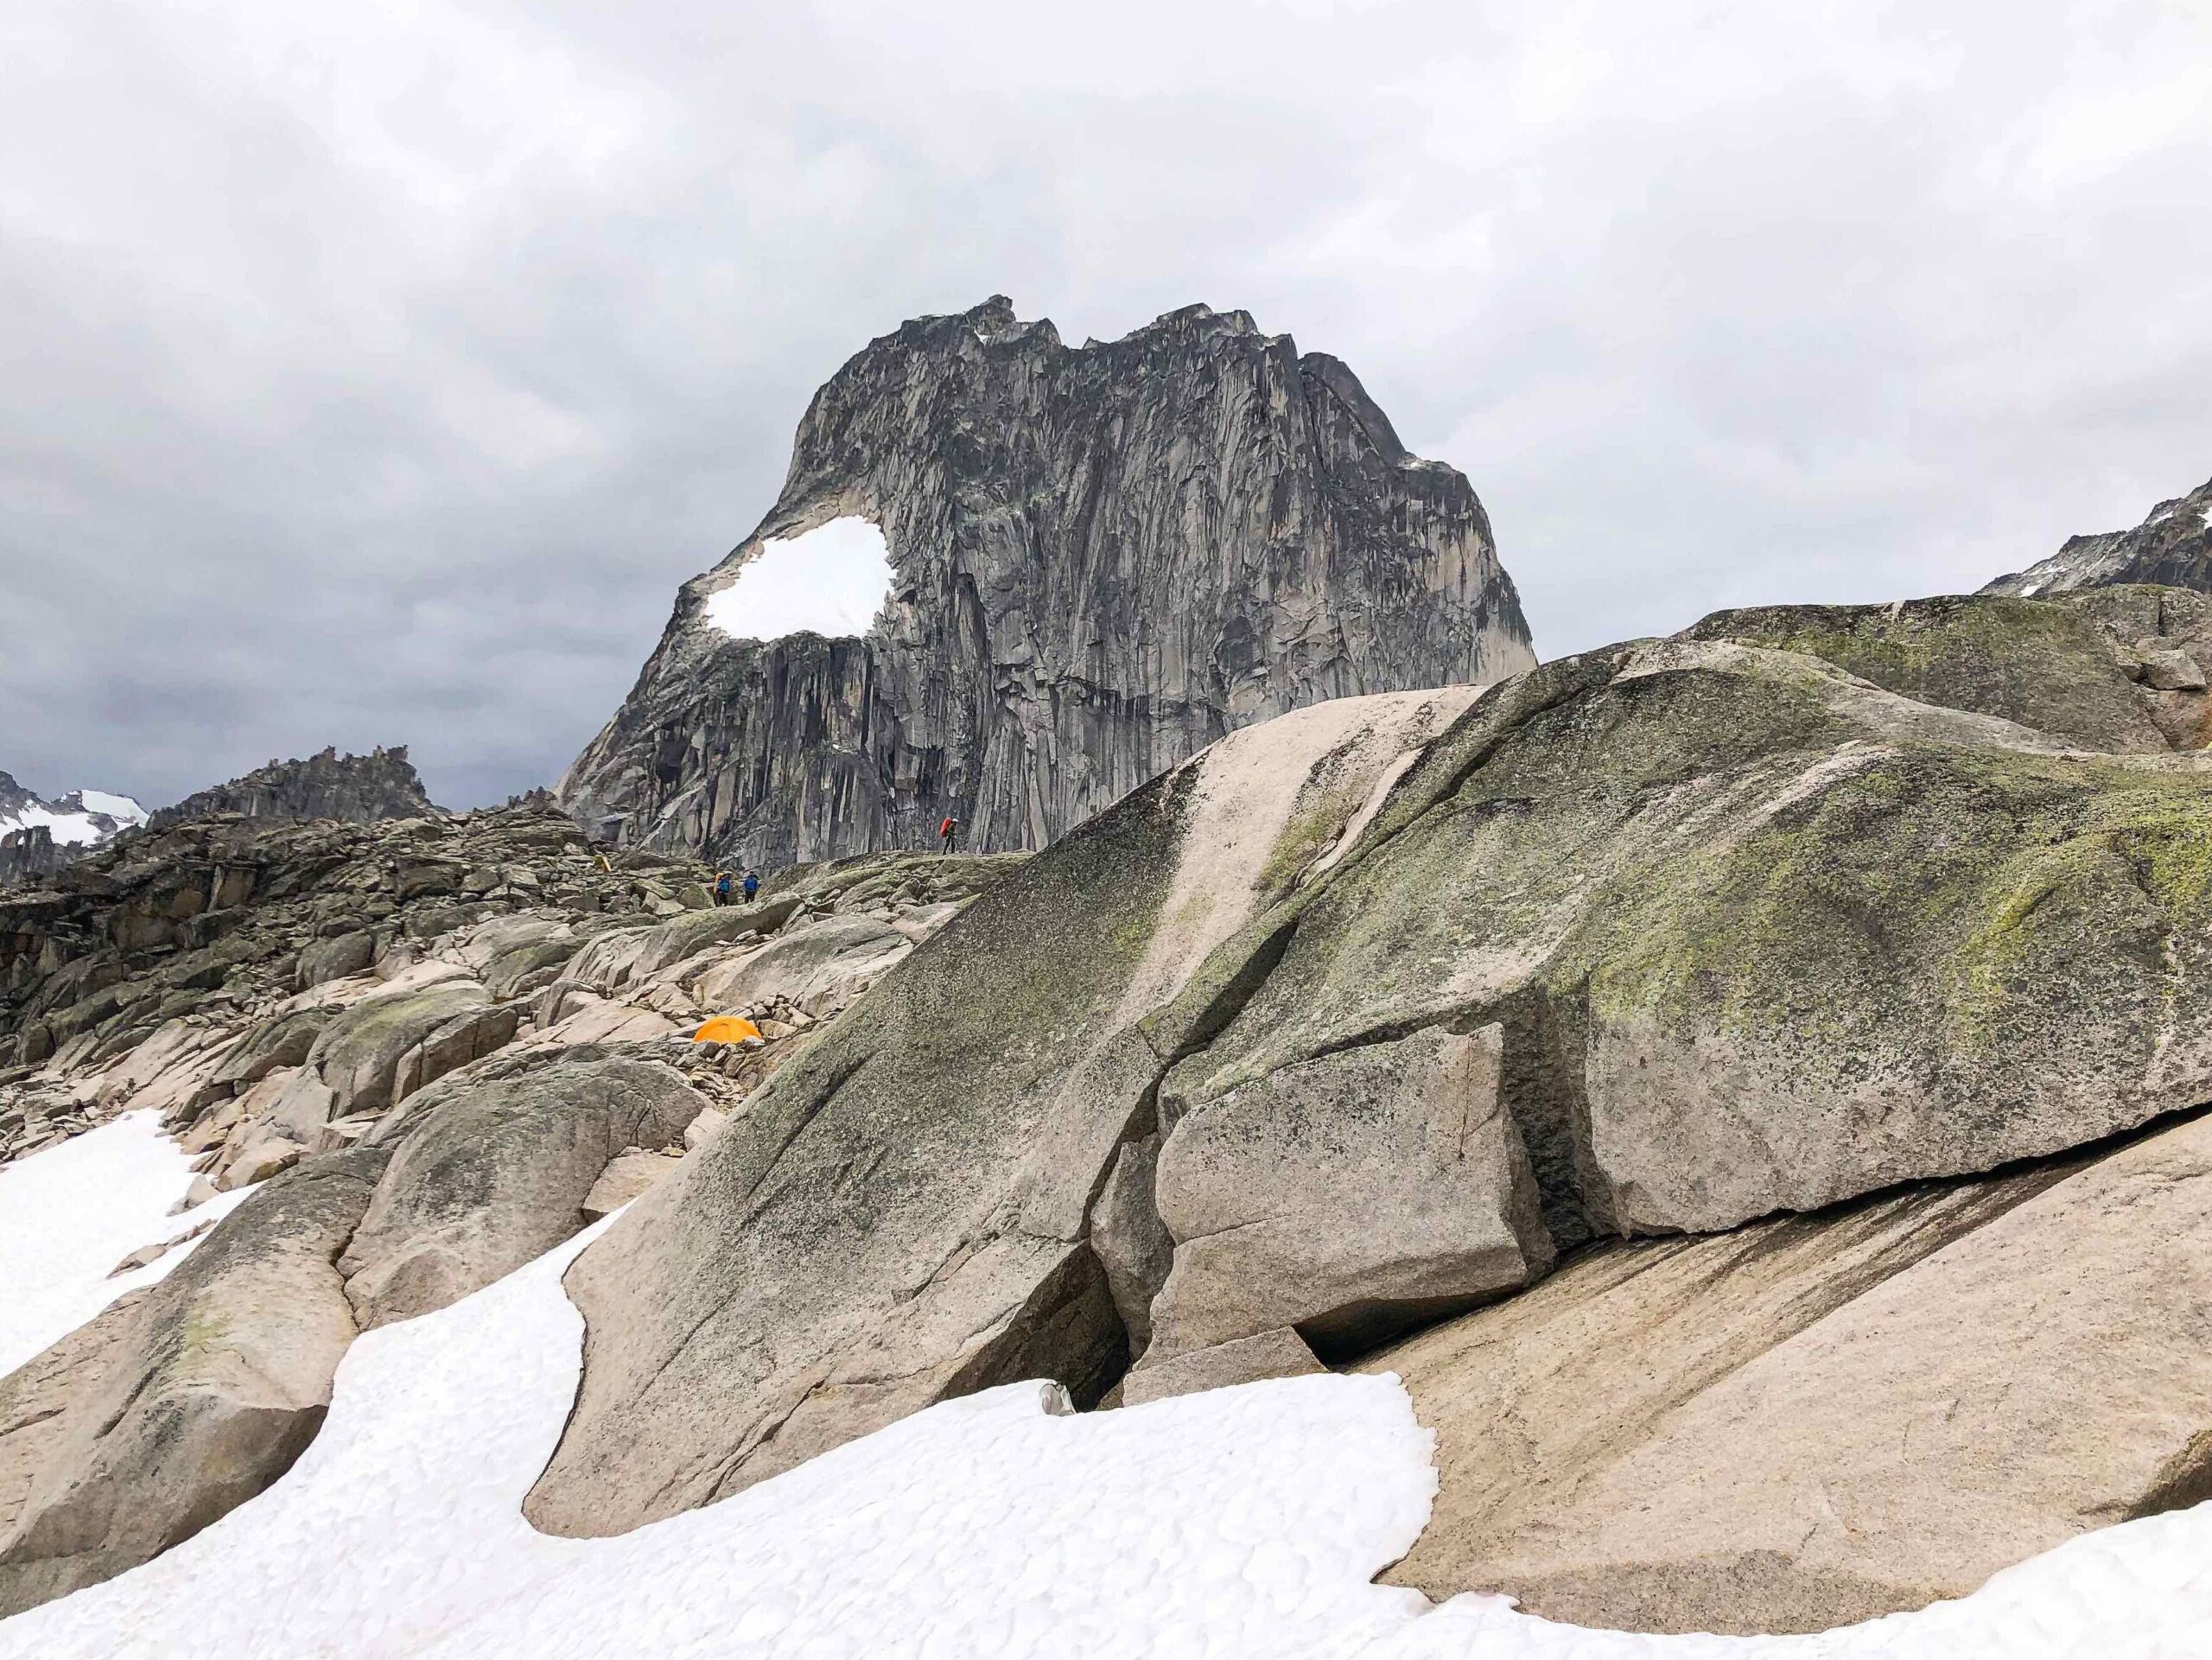
The impressive granite spires towering over the Applebee Dome Campground are any climber’s dream. The quality granite provides more than 60 routes to conquer, which are praised across North America and worldwide. Many climbers we talked to at the campground stayed for multiple days, with a new objective each day.
Though I wish this were my realm of expertise, climbing is new to me. You will have to check out the many guidebooks and online resources to learn more about climbing in the Bugaboos. If climbing isn’t for you, watching the climbers in their element is still amazing. Keep an eye out at dawn and dusk to see the headlamps of the committed climbers bobbing around the pitches in the dark.
Packing Items Specific to the Bugaboos
- Protection for your vehicle from the chicken wire: The chicken wire used to protect your vehicle from the tire chewing porcupines may scratch up your paint job. A few rags or other soft materials may be wanted for a buffer.
- Cash: Since the Applebee Dome Campground runs on a first-come, first-served basis, you will have to pay the park wardens upon arrival. The cost is $10 per night per person, (kids $5/per night) and cash is the only accepted form of payment.
- Toilet paper: Washrooms are located at the campground and the Kain Hut, but you must bring your own TP.
- Tent peg alternative: This may be a given, but you will be setting up your tent on solid rock. There is nowhere to secure a tent peg and no tent pads to tie a rope to. You will want to ensure you have a means of securing your tent – we simply tied ropes around some heavy rocks that are easy to come by throughout the campground.
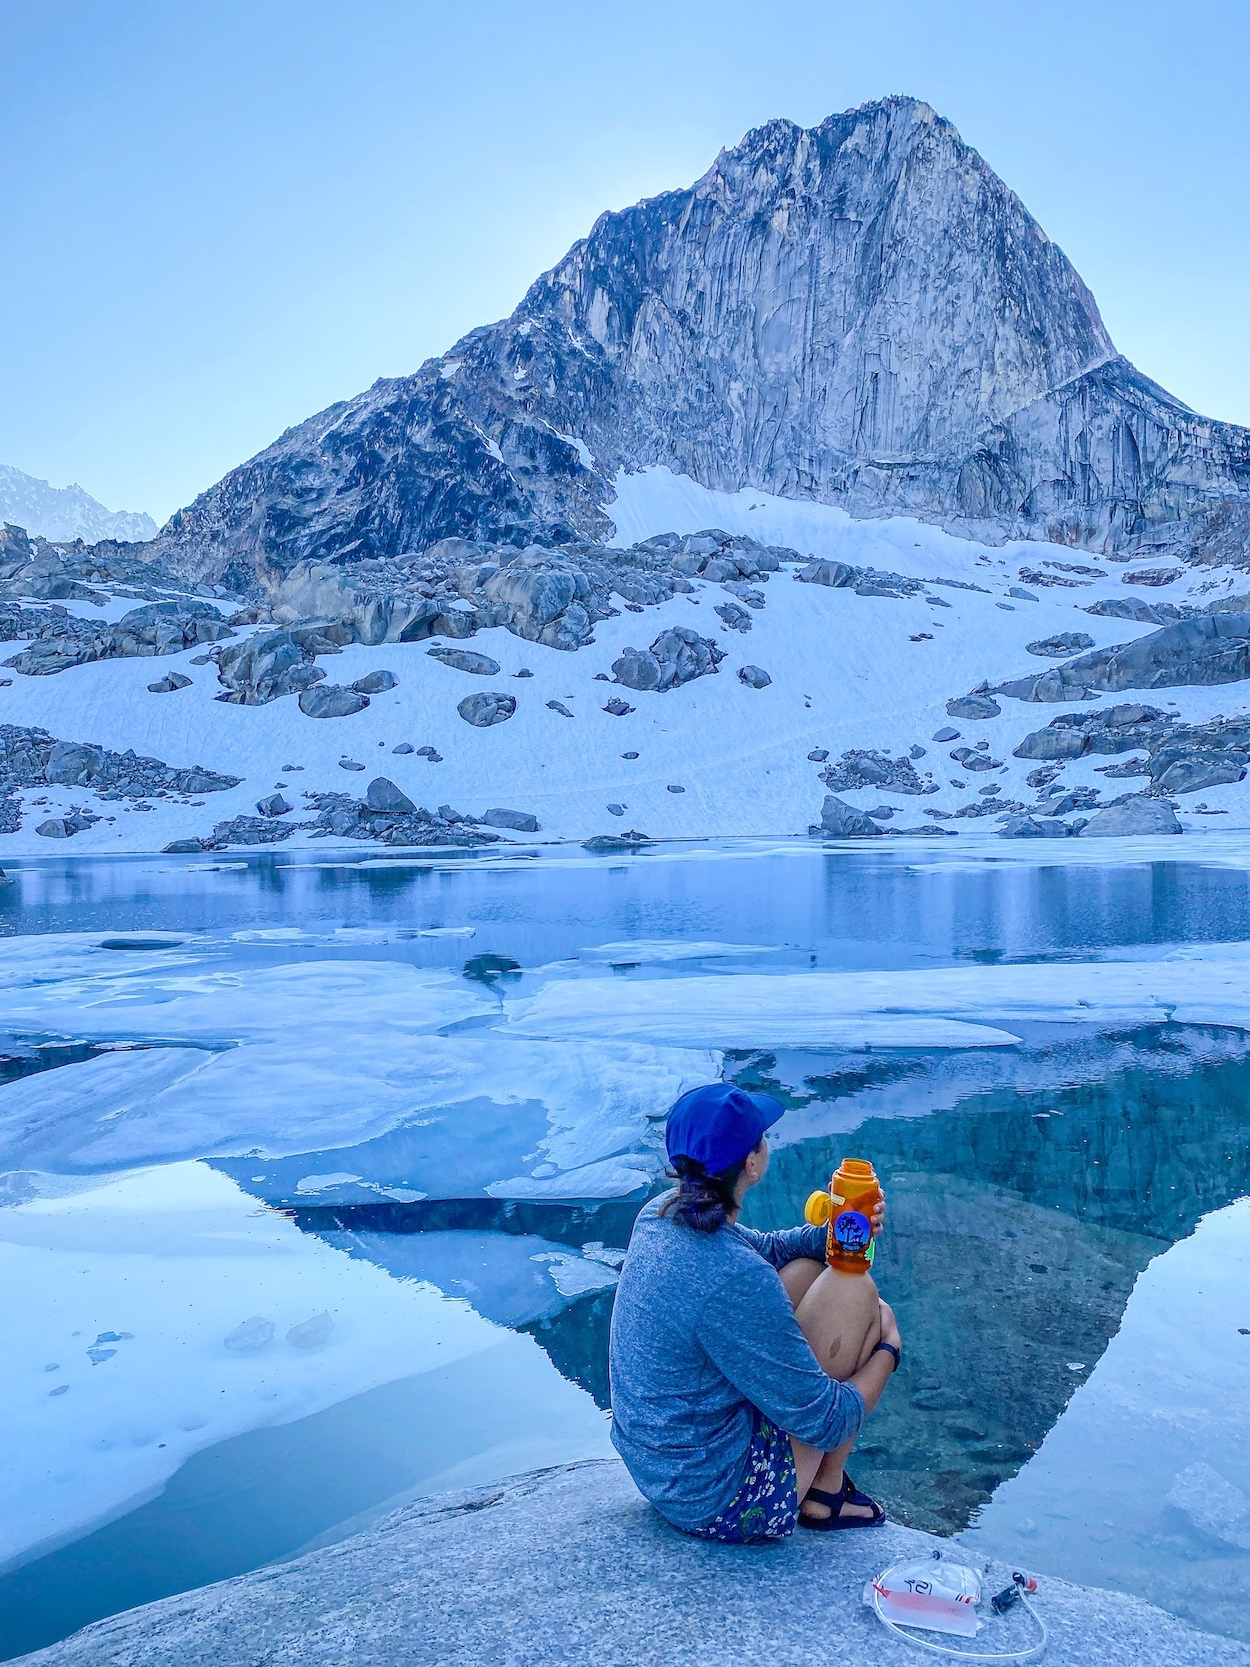
- Water purification system: The glacial lake in the dome is a perfect place to refill your water bottles, but do not forget your means of purification – tablets, drops, gravity system, etc.
- Hiking poles: I didn’t use poles for this hike but, boy oh boy, my back sure wishes I did. Some hiking poles would make this steep hike with a heavy pack easier. Just ensure you have a place to secure them, so your hands are free for the ladder and chain sections.
- Proper Clothing: Whenever you are in the alpine, there will be major exposure to the elements. For details on how to protect your body and be best prepared, check out this What To Wear Hiking list.
Gear We Recommend
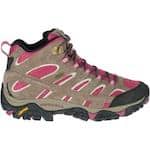
Many hikers will enjoy the security, comfort, and value in the Merrell Moab II. It’s a great beginner hiking boot.
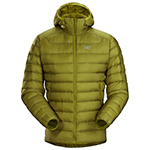
Arc’teryx Cerium is our pick for the best down jacket. It’s incredibly light, and we bring it on almost every hike in the Rockies.
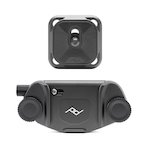
This nifty clip from Peak Design secures a camera to my backpack strap for easy reach. No more digging in the backpack!
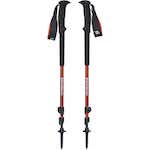
A pair of durable and lightweight hiking poles are a great asset on the hiking trail. We’ll always
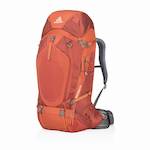
We both use the Gregory Baltoro/Deva as our multi-day backpack. It’s an exceptional pack that carries weight beautifully.
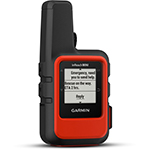
There is not much cell service in the Canadian Rockies. In case of emergencies, we carry an emergency beacon with GPS.
Weather in the Bugaboos
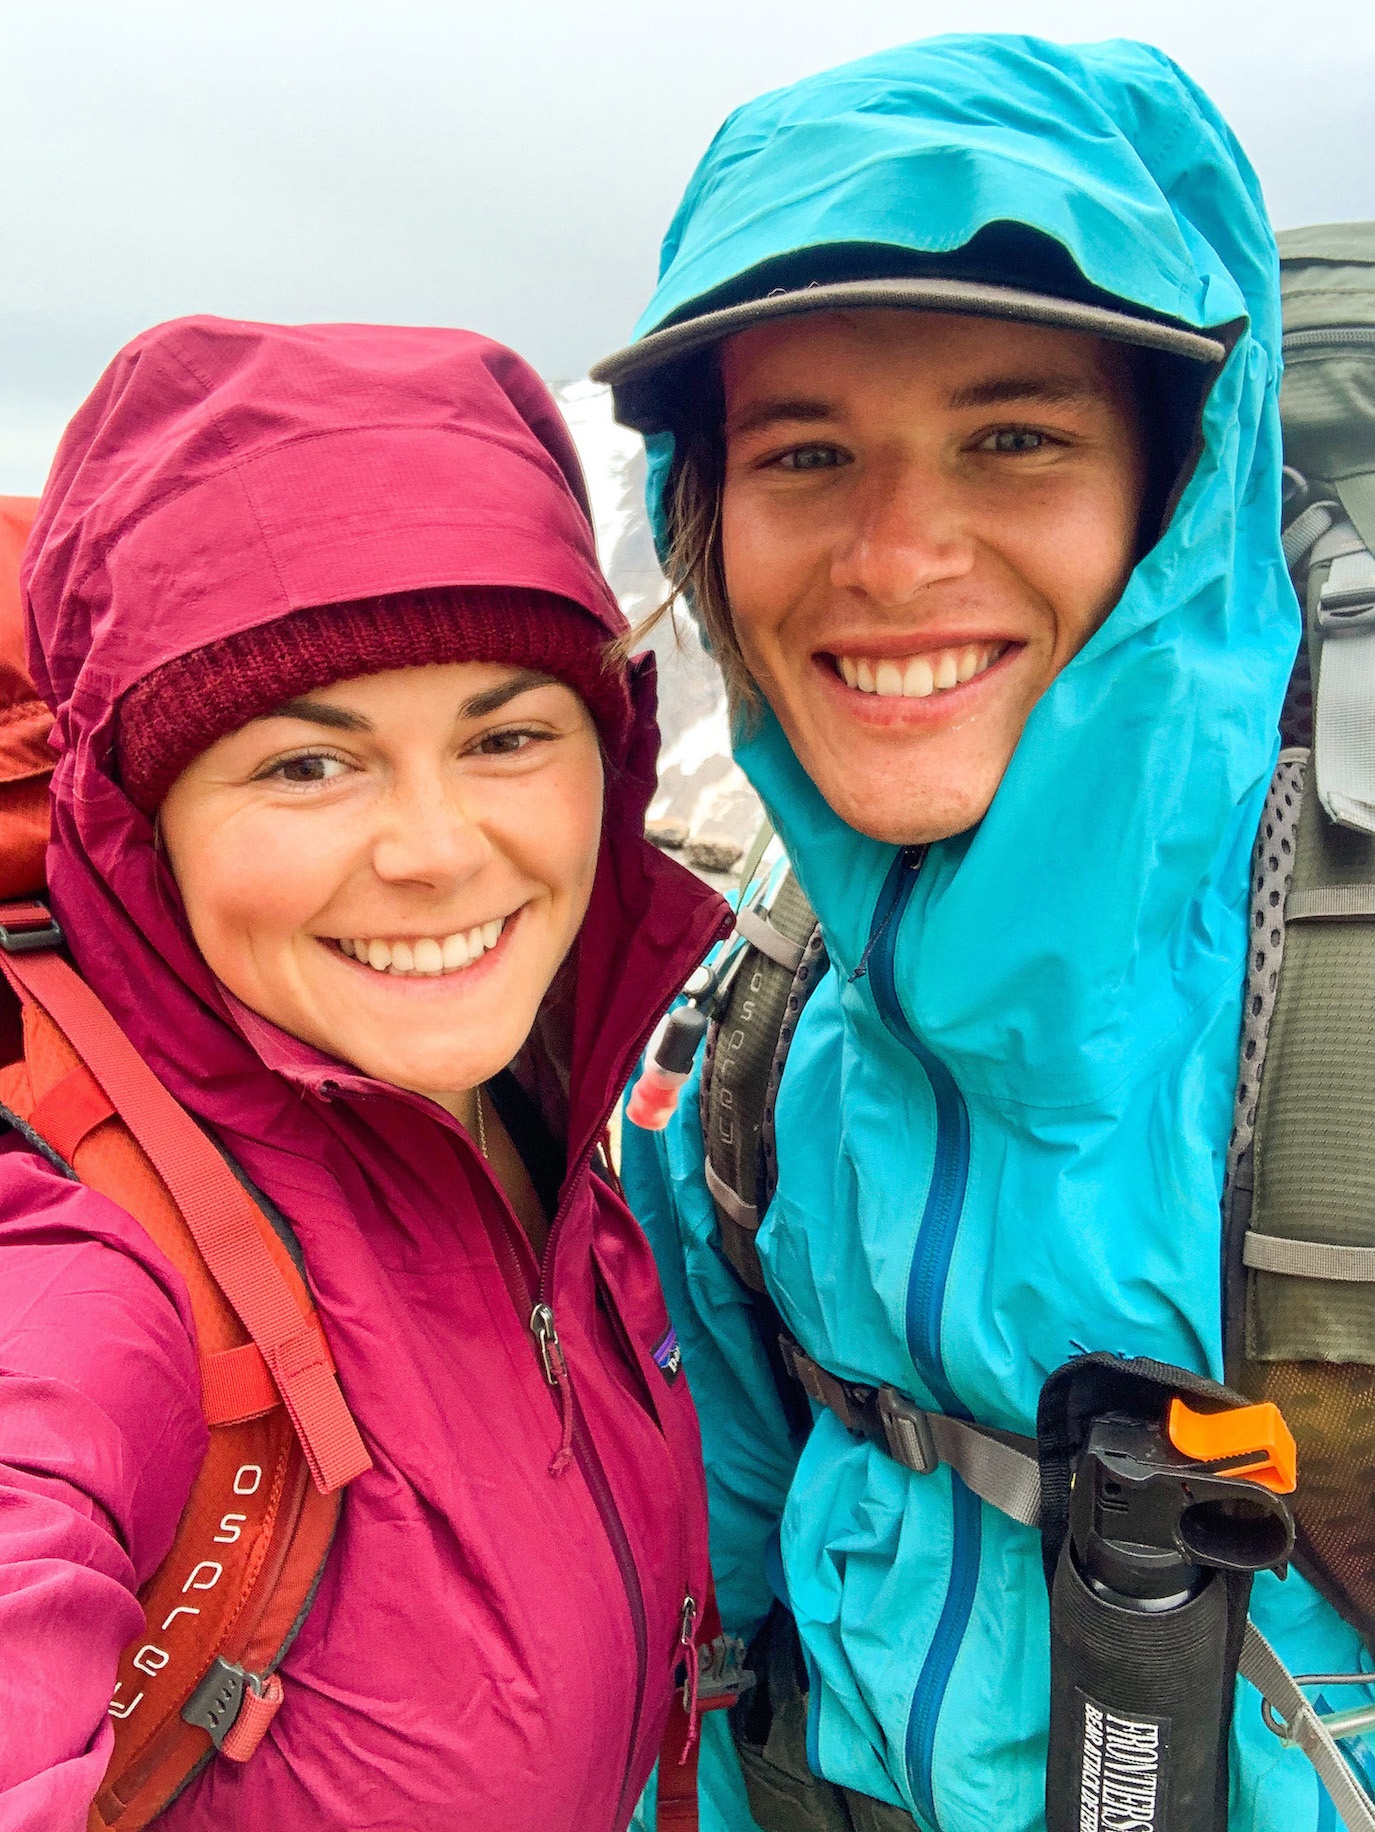
As with any hike, know about the weather before you go. The access road, the hike (on the way up and the way down), and the campground could all be quite dangerous with the wrong weather. The best time to complete this adventure is between July and mid-September.
- Before tackling the access road, be certain that the area has had a few dry days. This road is bound to get almost any vehicle stuck after a rainfall.
- The ladder and rock ledges on this hike can become very slippery if wet, on both the way up and down.
- The Applebee Dome Campground is extremely exposed to both the sun and wind. You will want to be prepared for all weather conditions considering how quickly the weather can turn, but do your best to avoid visiting if heavy rainfalls or high winds are in the forecast. On our hike out, the rain rolled in hours before it was expected to – this made for a slippery hike down!
Don’t Be Fooled By the Length
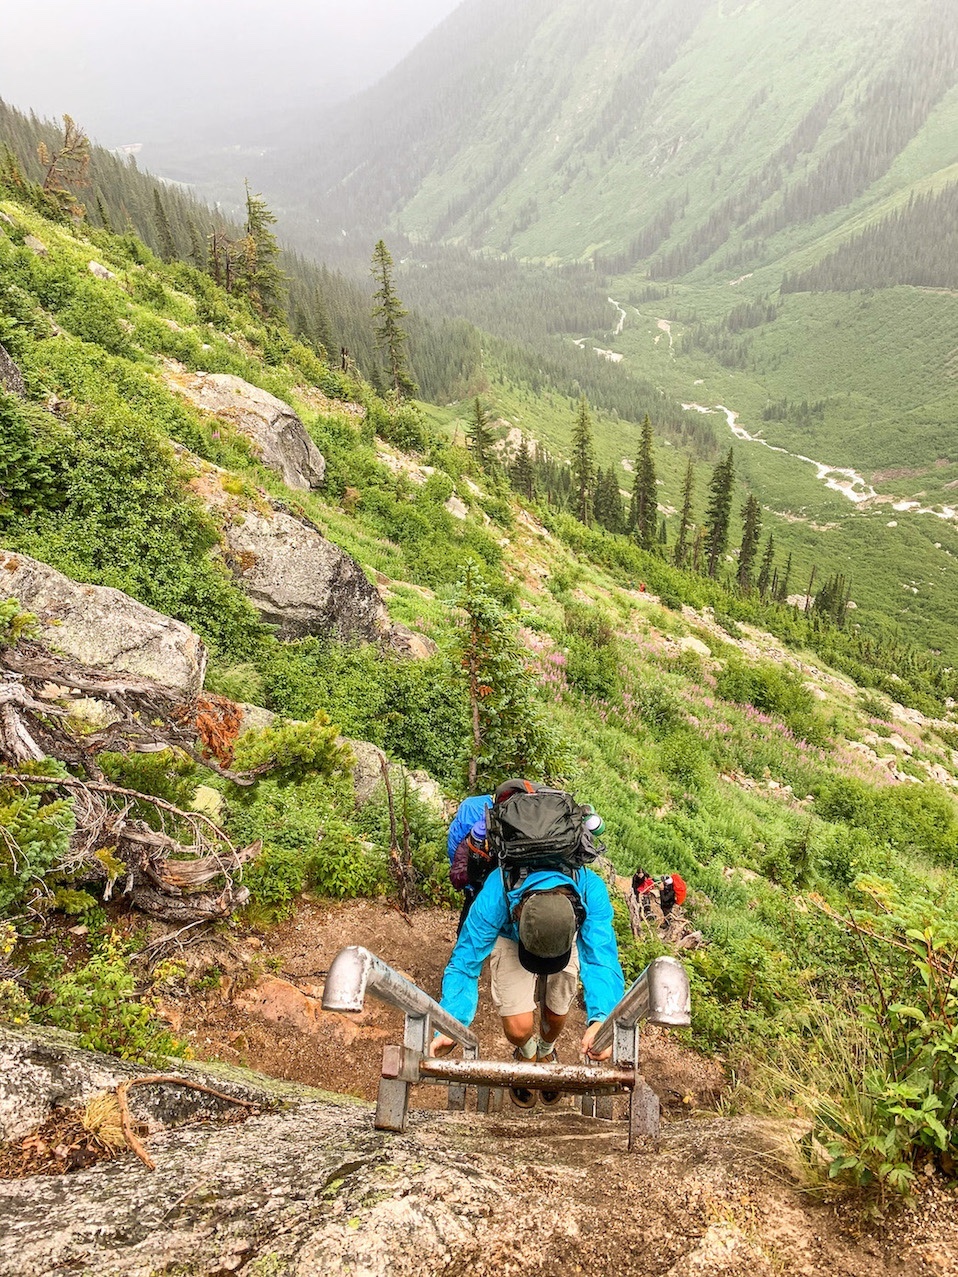
Maybe this is an obvious tip, but do not underestimate this hike based on its length. When setting out on this hike, I had the mindset that 4.5 kilometers was relatively short and shouldn’t be too difficult – I was wrong! This hike has 990 meters of elevation gain over 4.5 kilometers, and when you add an overnight pack and full-on sunshine, it sure does gain its rating of difficult.
It’s possible to do this trip as a day hike or trail run in the summer, that way you can move faster without a heavy backpack. However, you’ll appreciate waking up in the Bugaboos by camping at the Applebee Dome.
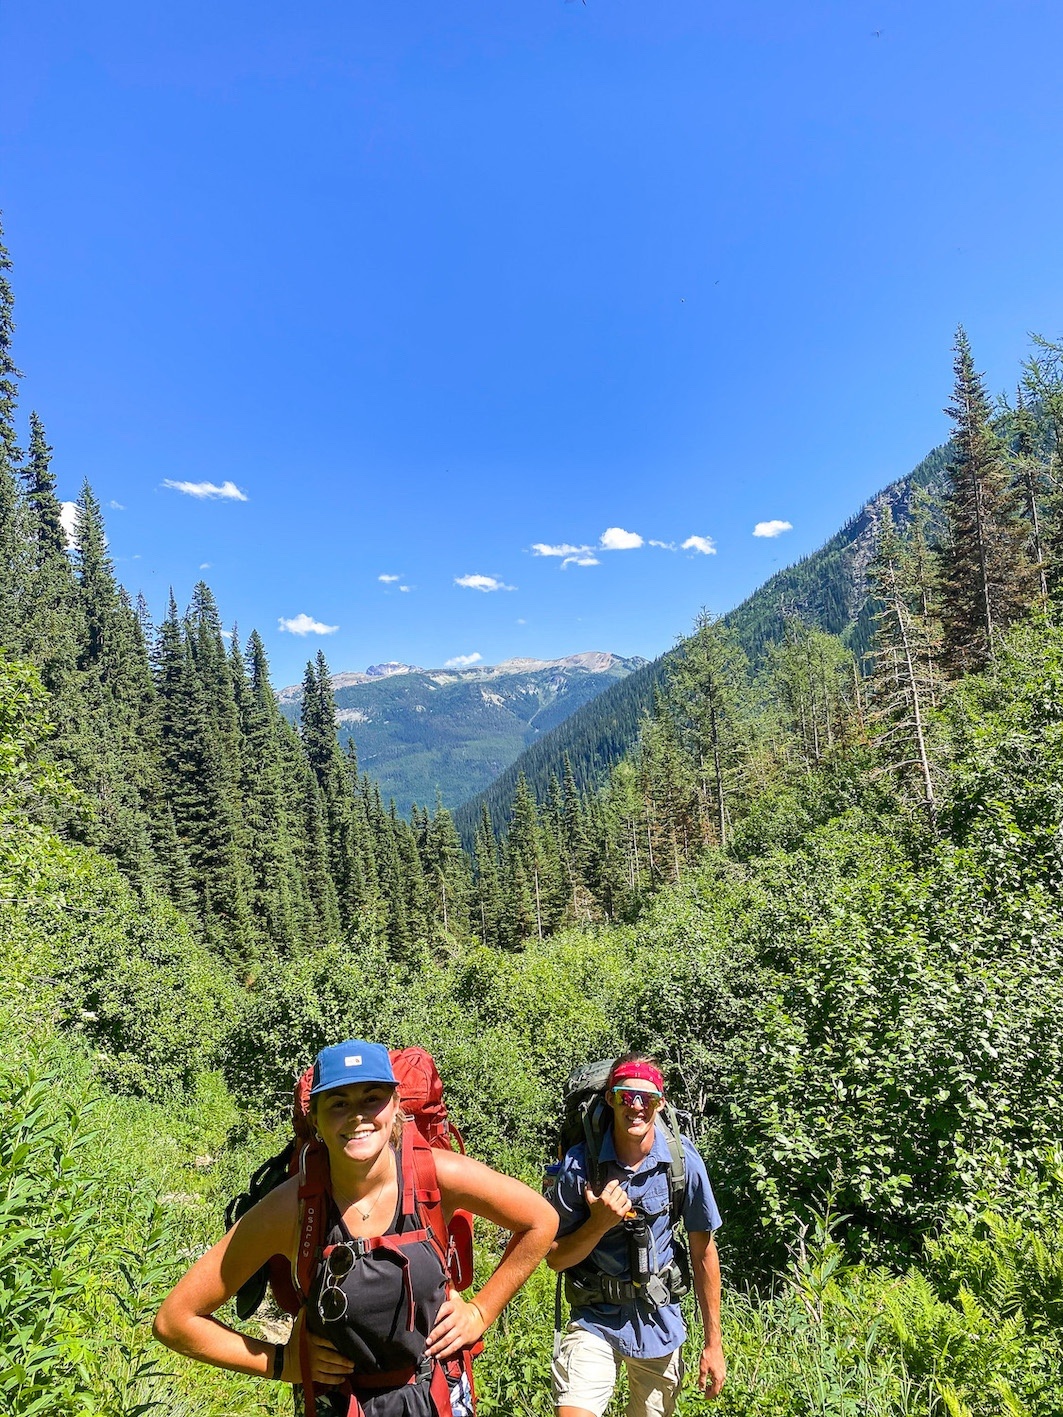
The Kain Hut Trail to Applebee Dome Campground is rated as Difficult and should be treated as so. With sections of high exposure and very steep terrain, you will want to be both physically and mentally prepared when setting out on this adventure!
A Bustling Campground
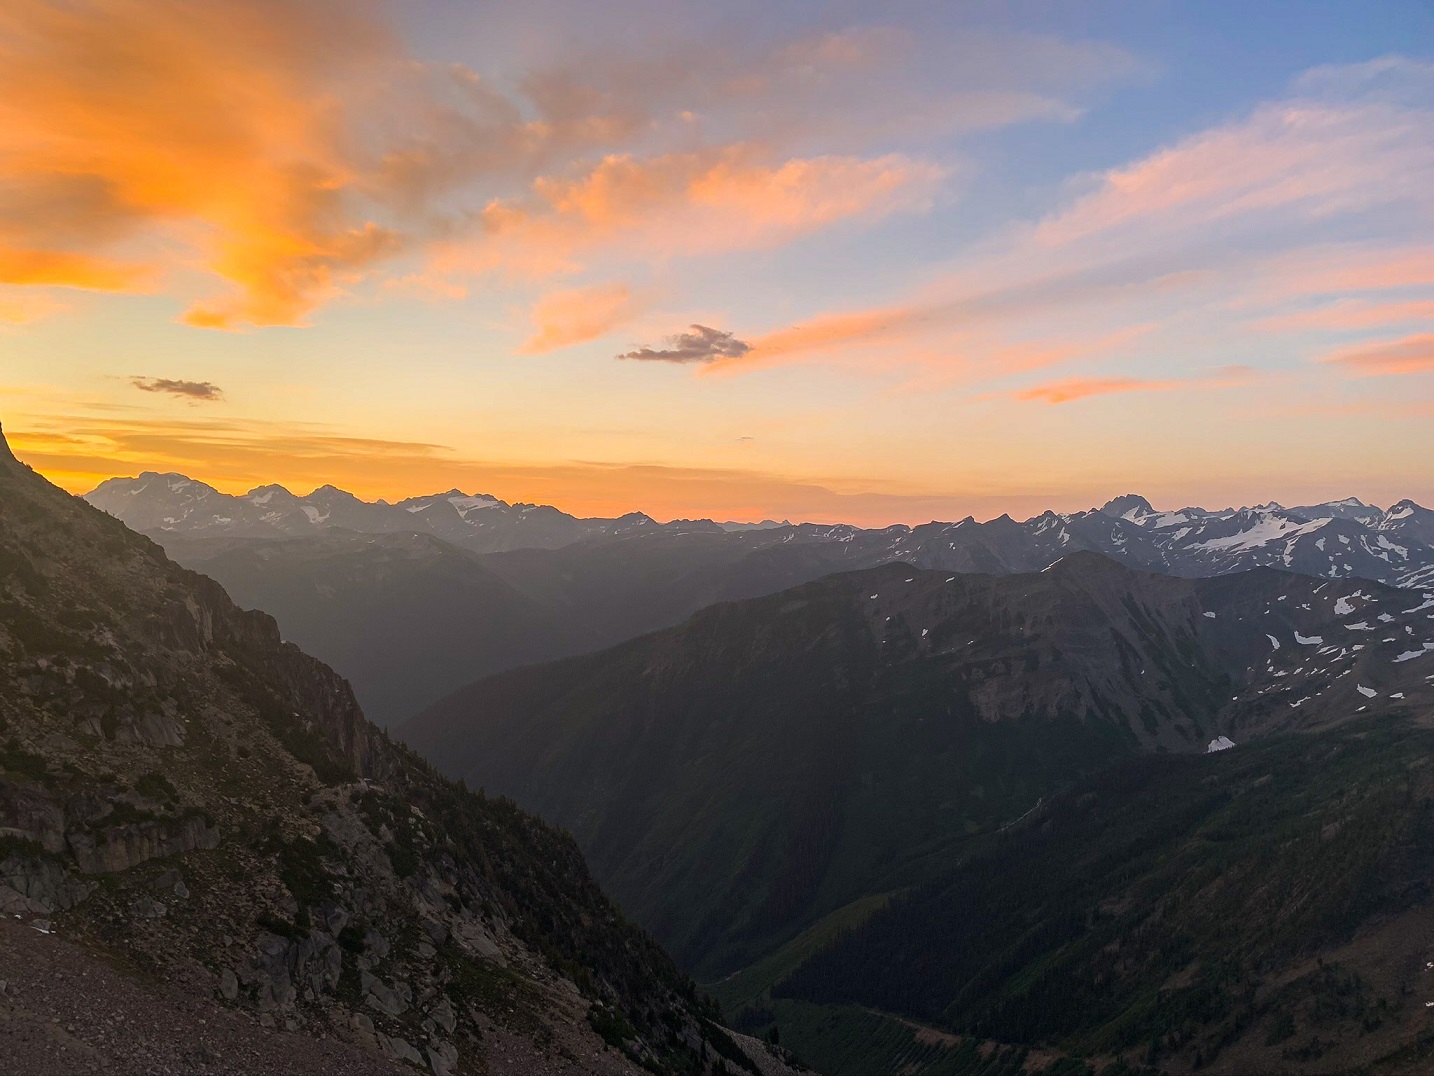
The Applebee Dome Campground is a sought-after location for climbers and backcountry enthusiasts alike. During the peak summer season, the campground can get busy. Though it is isolated from cities and towns, it is definitely not isolated from people.
If visiting this campground, be prepared to see and interact with plenty of people especially on weekends. A lot of the people here have interesting stories to share, are super talented, and are just all-around unique outdoor adventurers. This is a beautiful place to meet fellow climbers or campers and enjoy the company of new friends.
Despite the Applebee Dome Campground being heavily trafficked, you are still fully immersed in nature. You must be properly prepared, and have the proper experience when making any trip into a mountain environment. Check out this Complete Mountain Packing List if you need a hand optimizing your pack job.
More Backcountry Camping Destinations in the Rockies
- Mount Assiniboine Provincial Park
- Jasper National Park
- Yoho National Park
- Berg Lake in Mount Robson Provincial Park
- How to Visit Lake O’Hara in Yoho National Park
↓ Ask Your Questions ↓
The Banff Blog Private Facebook Group is your headquarters for Canadian Rockies travel advice and information, including hike and off-season travel information. You can also meet new adventure buddies.


Hi,
Just wanted to clarify. Since i am planning to camp at applebee dome. I saw first come first served basis- what does that mean? Like no online booking should be made just up there?
Thank you
Backcountry or wilderness camping is available on a first-come, first-served basis, no online booking. The early bird gets the worm!
Hi,
Did you end up going to Cobalt Lake? Was wondering if there was a clear trail that lead to Cobalt lake from the Applebee campground.
Thanks!
I have a question if you dont mind! I am hoping to bring my border collie pup on this hike, we have tackled a ladder together on a previous hike. She is a very cautious and athletic pup so either she will scale the side or i will rig her up on my chest with her harness. Other than the ladder, is this hike and campground suitable for a dog? I havent seen much information about bringing dogs here. Thanks in advance!
Hi Al,
This article was written by one of our old local staff writers so I am unsure as she has since moved. We have not been the campground ourselves unfortunately.