How to Scramble Up Tower of Babel at Moraine Lake
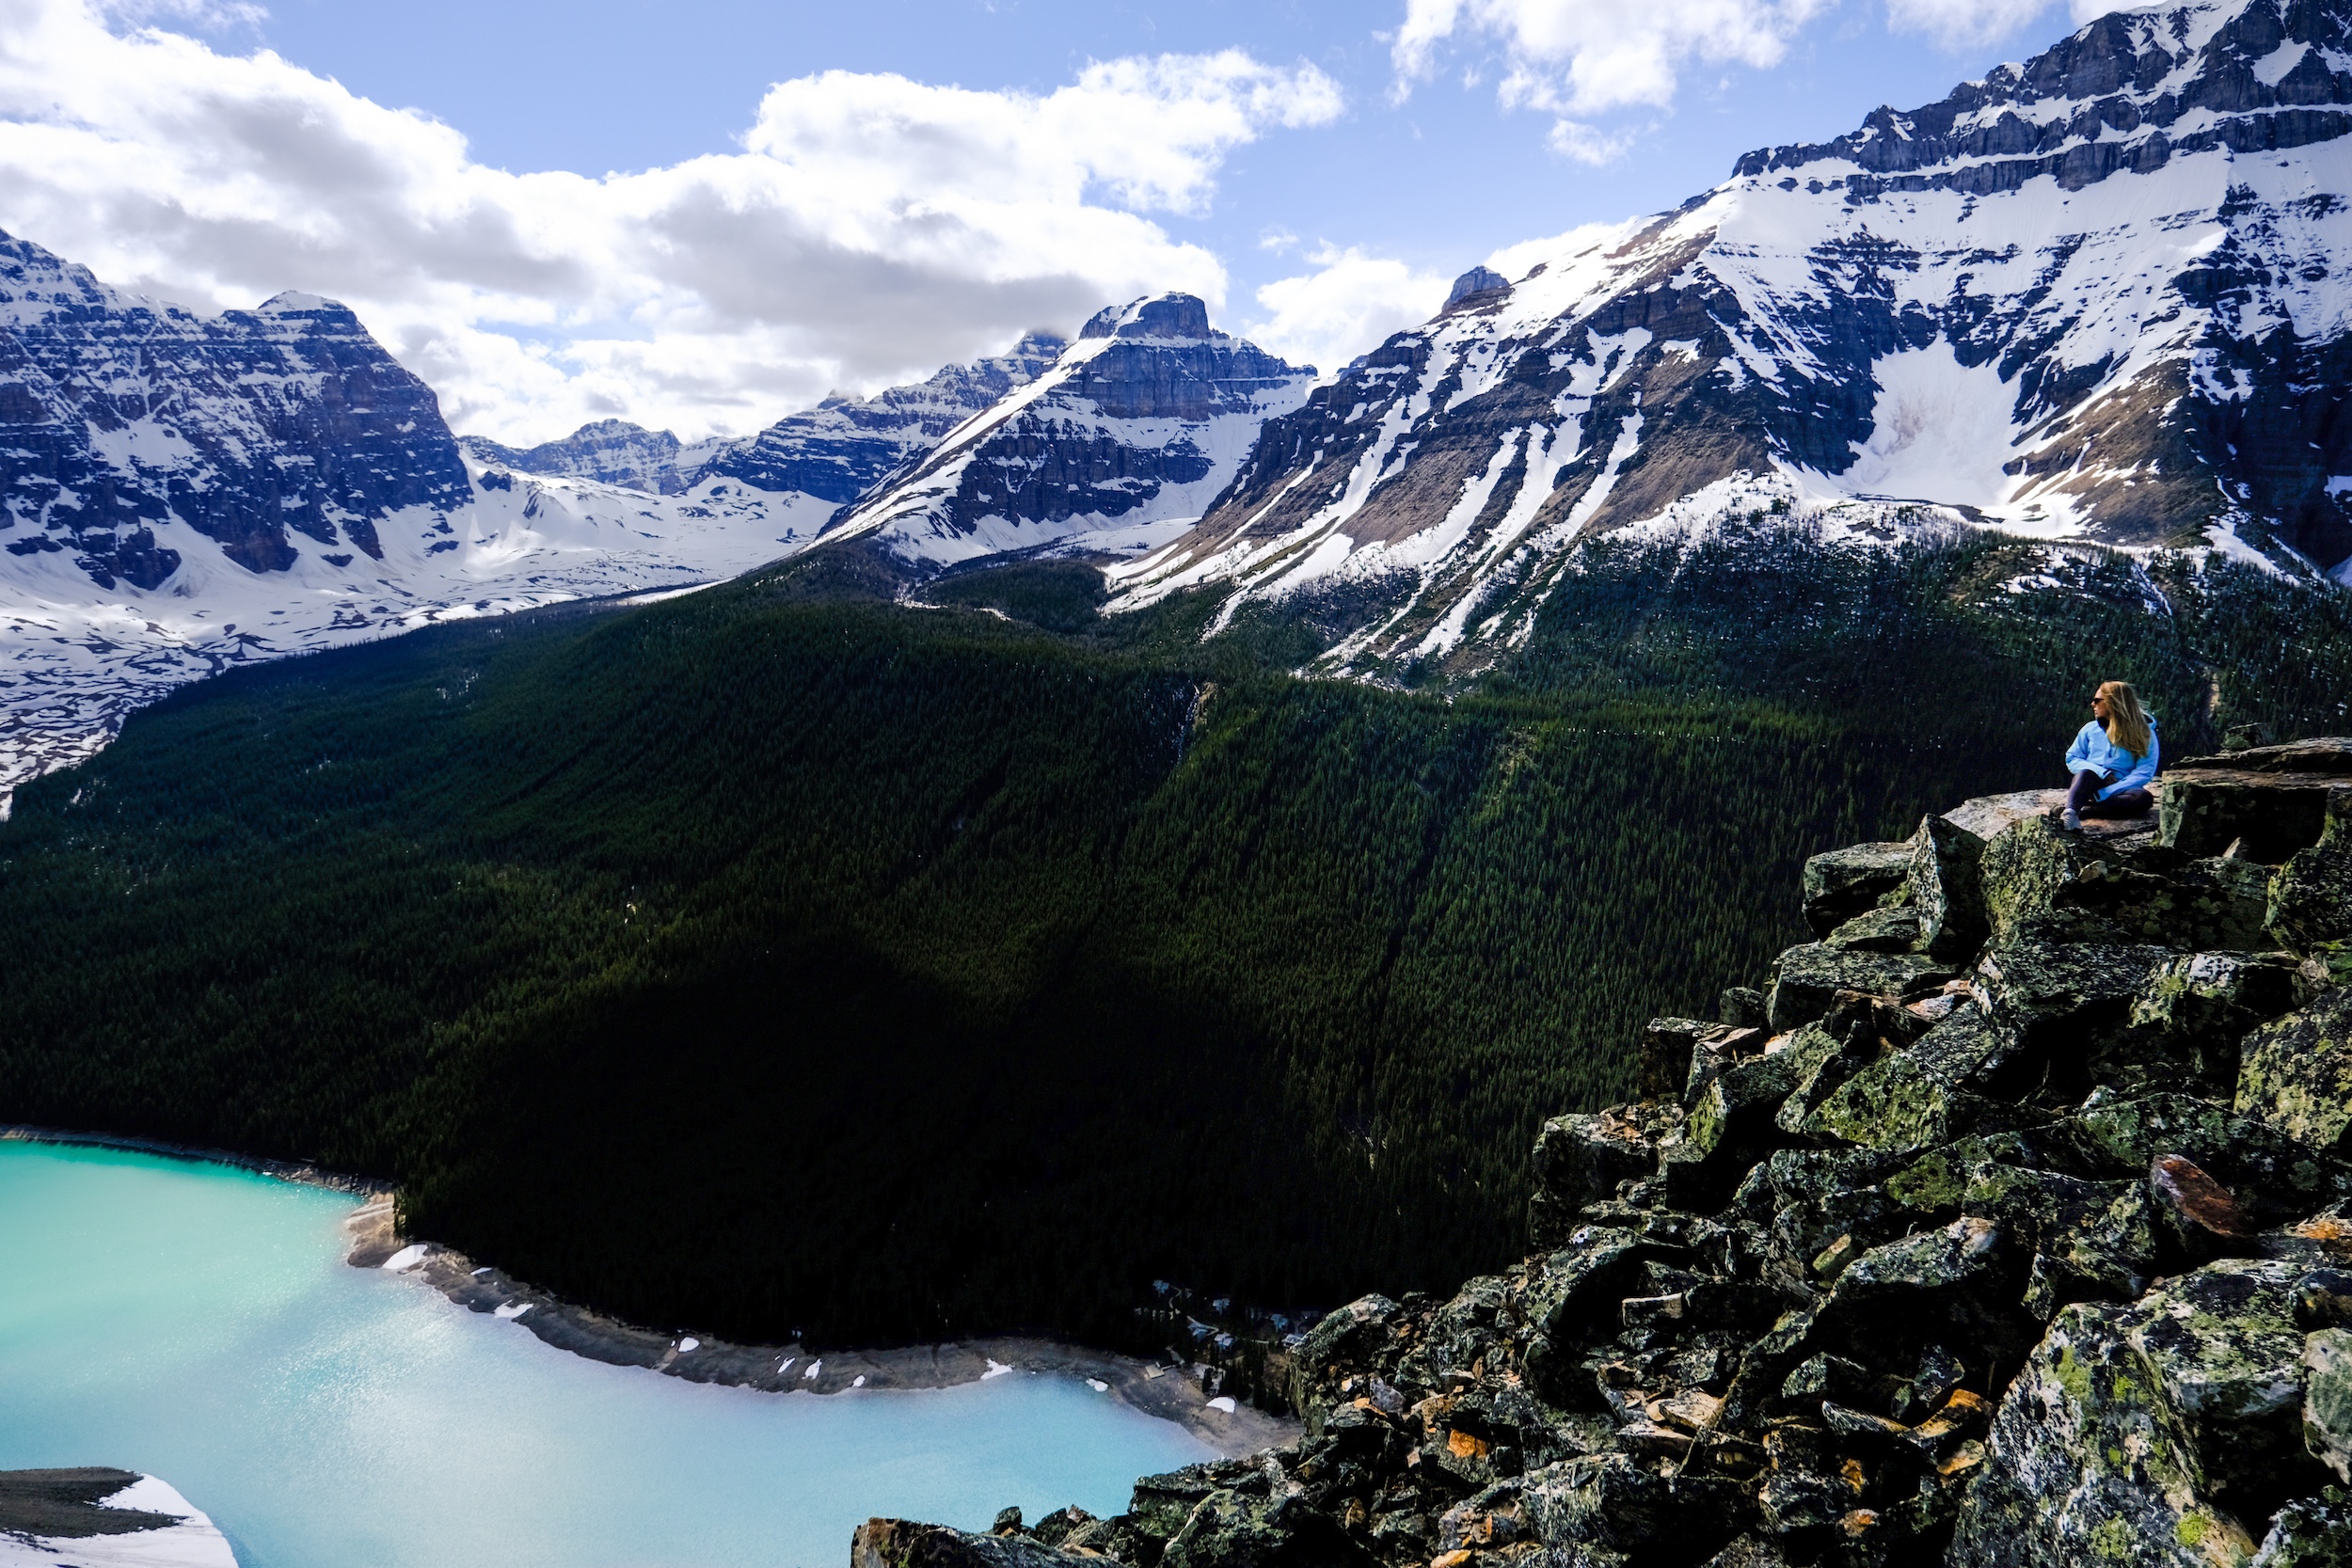
The Tower of Babel is perhaps the most well-known scramble around the Lake Moraine and Lake Louise area. It’s a quick objective with awesome views of Moraine Lake, Consolation Valley, and the Bow Valley.
The Tower of Babbel is a sub-peak. However, just because it’s a quick one does not mean it is easy – actually, it’s quite intimidating, but we’ll get into that!
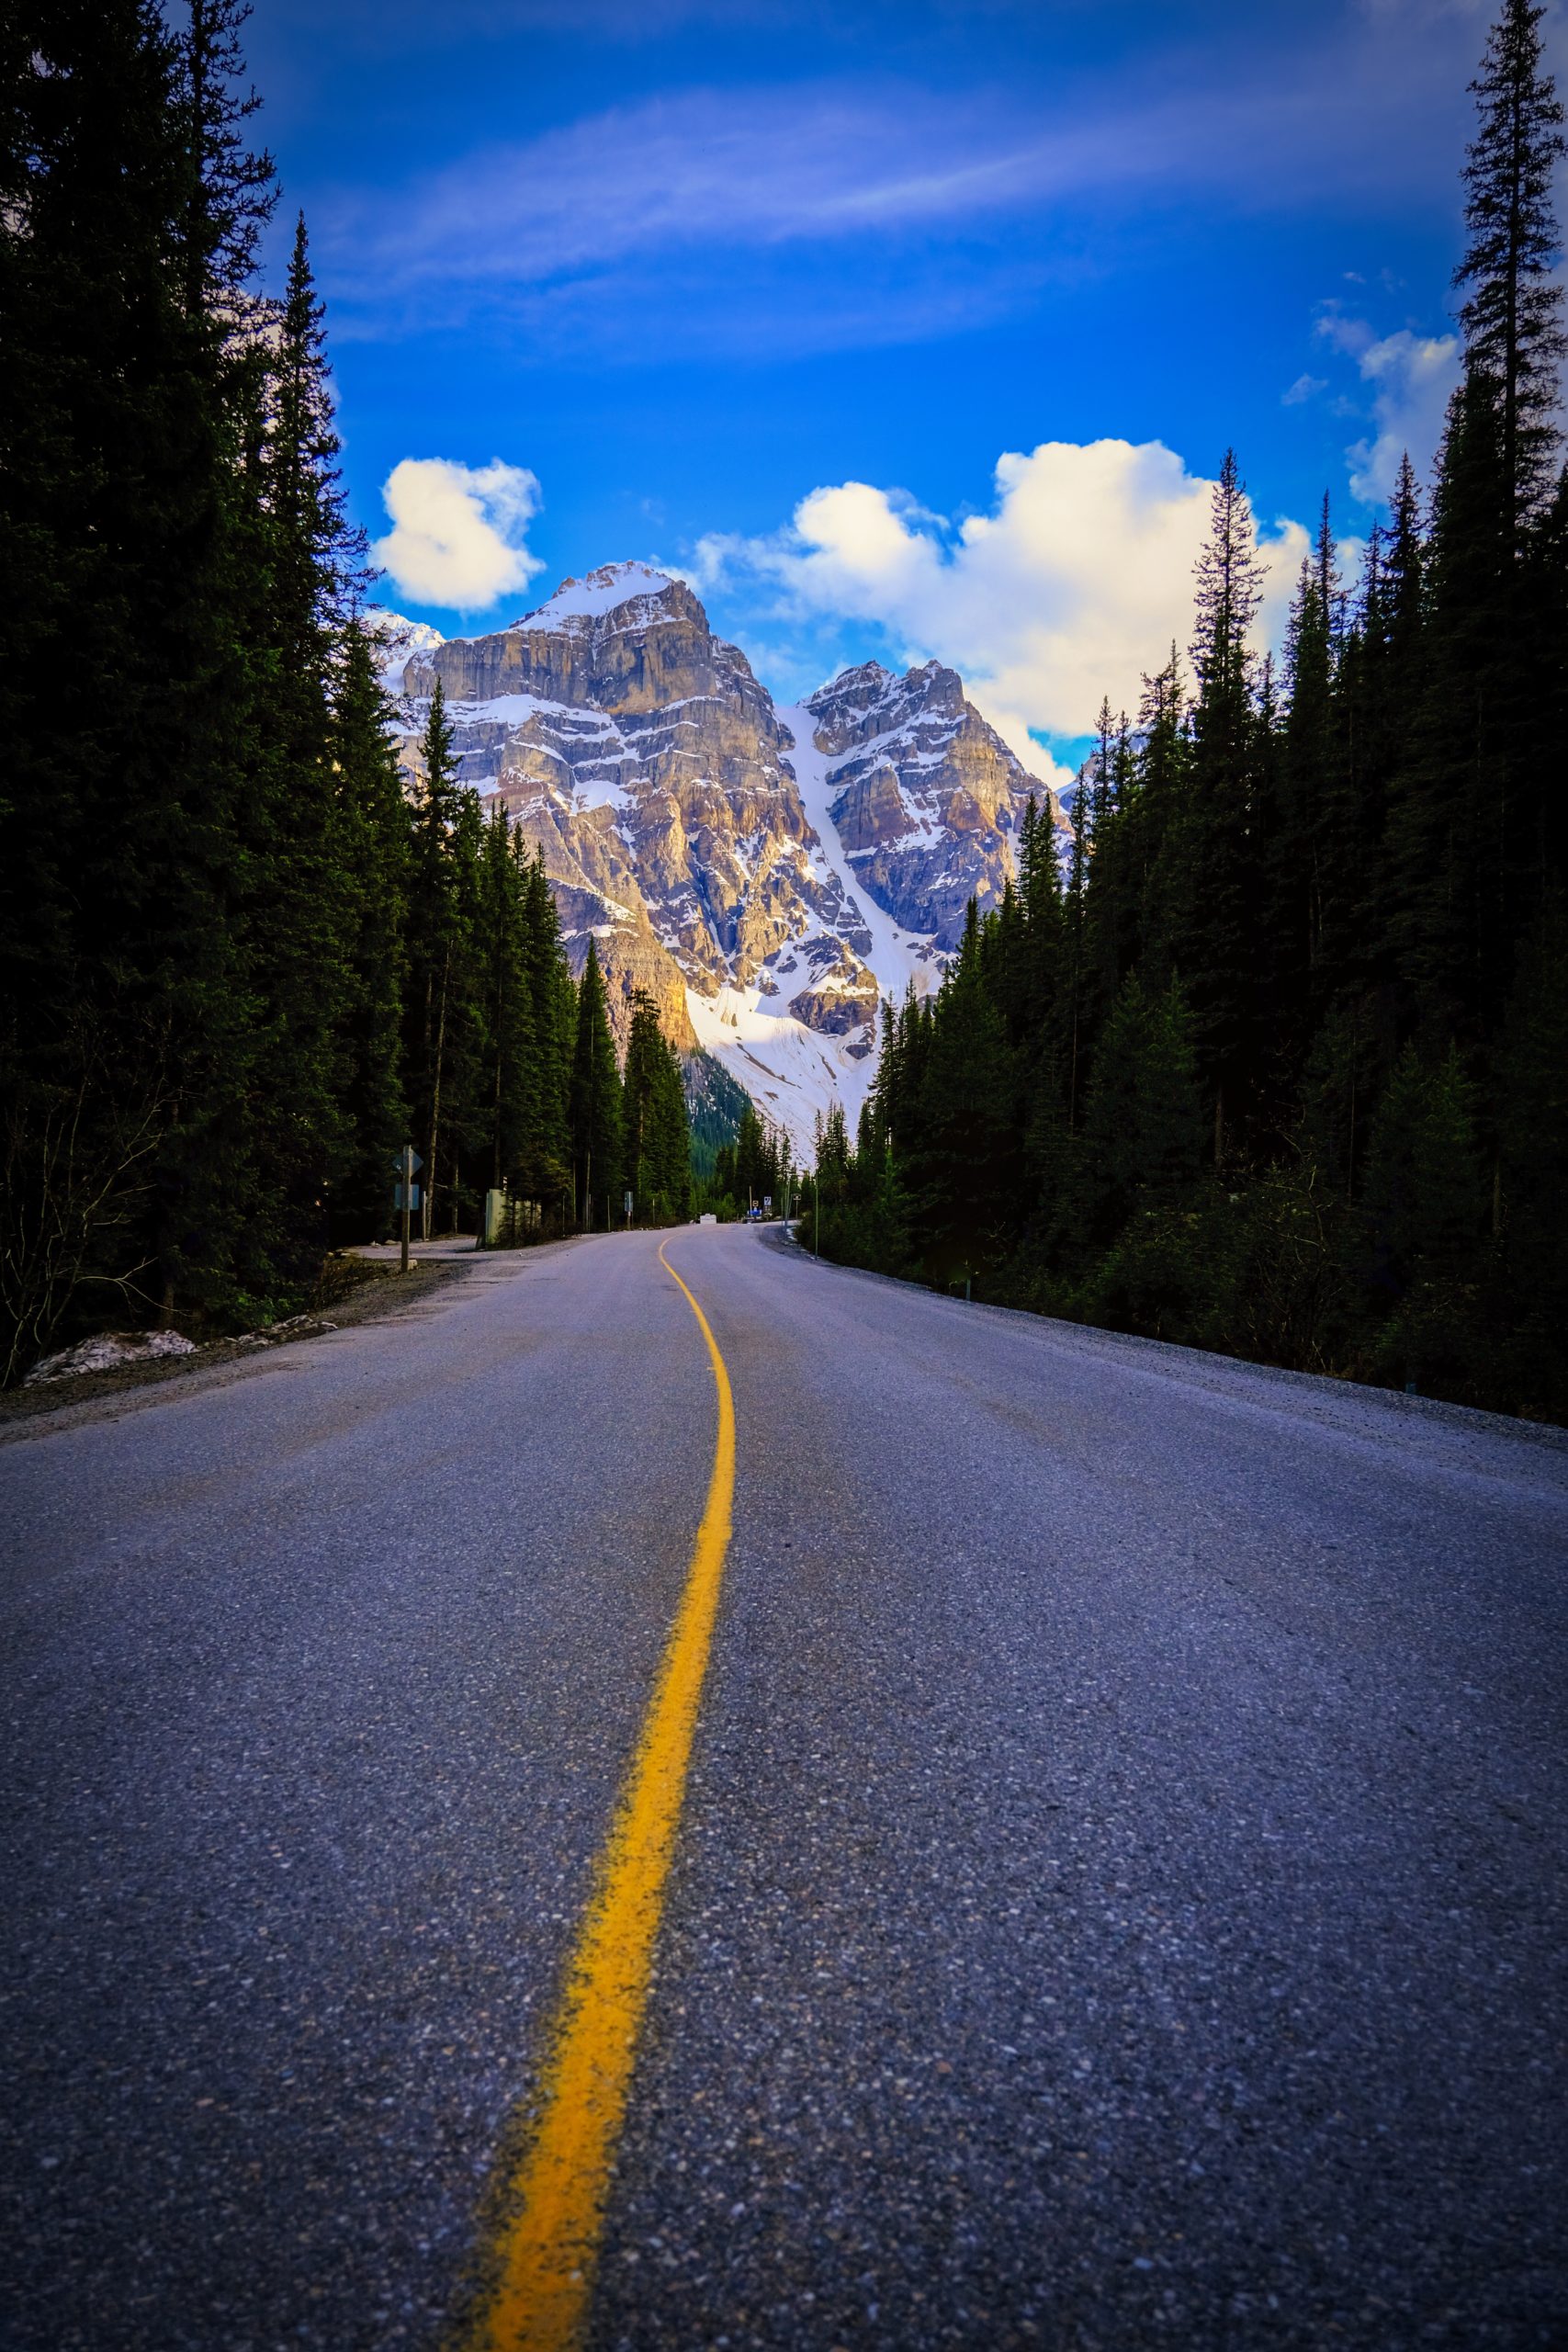
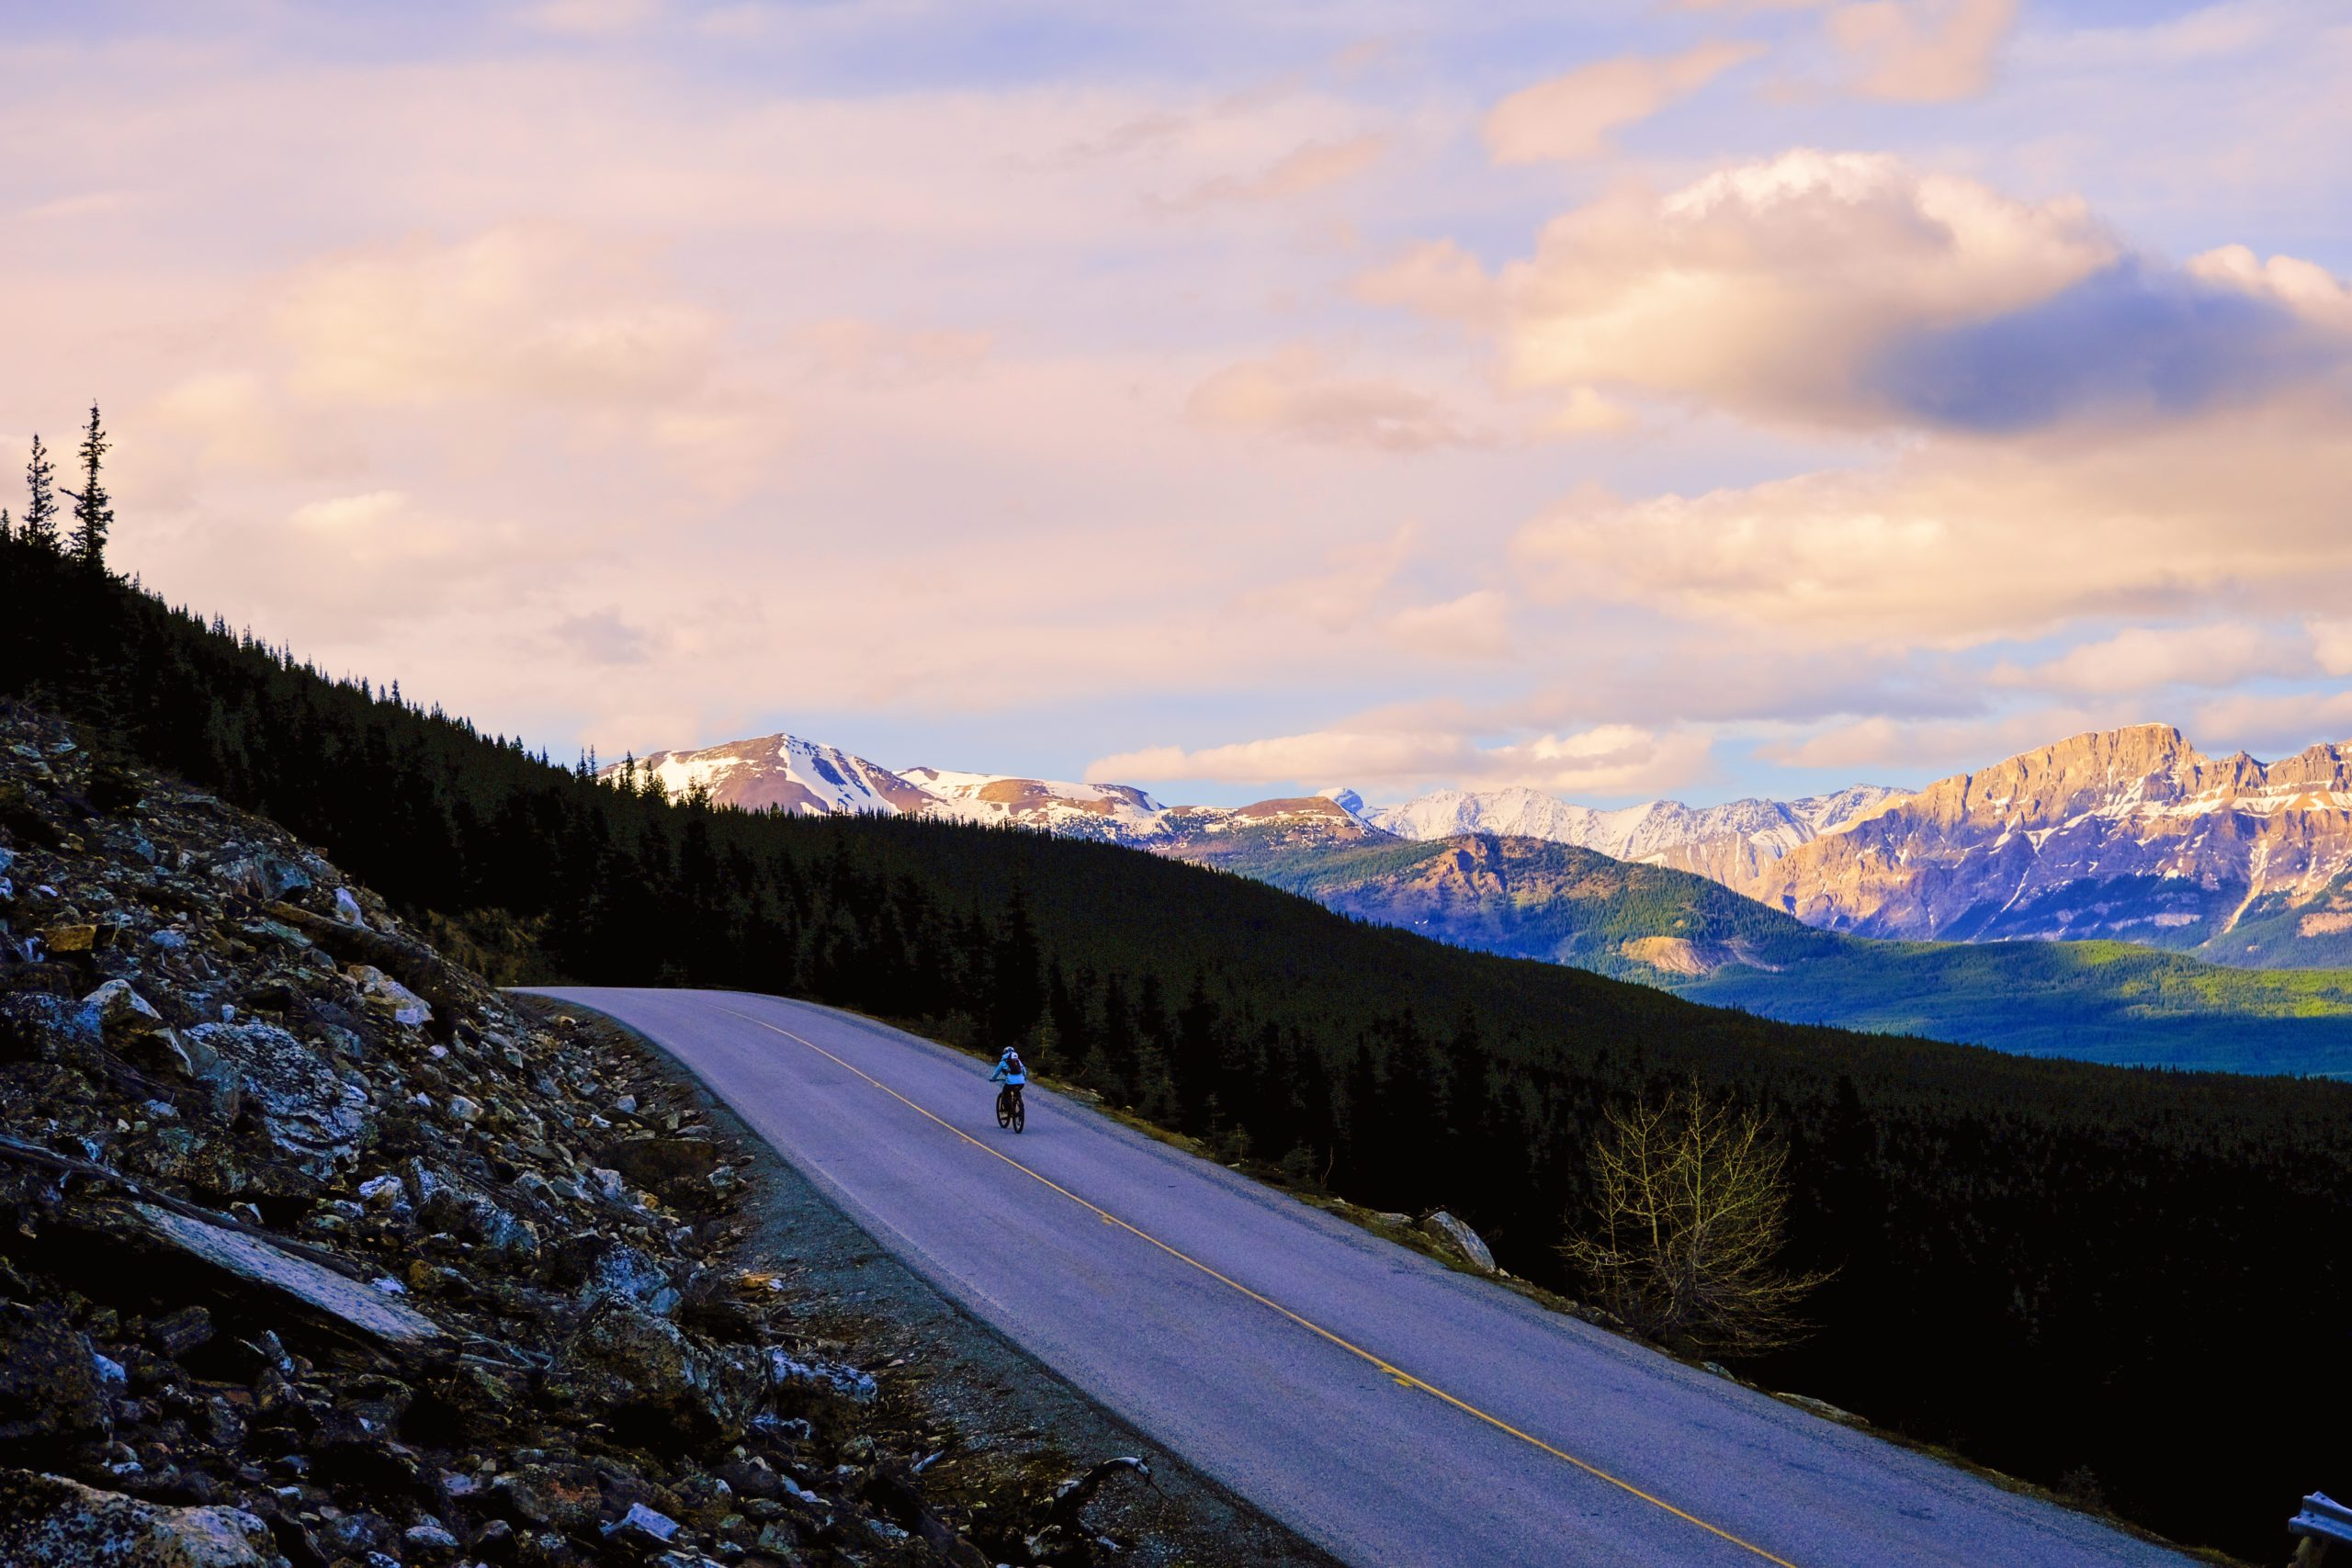
We had Tower of Babel on our objective list for summers, but we could never complete it due to parking struggles at Lake Moraine. So, in 2020 with the road to Moraine Lake closed to vehicles for a few months we decided to bike to Moraine Lake and tackle the Tower of Babel. We couldn’t think of a better time to check the Tower of Babel off the list. We were on our way up after a quick bike ride to Moraine Lake. Here’s what we thought of the Tower of Babel Scramble.
Tower of Babel Scramble Guide
- Trailhead: Begins at Moraine Lake Rockpile Trail. Parking at Moraine Lake is now limited and personal vehicles are not allowed, so make sure to figure out how you’re getting to Moraine Lake.
- Distance: 2.9 km
- Elevation: 518 meters
- Difficulty: Easy to Moderate scramble. This is not a hike.
- Scrambling Involved: Yes
- Best Time To Hike: Mid June – Mid October
- Gear Needed: A Helmet is strongly recommended
- Time: 2.5 to 4 hours
Tower of Babel Description
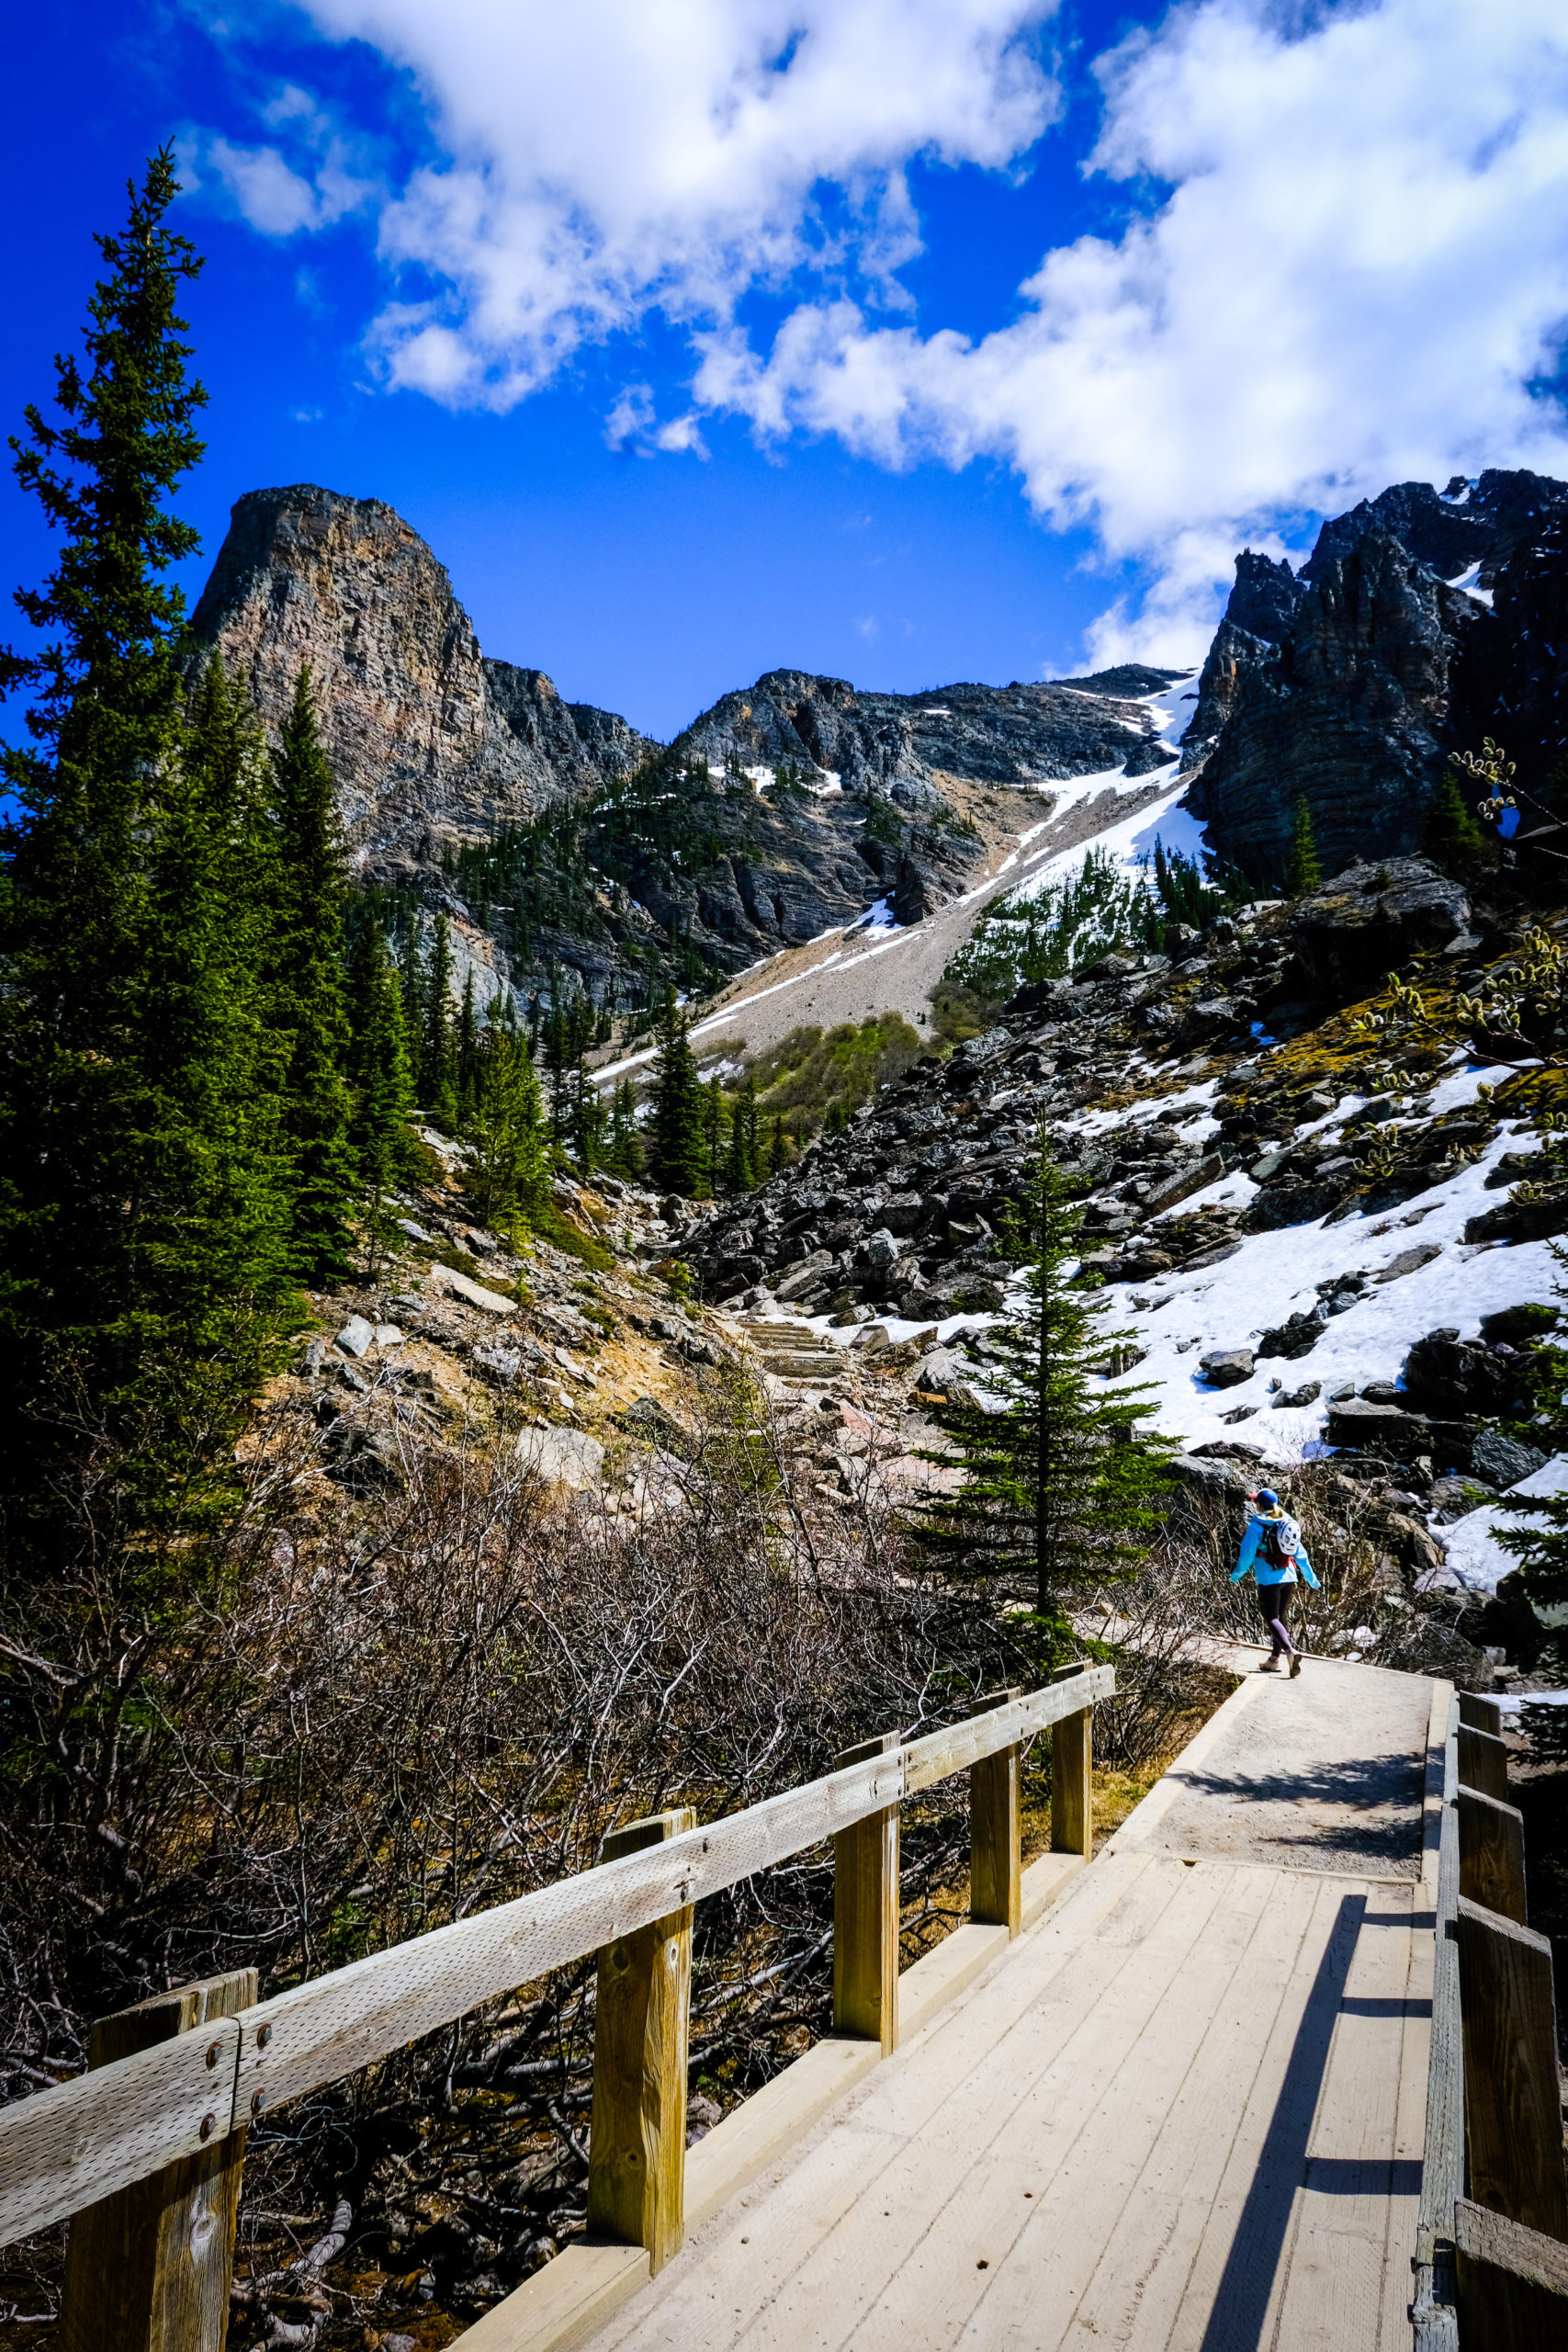
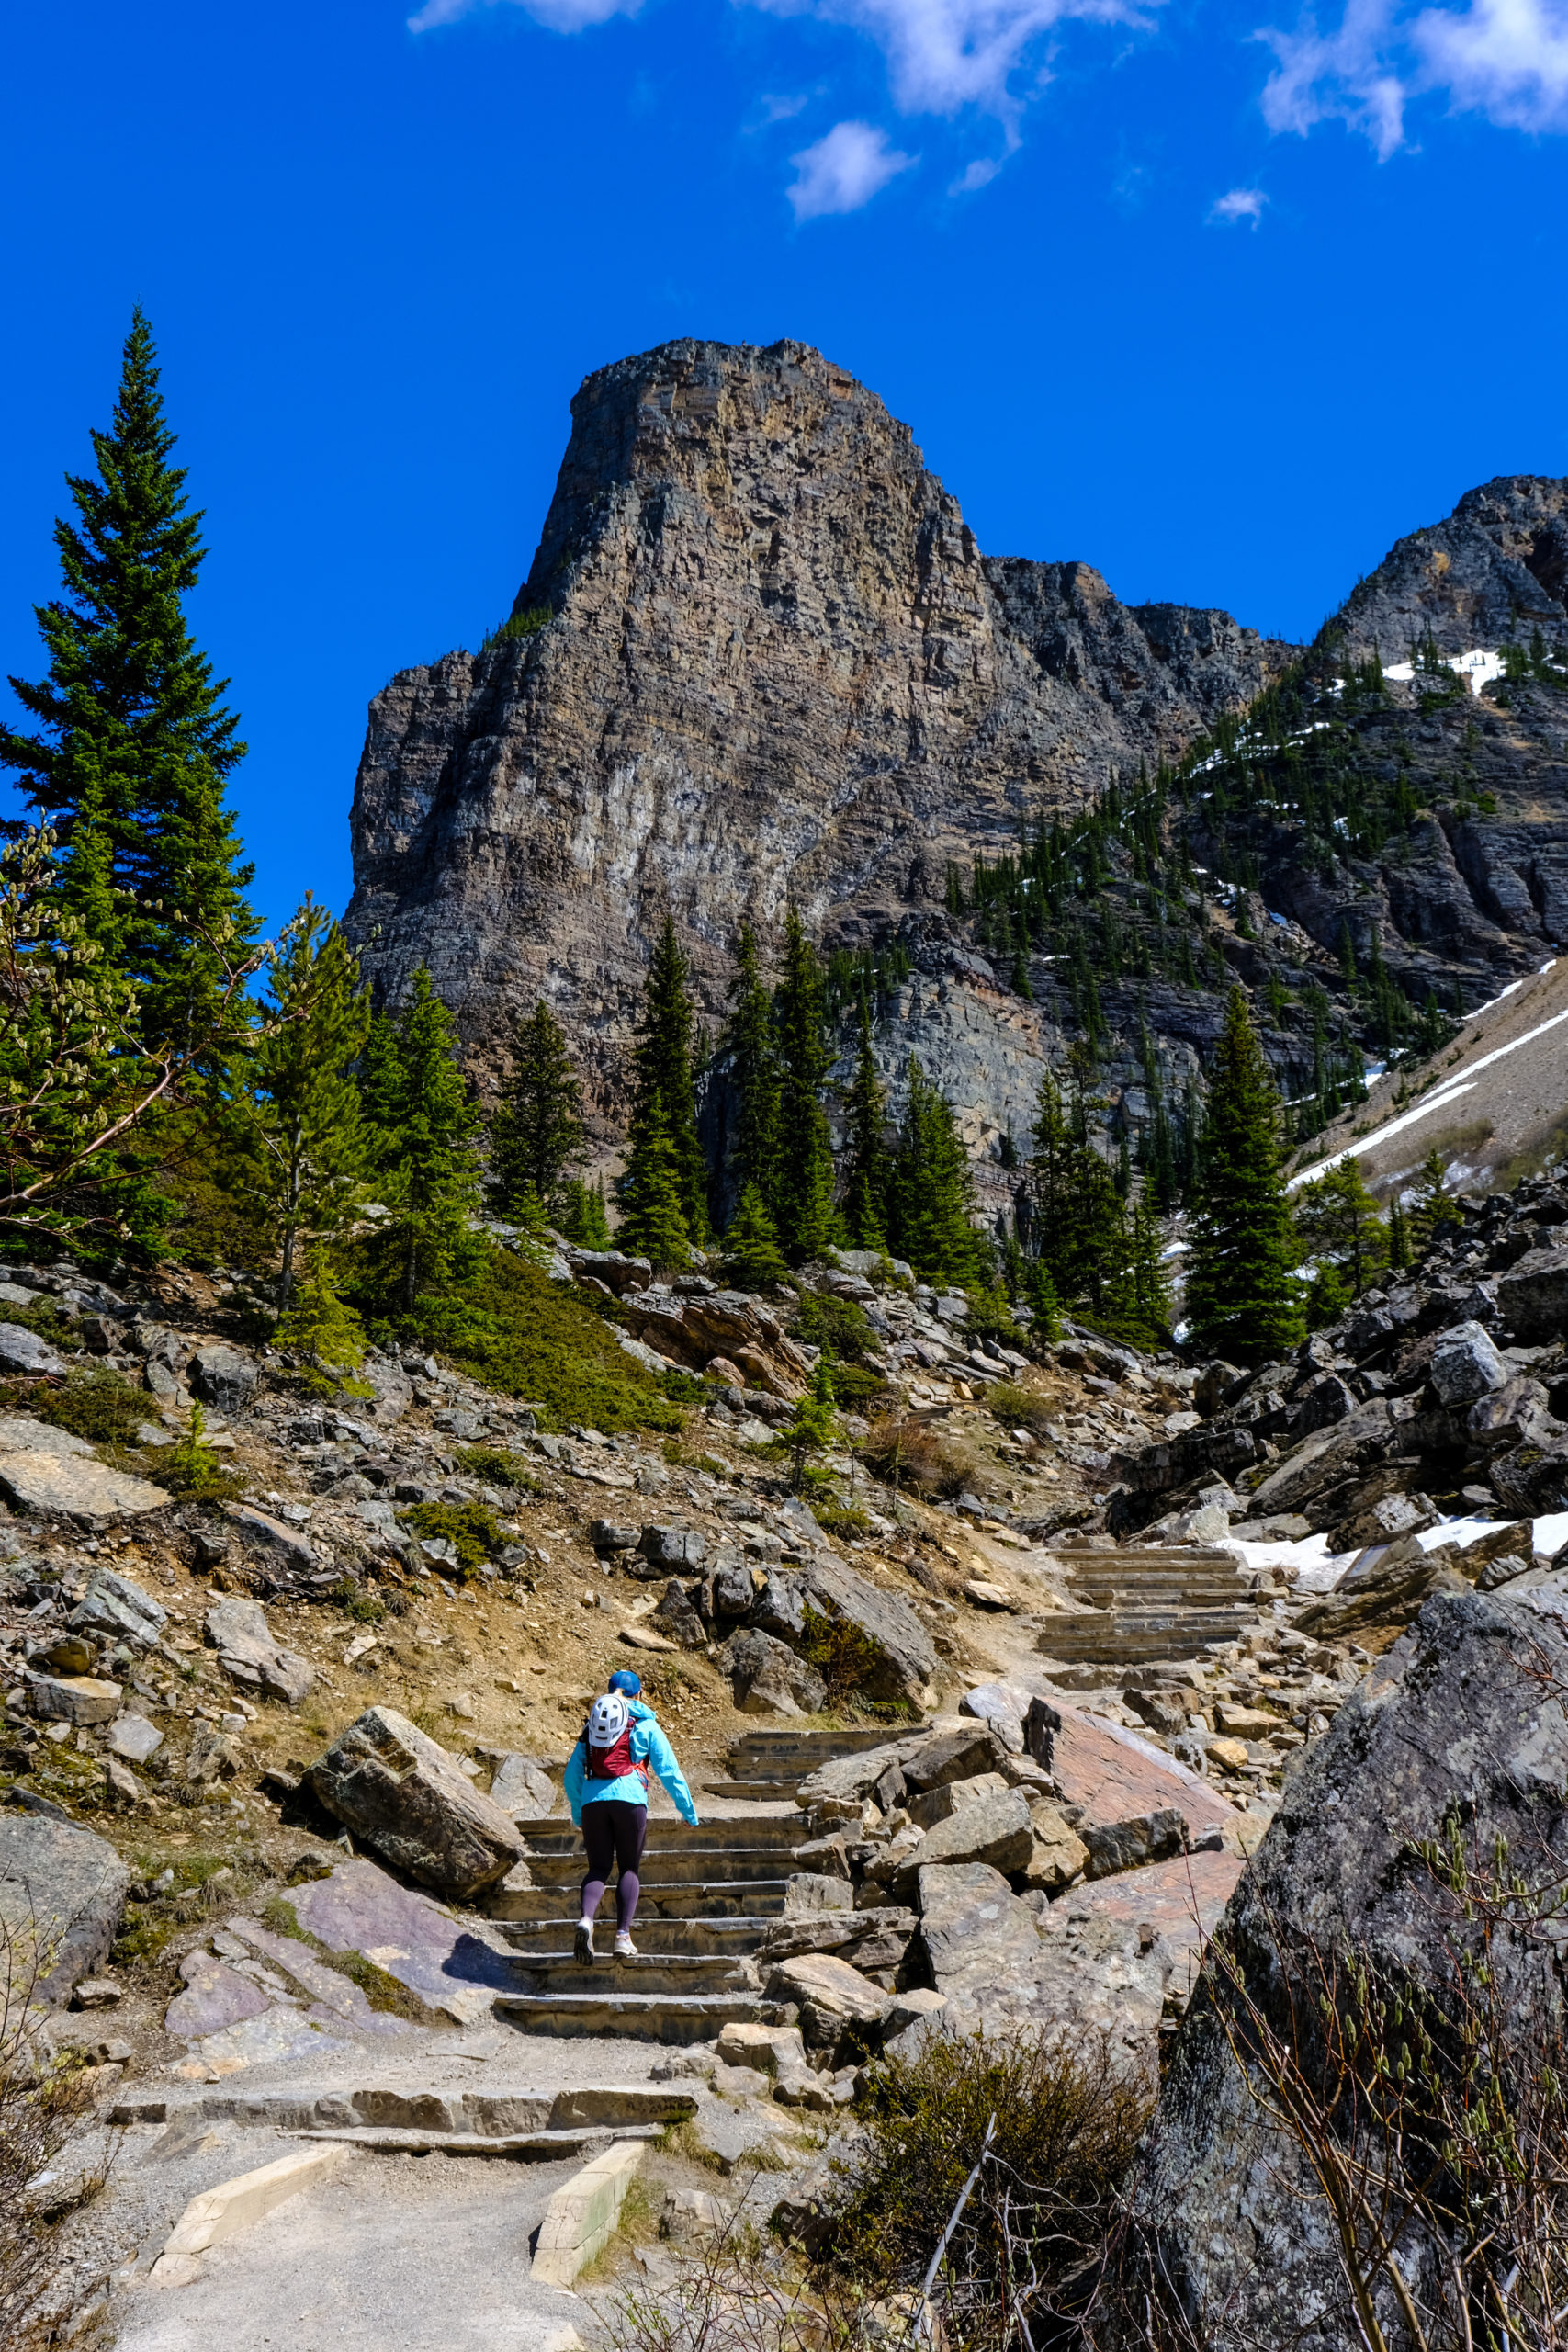
When you first get a view of the Tower of Babel, your first thought might be – “Wow, that looks steep,” at least that’s what mine was. Looks were not deceiving in this case either. The Tower of Babel Scramble is steep. The entire scramble is a consistent uphill battle with a slope of almost 45%. If you’re scared of heights – skip this one.
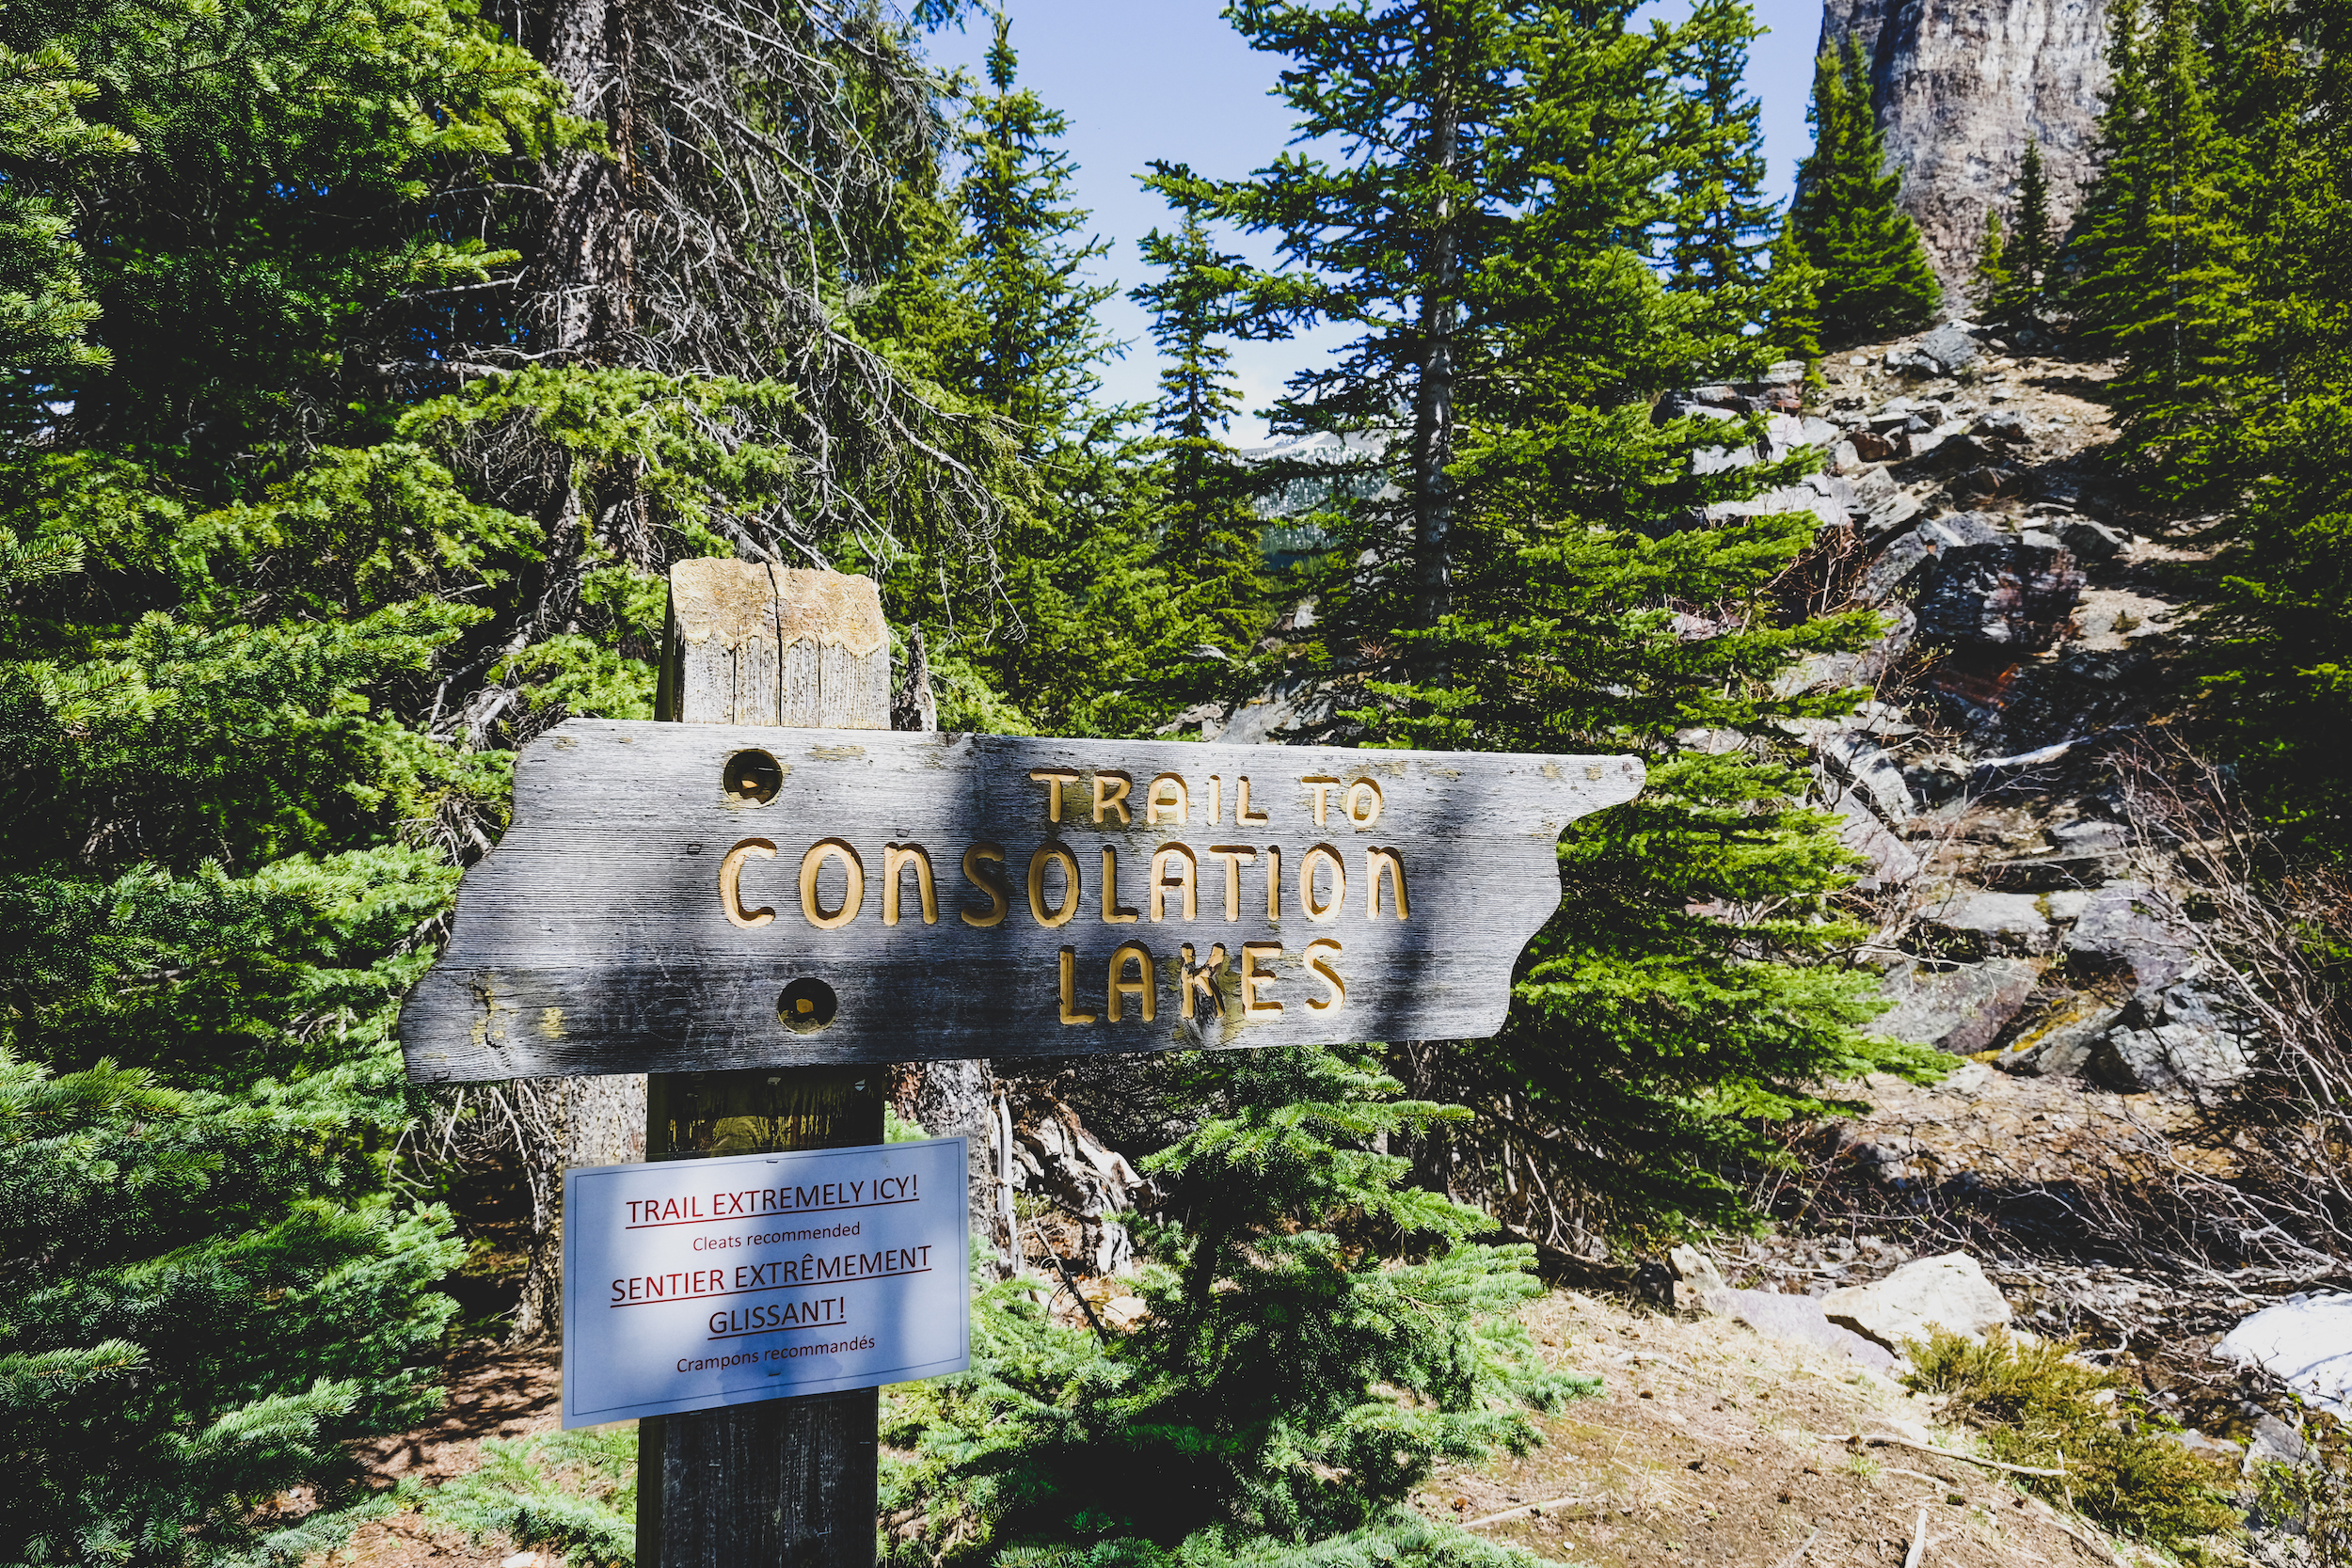
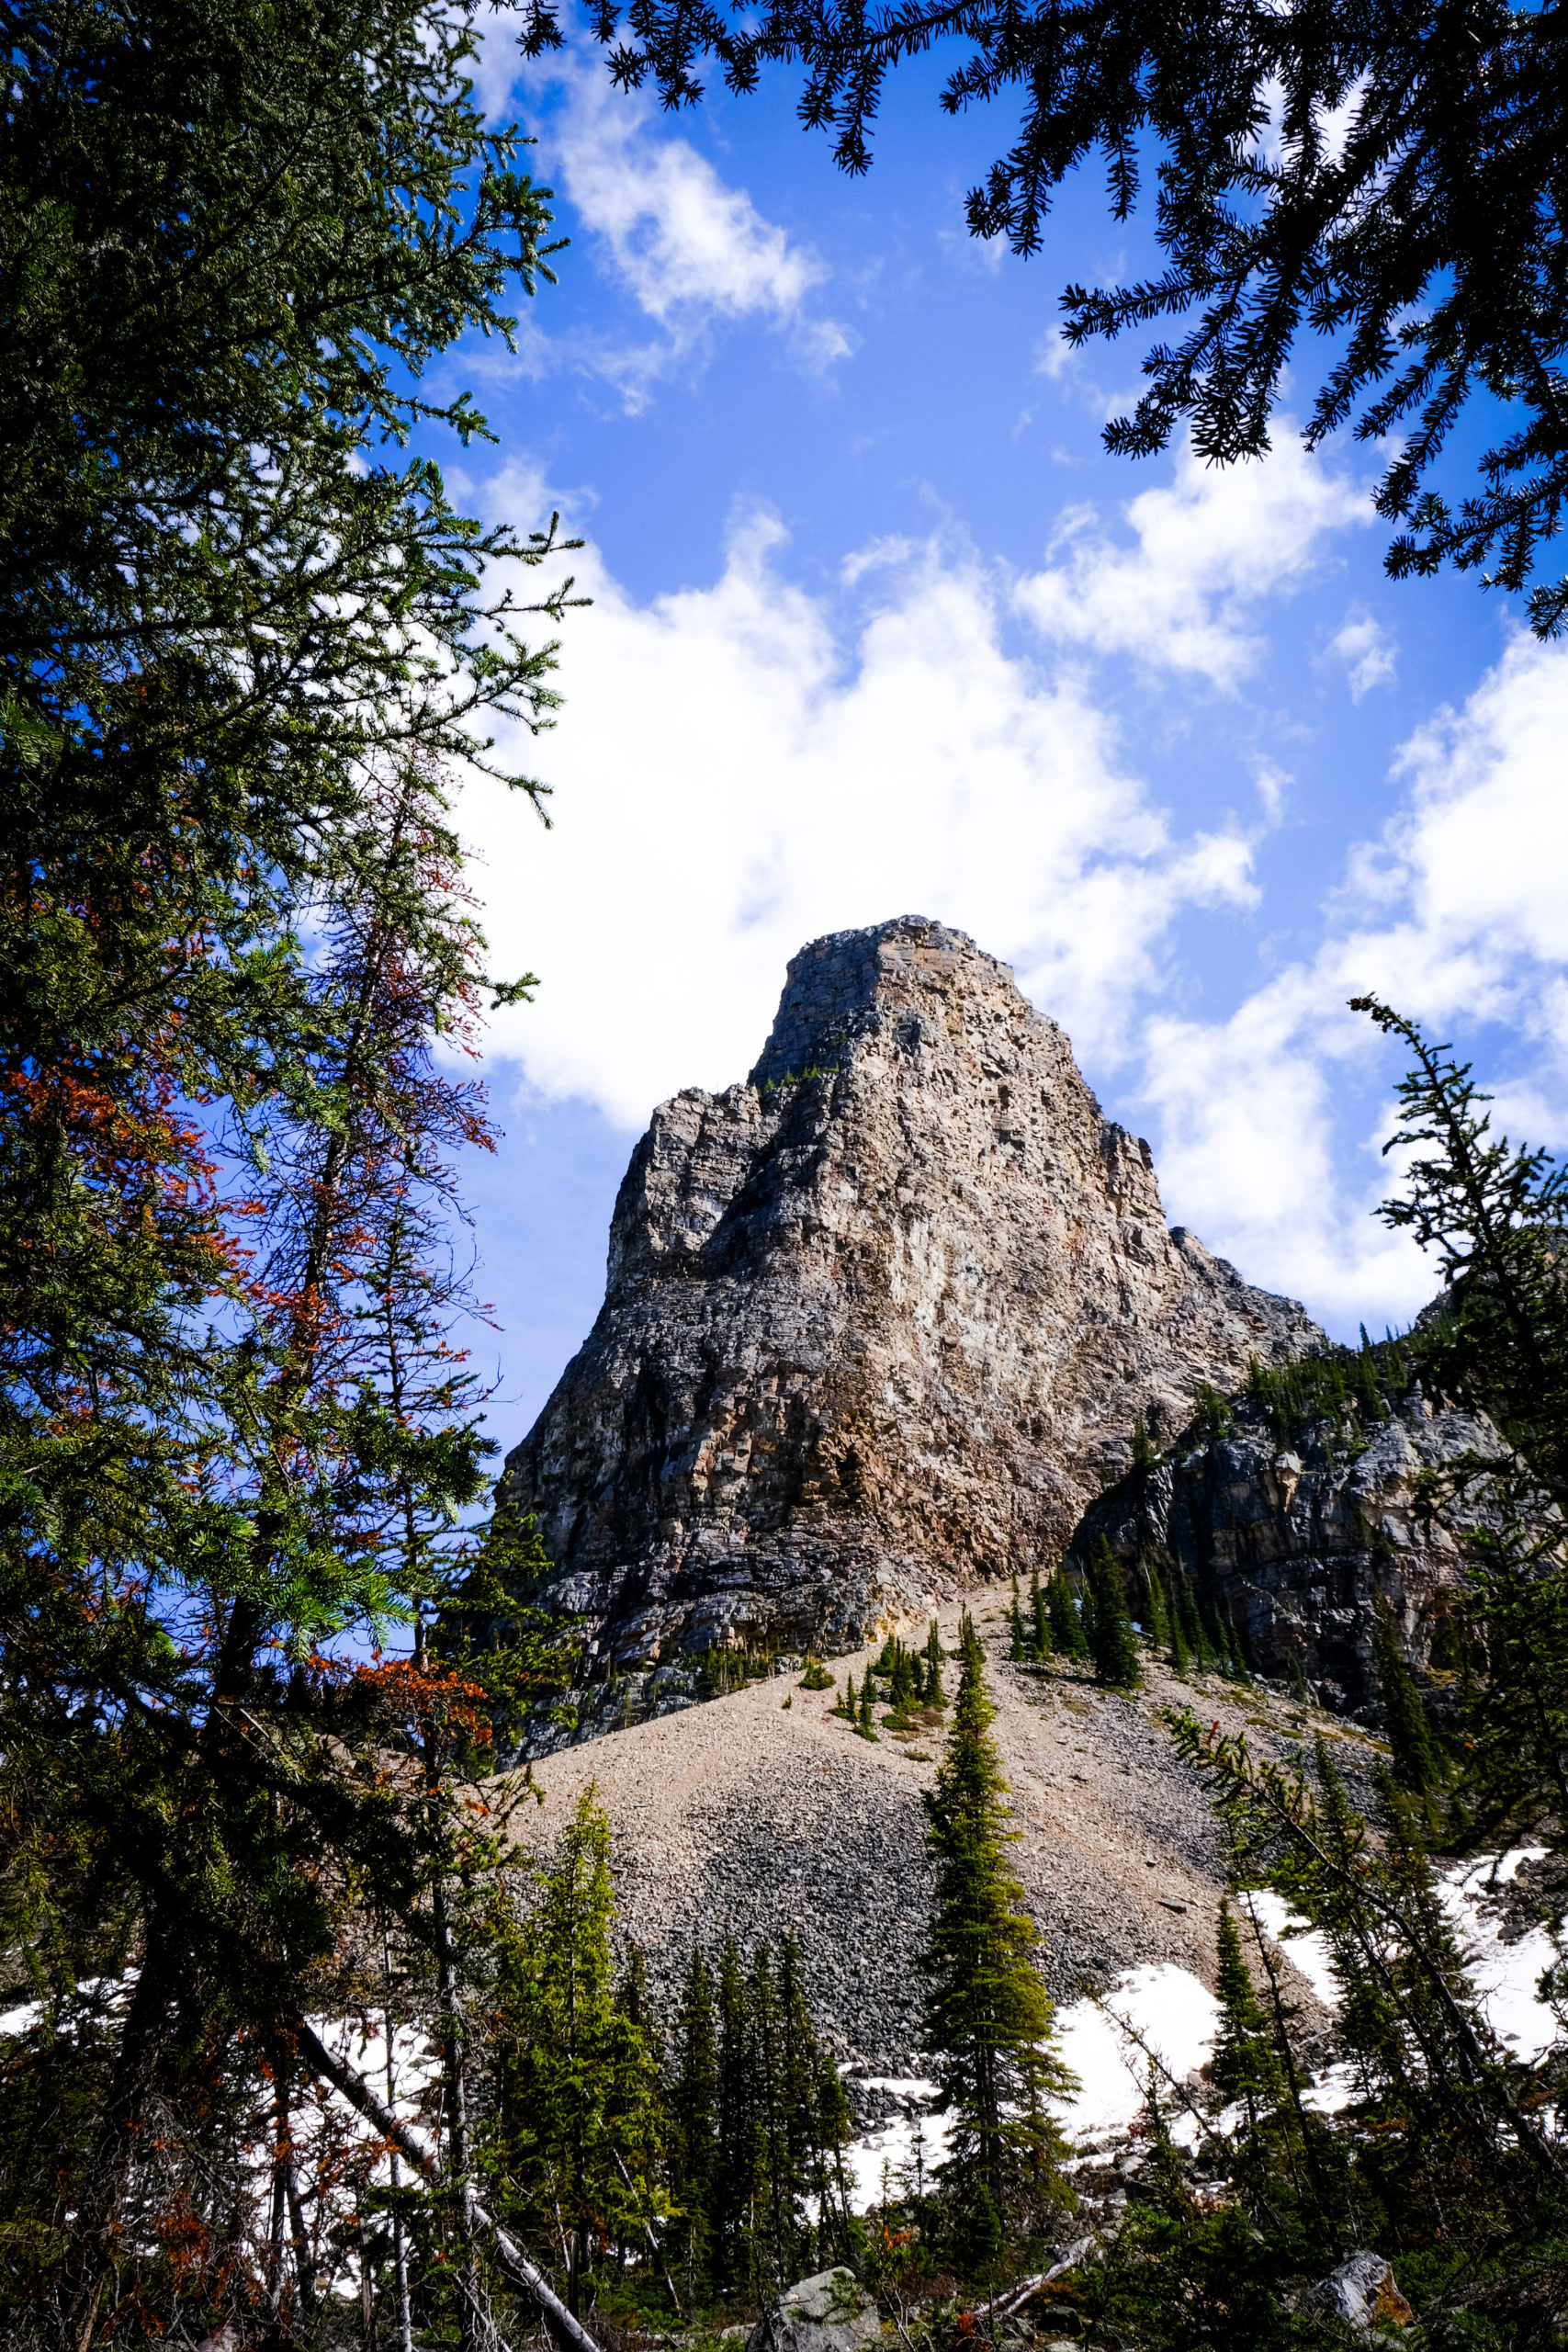
Once you walk past the Consolation Lakes sign, you’ll find a cairn marker to your right of the short trail. Follow that until you reach the big scree rock pile. Look to your left and see the gully that will take you up to the Tower of Babel.
This is your objective. There is no trail, it’s a straight scree bash (tiny pieces of rock) to the top. It’s a tough workout for novice hikers who may underestimate the 518m straight up climb to the top, but completely doable.
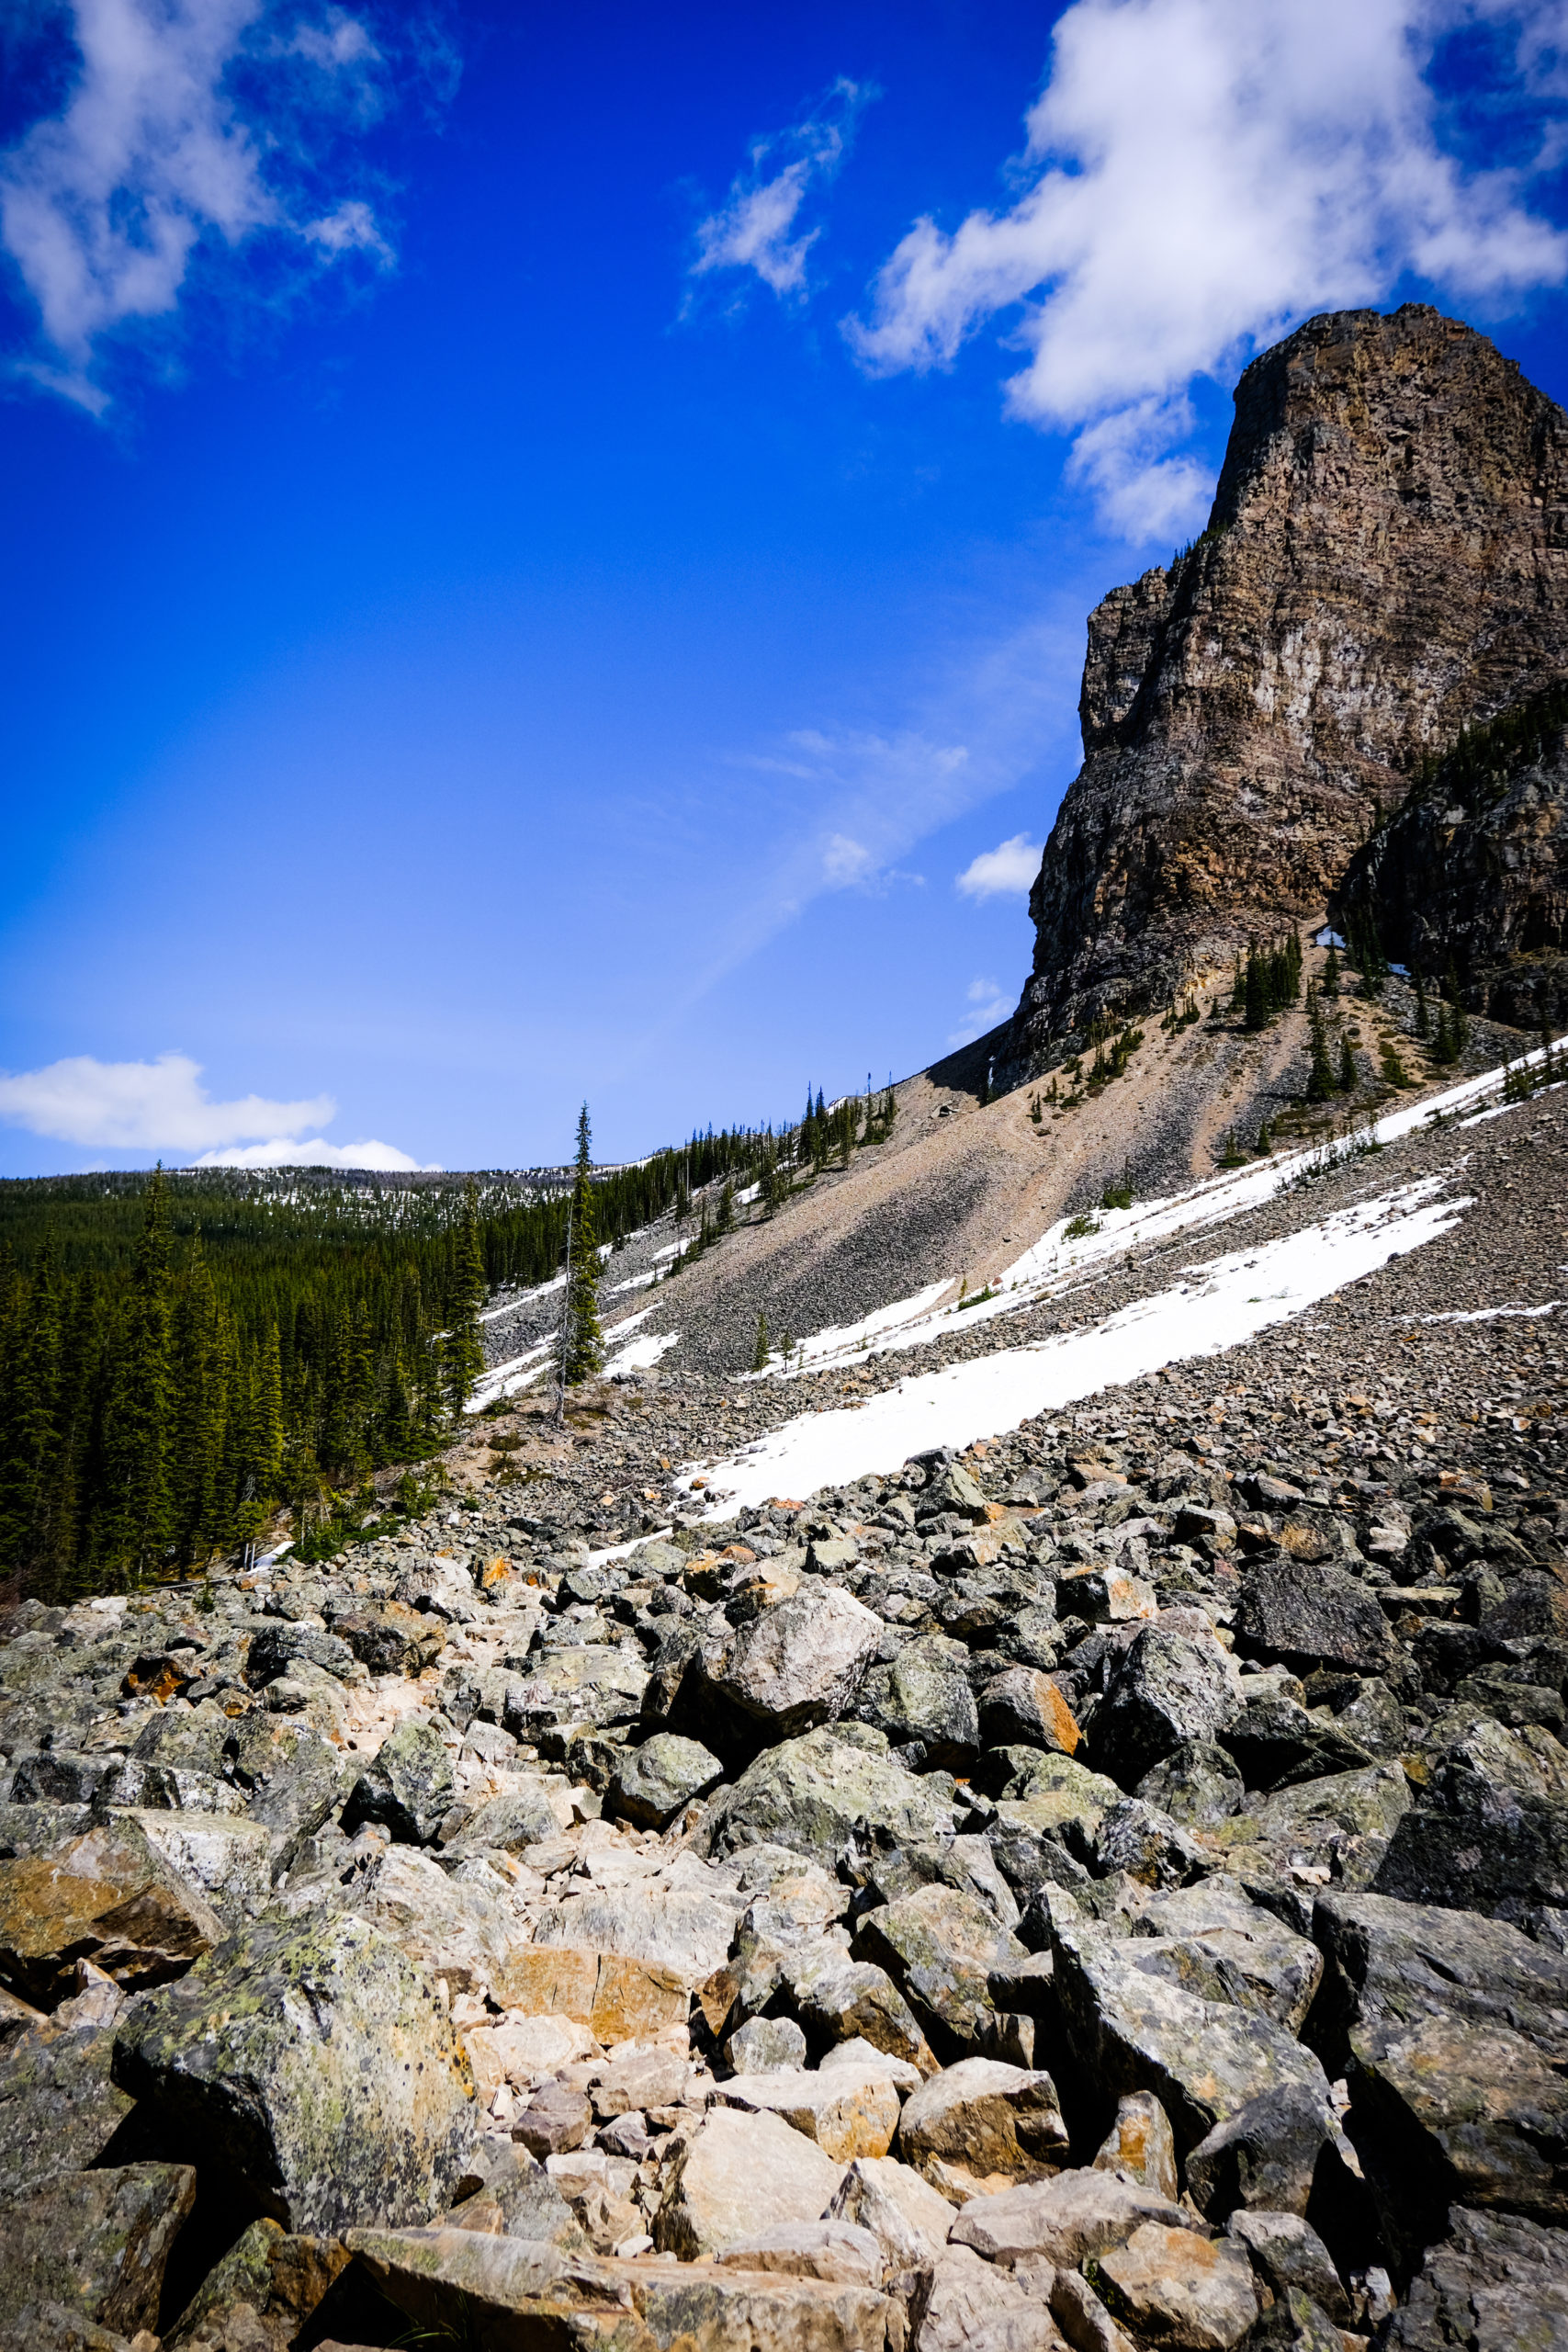
In my opinion, the first 45 minutes of this climb up was the worst. The scree is very loose and small, meaning for every step you take, you’re getting pushed back about half. I found having one hiking pole came in handy for me to work my way up.
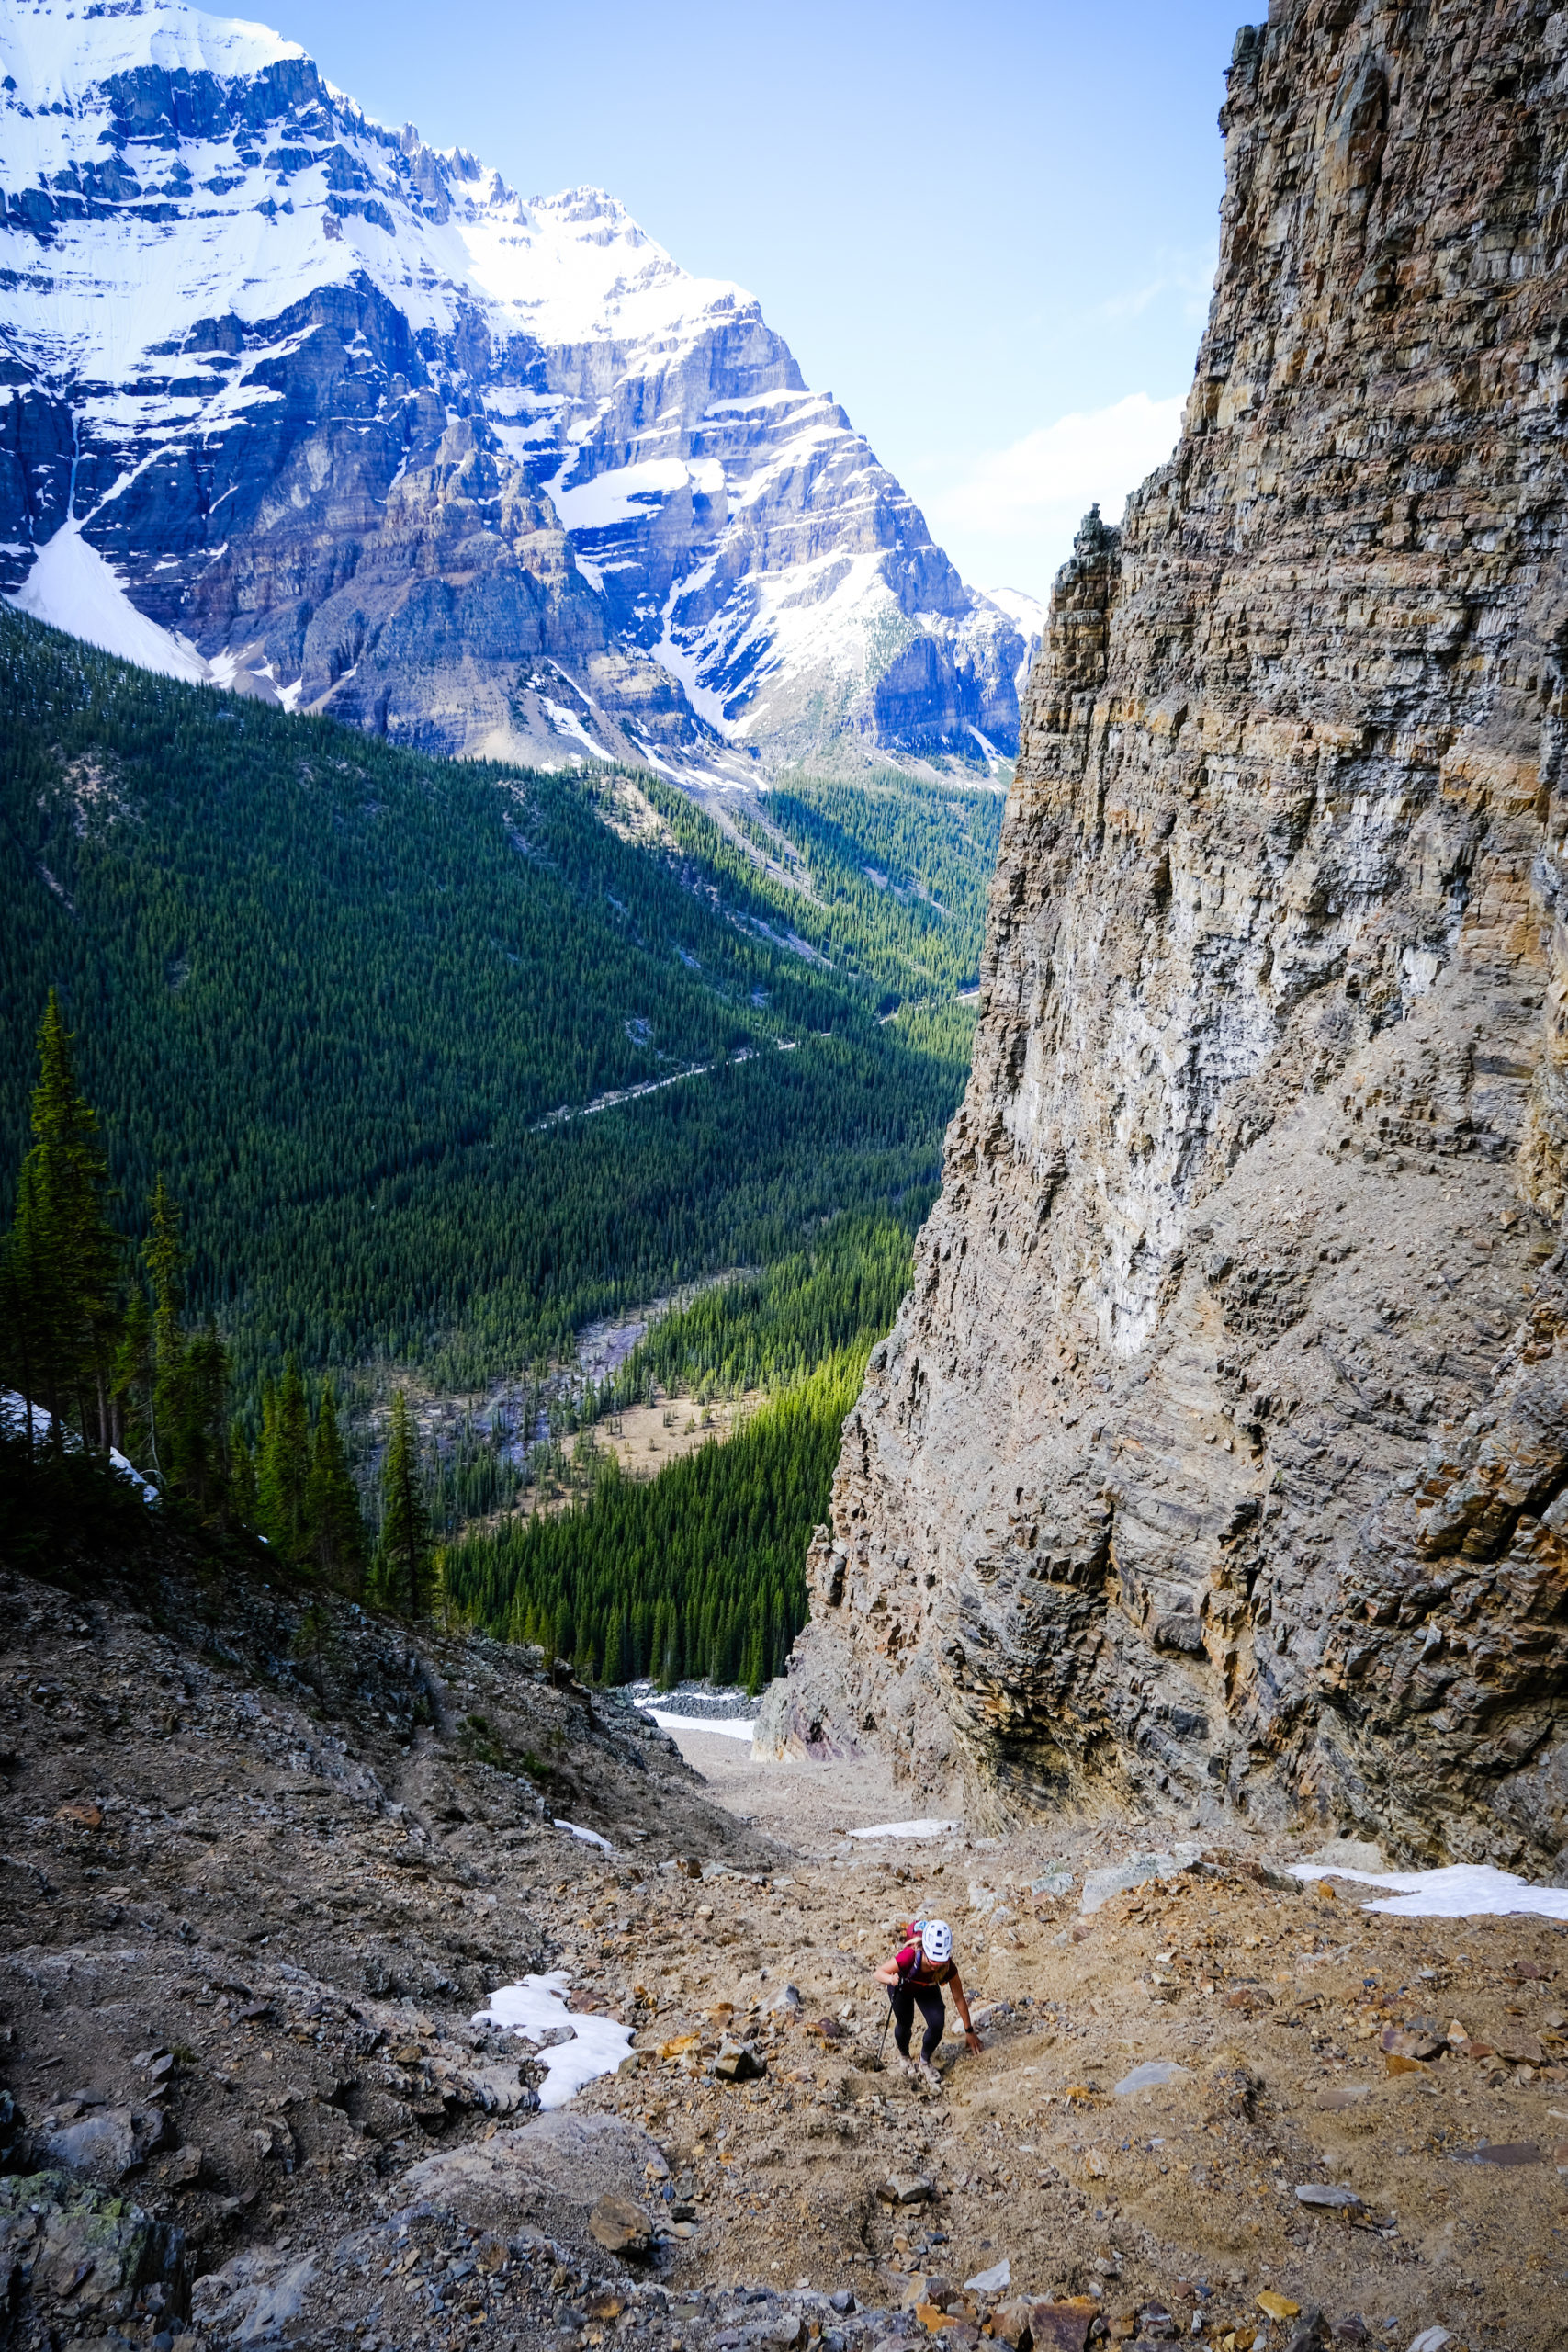
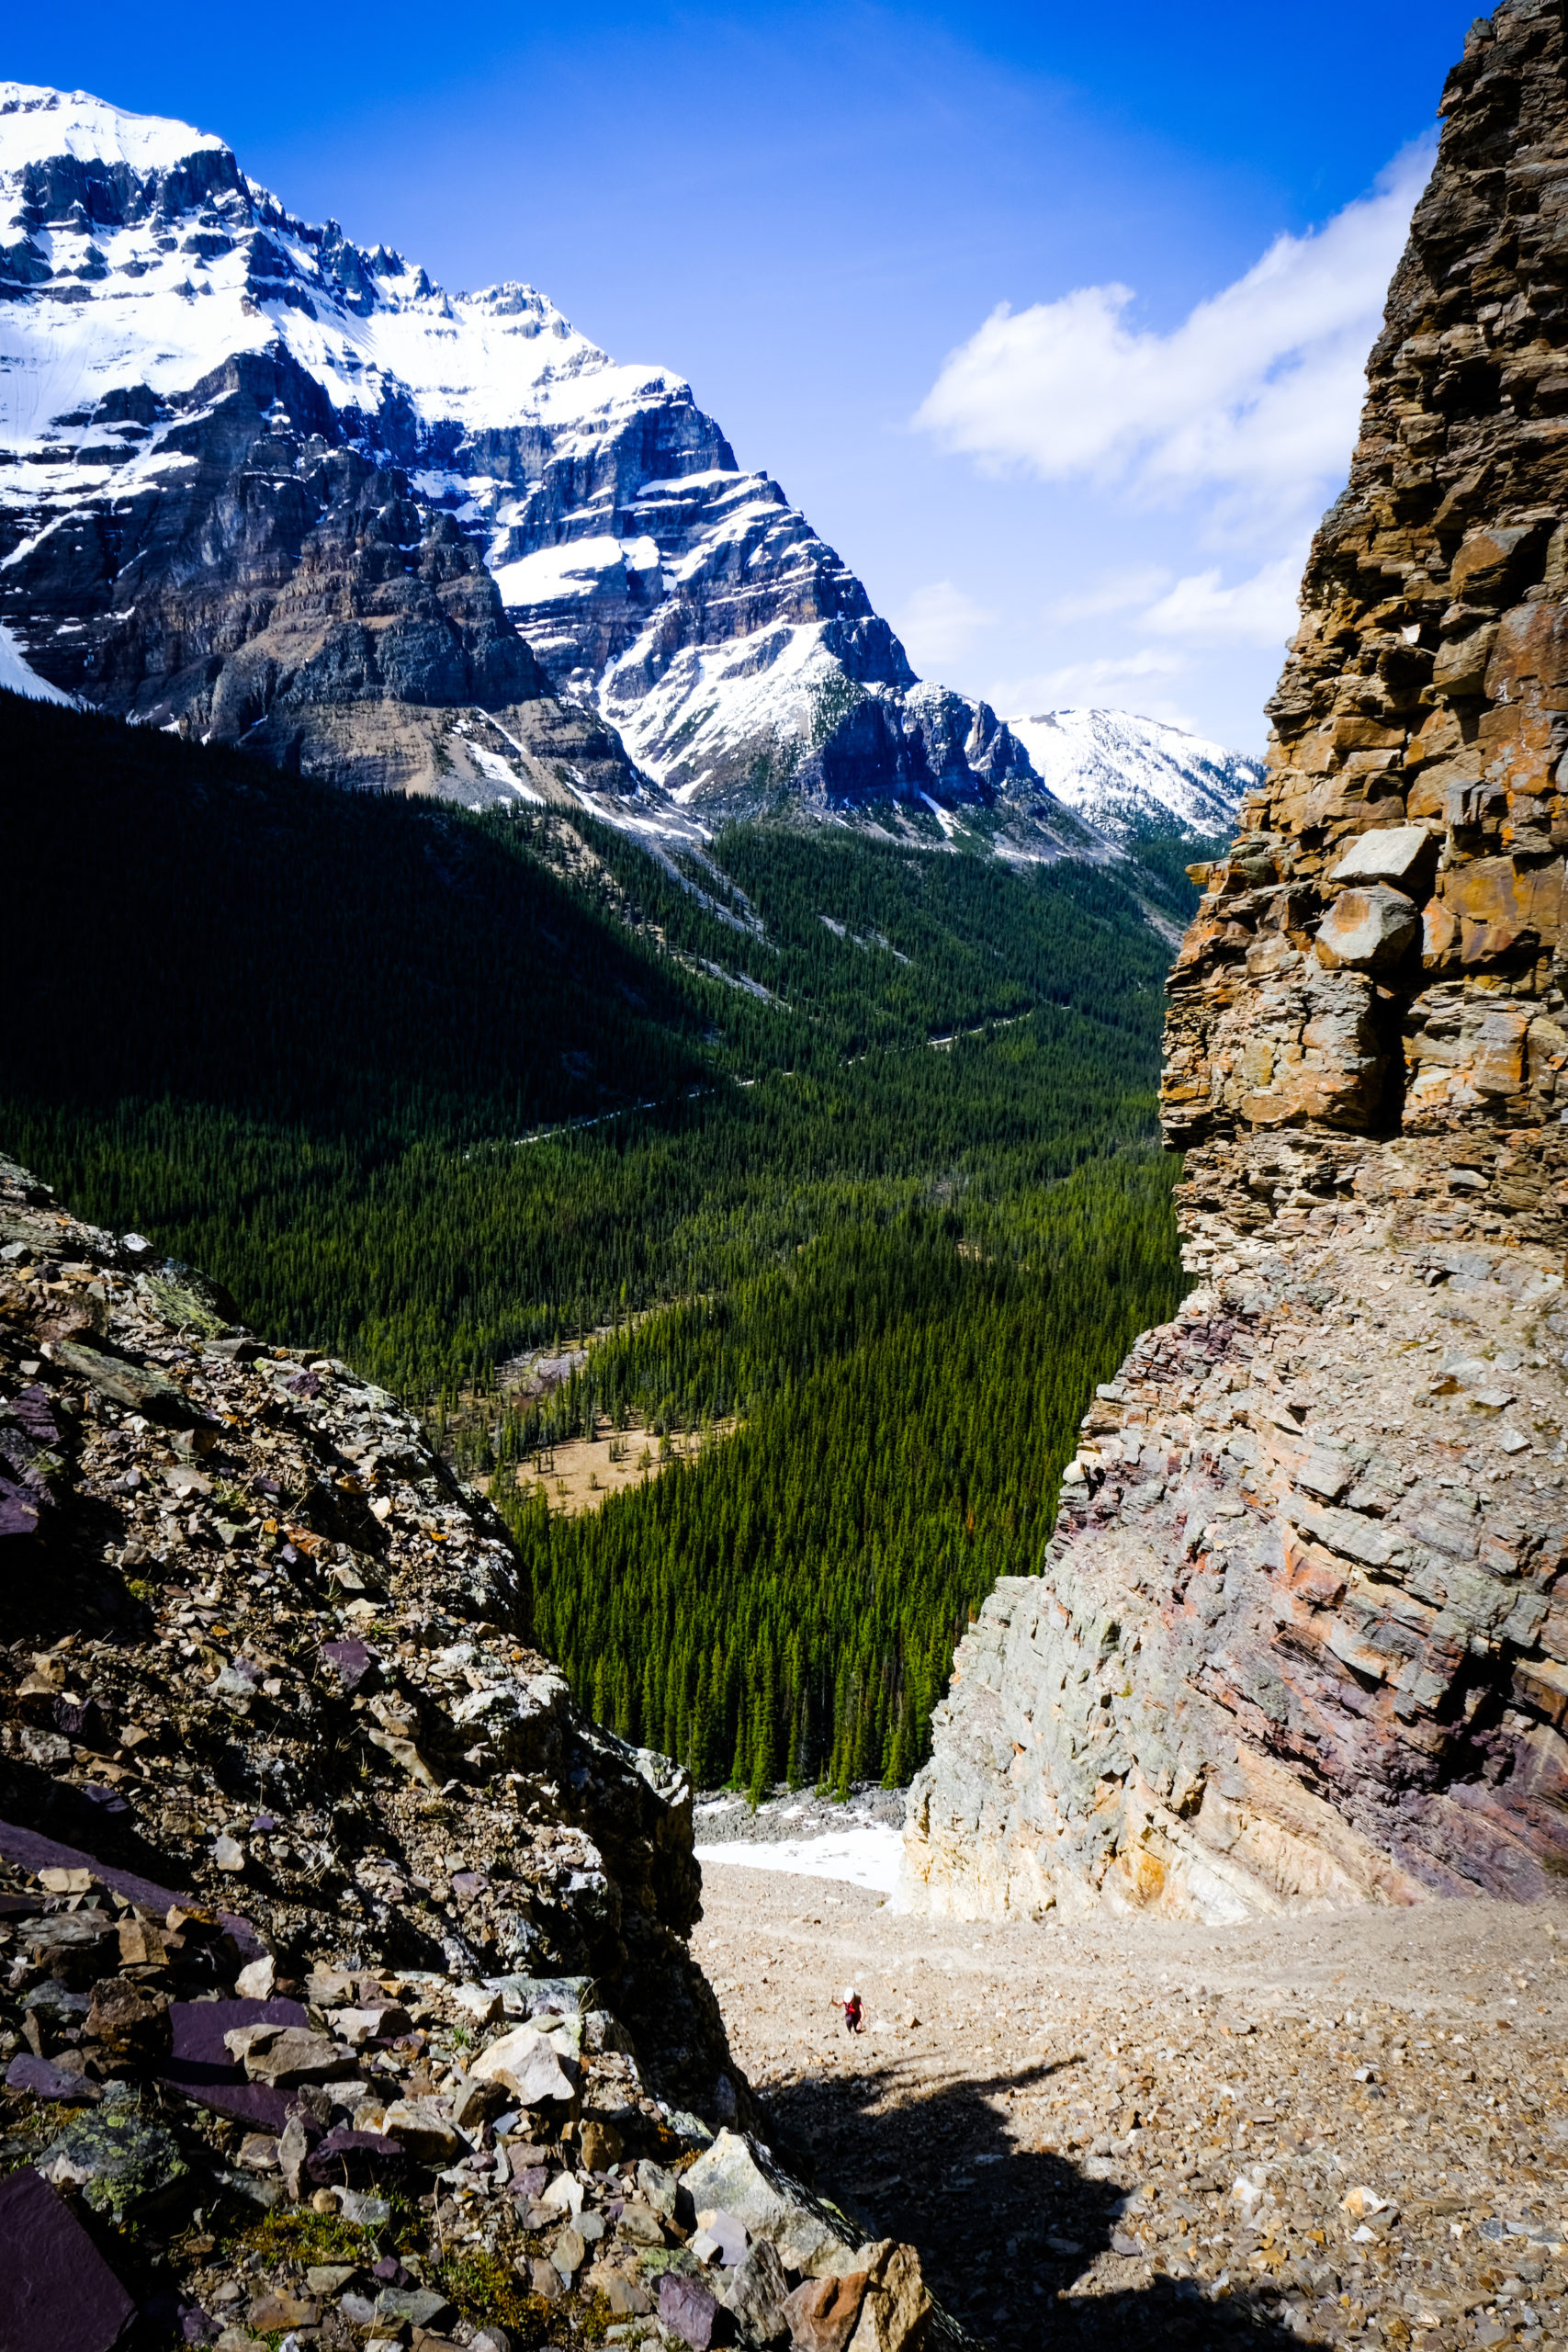
About halfway up, you’ll be able to hug the sides of the gully. We stuck to the right as we found it easier to climb up this scree. Careful with your footing as you ascend. While a fall probably wouldn’t be life-threatening, you could tumble for a while down the gully. However, If you take your time and watch your footing, you’ll be fine.
The biggest threat on this route is a loose rock falling down the gully from a party above. I strongly recommend wearing a helmet! Additionally, if it’s early in the season, keep in mind overhead hazards. Melting snow can launch rocks down the gully, which could turn deadly. If snow lingers on the slopes above consider an early morning.
Do not take this lightly, but you can opt for a light backpack, like a trail runner pack, since it’s a quick route.
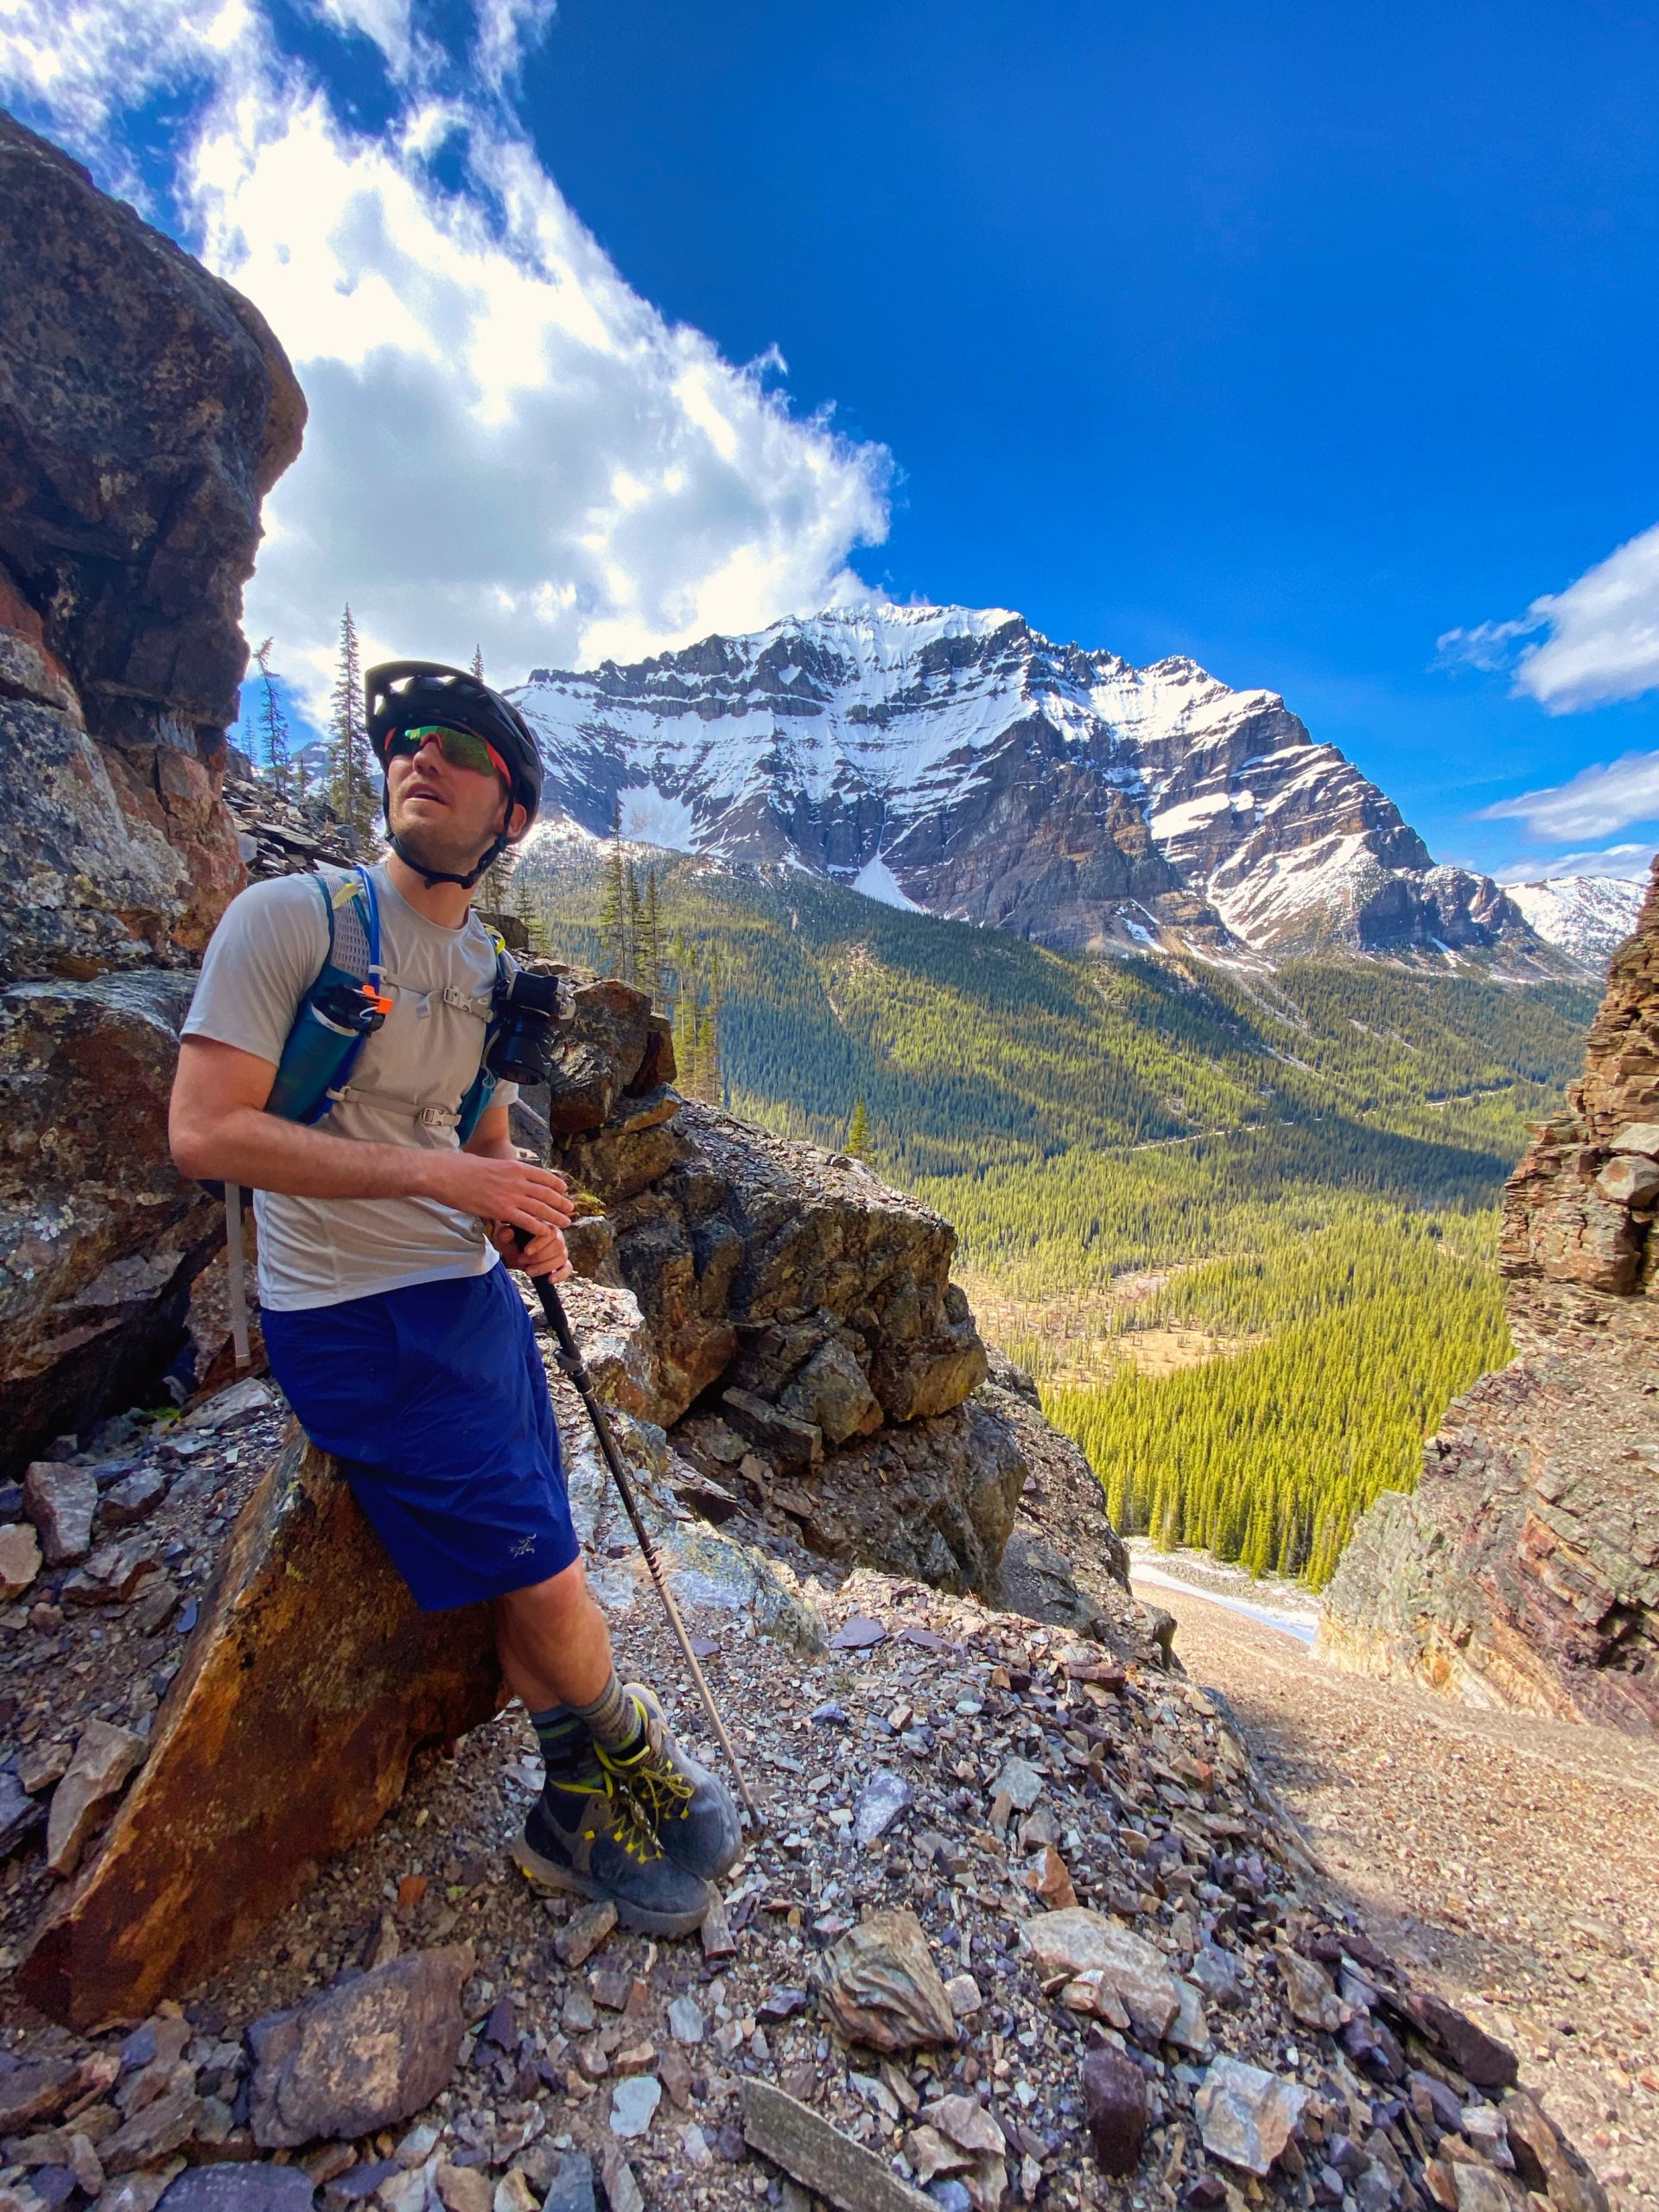
A little past half way you’ll start to notice that the scree turns into large rocks and there are more stable places to ascend on the right. This is where the climb gets physically easier as the rocks resemble a bit of “stairs.”
If you’re a shorty like me you may find a couple trick places where you’ll have to take very large steps. Although the rock climbing is much easier than the scree, one wrong step could have you falling back onto a rock – don’t take your helmet off!
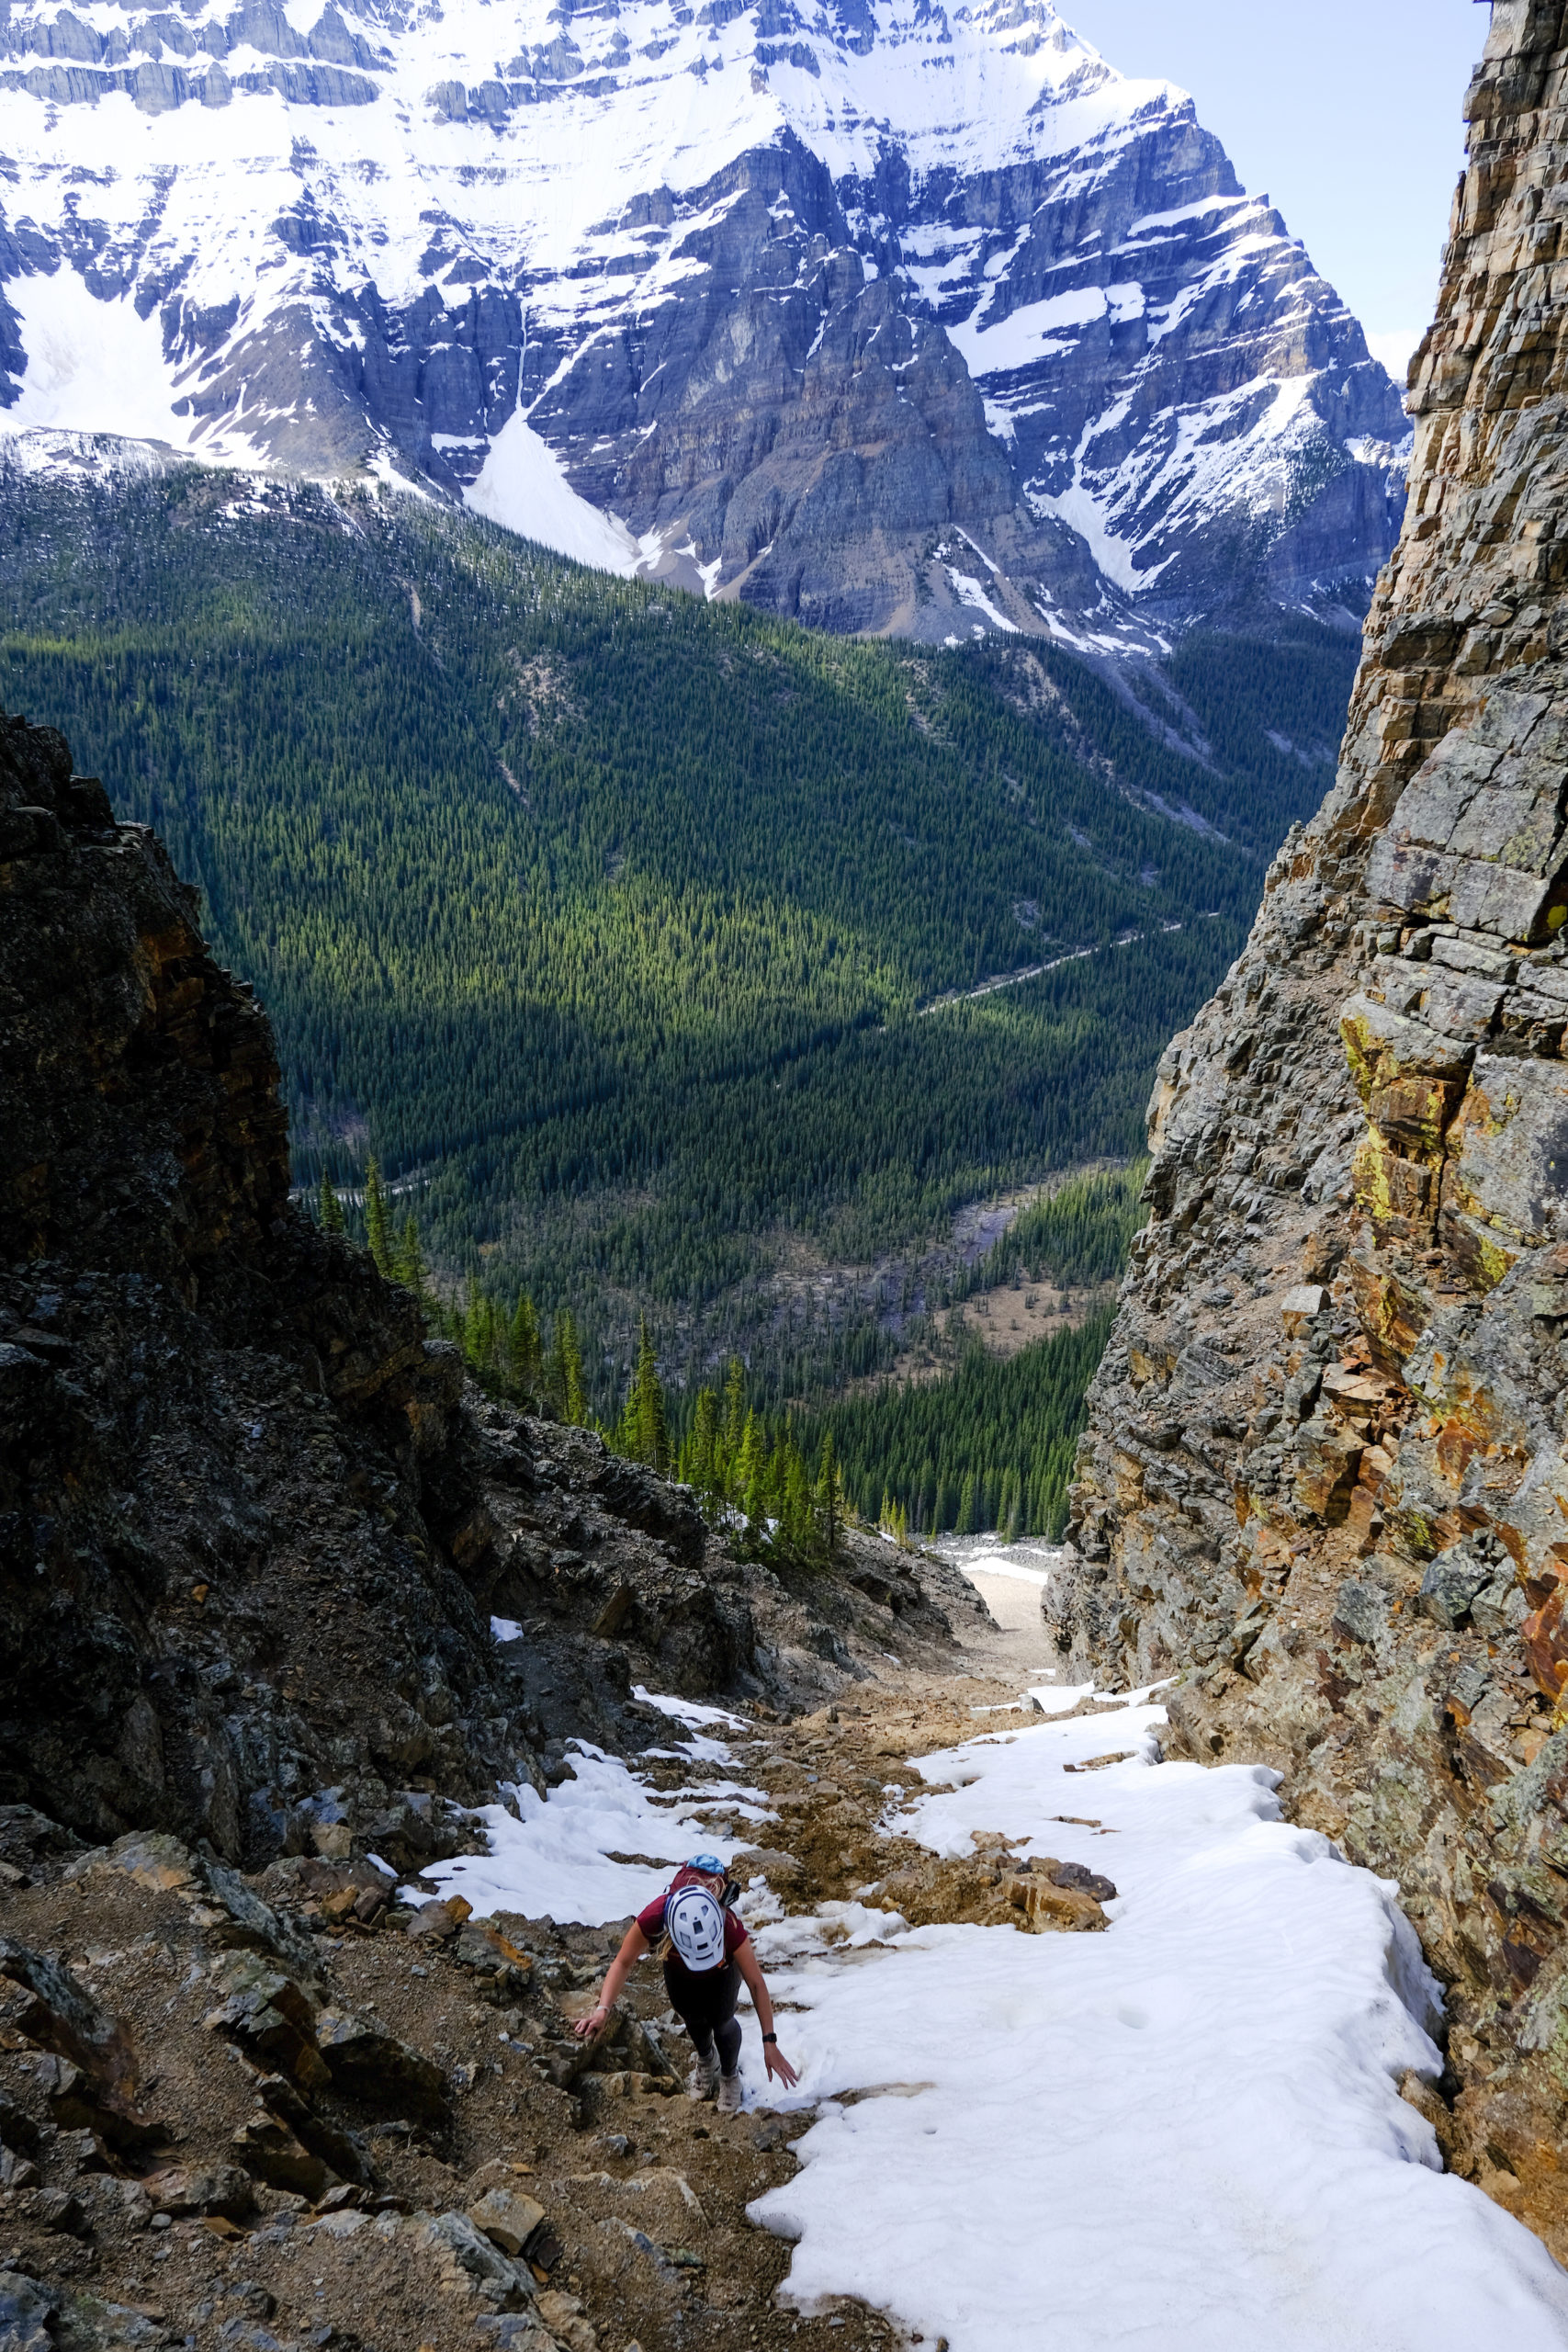
You’ll know you’re close to the top when the rocks start getting very large, and you’ll feel like you’re almost rock climbing. This is where the gully gets narrow, and won’t allow many parties to pass through it at once.
Wait your turn if there are many people on the trail. Remember that proper hiking etiquette means letting the downclimbers pass you as you wait on the side.
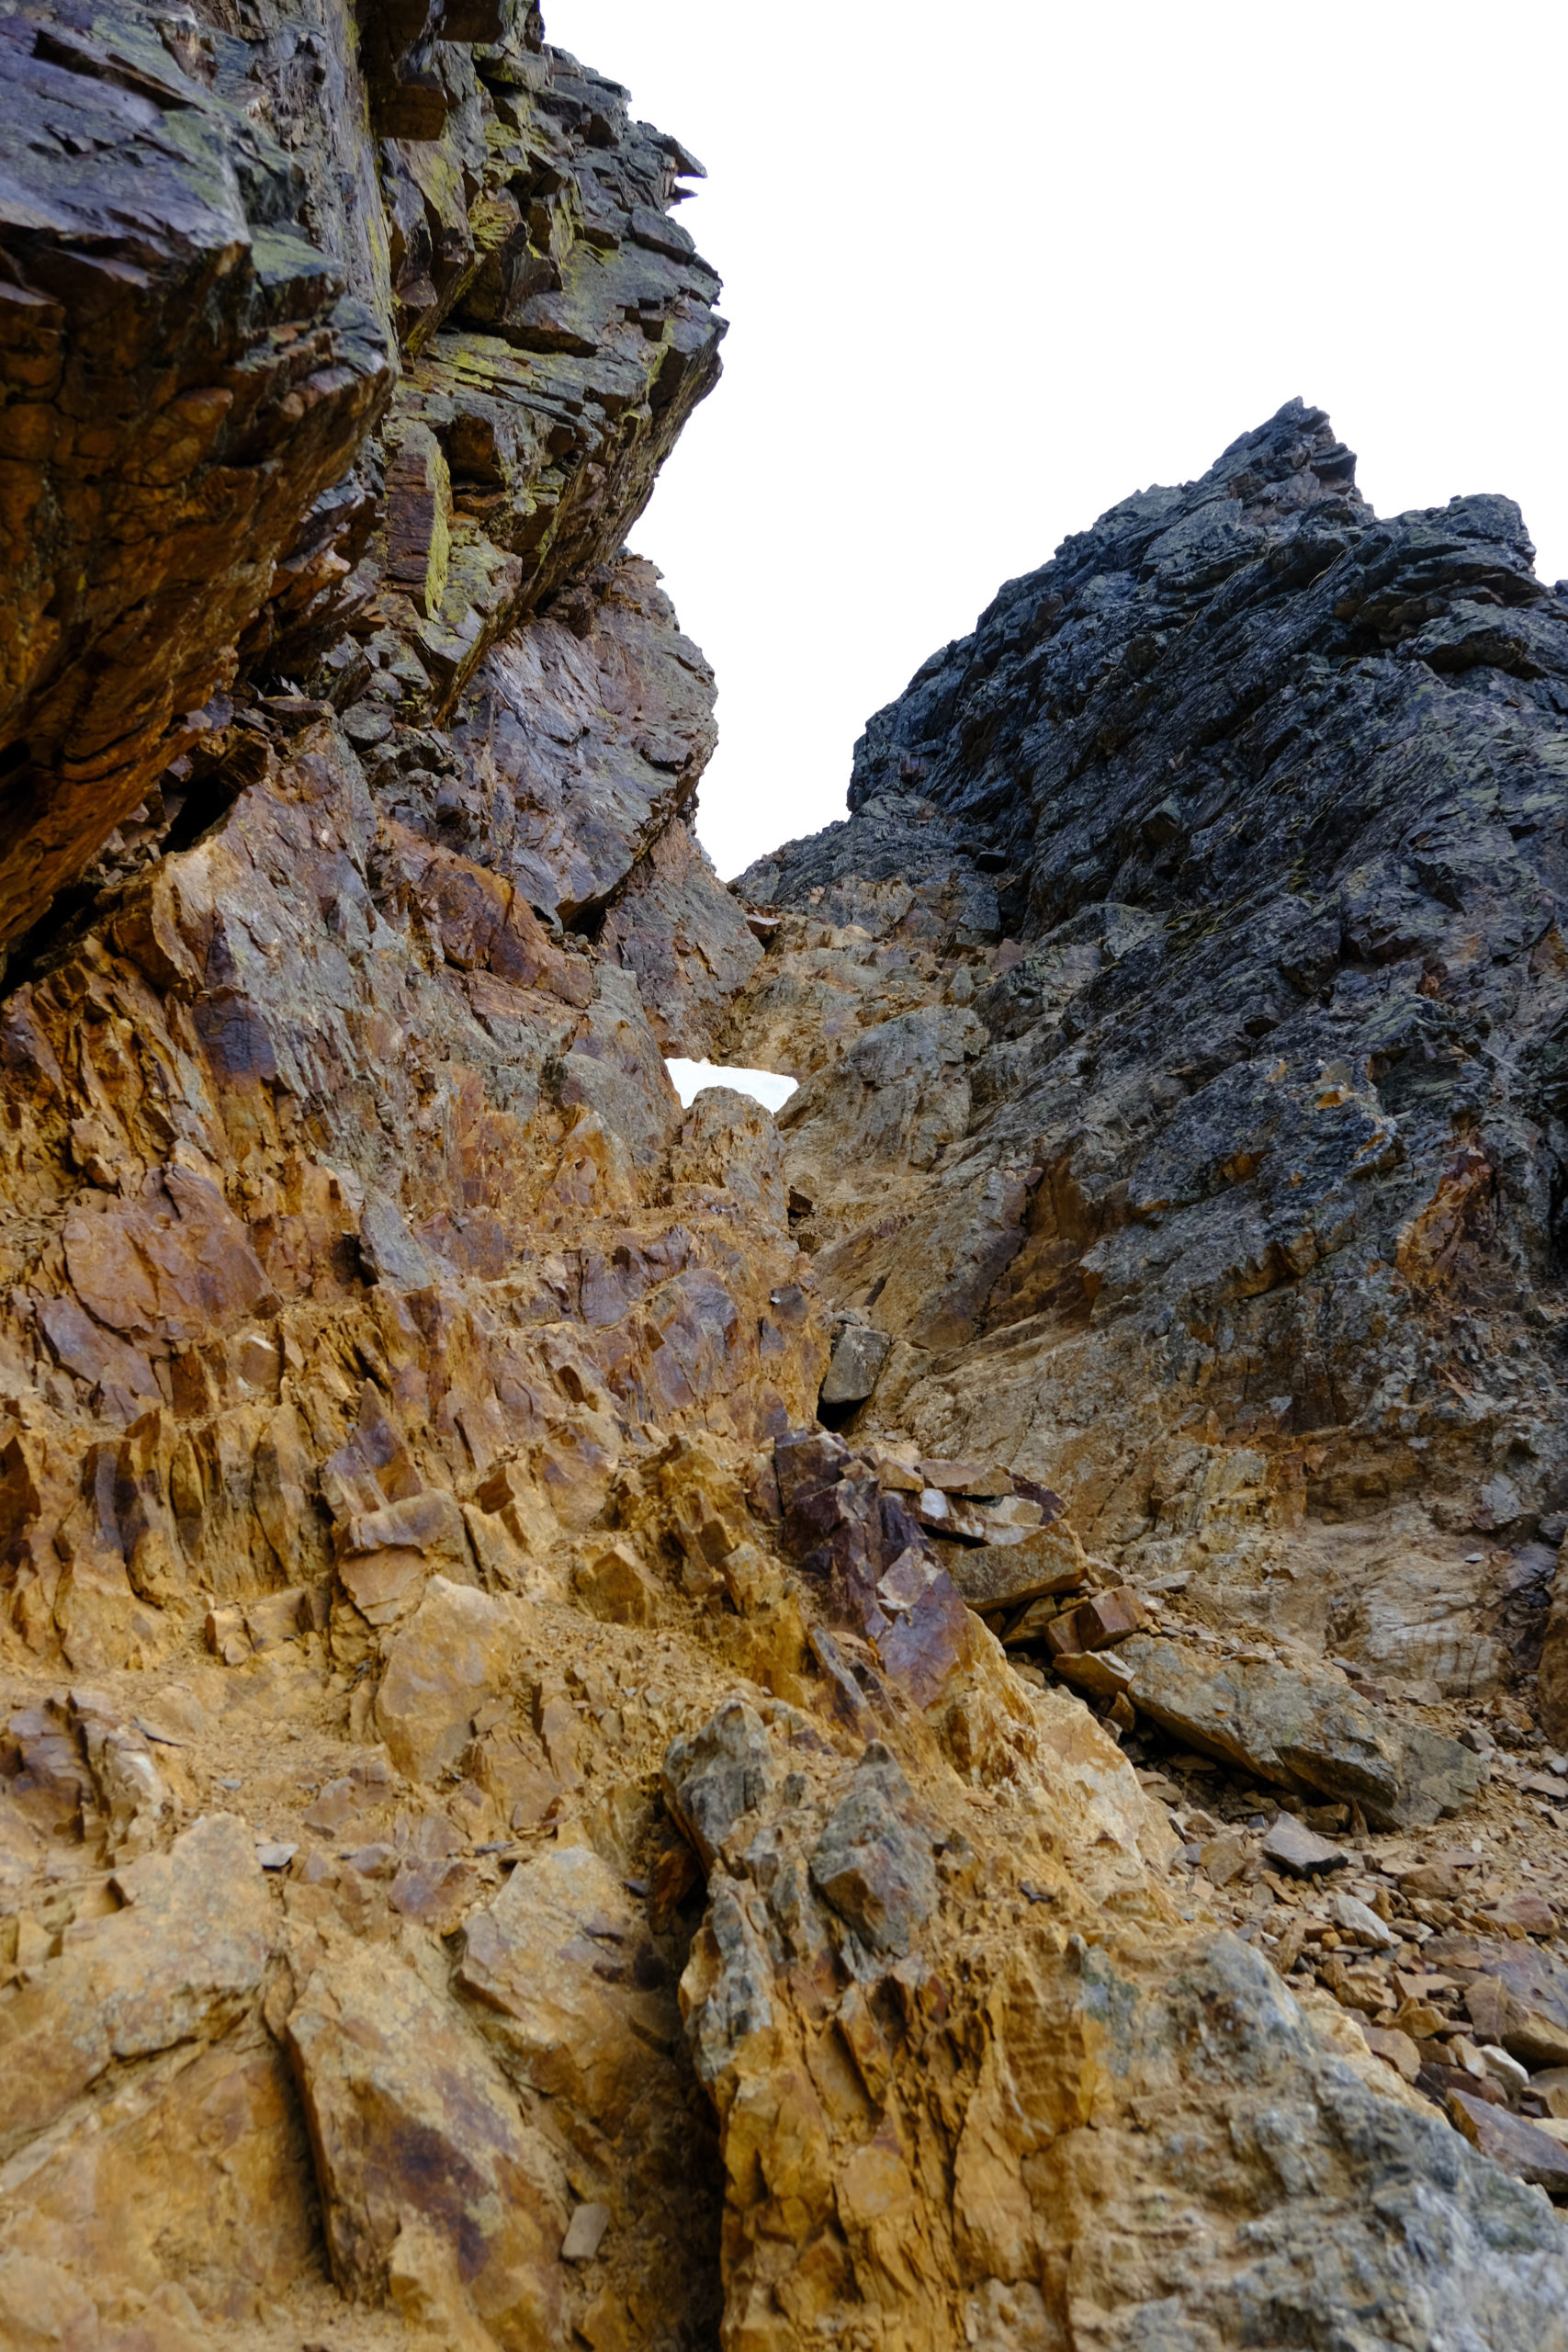
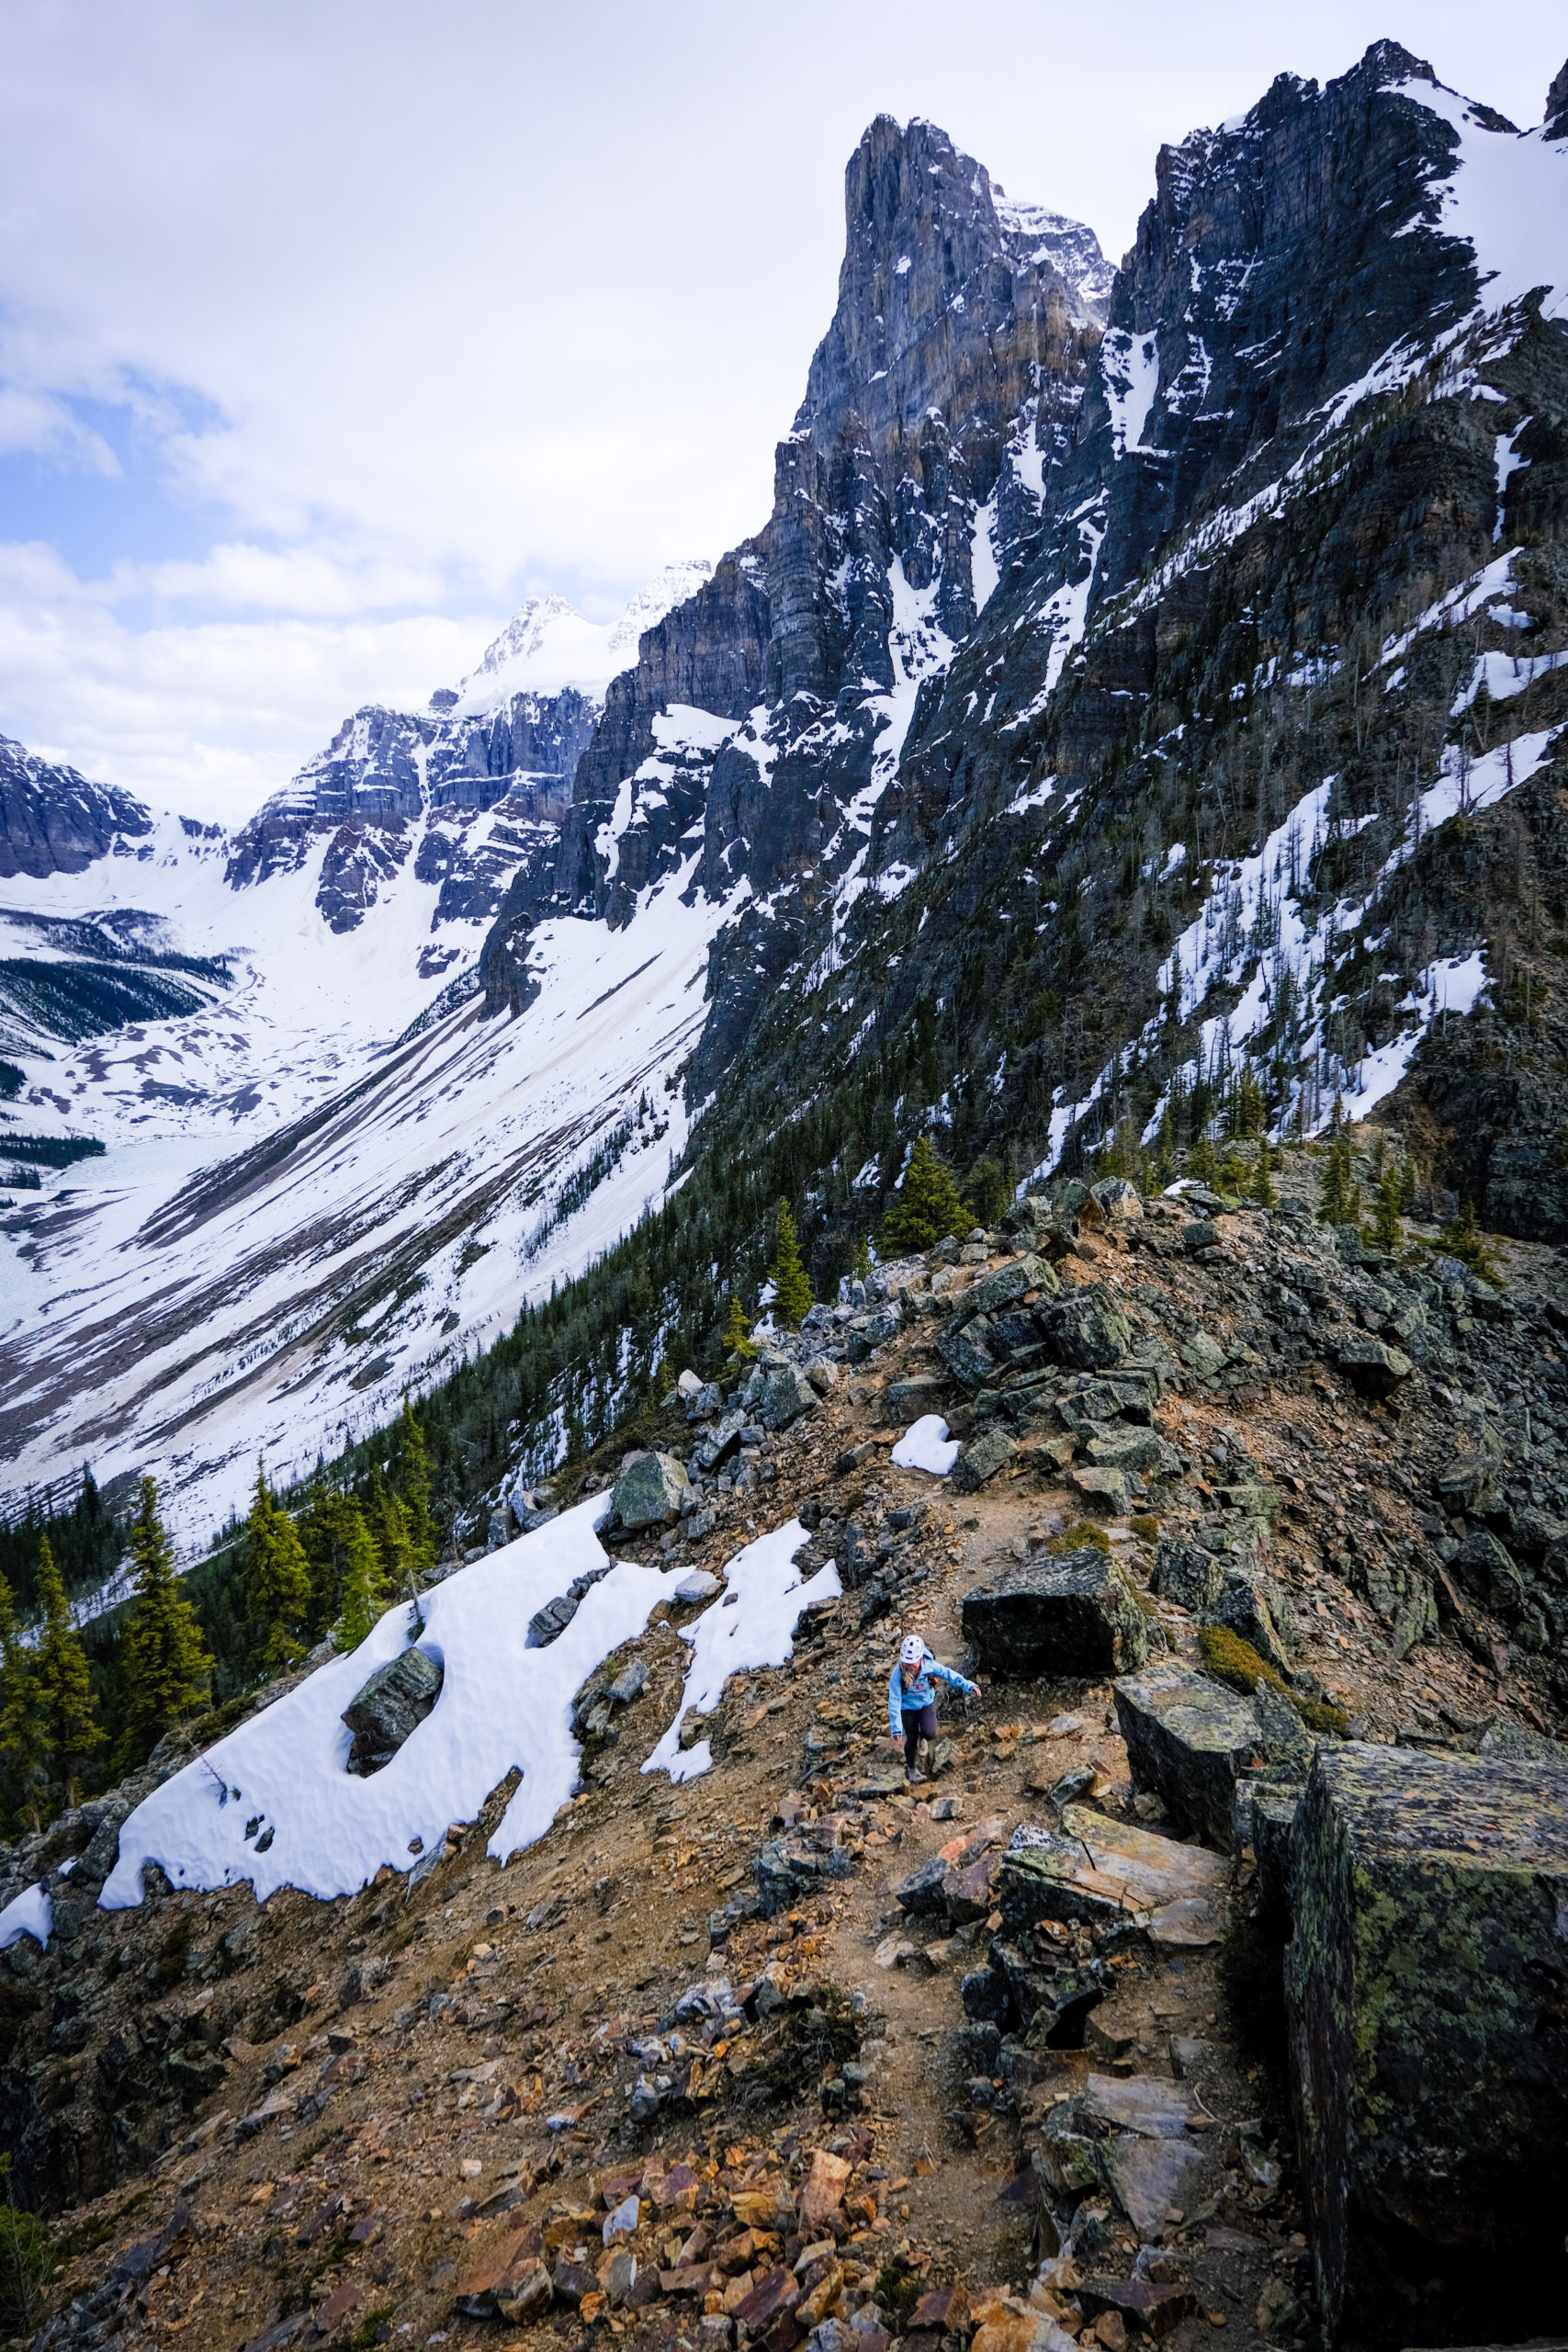
Once you reach the top of the gully, you are almost there. Hang a left from the gully and continue on towards the true summit, about 5-10 minutes away. You’ll start to get beautiful views of Moraine Lake on your left as you get nearer to the summit. You have one more mini (but easy) rock wall to climb up before you reach the summit platform.
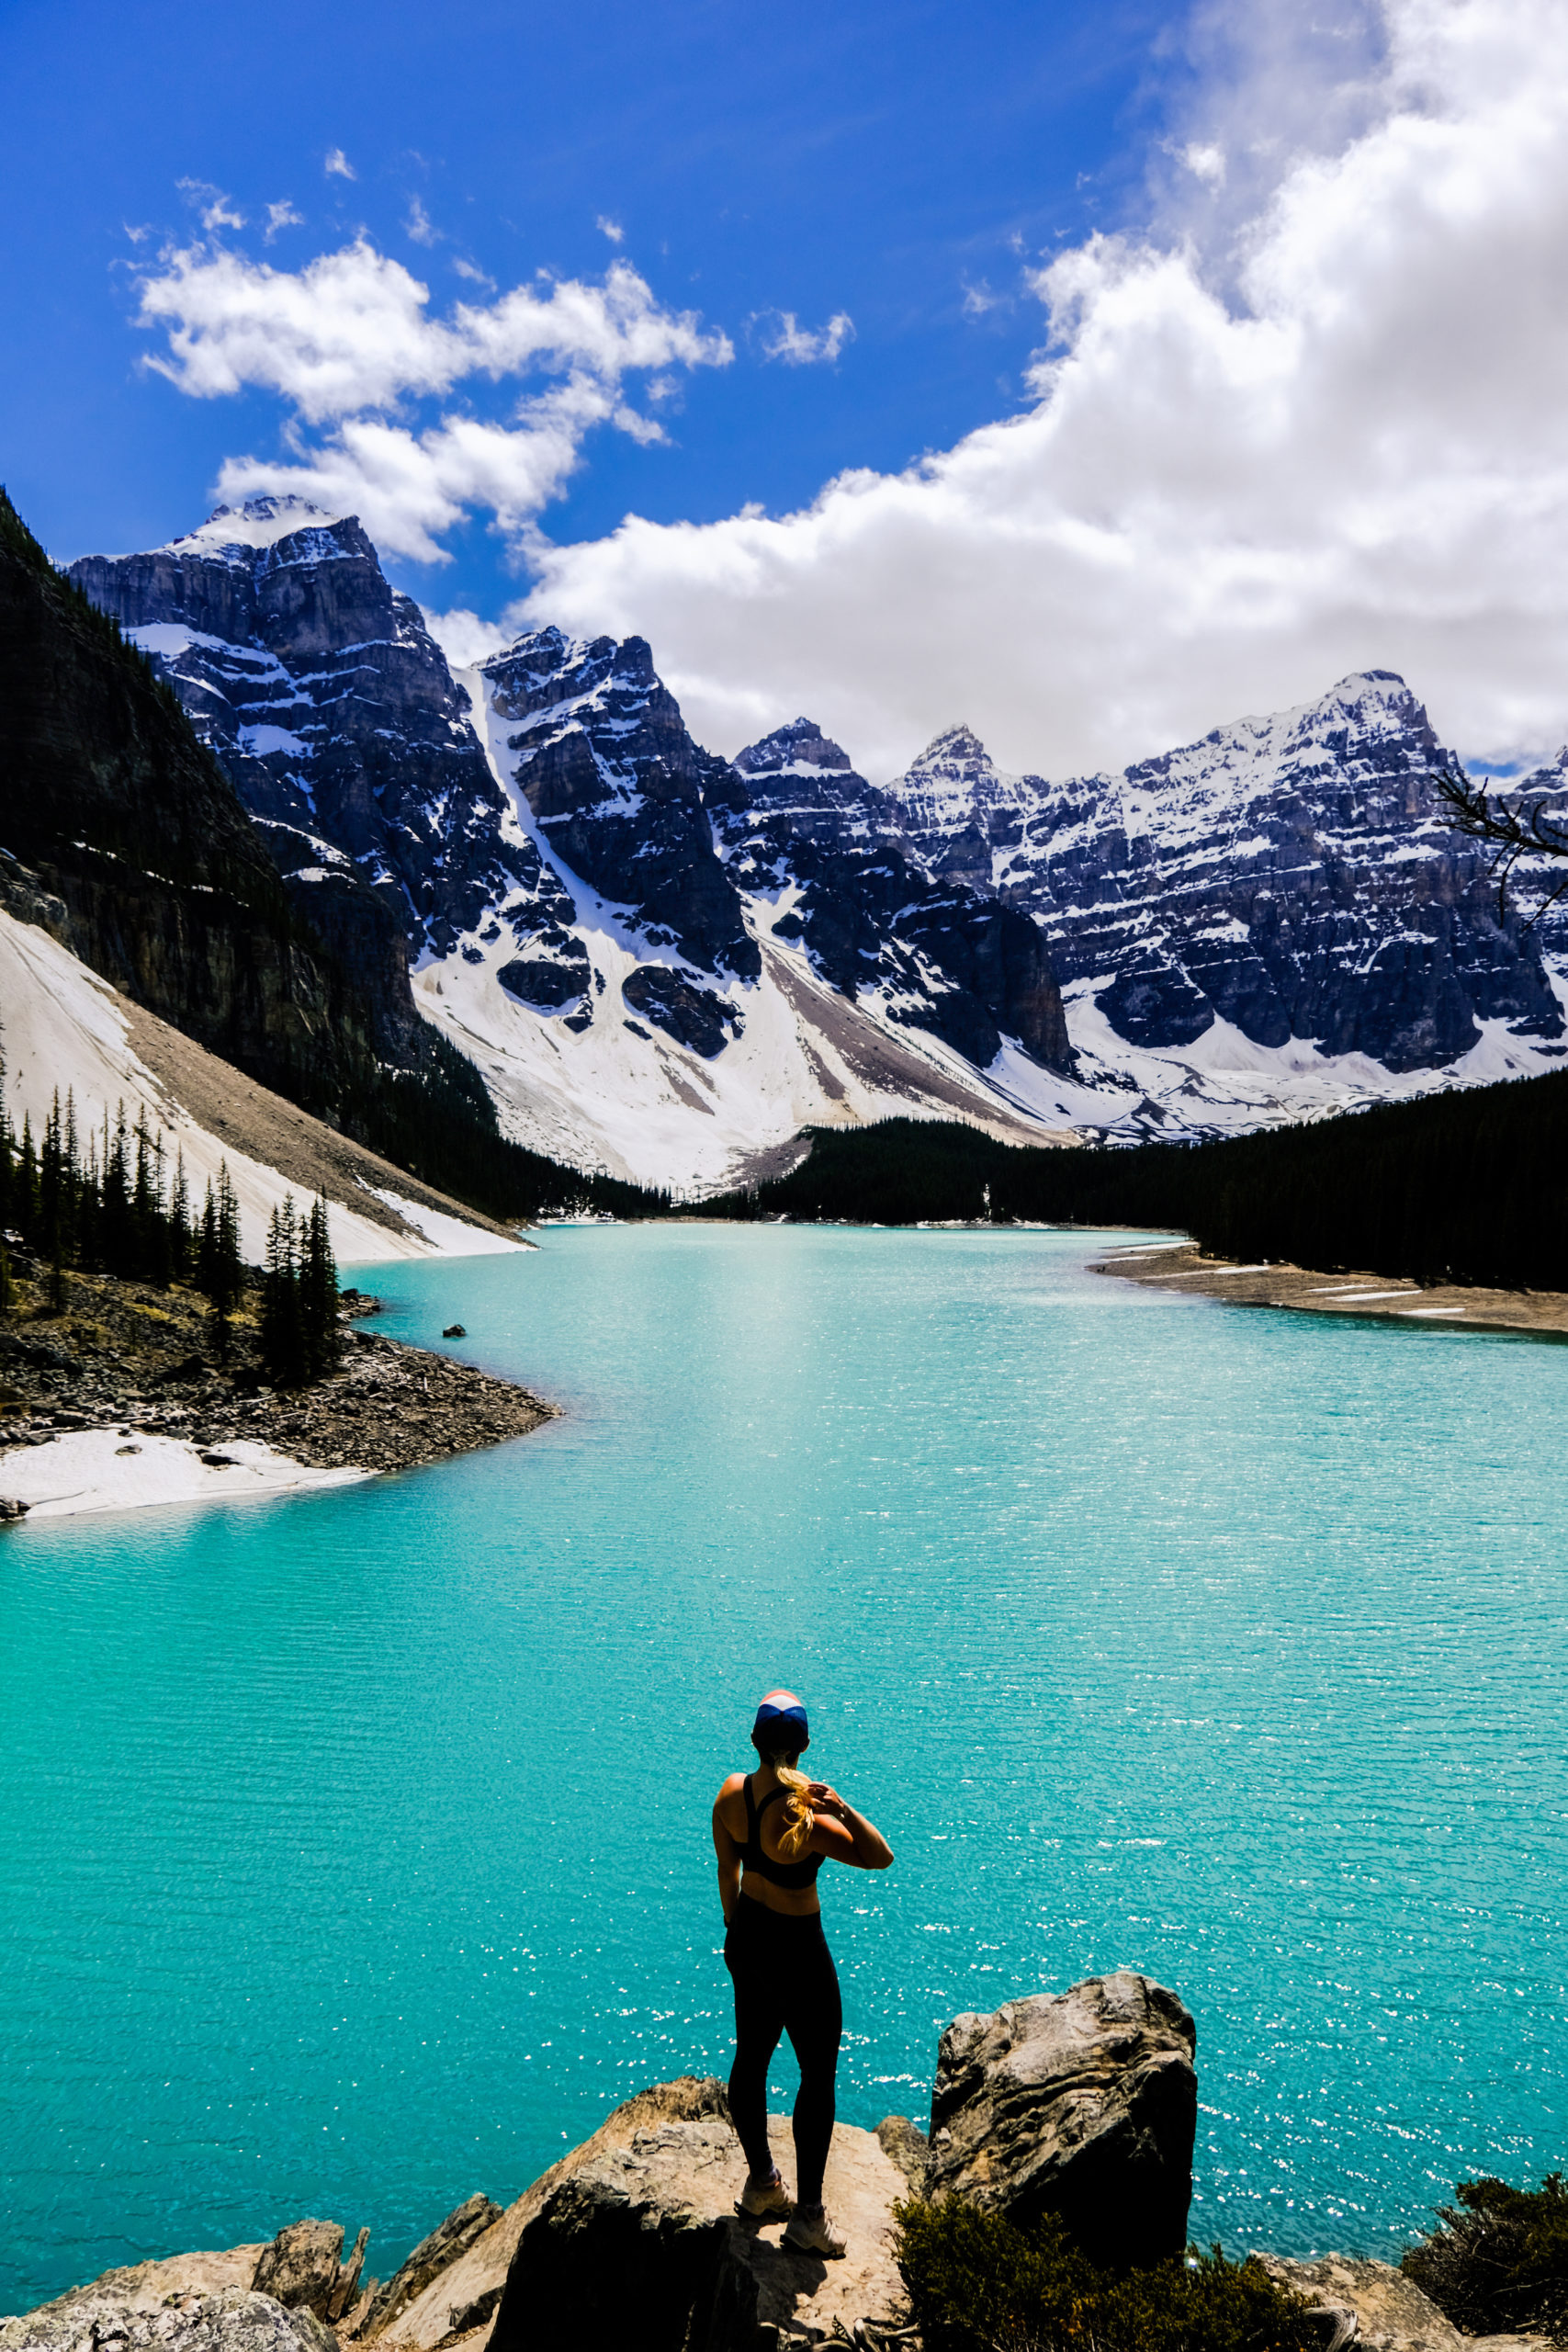
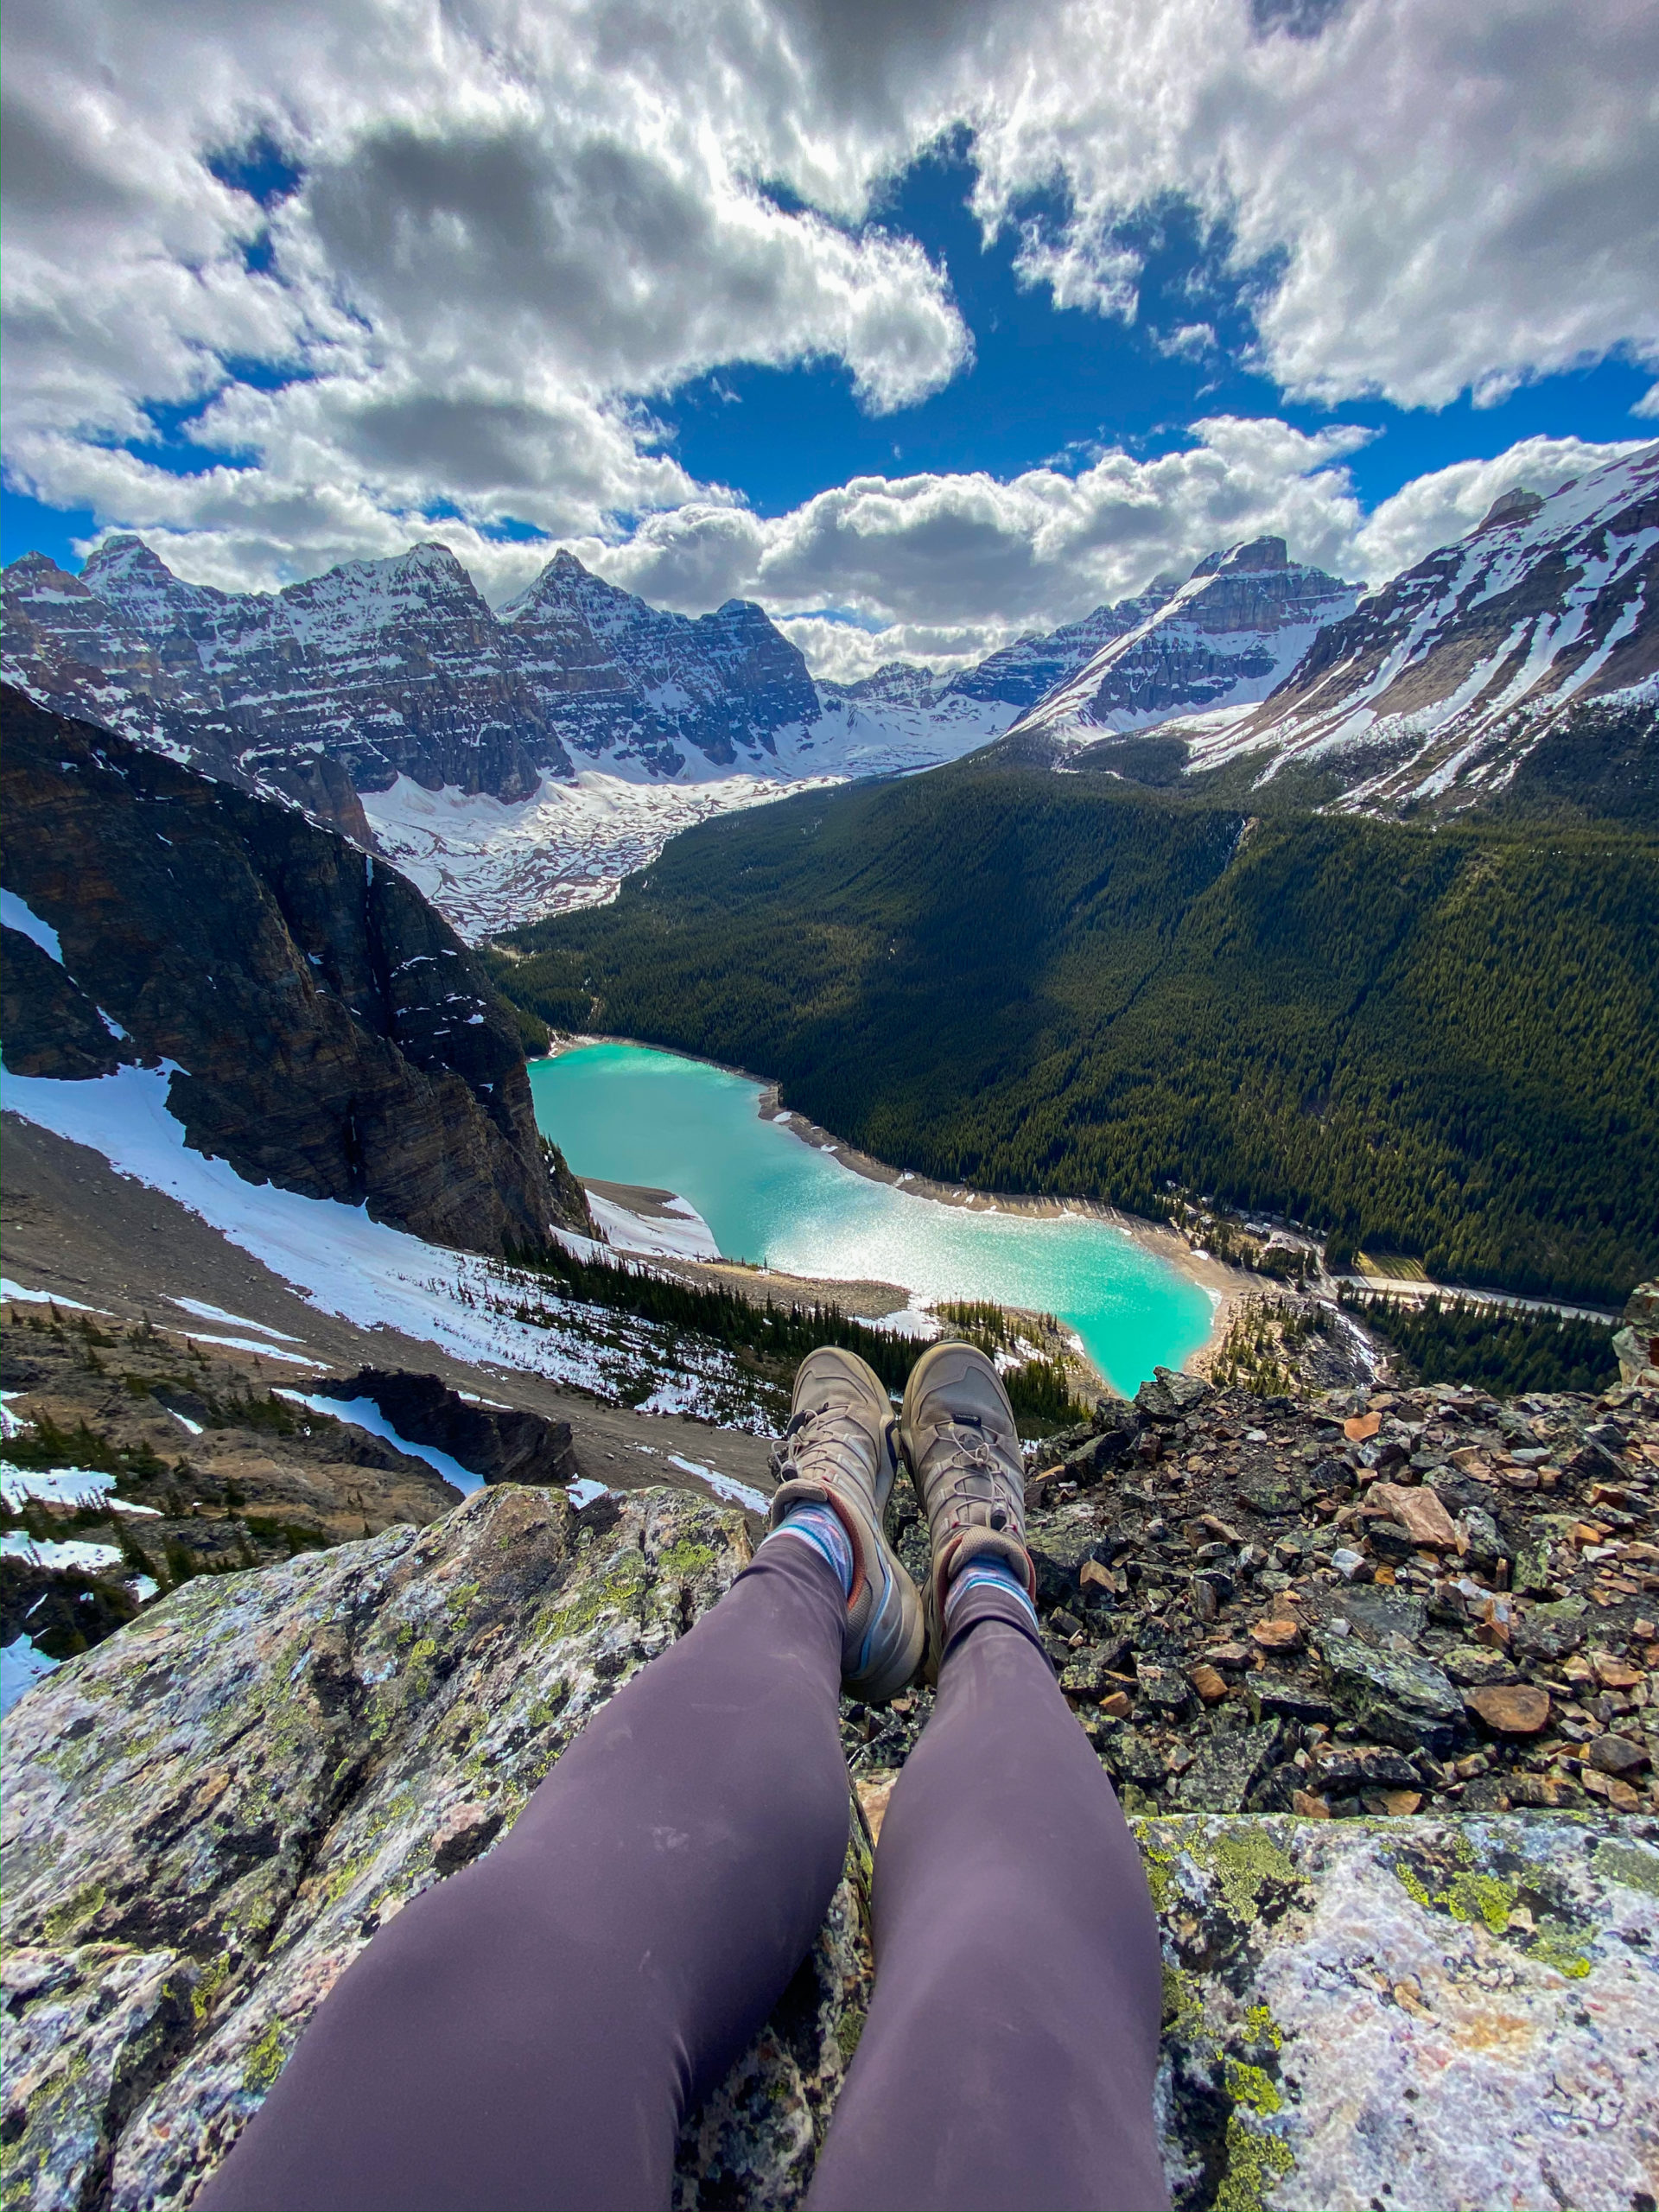
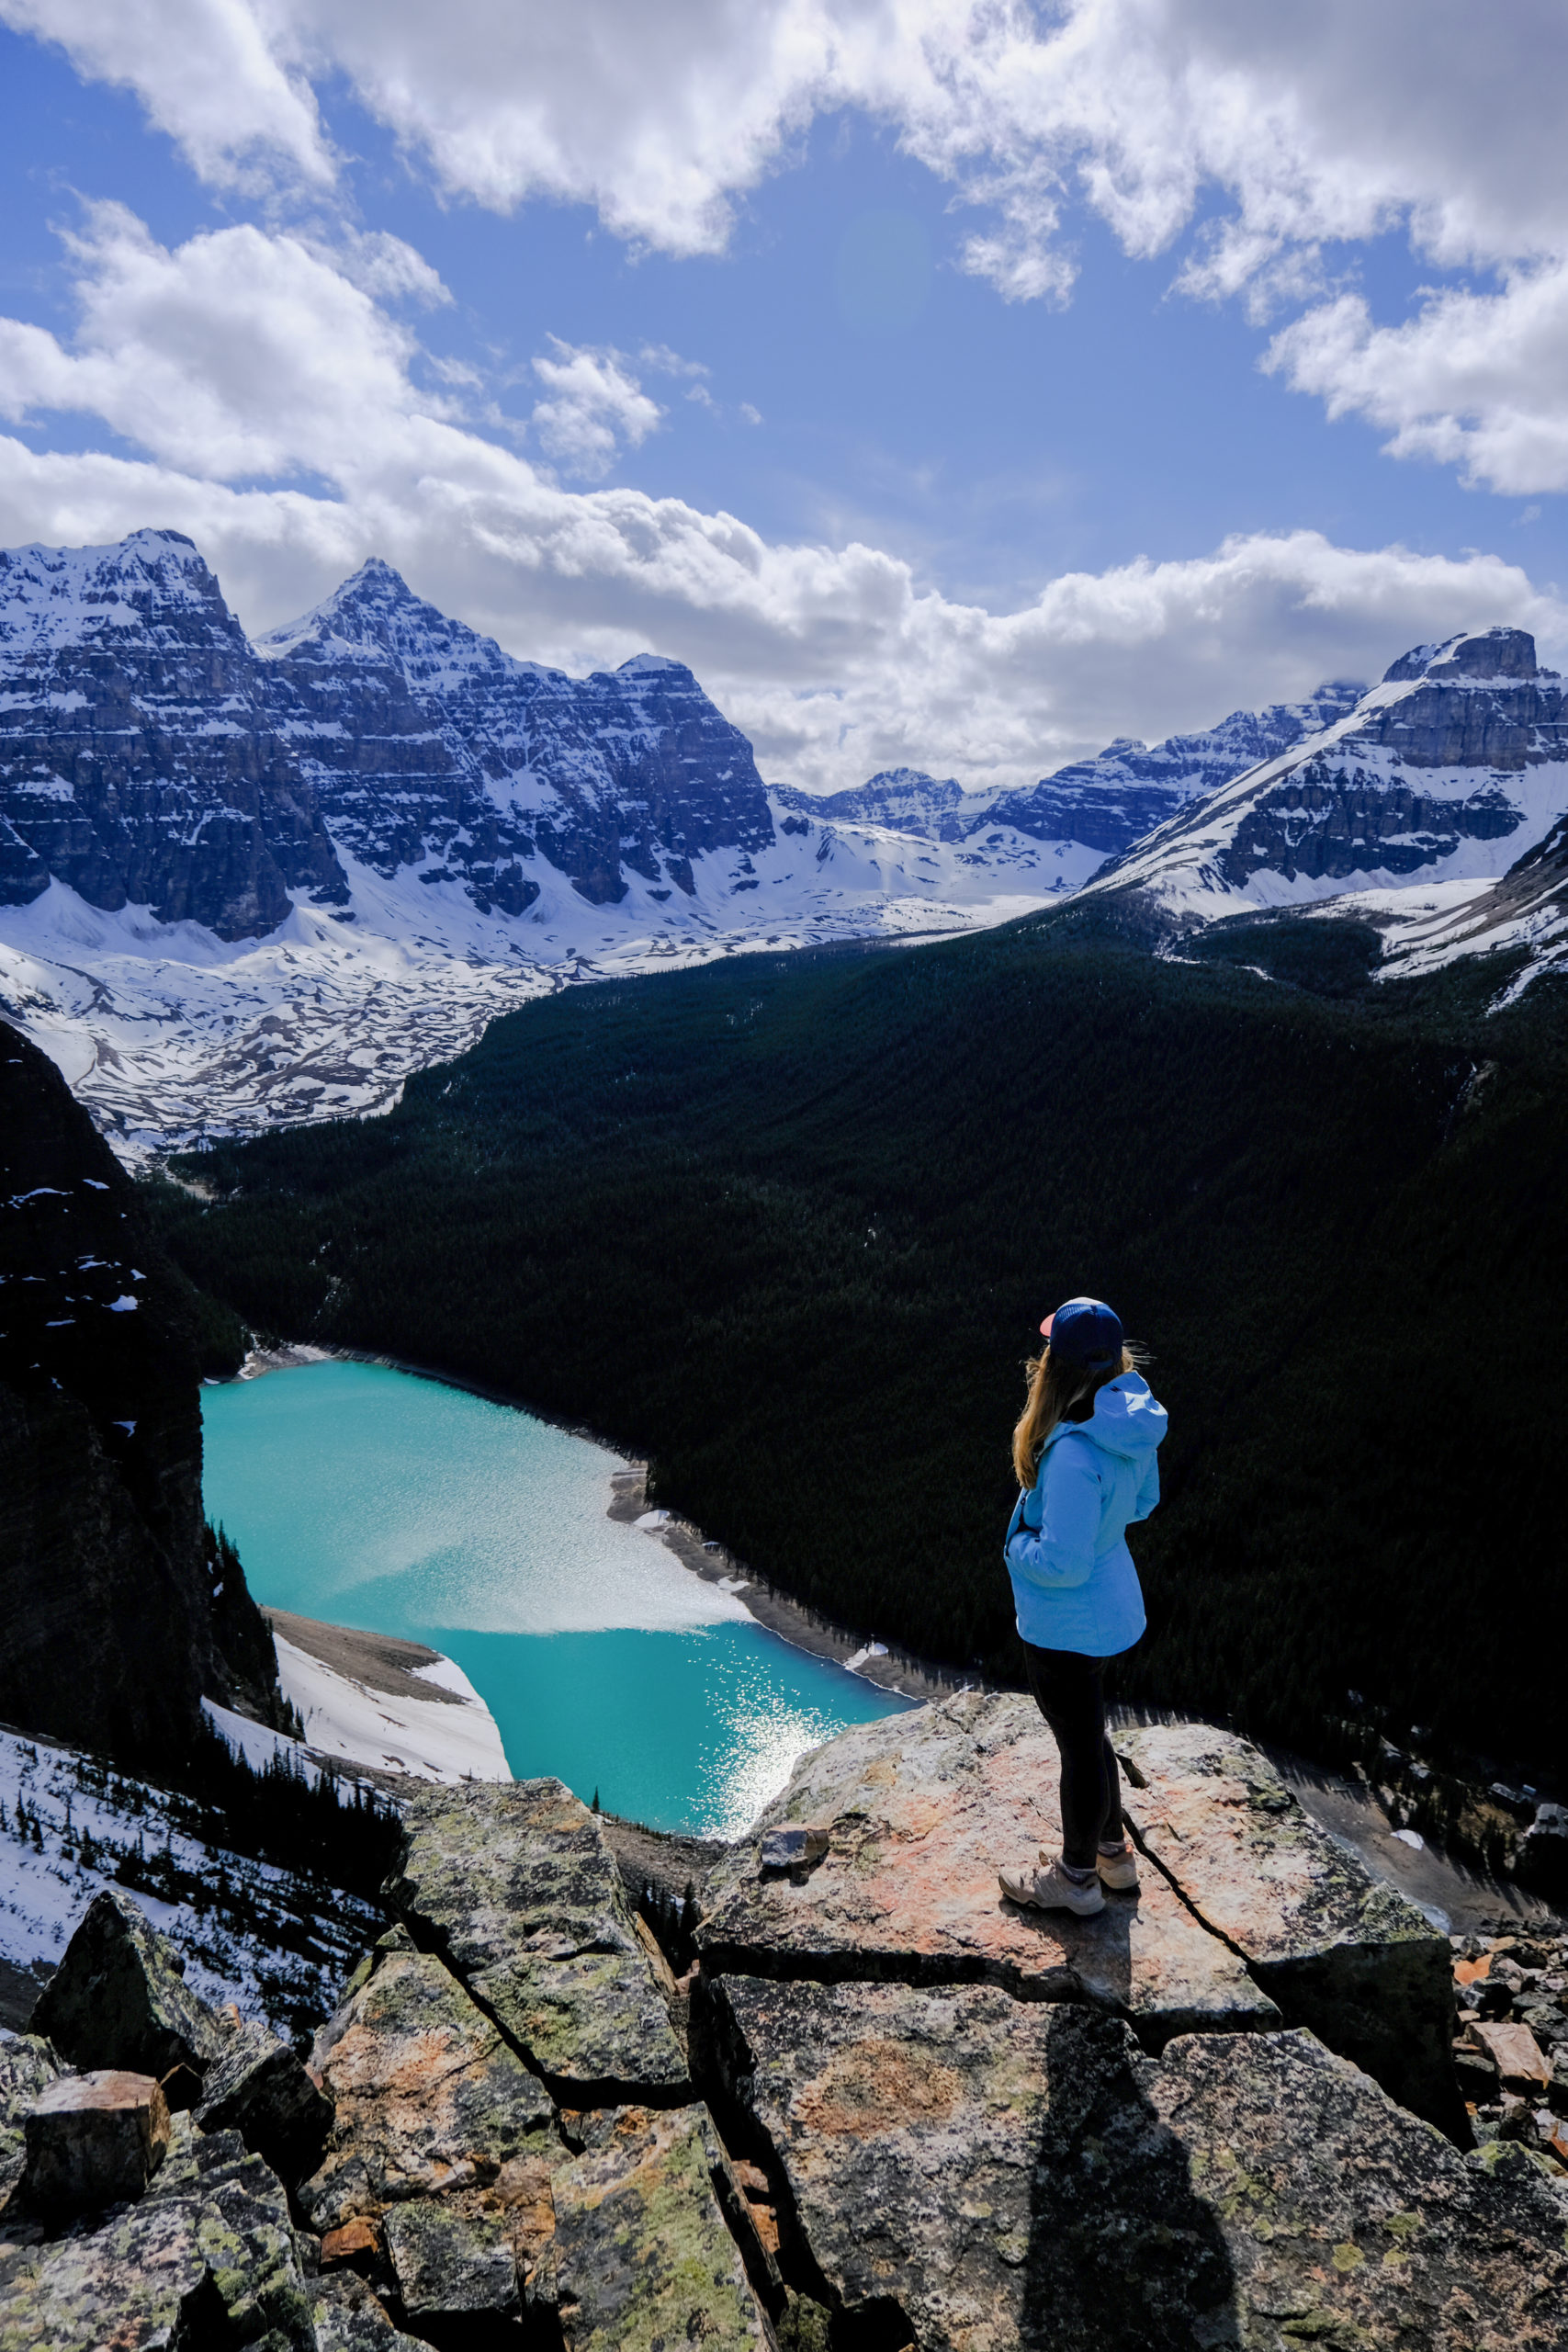
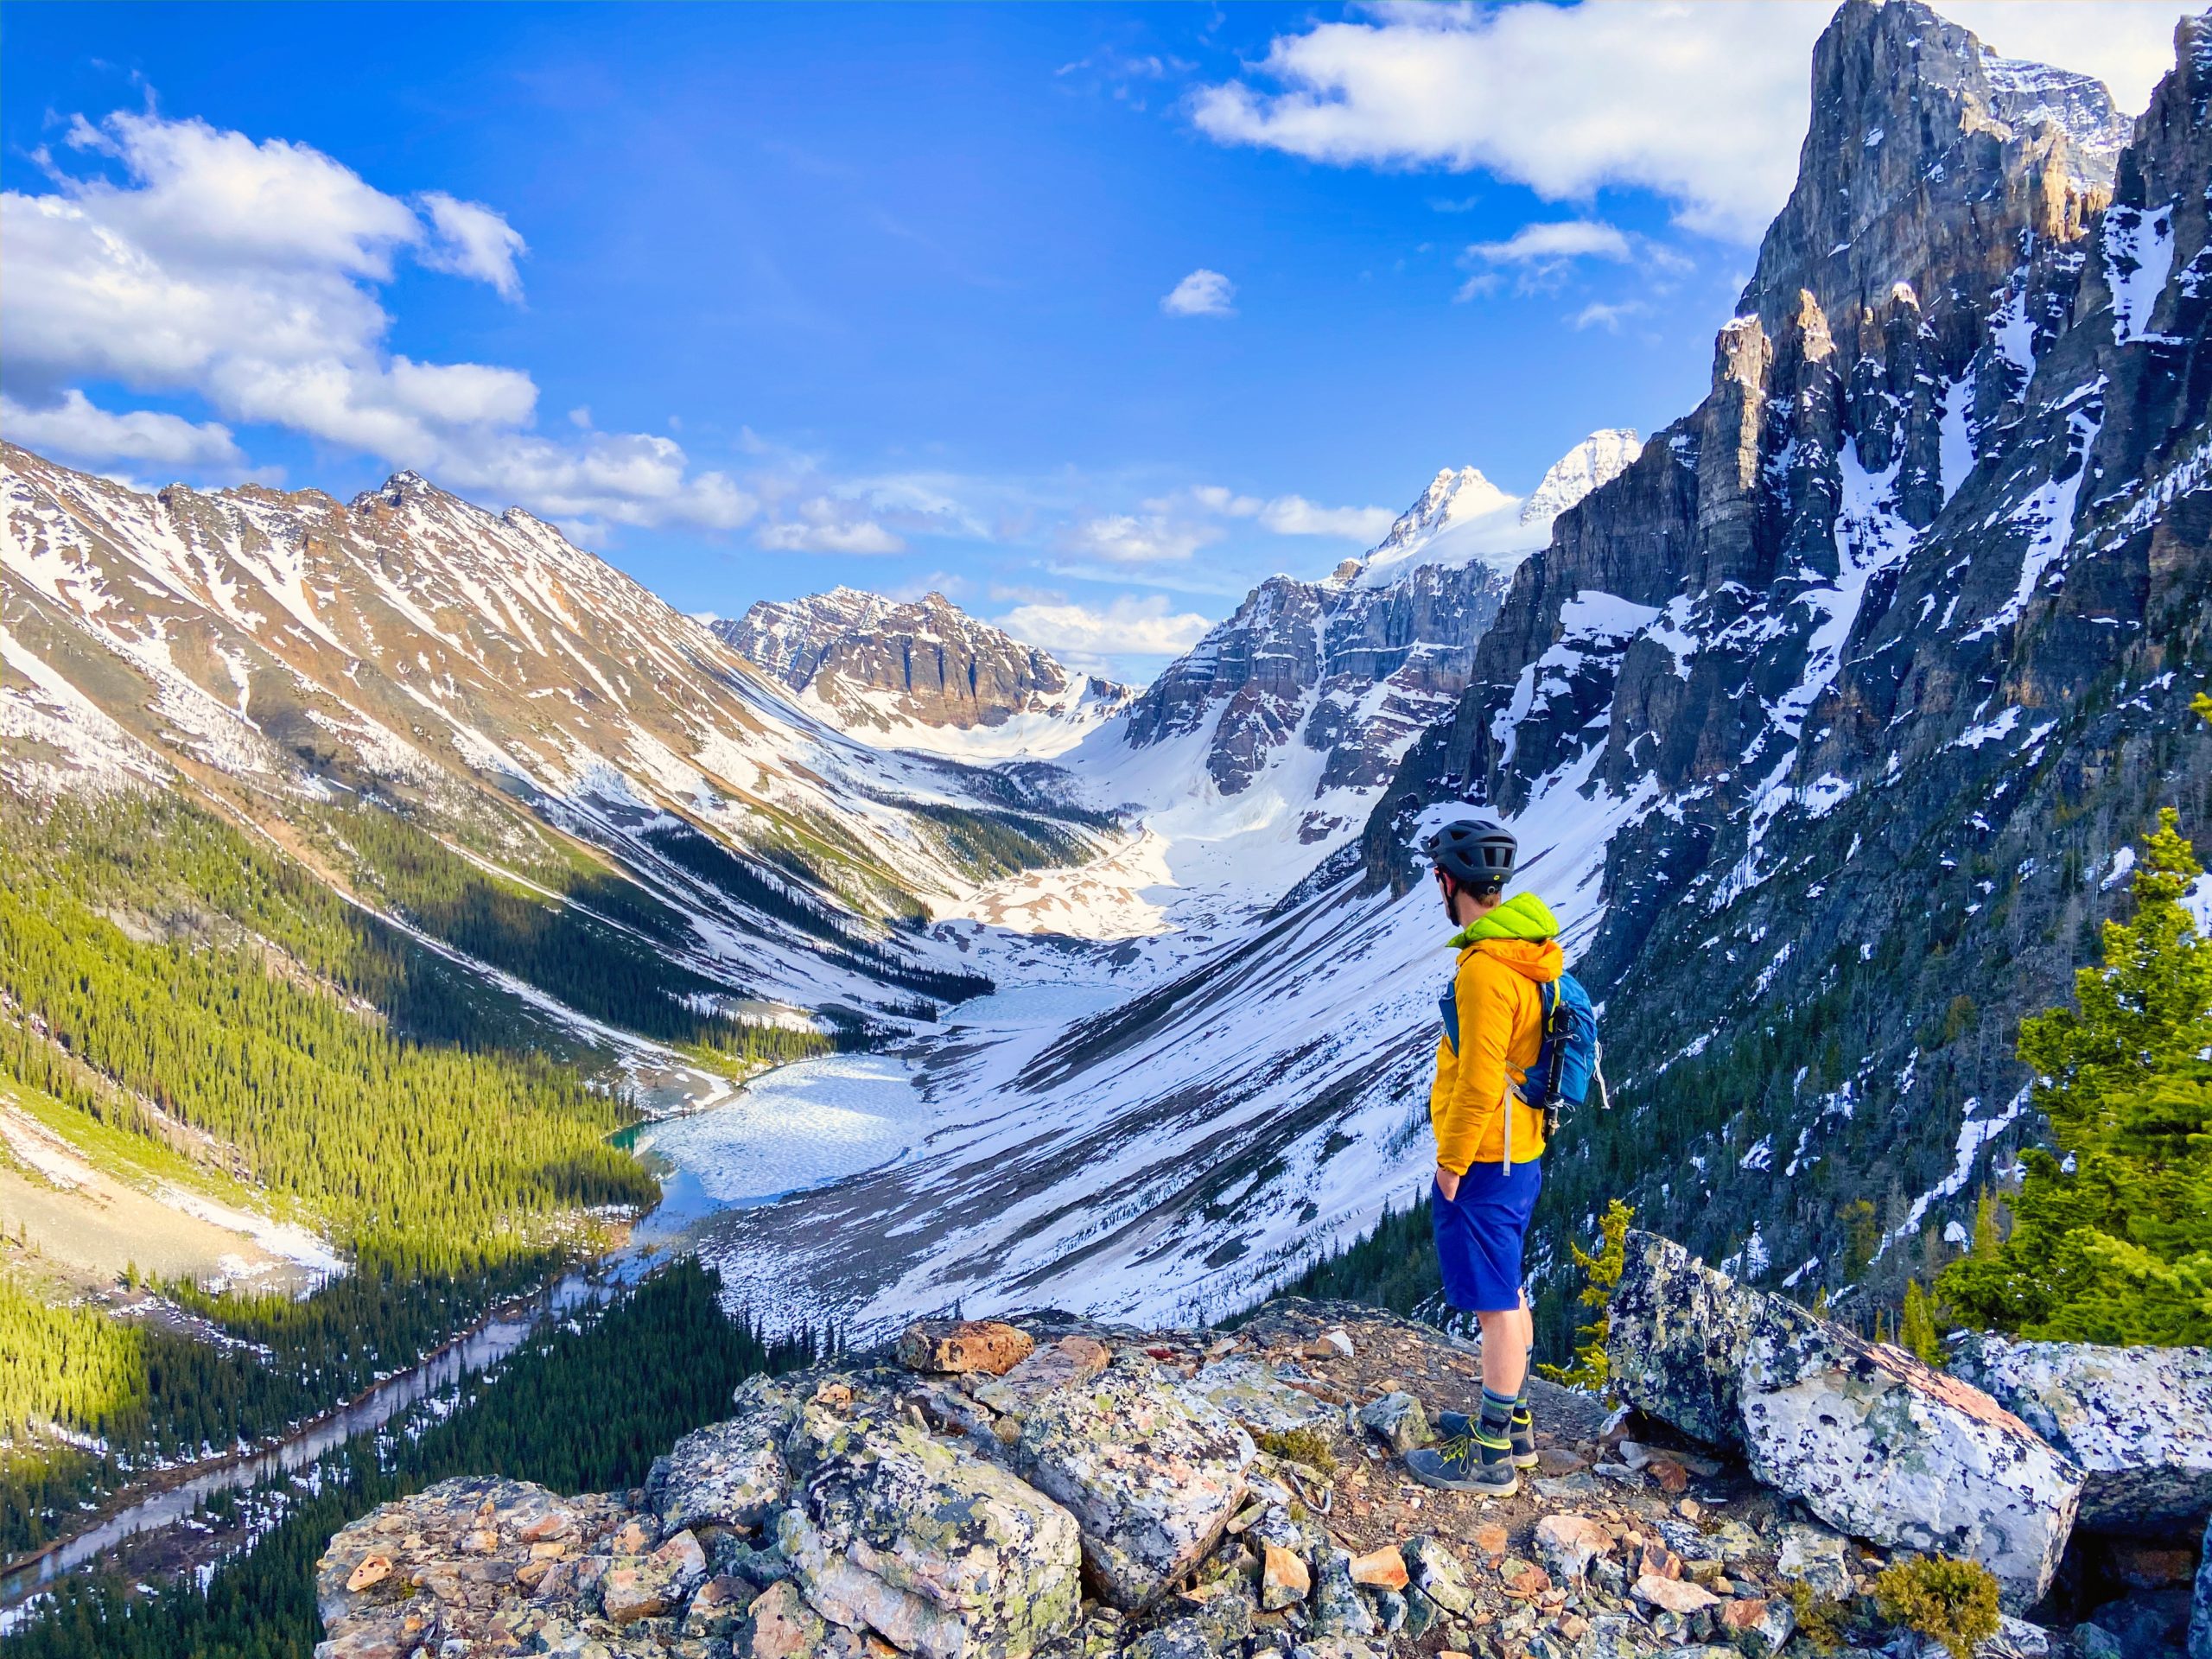
The Tower of Babel summit is a huge platform and offers plenty of space to take in the views. You can’t miss Mount Temple straight ahead of you, Consolation Lakes behind you, Lake Louise Ski Resort and the rest of the valley to your right, and of course Lake Moraine and the Ten Peaks to the left of you.
There’s even a couch set up (made of rocks); if you’re lucky like we were, you’ll have the couch and entire view to yourself to relax.
Tower of Babel Descent
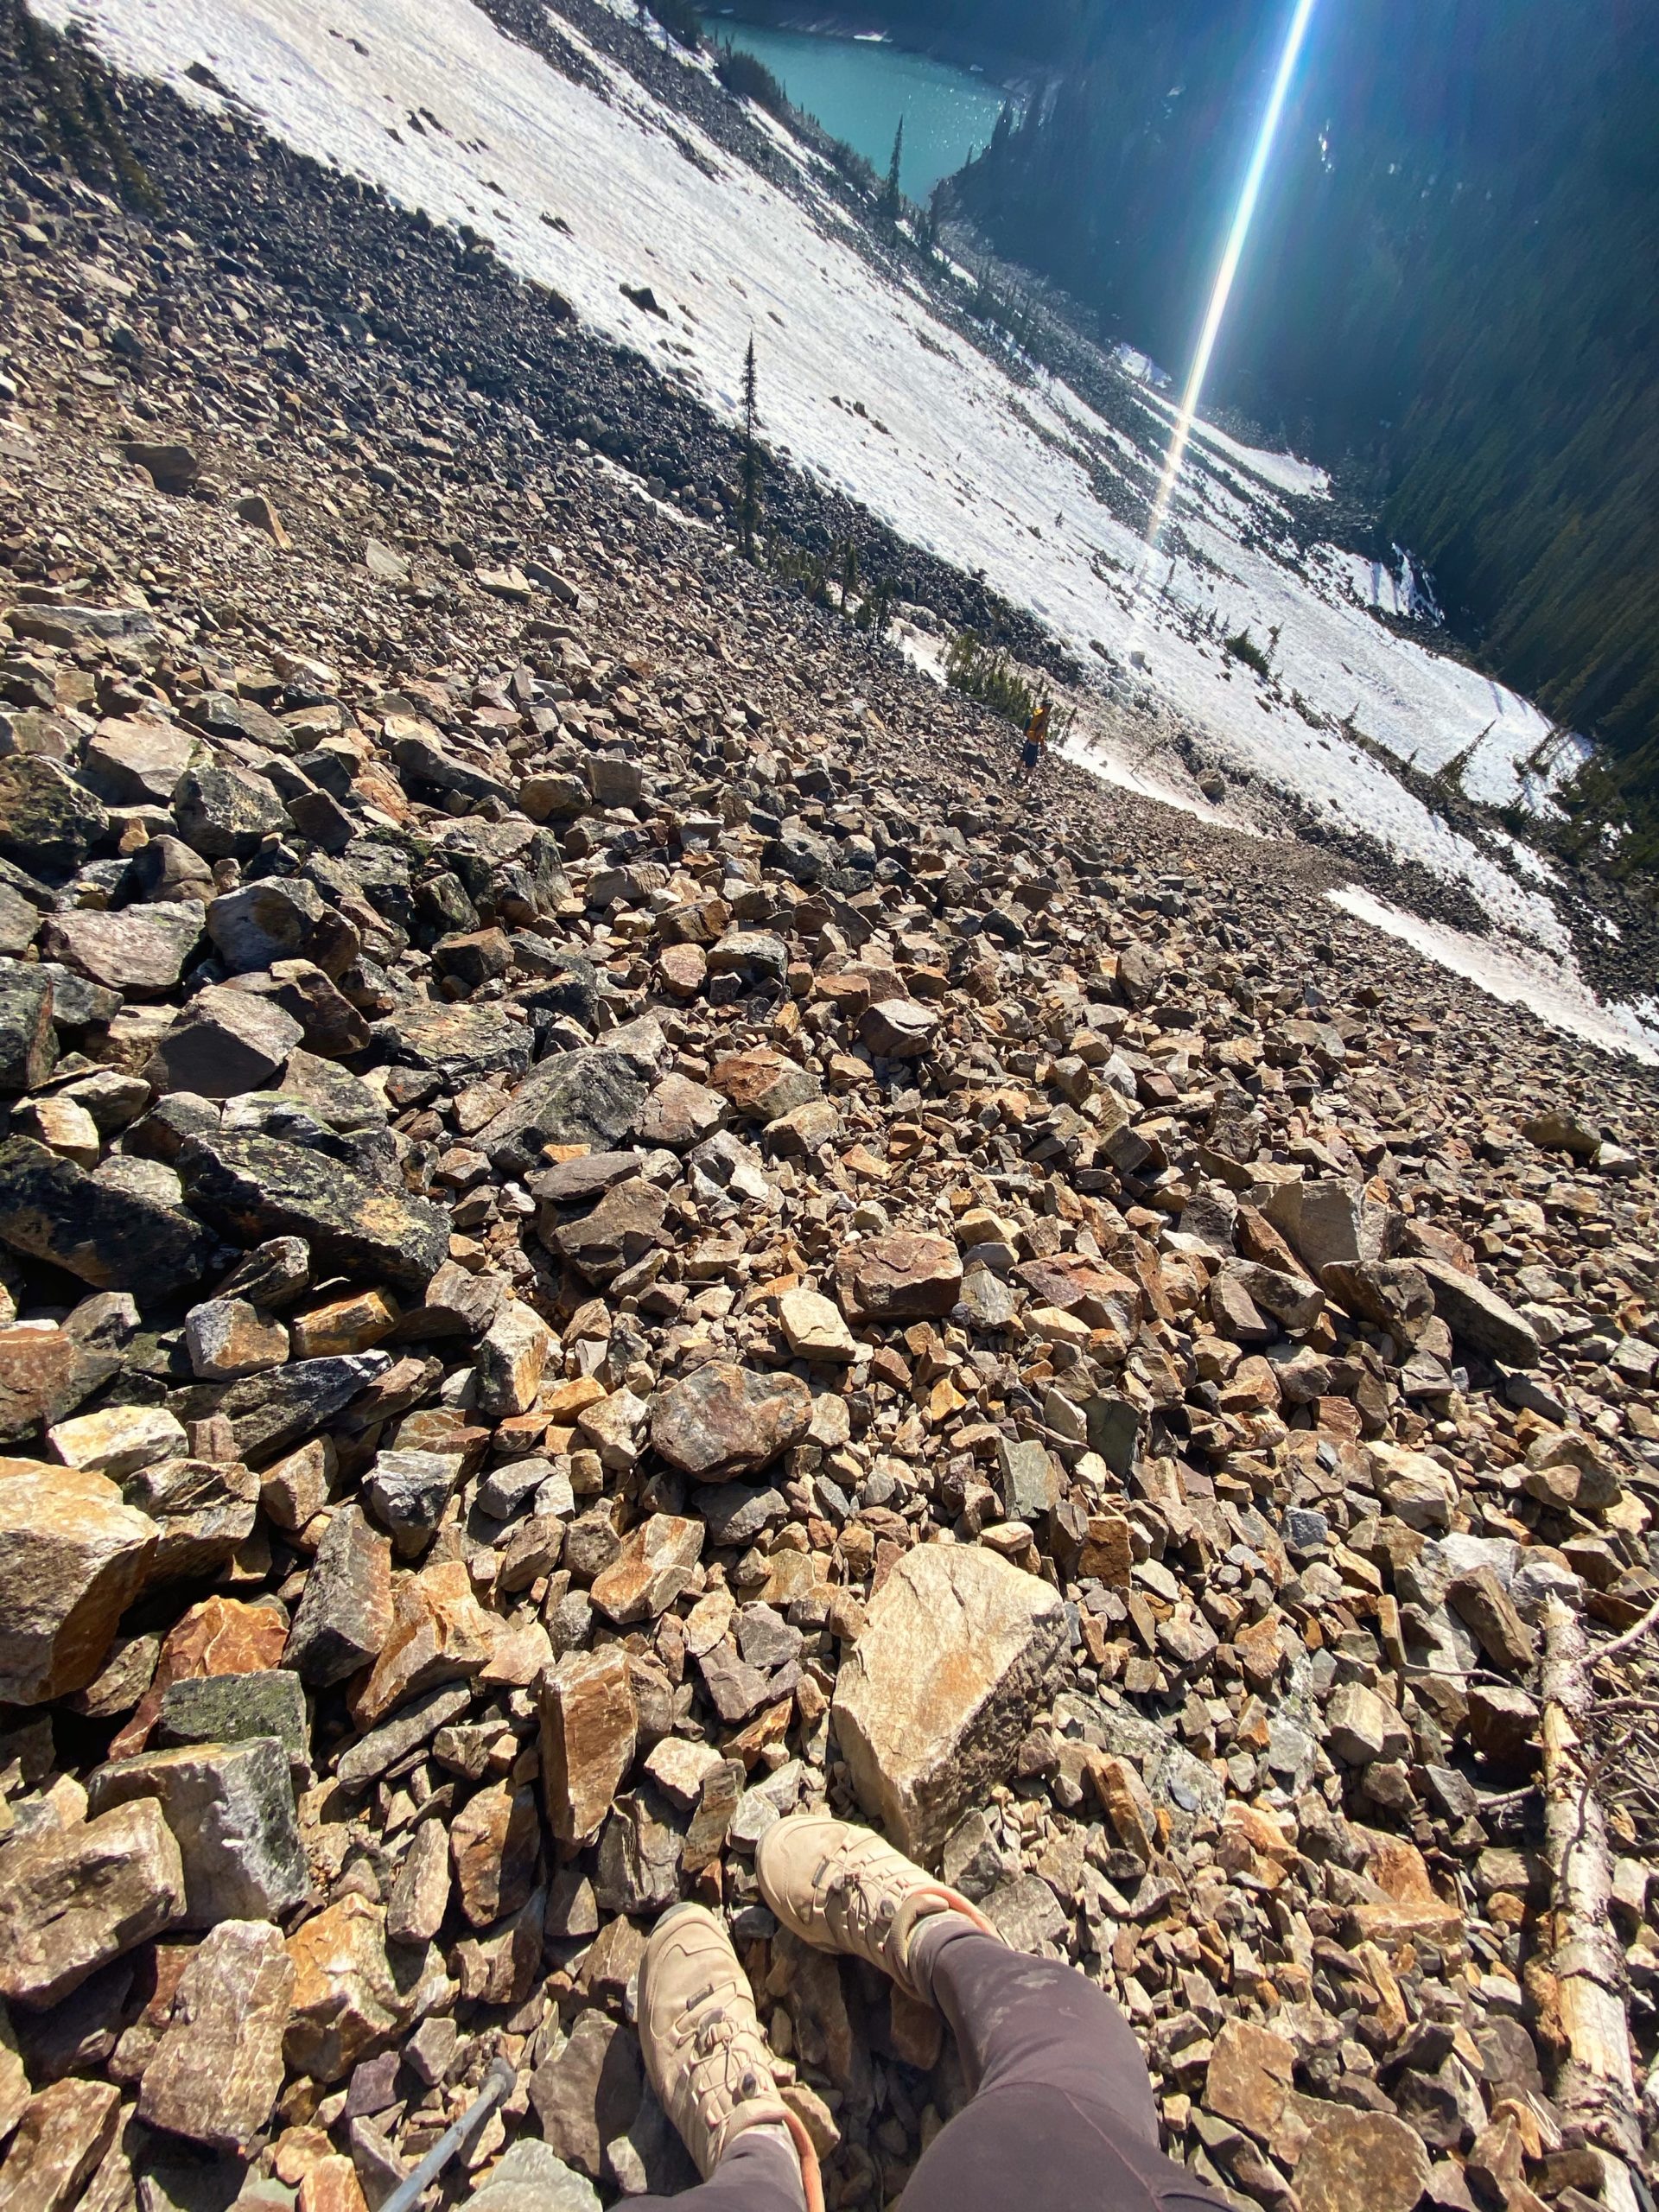
You must descend the same way you came from, which I was loathing. For me, the descent was scary at first, and then fun. You must descend over the rocks you just came up, and for short people like me this may be hard to link your feet and hands to the rocks.
Take your time and remember to turn around and face the rockwall if you need to. I did a bit of crab walking down the top of the gully. If you have a partner with you, he or she may be able to place your feet on a few of the steps to help out. I found the first 15 minutes of the downclimb the most treacherous.
When you make it past the large rocks and to the scree, the fun begins. This is where you can practice your scree running (a hiking pole may be helpful). While the climb up the Tower of Babel took us 1.5 hours, the run down took us well under an hour, which was pretty fun!
Parking for the Tower of Babel
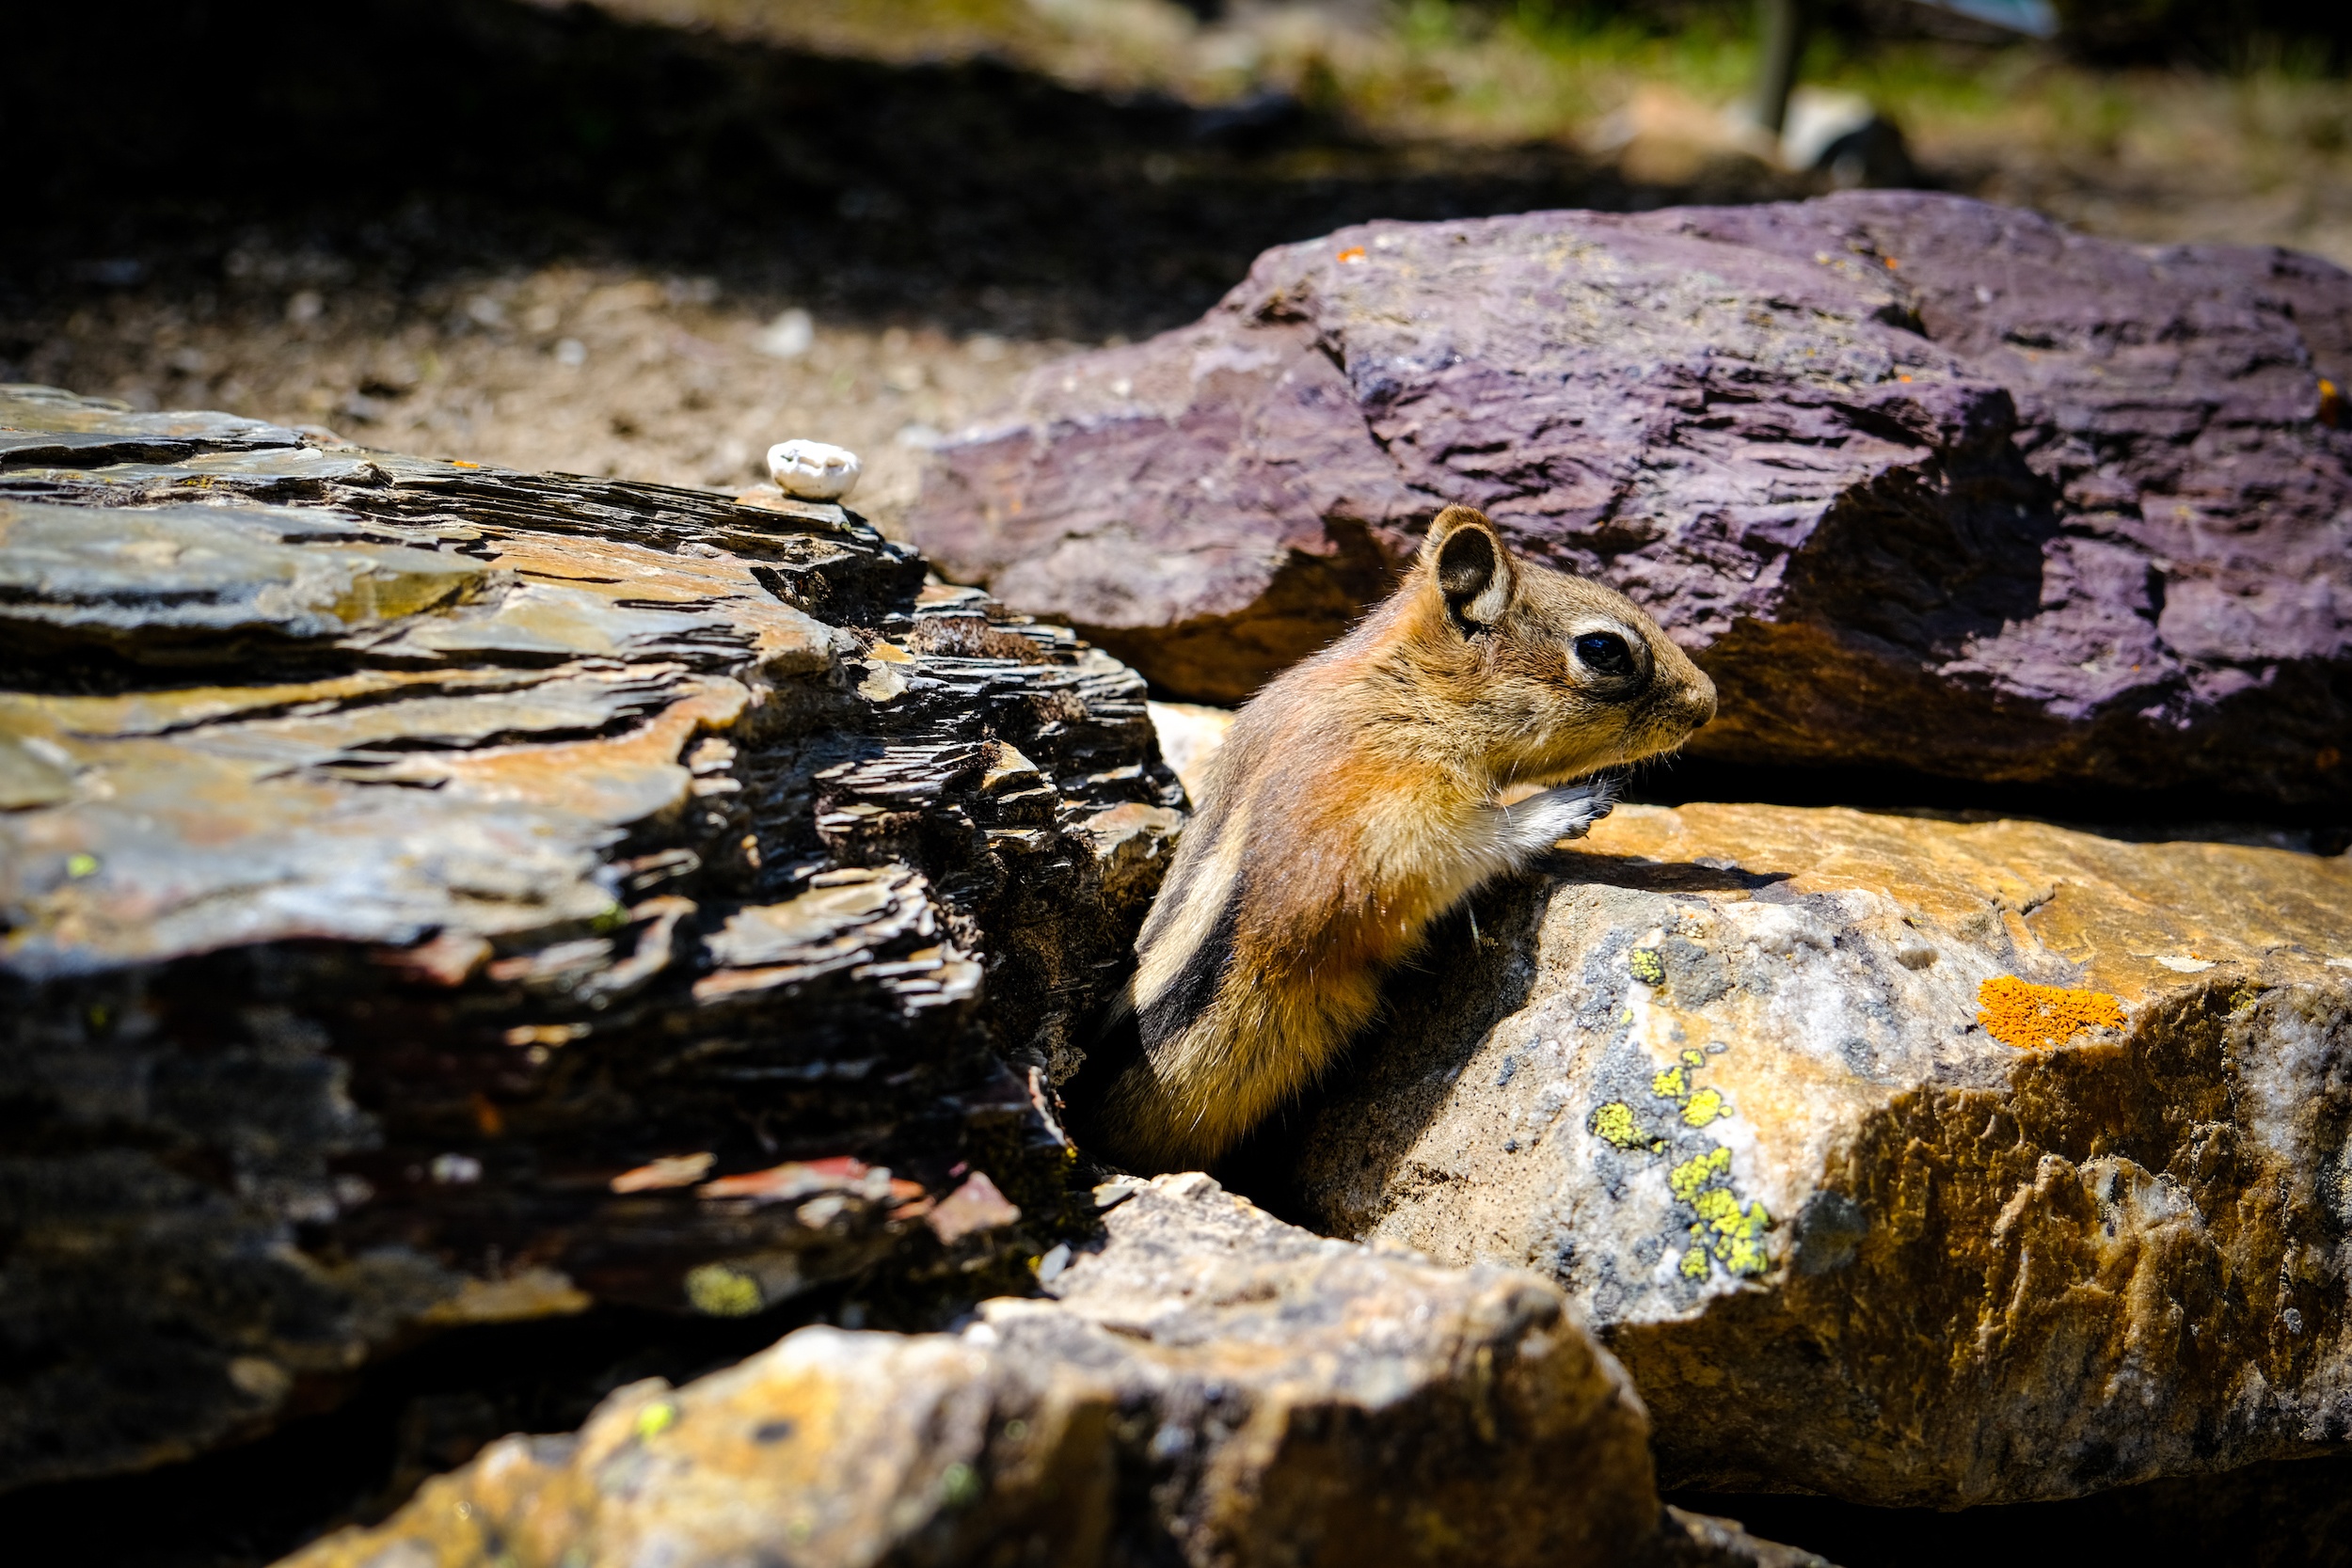
Unfortunately, the only place you can park to complete this hike is at Moraine Lake. Parking at Moraine Lake is very limited, and spots tend to fill up by 6 am starting in June. (Update – there is no more parking allowed for personal vehicles, we recommend taking the Moraine Lake shuttle).
The good news is that this hike is short meaning you can enjoy the beauty of Lake Moraine after you complete it, for a very long hike day you could add on Eiffel Peak, another Moraine Lake Hike. If you are aiming to park at Lake Moraine in the morning make a day out of it and go canoeing or have lunch at the lakeside afterward.
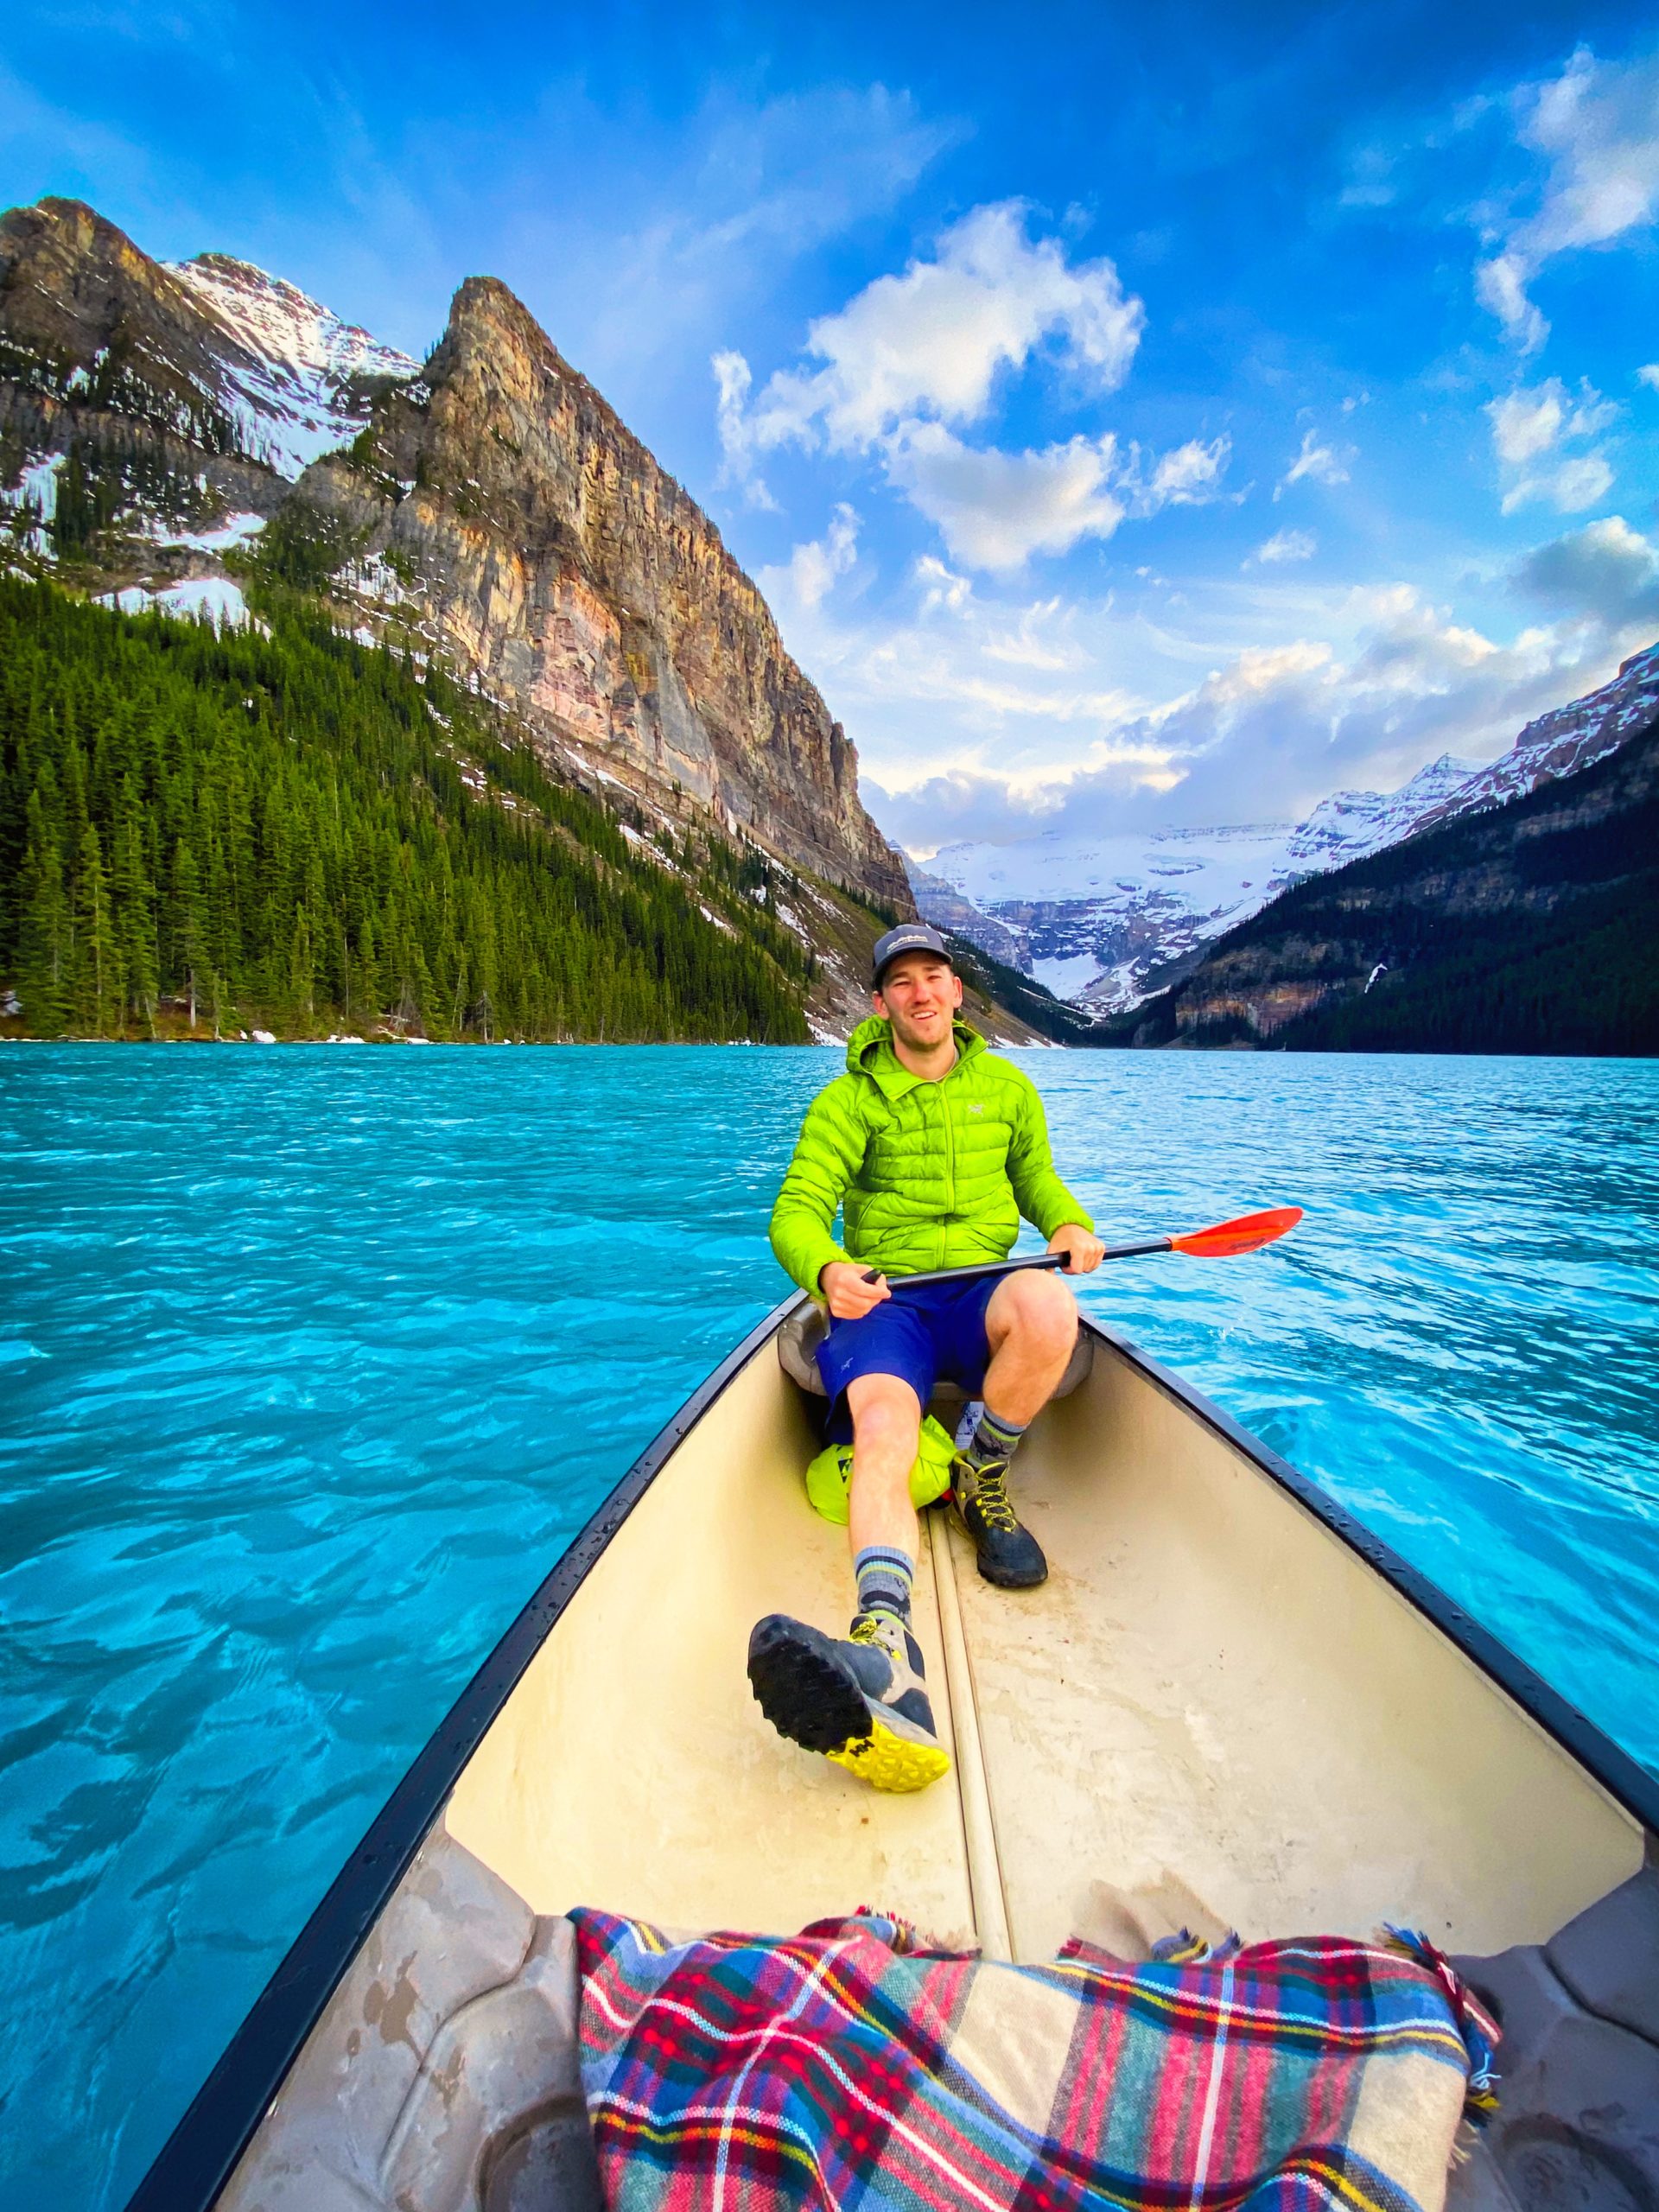
We chose to take our canoe to Lake Louise after we biked back down for one very fun day.
2024 update: Moraine Lake has updated parking policies. See all the details below:
- All You Need to Know About The Moraine Lake Shuttle
- How to Get to Moraine Lake: 15 Ways to Access the Lake
- How to See Moraine Lake at Sunrise
When Can You Scramble Tower of Babel?
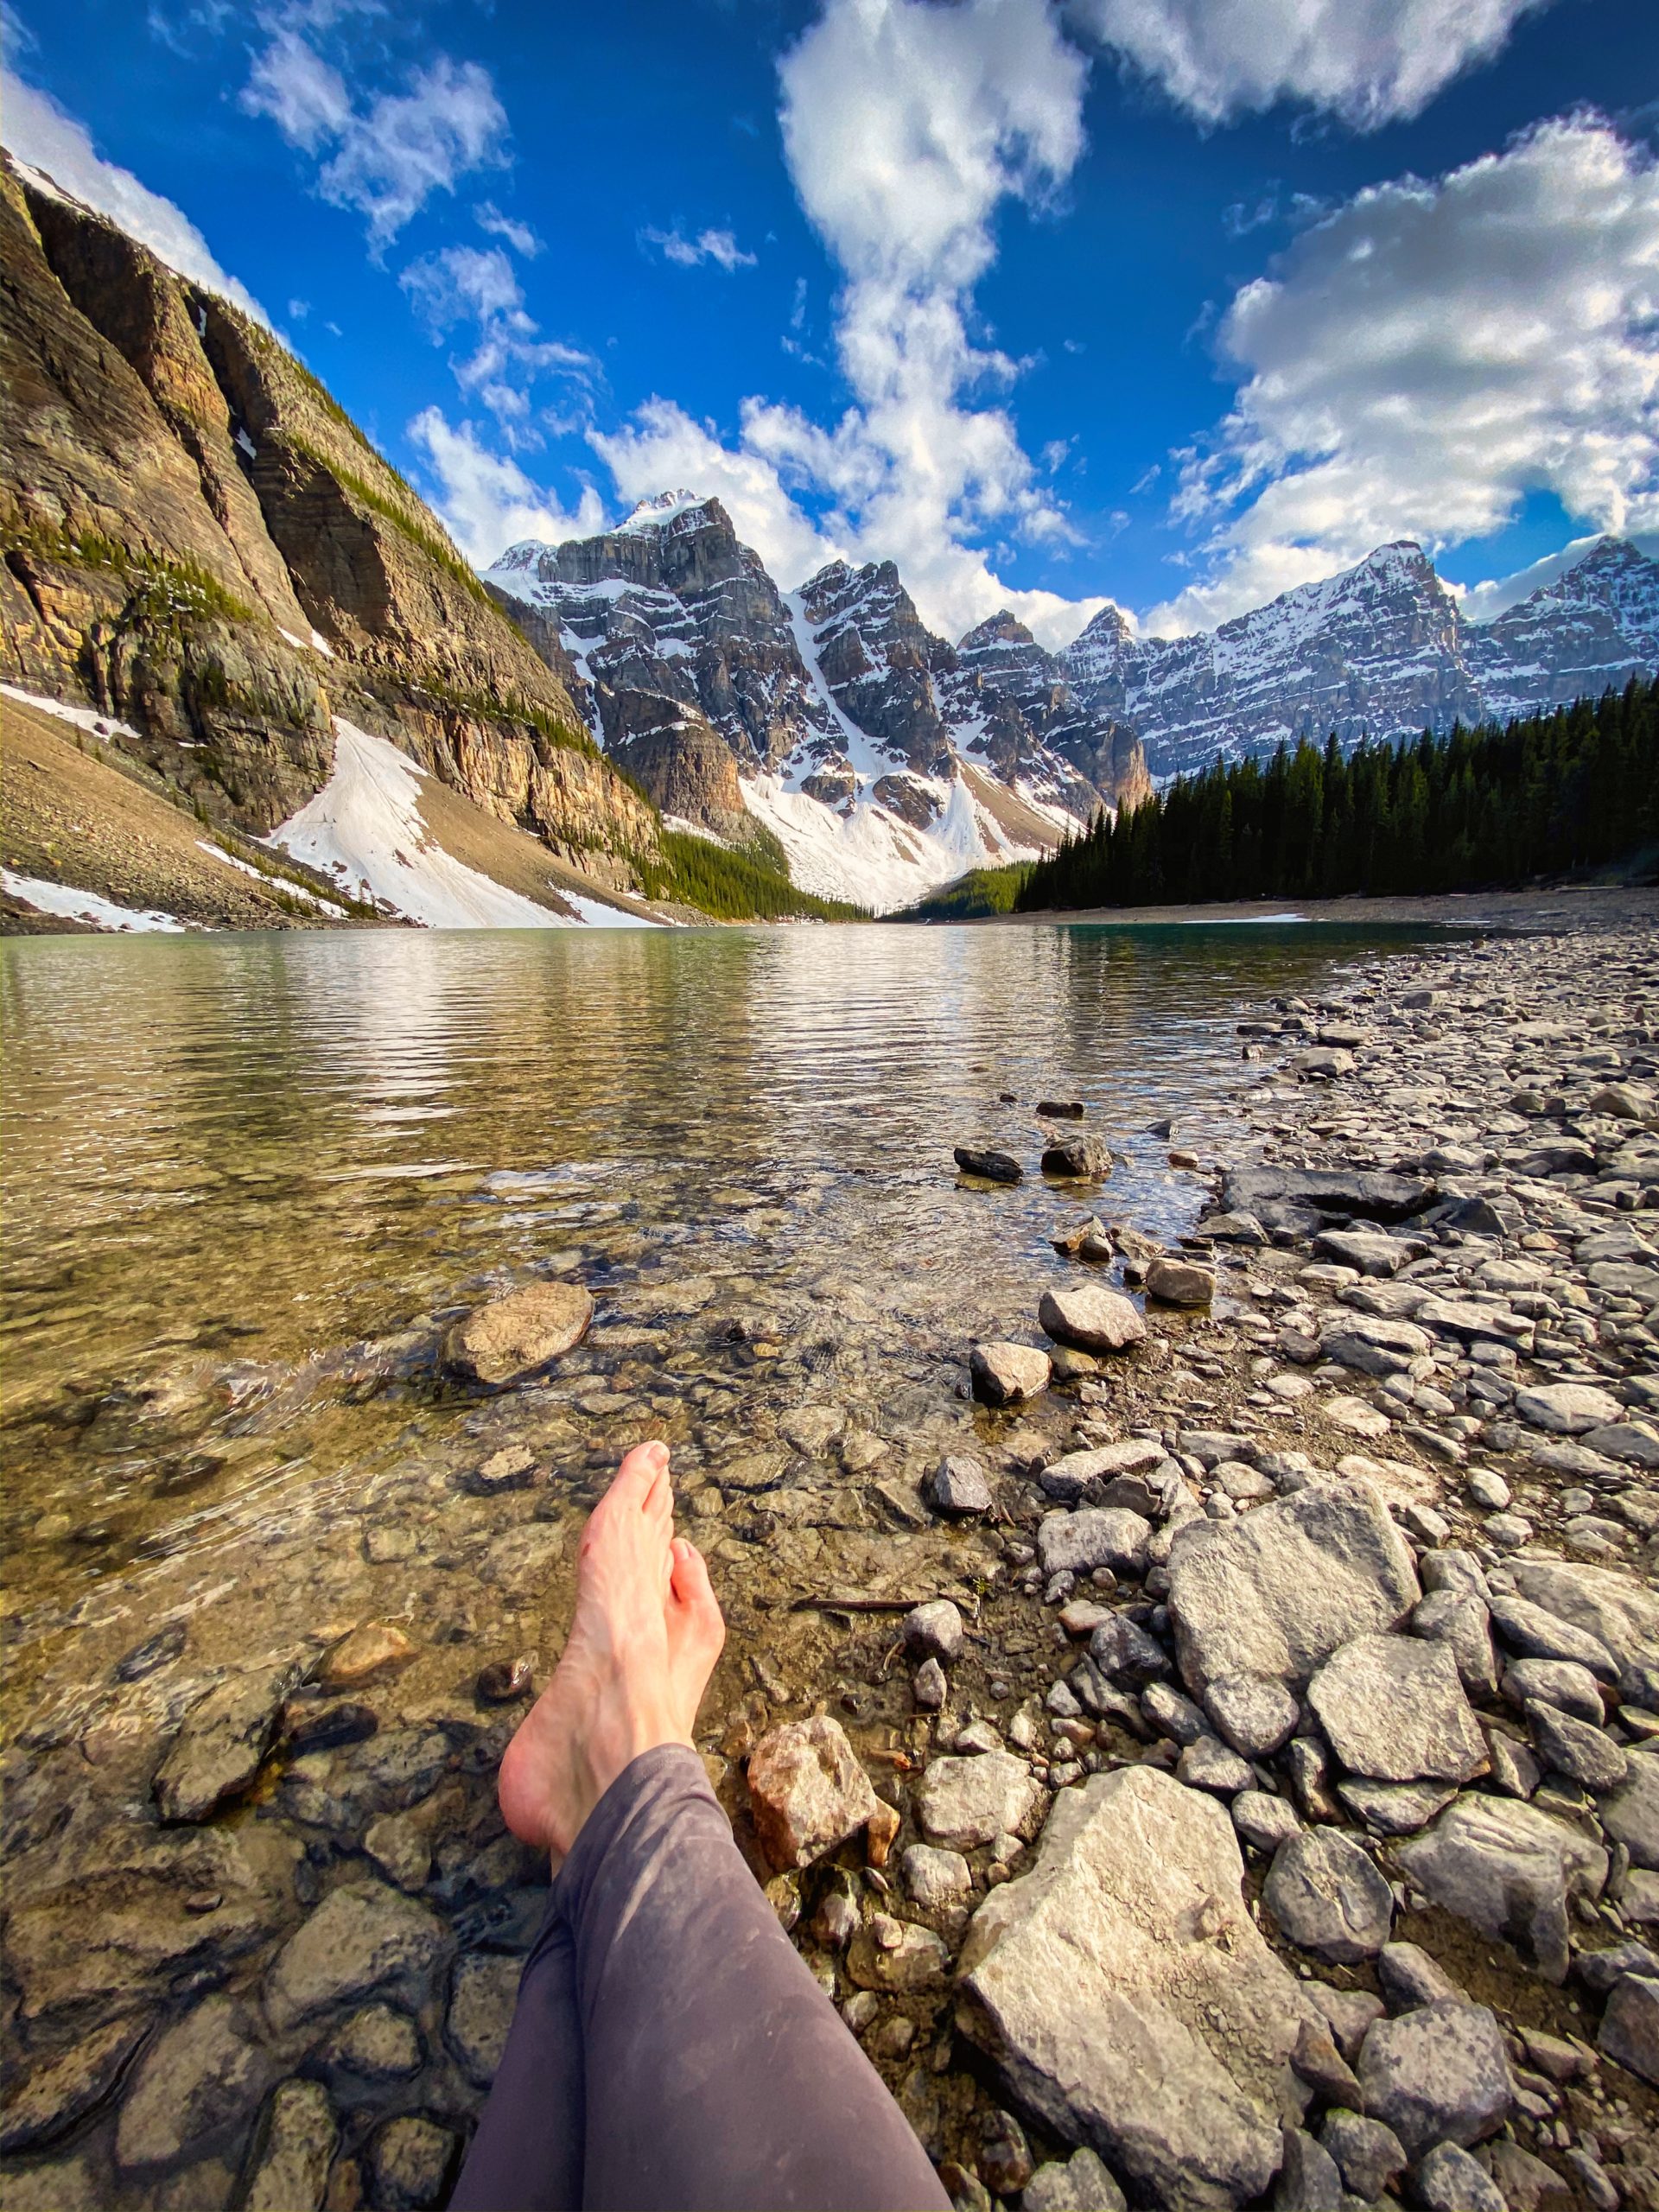
It depends on the year and snowfall in the Canadian Rockies. Tower of Babel is usually good to go by early/mid June and shouldn’t be attempted after mid-October. Though this is when the access road to Lake Moraine closes anyway, cutting off most of the hiking in the area.
How Long Does it Take To Scramble the Tower of Babel?
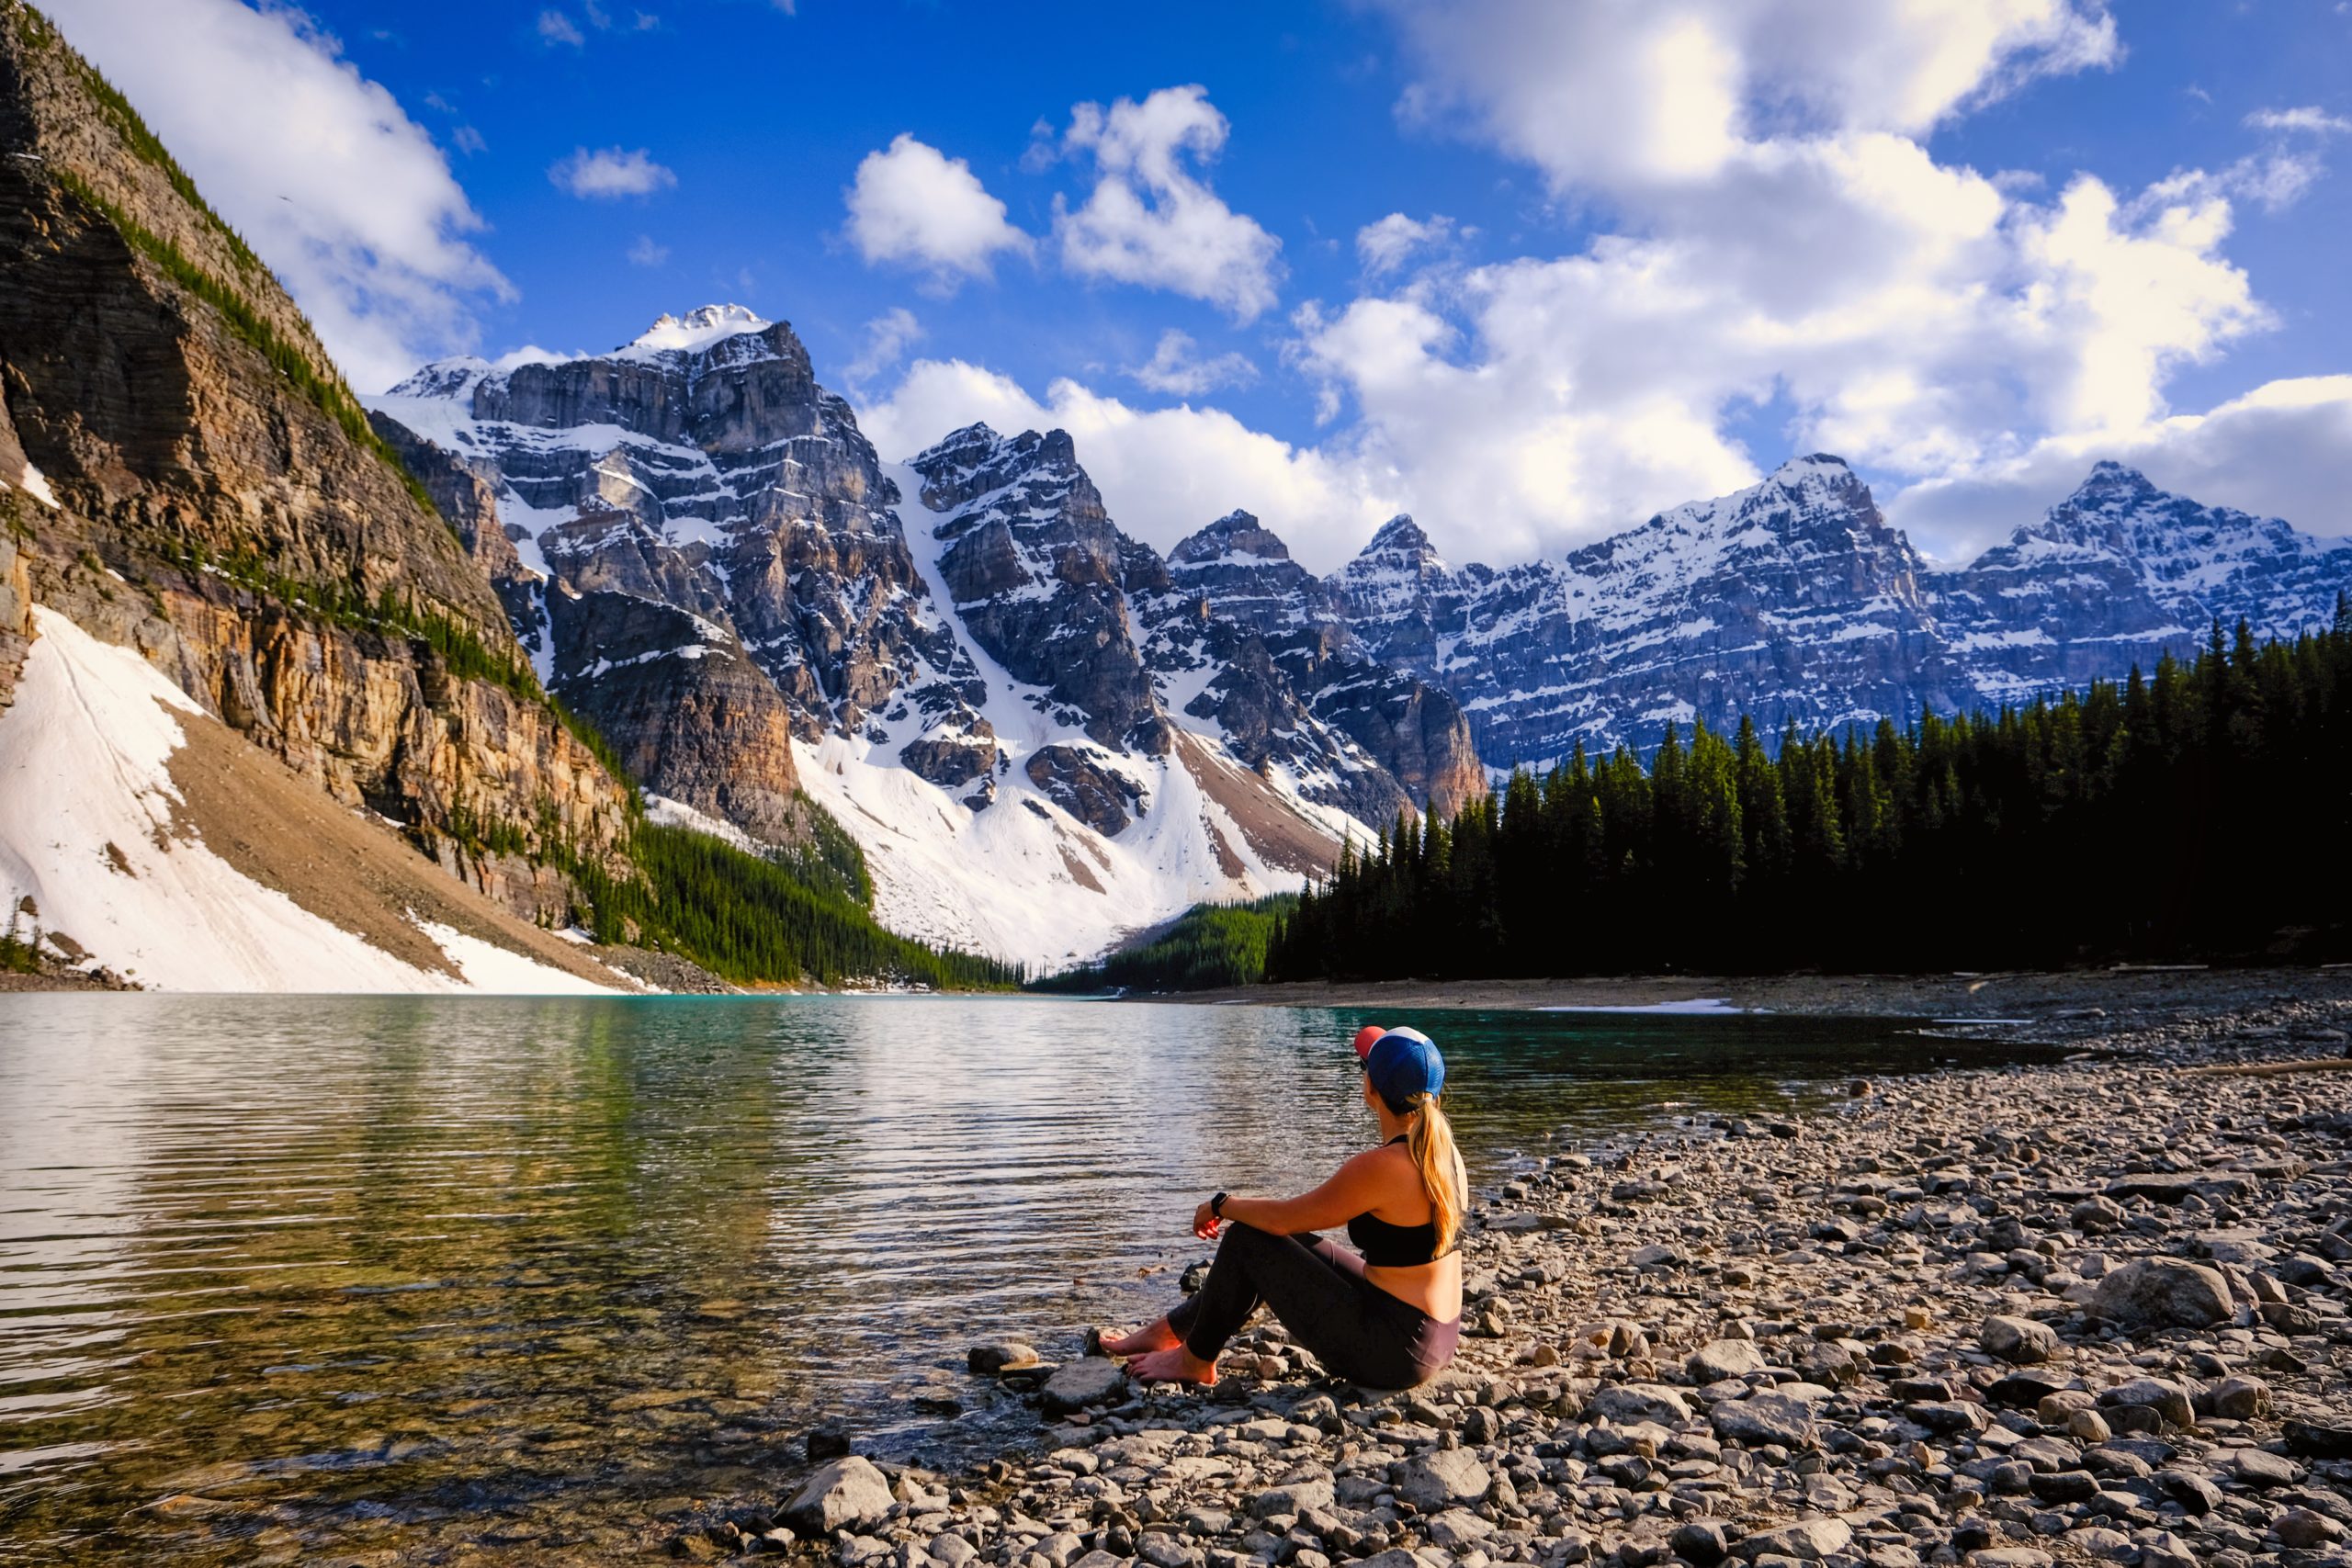
The Tower of Babel scramble is short, but I wouldn’t call it easy. It took us less than 1.5 hours to summit, but it was quite a grind up a steep incline on relentless scree. The run down took us less than 45 minutes.
All in all with a summit stop and time for photos the Tower of Babel took us a little over 3 hours to complete. I would suggest giving at least 4 hours of your morning to complete the Tower of Babel comfortably and safely.
How Hard is it to Scramble the Tower of Babel?
My GPS watch tracked this scramble as 5.43 km return and 474 meter gain. While AllTrails states 518.16 meter gain and 5.79 return.
While this sounds short and simple, the climb is straight uphill on loose rocks. After you get past the scree you will need all fours to navigate the top of the gully that is larger rock. Do not attempt if it is raining or there is snow still present. One slip could be catastrophic. The hike is steep so be prepared for a workout, but nothing crazy. It gets moderately technical towards the top. Experienced scramblers will have no problem, but newbies might tense towards the top.
Although the views from the top are downright gorgeous, it’s far from my favorite scramble in the Canadian Rockies. I’m happy I completed it though as it’s been on my list for a few years, but I’m not sure I will give it a go anytime again soon.
If there is anyone ahead of you, you must be on the lookout for loose rockfall. A helmet is strongly advised. And remember, if you kick a rock down to yell “ROCK” and warn others below you.
Dogs & Kids on Tower of Babel?
Tower of Babel, in my opinion, is too steep for dog companions with too many small rocks to hurt their paws. Do not attempt to bring them up the gully, unless they are familiar with steep and rocky terrain. I would also advise leaving the kids behind as well unless they are very experienced with scrambling.
Tower of Babel Notes
- Pack Accordingly. I’m glad I had a helmet for this one as there is a lot of loose rock. Gloves also came in handy on the scrambly bits. One pole came in handy at the beginning of the scree section and through the scree on the way down. Though you’ll want all fours for the top of the gully. I also wouldn’t attempt in shorts – one minor fall could scrape you up.
- Since there is a lot of loose rock my best advice is to be some of the first people of the day of Tower of Babel, so you aren’t constantly worrying about falling rock. If the route is extremely crowded when you arrive consider skipping.
- There’s not exactly a clear route up the Tower of Babel. Stick to the gully closest to the tower (furthest to the left when looking up). Follow the AllTrails map to avoid a false start.
- We found the best handholds to be on the right side of the gully.
Advice on Hikes in the Canadian Rockies
- If this is your first time hiking in the Rockies take a conservative approach. Pick an adequate hike for your fitness, plan for plenty of time, pack water and food, and don’t be afraid to turn around.
- For long hikes, set a turn around time at the departure. Any time we set out for an objective I determine a time at which we need to turn around in order to arrive at the parking lot or campsite by dark. I would recommend not hiking in the dark as it’s easy to get lost and it’s not fun in bear country.
- Always carry bear spray if you plan to hike in the park. We carry ours in the neighborhood and bears have been known to stroll through town and busy parking lots. Always practice wildlife awareness when you’re on a trail, and please give animals space.
- In regards to times keep in mind your mountain fitness as it’s different than the gym. The low end of the times in this post is a constant fast pace uphill with little to no breaks and a brisk pace downhill. Most hikers should plan for a middle-of-the-road time with the estimated duration.
- Lastly, a GPS tracker could save your life – it’s one of those backpacking essentials I like to have on me just in case I need to hit SOS.
- Alltrails is our favorite app to have on a hike. It shows the correct trail way, elevation, and other hiker reviews. We paid the subscription fee so that we could download all the data we need on our phones. Best $2.50 (per month) ever spent!
What to Wear On a Hike?
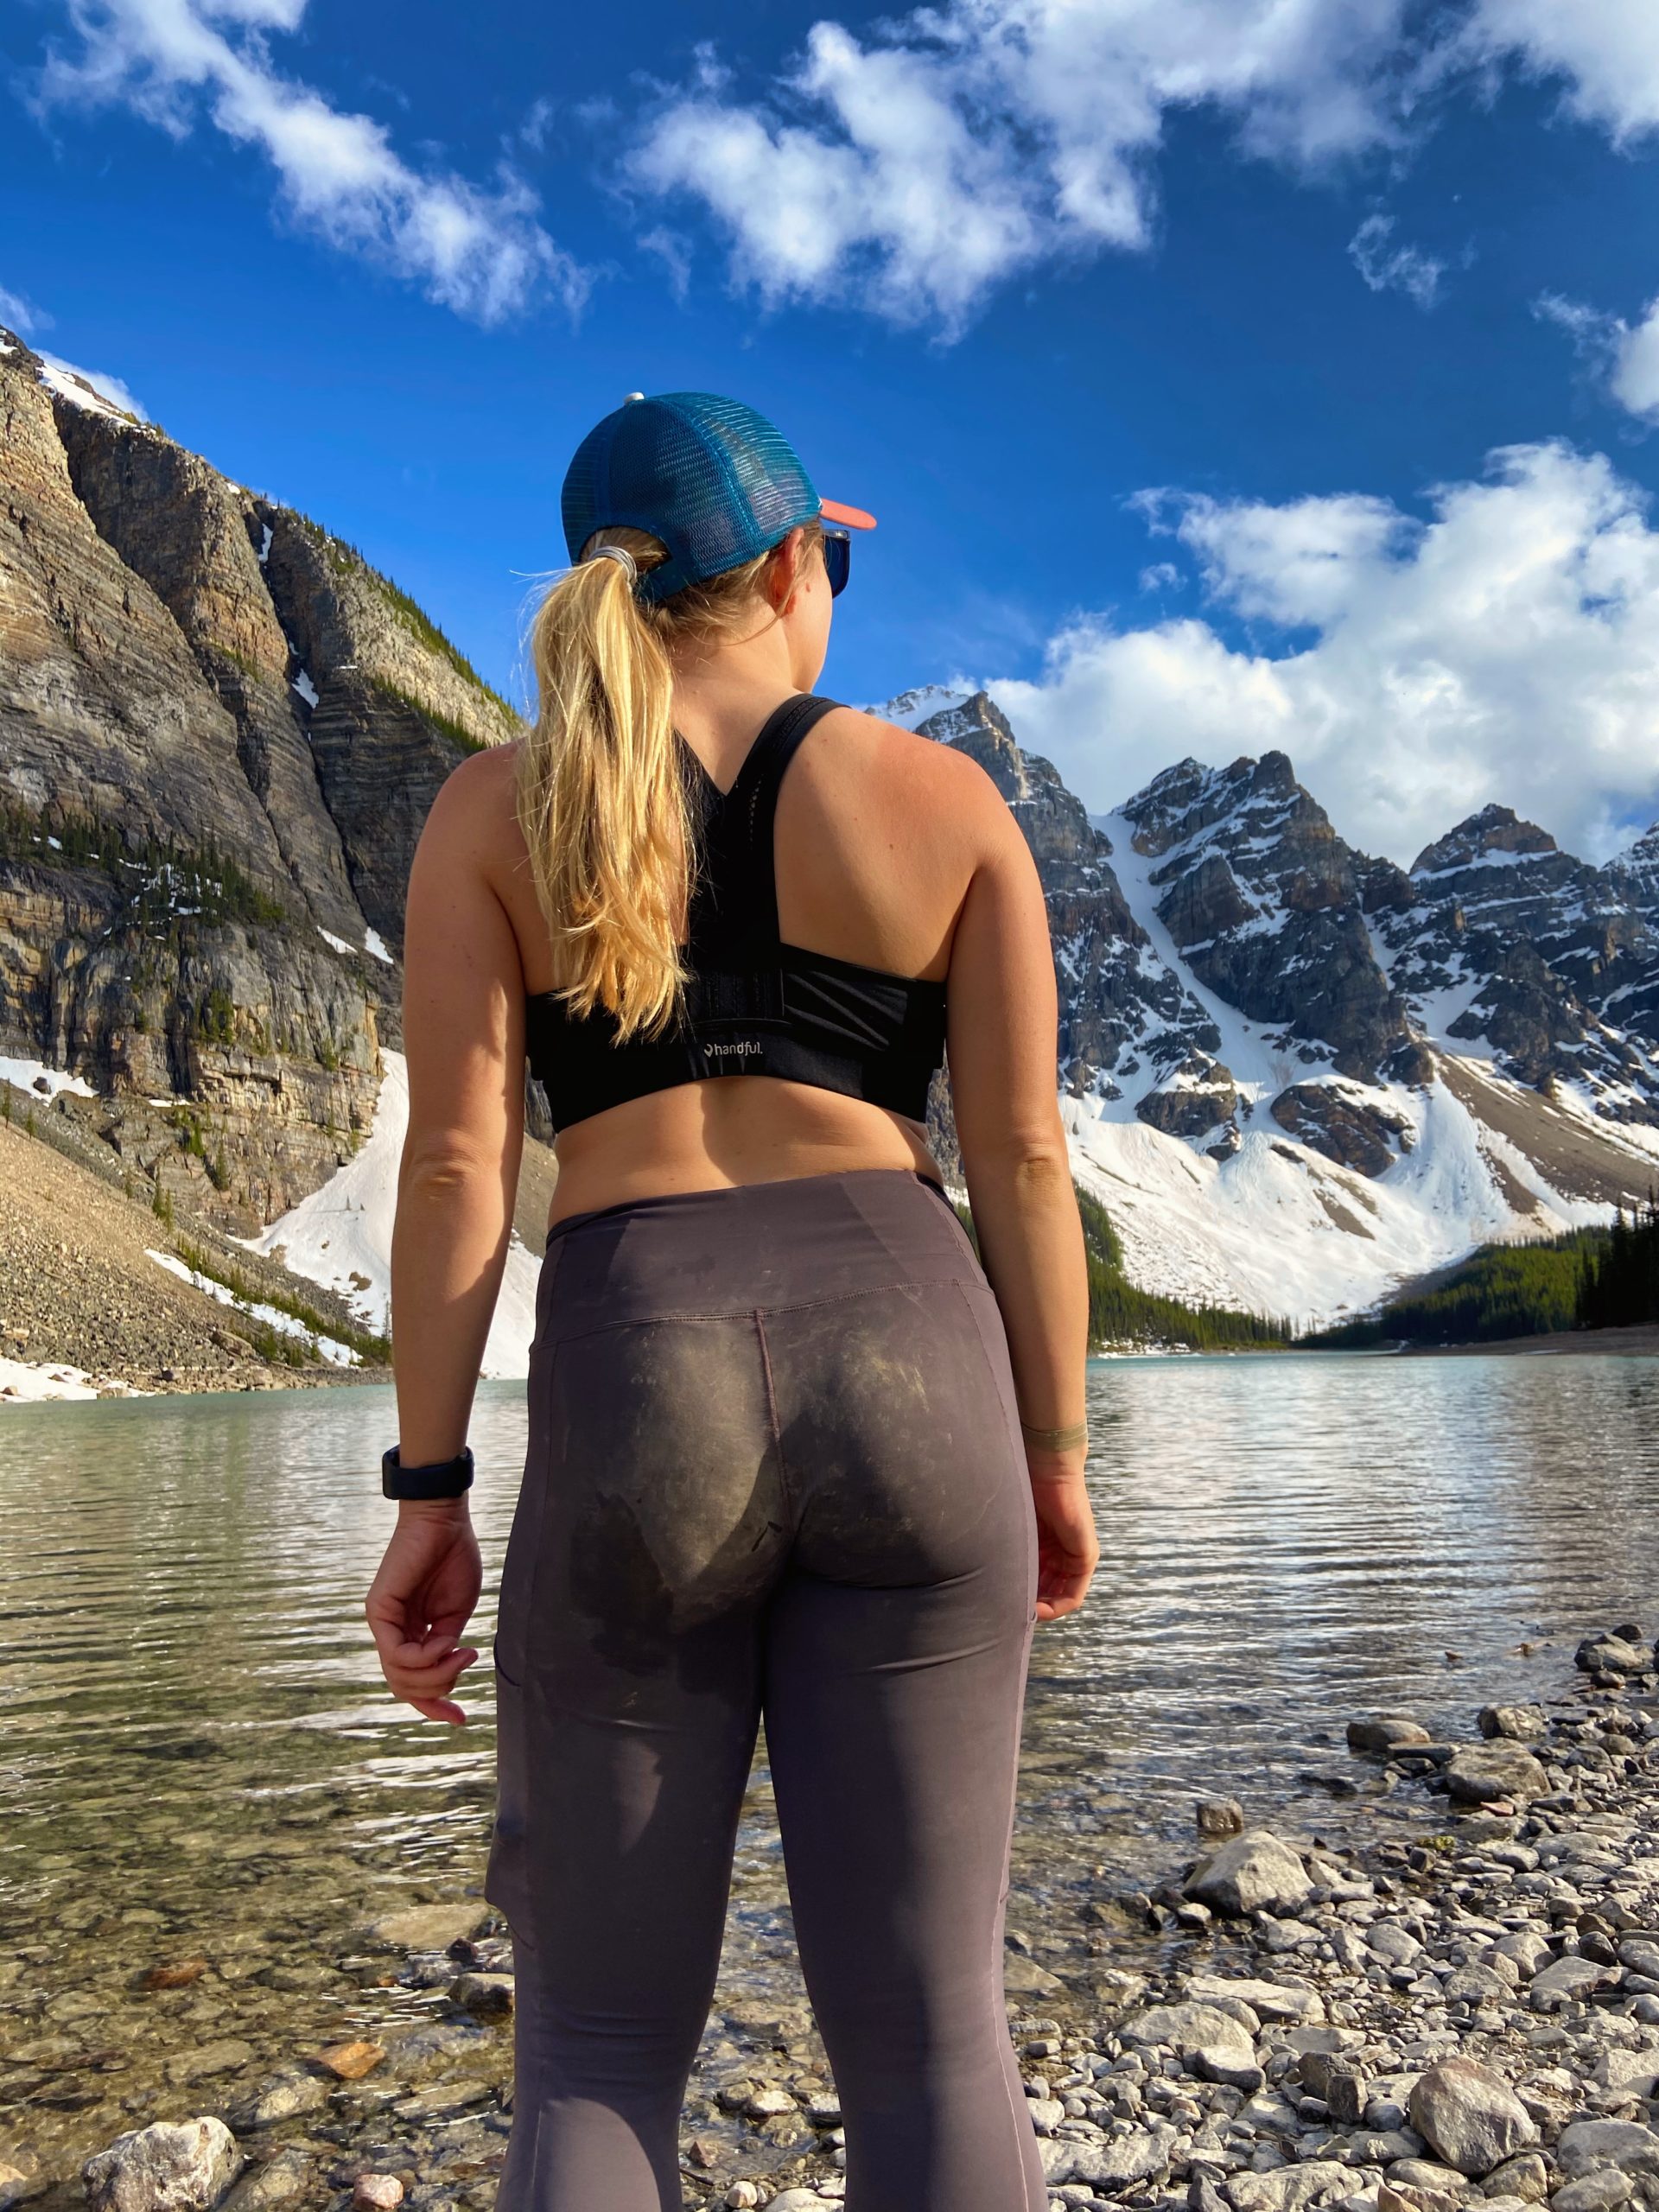
The most basic principle of what to wear hiking is layering. Anyone who has spent time in the wilderness or mountains can attest to the fact that your temperature can fluctuate a lot on a hike. You can easily start off cool at the base of the mountain and get hot as soon as you begin moving.
The goal of hiking clothing is to help regulate your body temperature, protect you from elements, and manage moisture. Temperature management is best done through a layering system. If you want to learn more about what to pack for a day hike or what to wear on a hike, see our full post!
What To Wear Hiking in The Canadian Rockies
Other Banff National Park Hikes
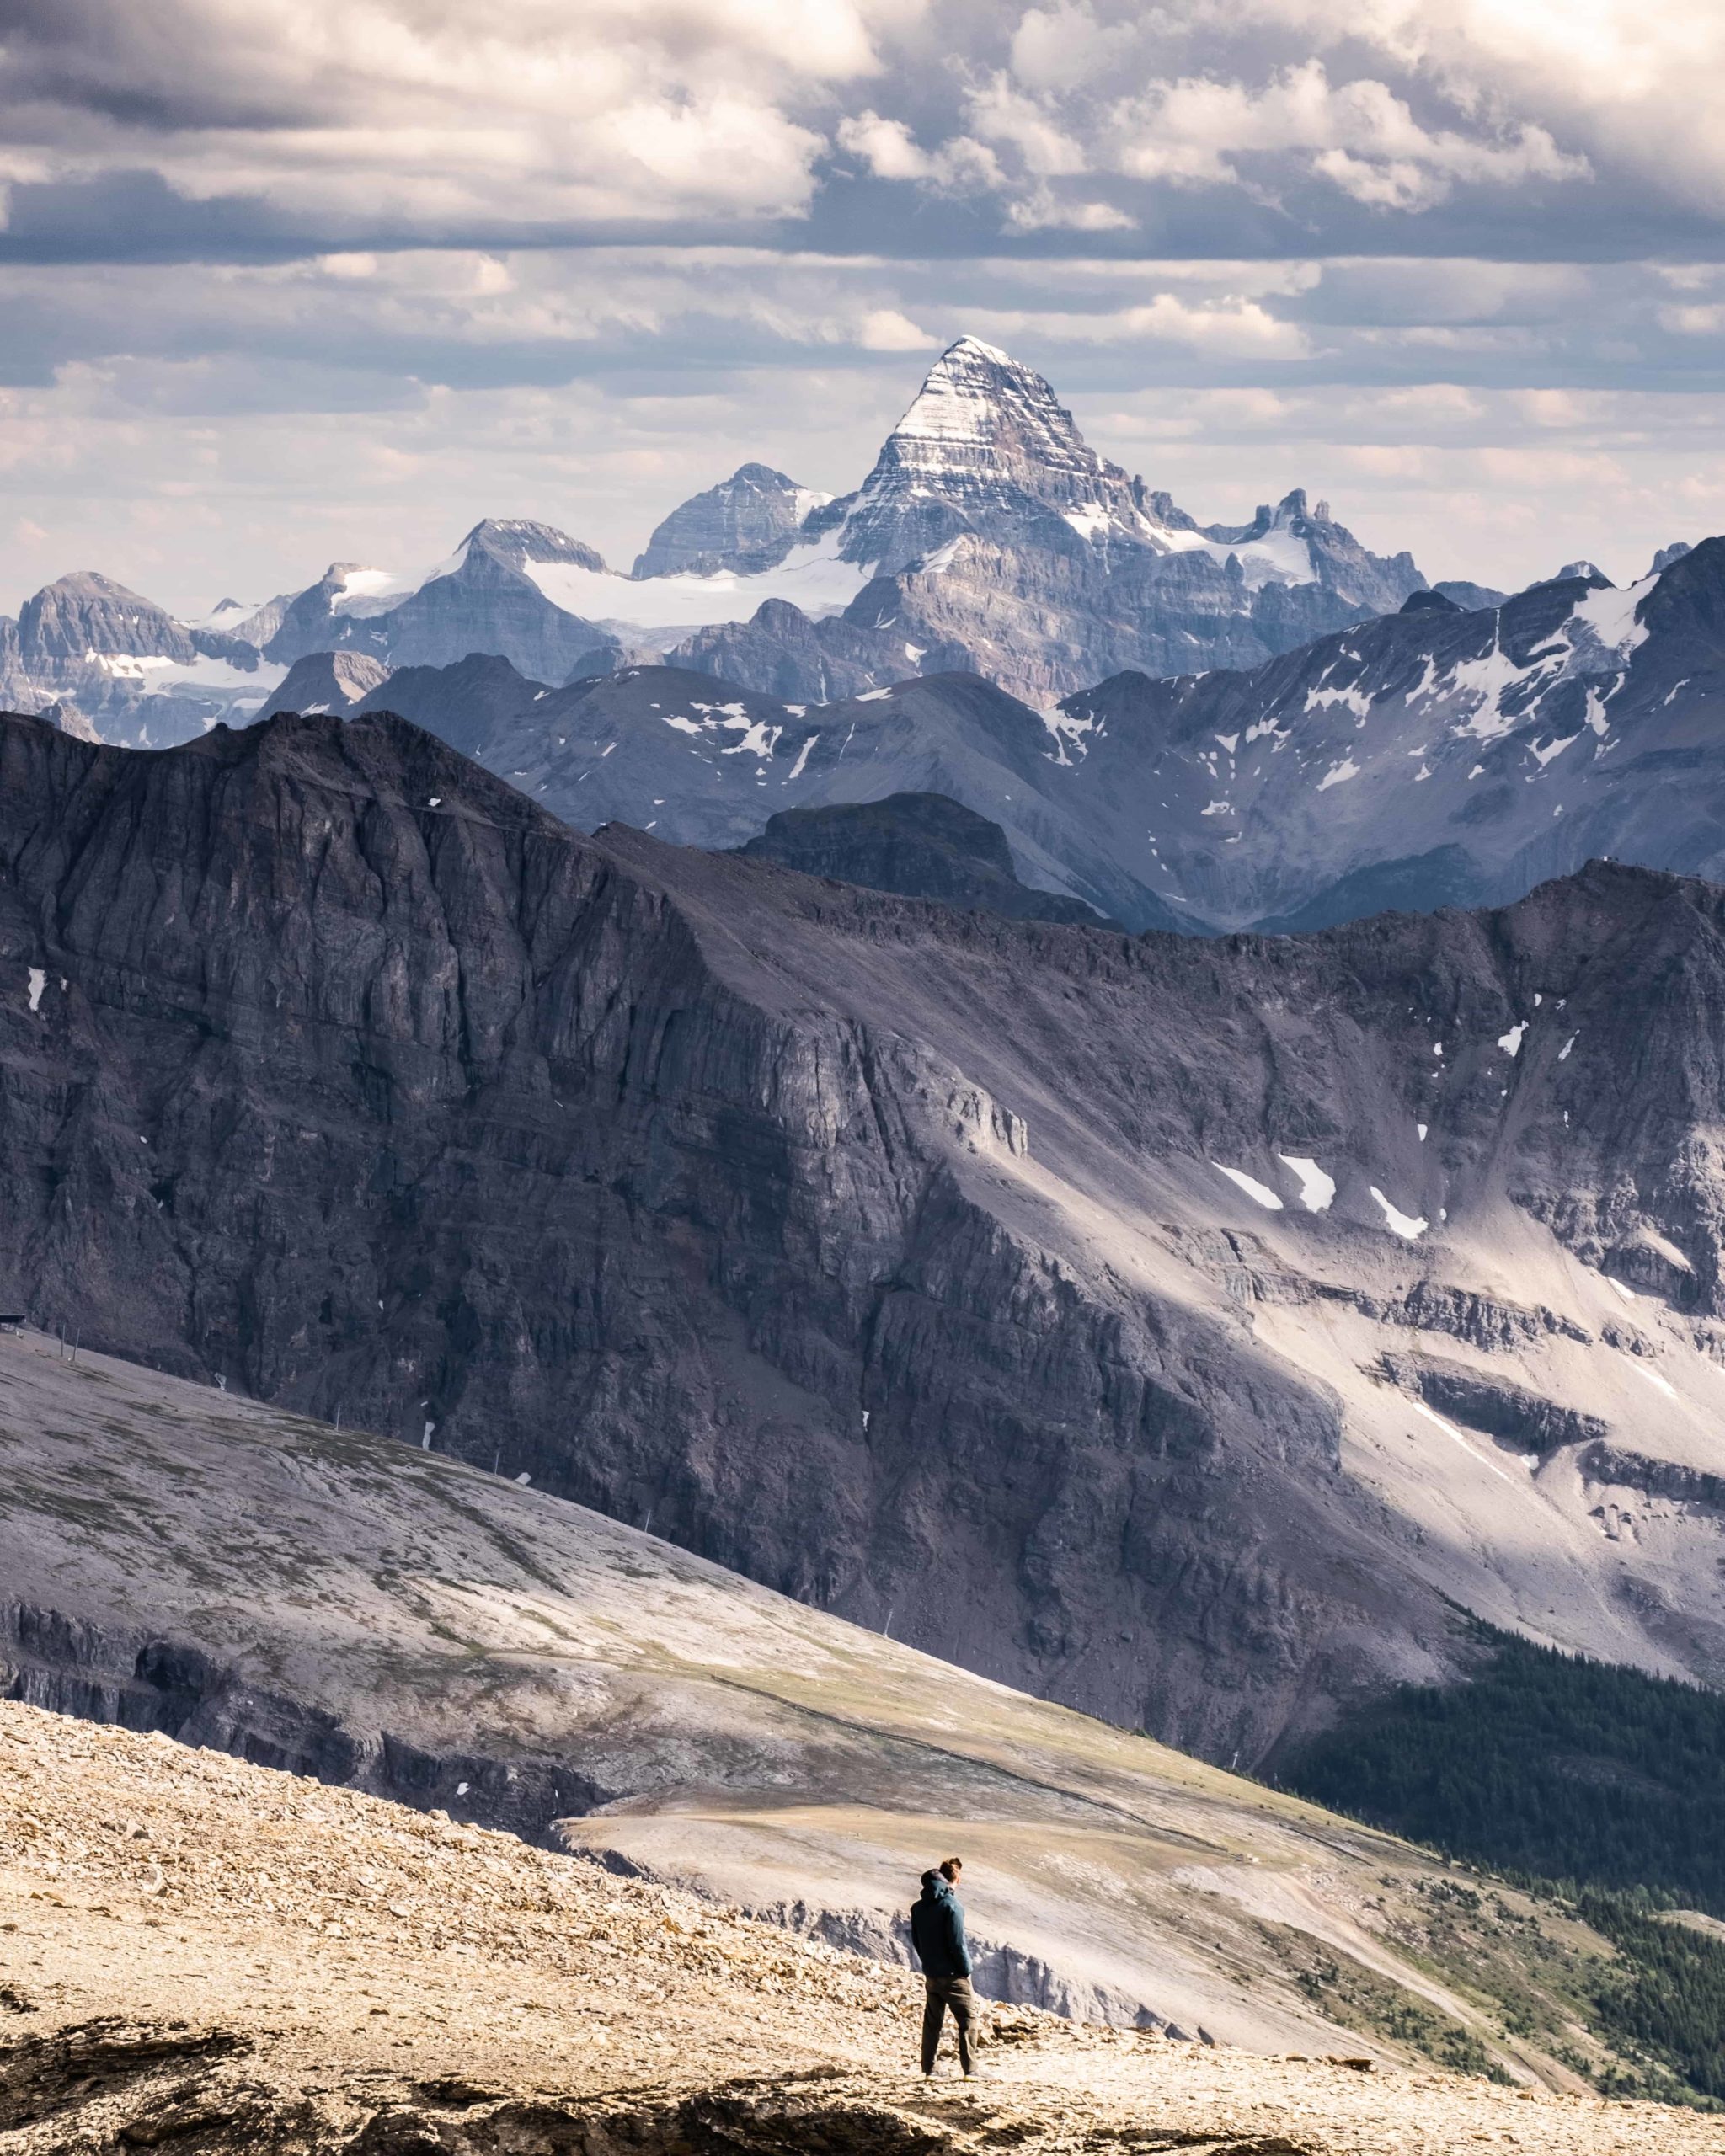
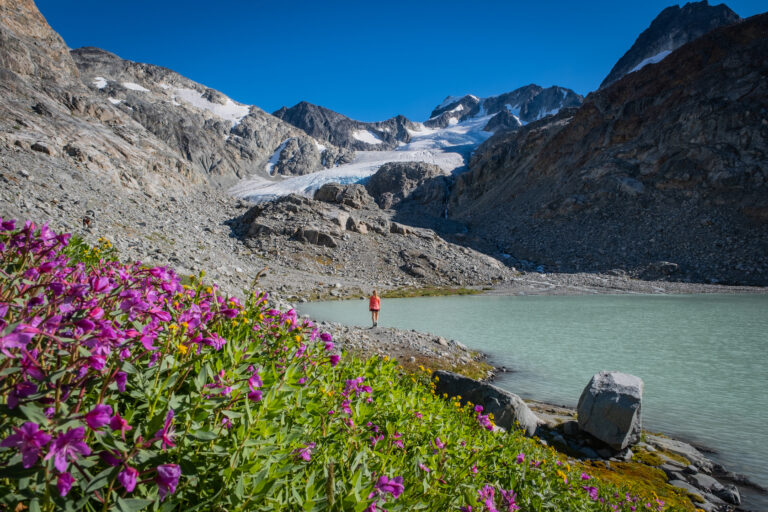
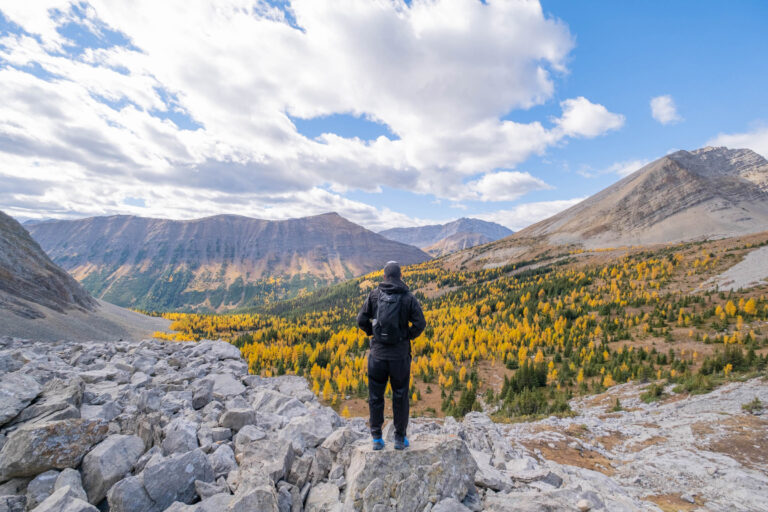
Of course, there are so many more hikes in Banff and tons of exploring. Looking for the best Banff hikes? We rank our favorite hikes around the park and share all of the details in this guide to experience the best in the park. On these hikes in Banff, you’ll find high alpine passes lined with wildflowers, jagged peaks topped by glaciers, and a healthy dose of turquoise blue lakes.
Plan Your Trip to the Canadian Rockies
- Recommended Experiences: There are many things to do in the Rockies, but our top recommendations include the Banff Gondola and a cruise on Maligne Lake to Spirit Island in Jasper. If you want a stress-free way to get to Moraine Lake, we highly recommend looking into Moraine Lake Bus Company.
- Hotels in the Rockies: There are many places to stay, from luxury hotels to wilderness cabins. See all our favorites here.
- Get to Banff or Canmore Without a Car: The Banff Airporter provides fantastic service connecting you from the Calgary International Airport (YYC) to Banff or Canmore.
- Get Around: We suggest renting a car to get around. You can search for rental cars on Rentalcars.com. For a campervan trip, you can check prices and compare on Outdoorsy.
- Cheaper Airfare: We also use Going for airfare deals and travel credit cards to earn points on purchases. Those credit card points can be redeemed for free flights and hotels! Our favorite cards is the Capital One Venture X (which has an insane welcome bonus right now) as it has no foreign transaction fees.
- Hop On, Hop Off: This tour is taking Banff by storm. It’s exactly what it sounds like, hop on and off a bus to visit all the best attractions at your own pace!


Where did you park to start your bike ride on the ML road?
There is a small parking lot at the gate for Moraine Lake Road.
Back in the 70’s I was a hitchhiking 16 year old. One driver had us stop at Moraine Lake and we hiked a bit. I remember there was a bit of an upgrade and a tin cup was chained to a rock so you could drink water flowing down from somewhere. Tasted far better than tap water! Any idea which trail it was that has that cup assuming it’s still there!? It was so long ago I can’t remember which trail it was. I’m 64 now and would have to start with the flat “around the lake” trail as I’m not as fit as I used to be!
Hi Danny,
I wish I could tell you but unfortunately I have never seen this tin cup around Moraine Lake, although that would be nice to see!