The Iceline trail hike in Yoho National Park of British Columbia is just over an hour’s drive from Banff National Park and 45 minutes from Golden. This unique hike is home to majestic waterfalls, endless glaciers, and many alpine lakes! It’s easily one of the best hikes in Yoho and makes for a rewarding day out.
The Iceline Trail makes for an exciting day trip or a great front-country or backcountry camping destination. With plenty of route options, you can tailor this hike to your schedule and skill level while always achieving maximum views of sights like Takakkaw Falls.
How to Hike the Iceline Trail in Yoho
Key Stats

Length
20 km loop or 14 km out-and-back

Duration
5 – 8 hours

Elevation
864 m

Difficulty
Moderate

A Brief History of Yoho National Park
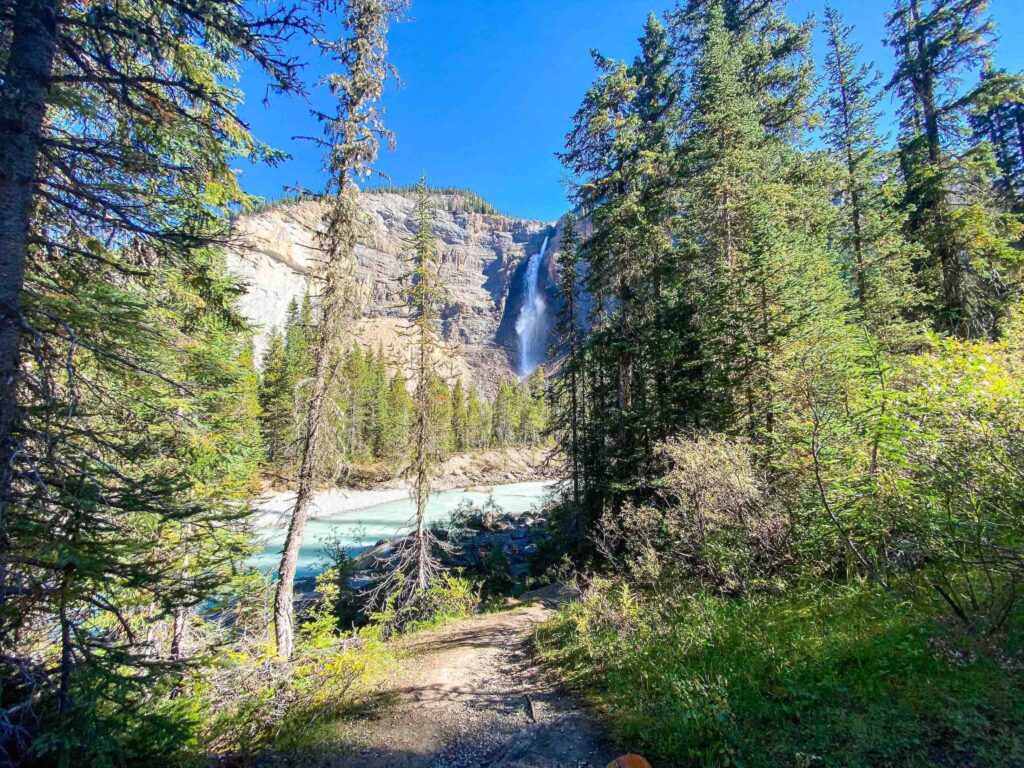
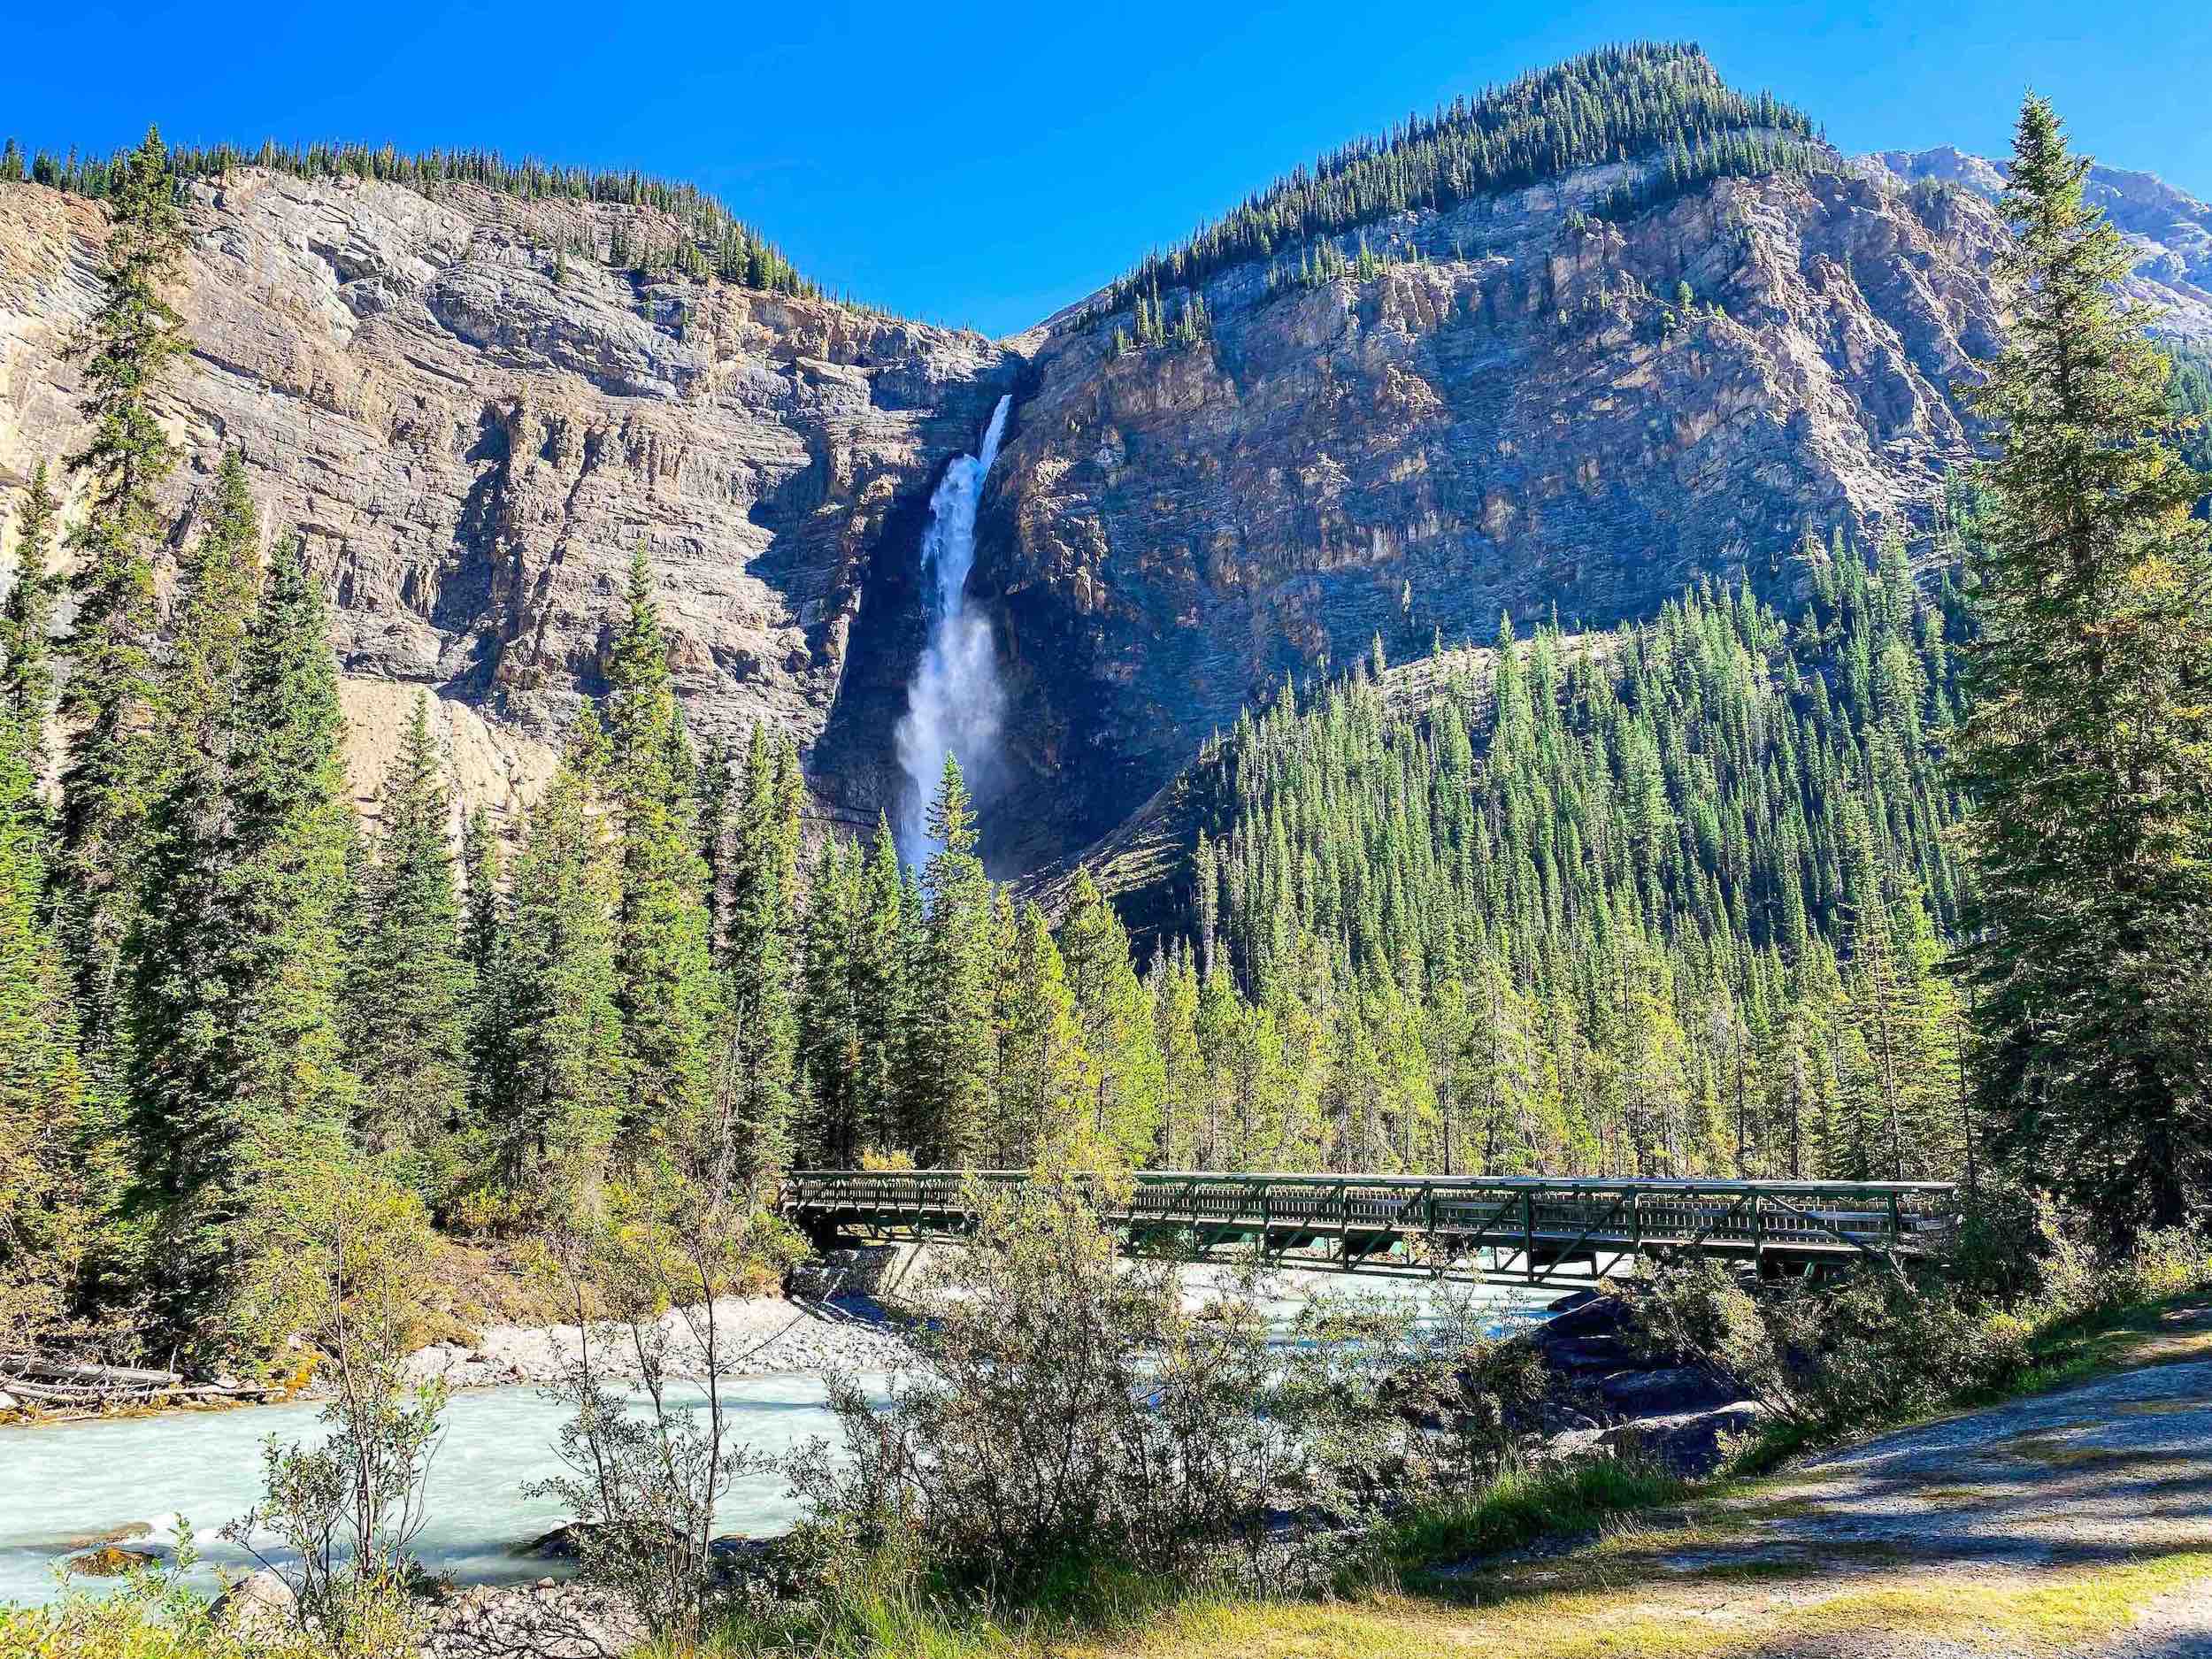
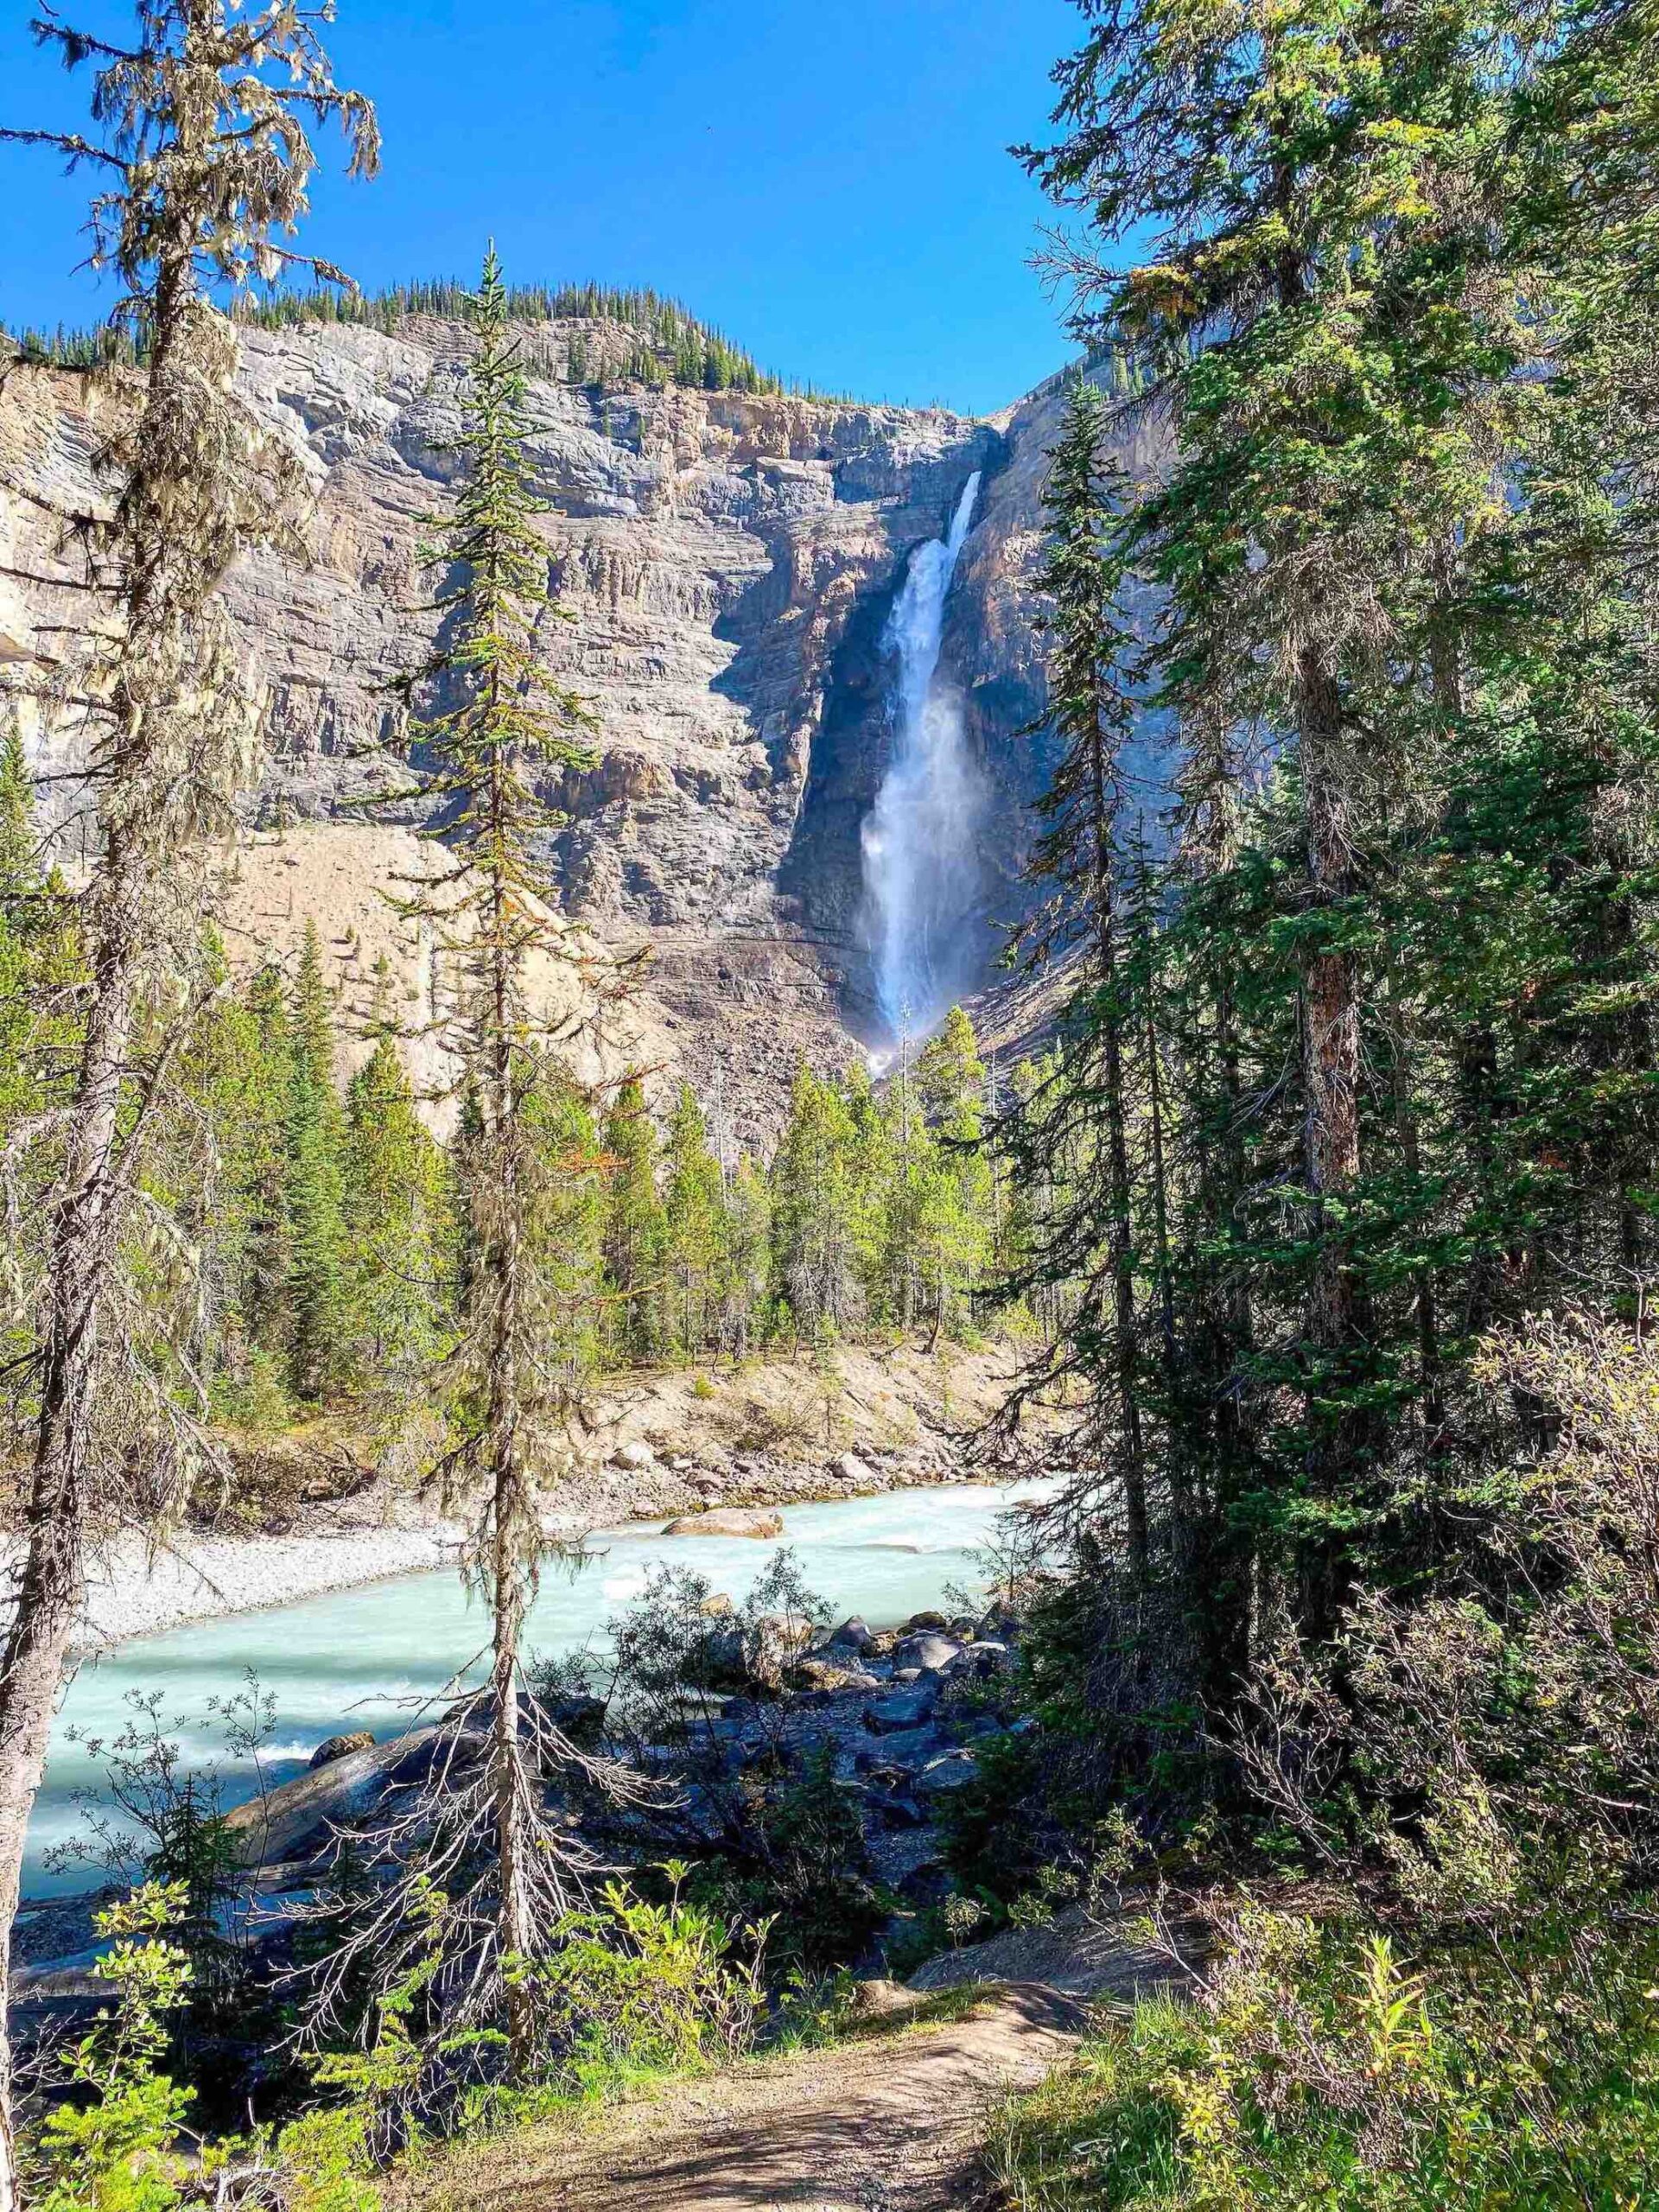
Yoho National Park is on the traditional territory of the Ktunaxa, Blackfoot, and Cree First Nations. The word Yoho comes from the Cree expression for “awe and wonder,” and this stunning park sure does live up to its name. Takakkaw Falls was also named to recognize the Indigenous peoples to whom the land belongs. Takakkaw is Cree for “wonderful,” Again, these wondrous falls do not fall short of their name!
Iceline Trail Route Description
The Iceline Trail can be hiked a few different ways – a 20-km single-day loop, a 14-km out-and-back trip, or as part of a multi-day backcountry camping trip. We completed the 20-km loop as a day trip and thought it was stunning the whole way. The out-and-back option provides the same views for much less effort.
Switchbacks Amidst the Trees
Whether you are hiking the loop or the out-and-back option, the Iceline Trail begins the same. After parking your vehicle at the Takakkaw Falls parking lot, follow the paved path along the river. You will know you are headed in the right direction when you pass the walking bridge! Instead of going over the bridge, stay on the trail as it follows a bend to the right.
Signs for the Iceline Trail will lead you away from the river and towards the Yoho Valley Road, the same road you drove on the way in. After crossing the road and passing signs for the HI Yoho Hostel, the trail takes you into the trees and up a series of steep switchbacks.
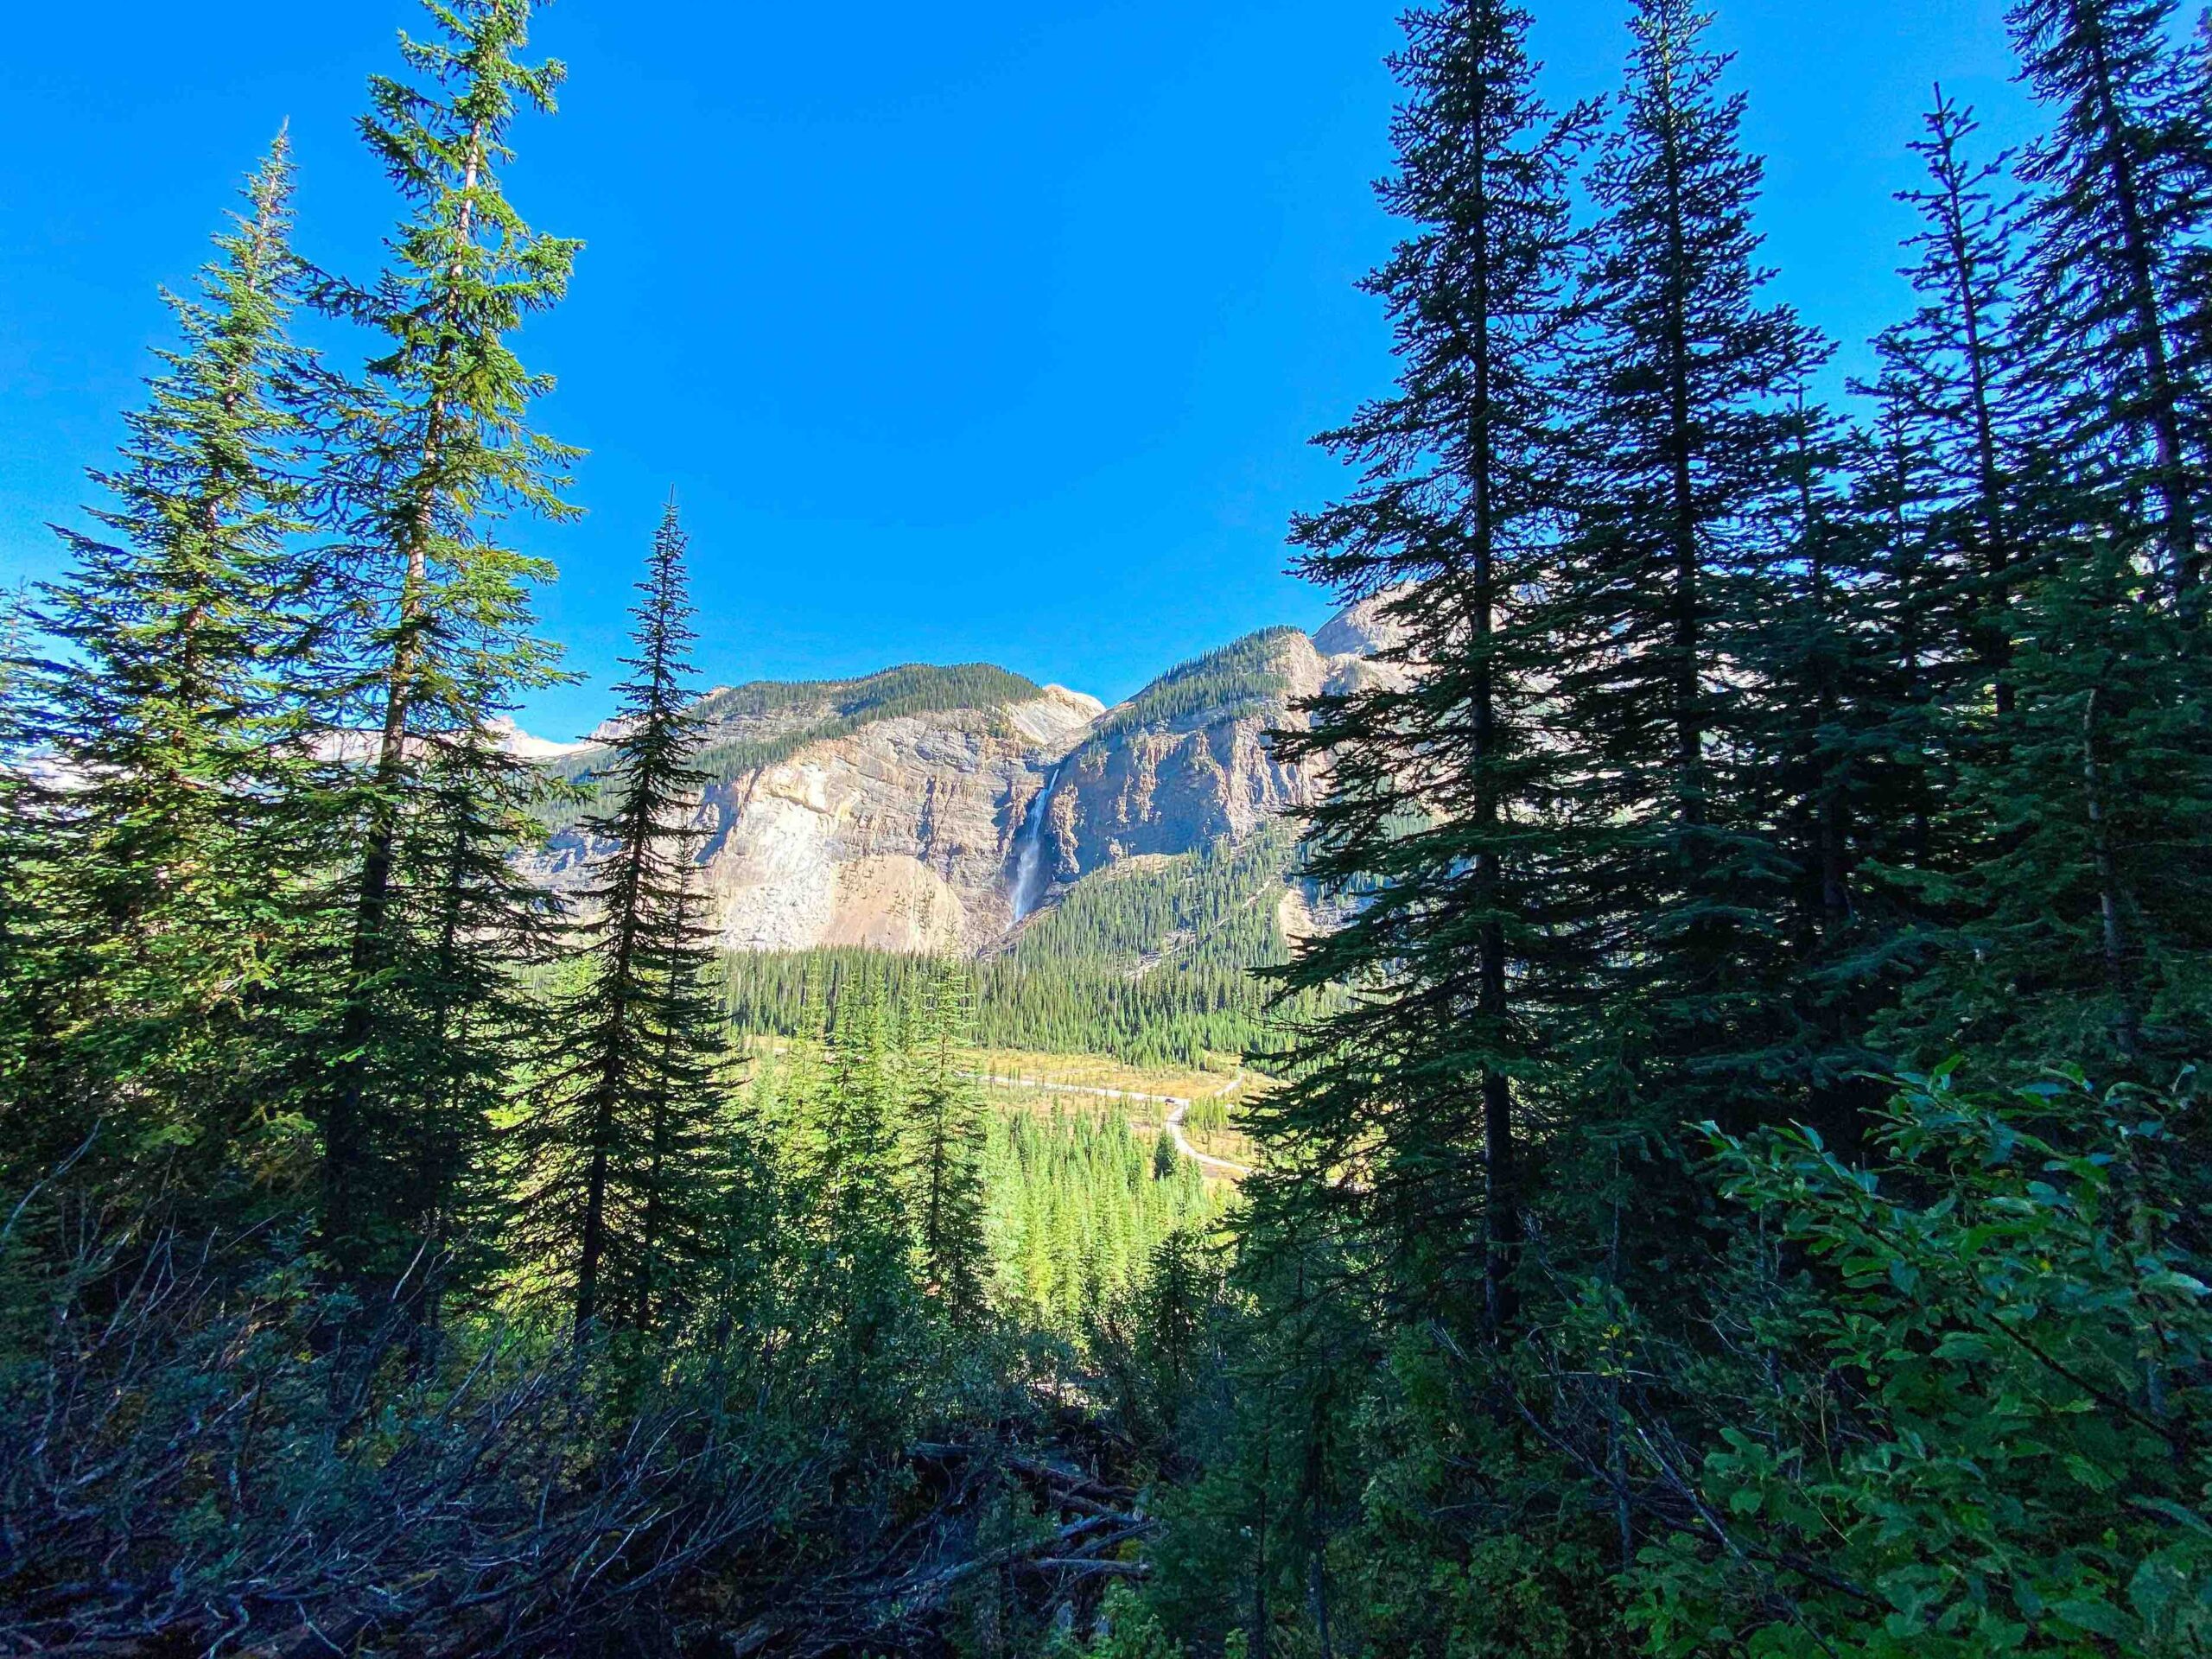
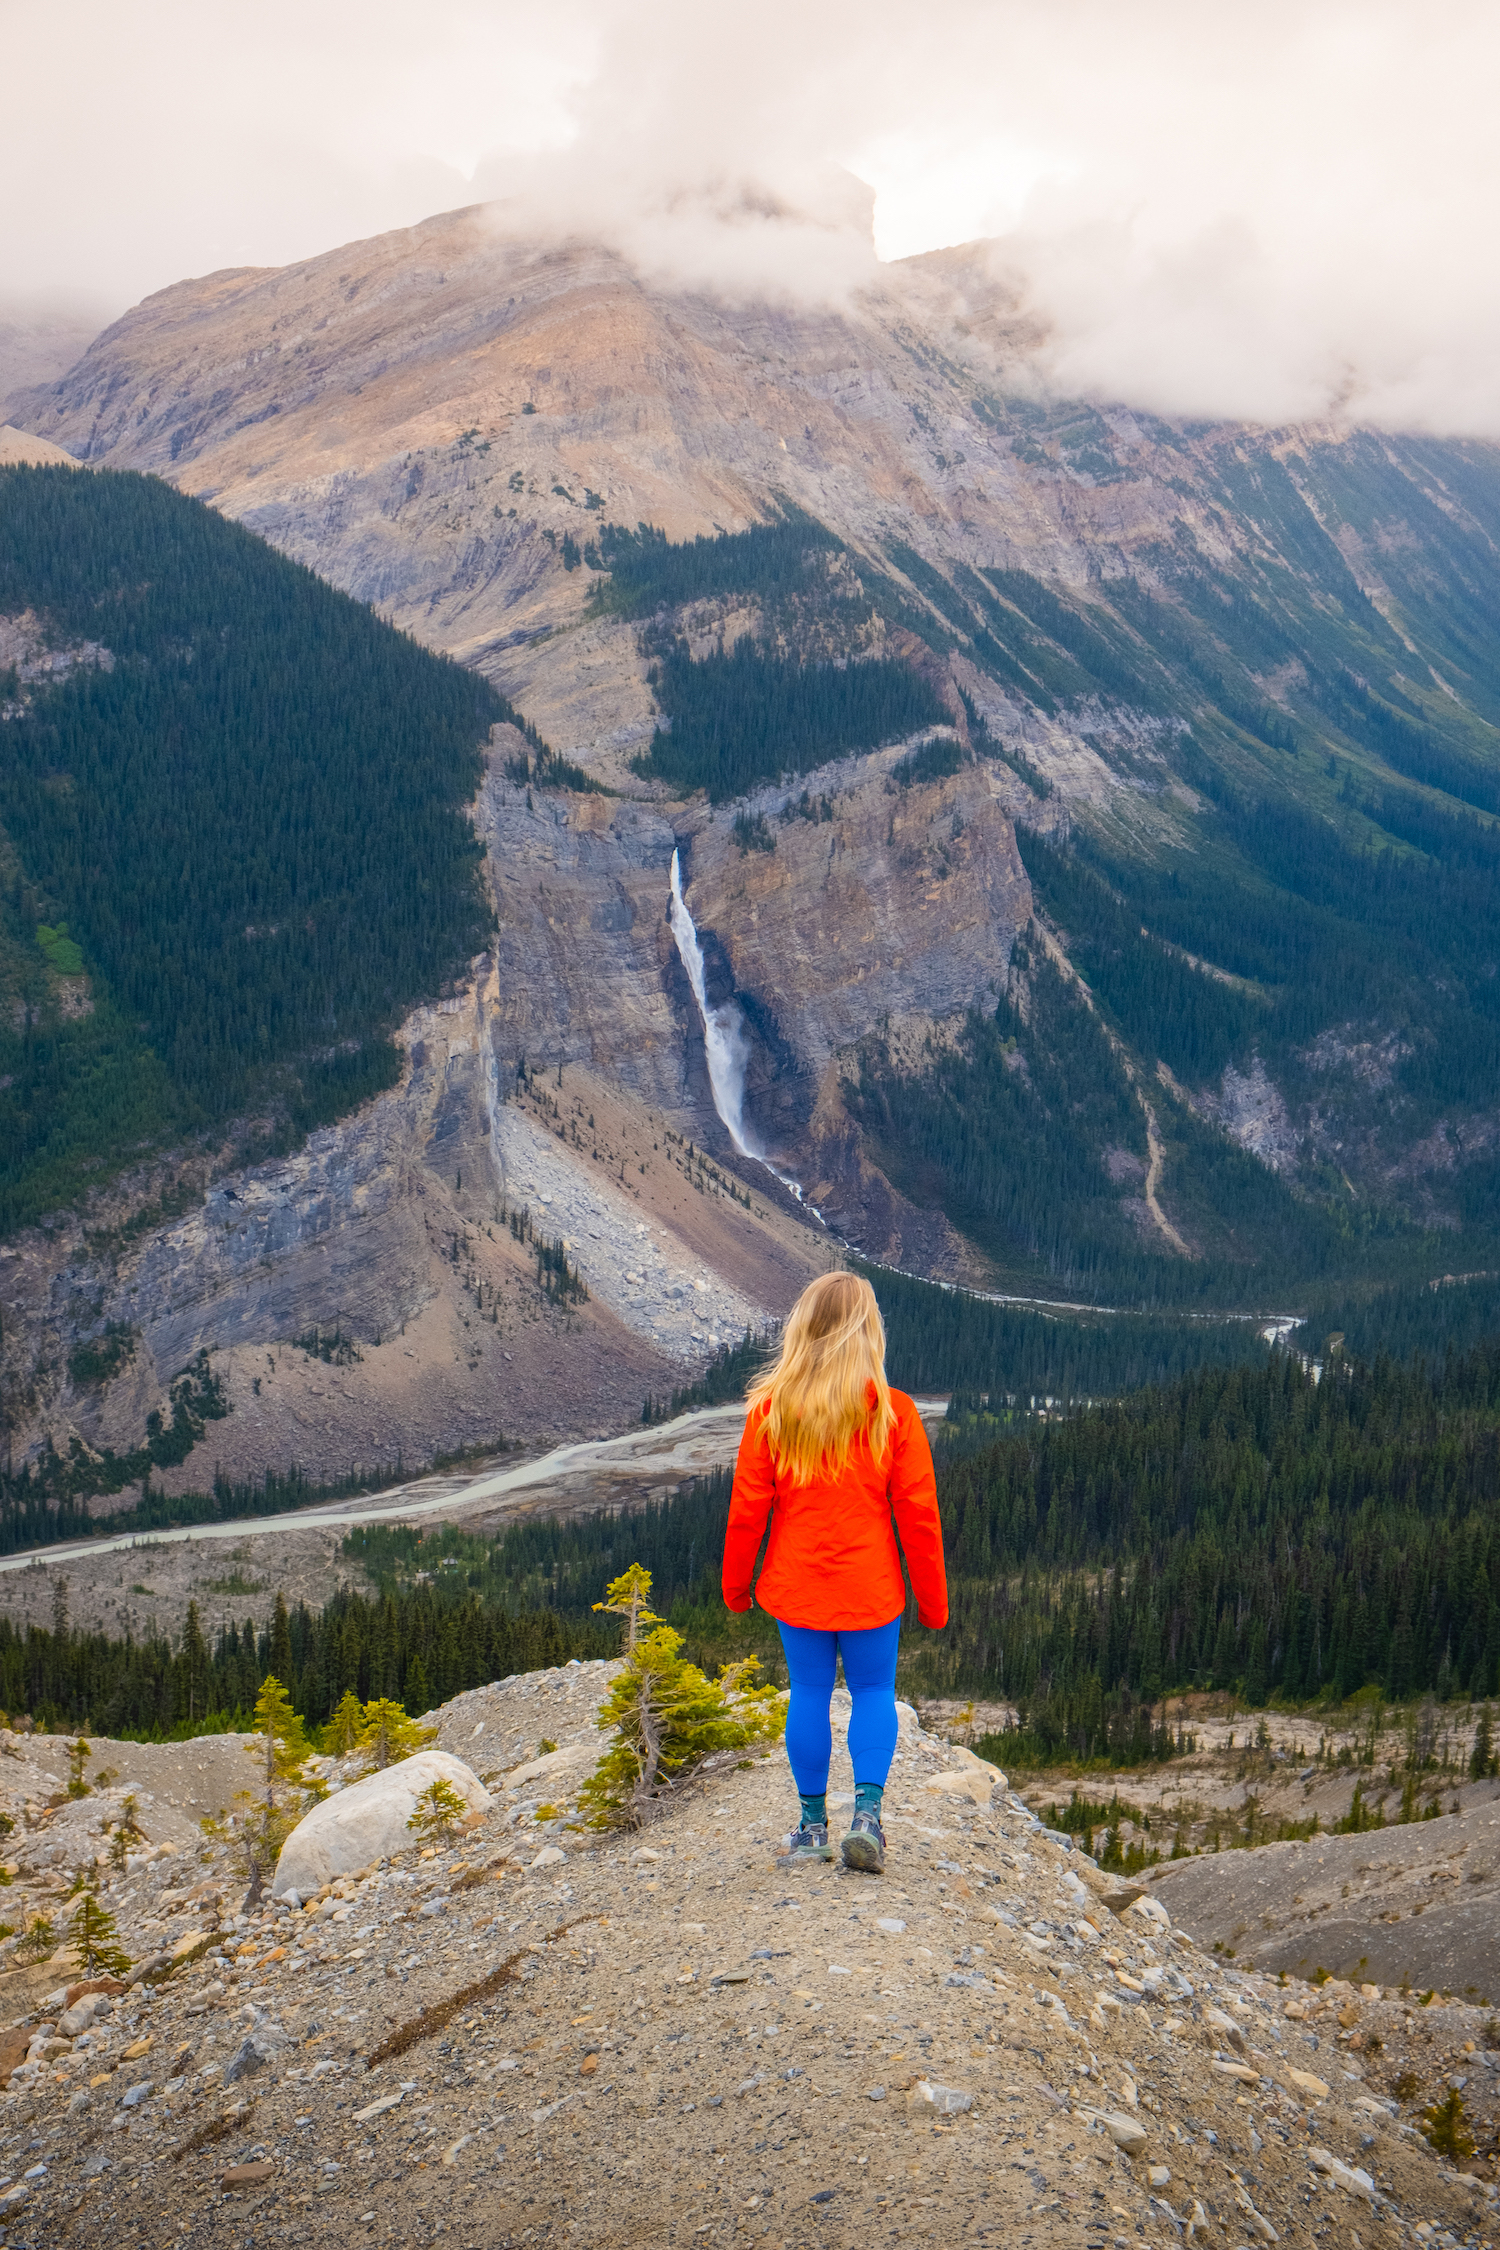
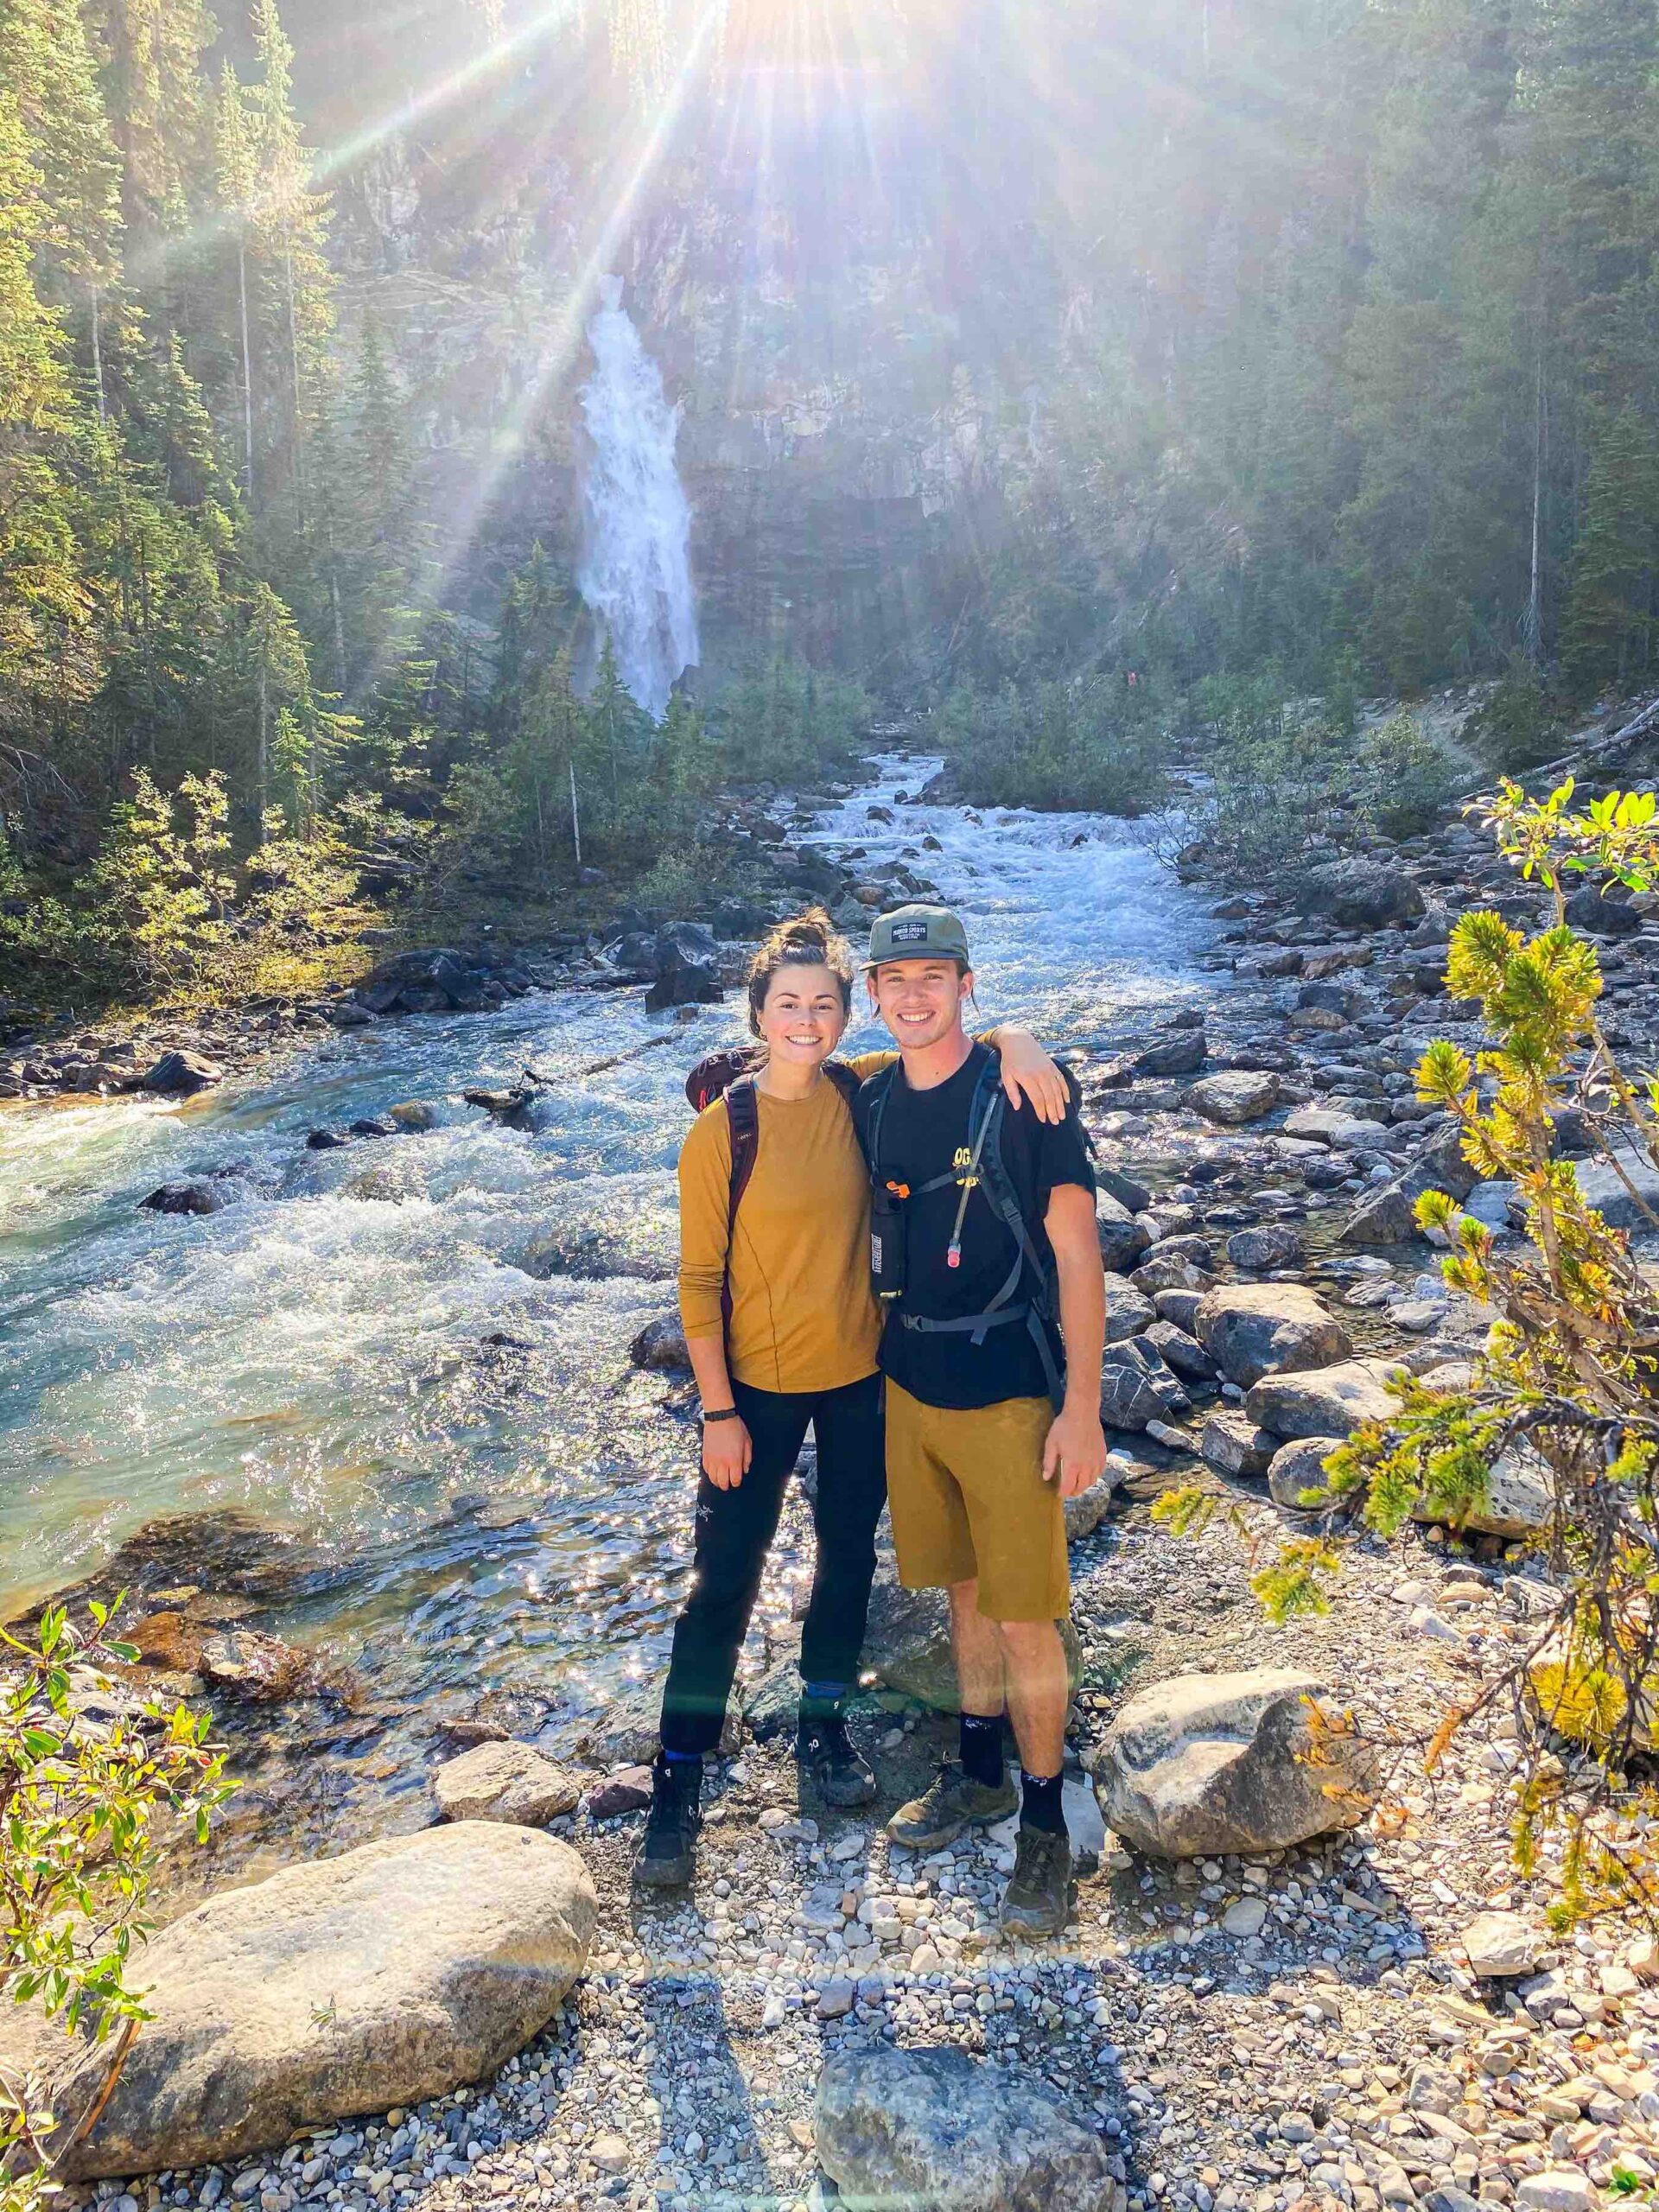
The steep switchbacks last for roughly 3 kilometers. This is the most demanding part of the hike as you gain a large portion of your elevation here. The switchbacks are spent in the trees, so there are few viewpoints, but the corners will provide quick sights of the impressive Takakkaw Falls – the second tallest waterfall in Canada.
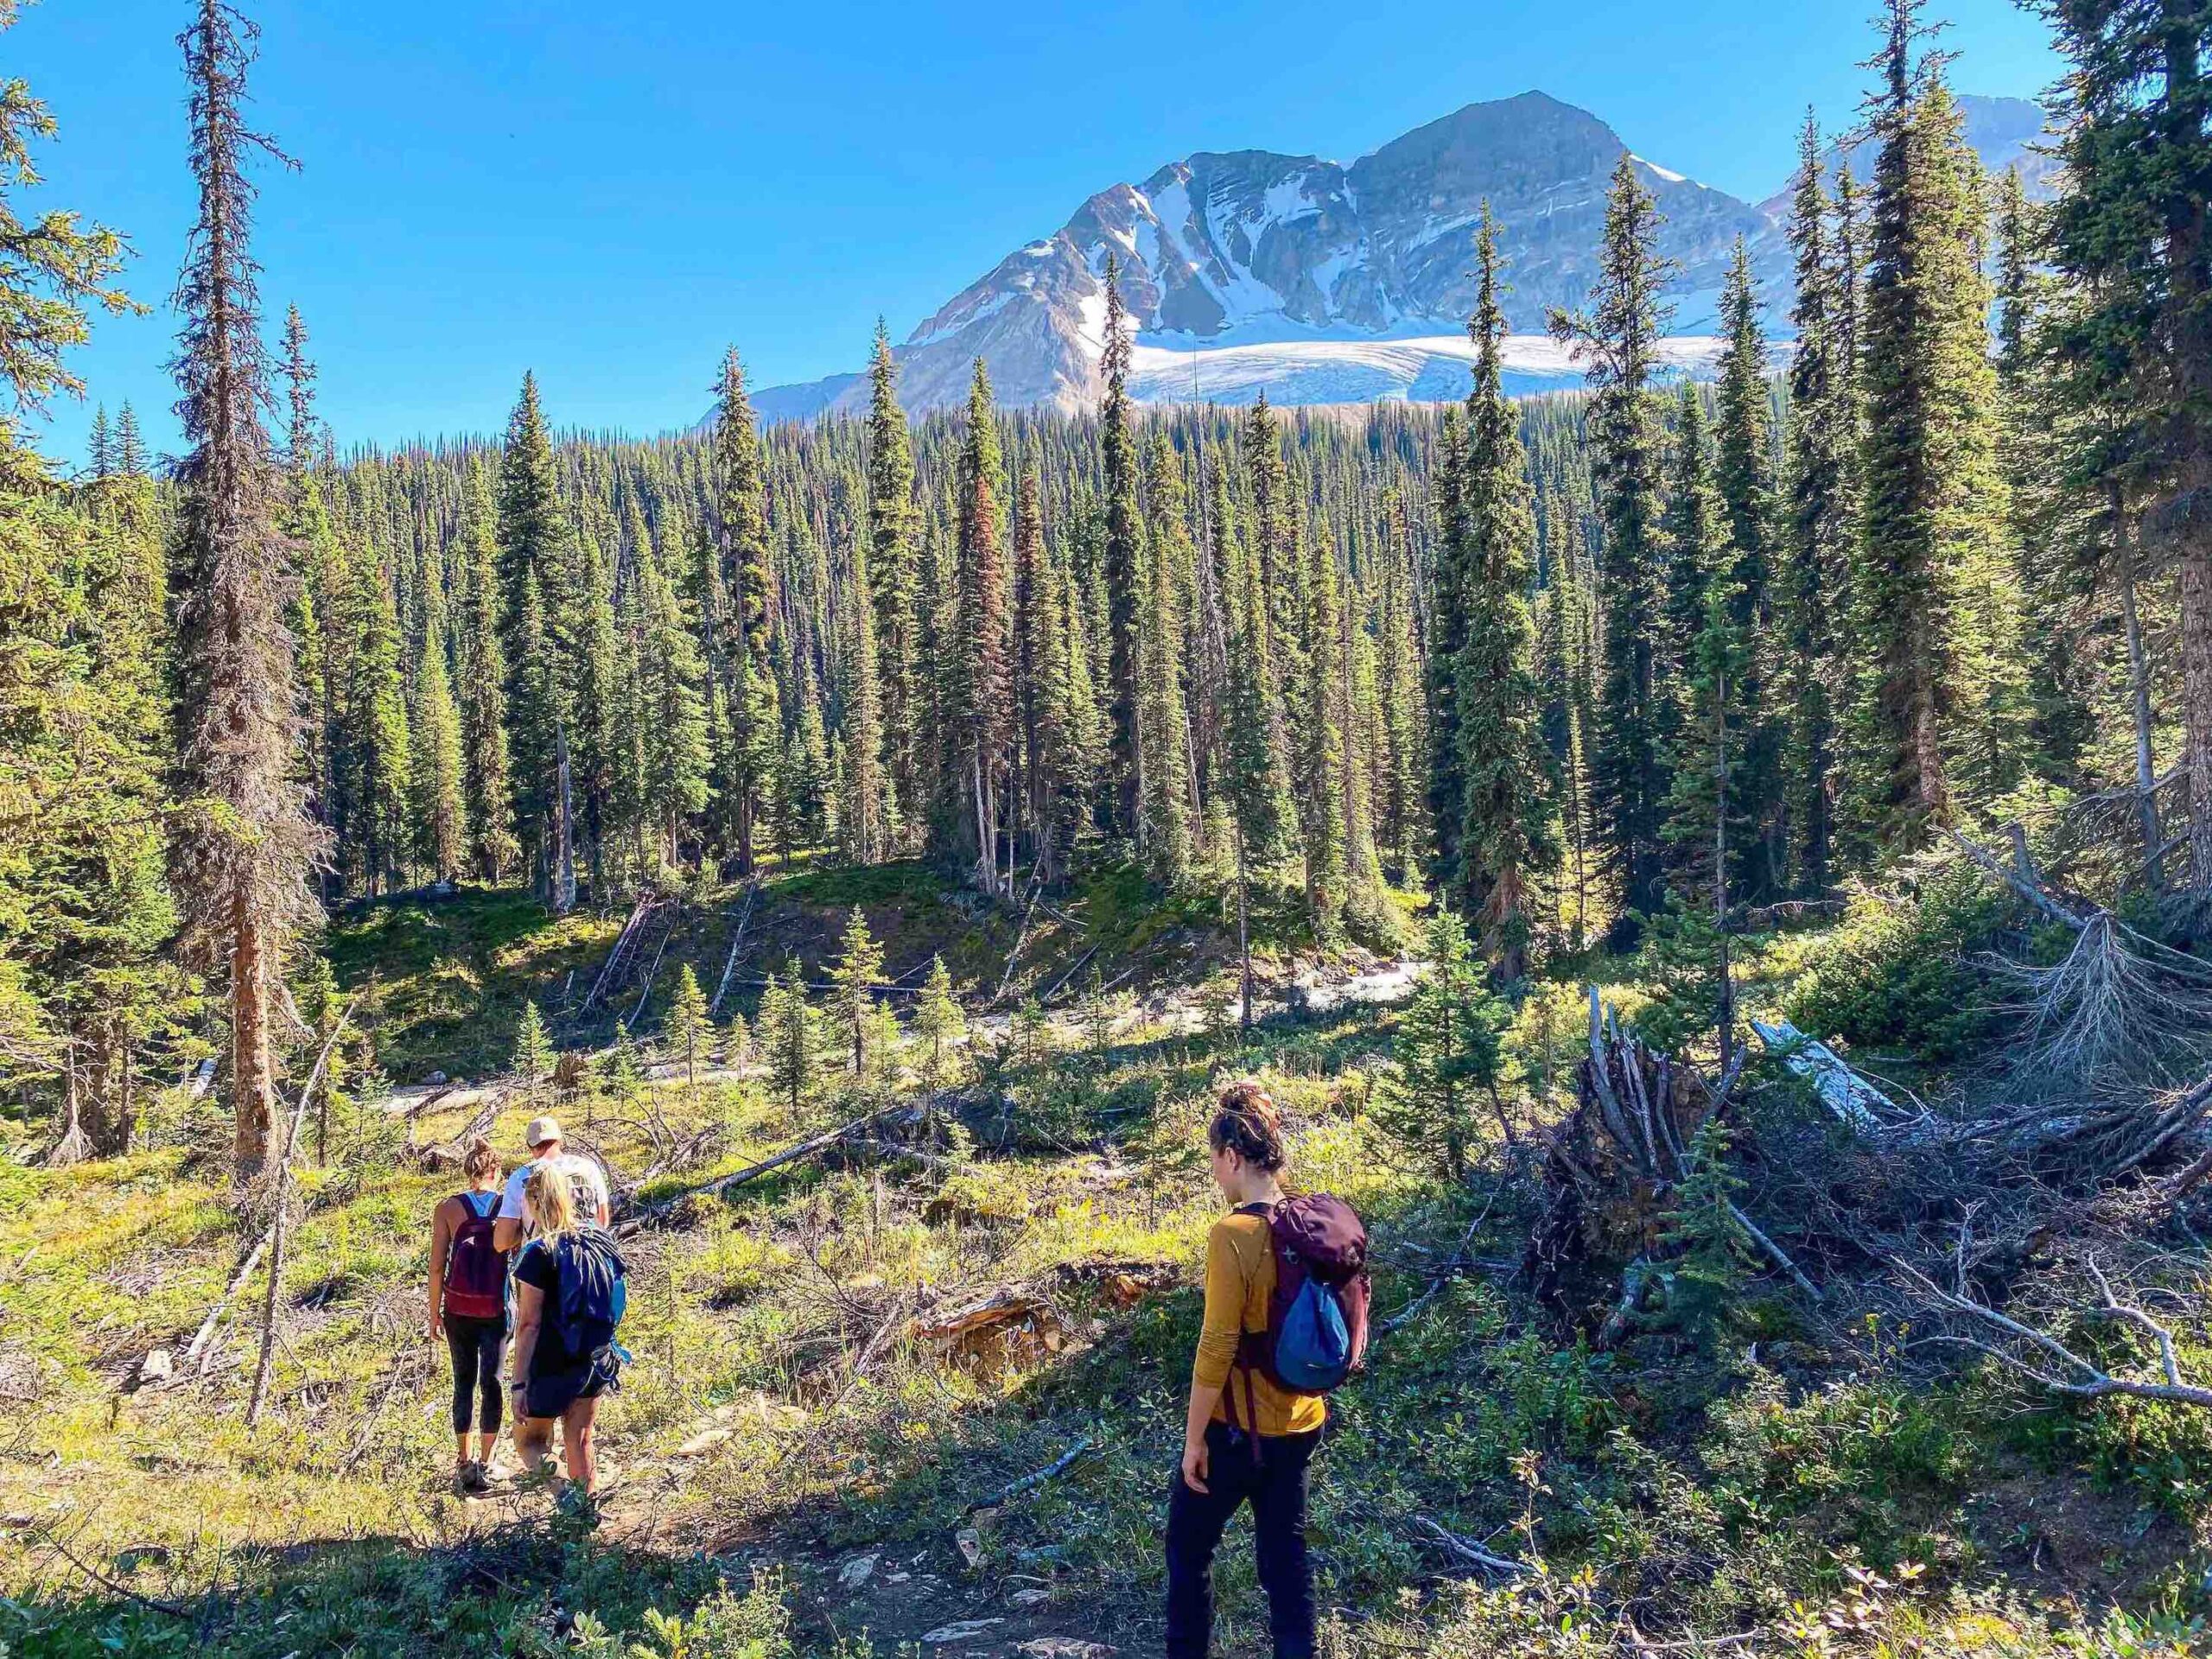
In the Alpine
After roughly 3 kilometers, the Iceline Trail leaves the trees, and you are in the beautiful alpine. The hike becomes easier from here on out, and the views get better – talk about a double win.
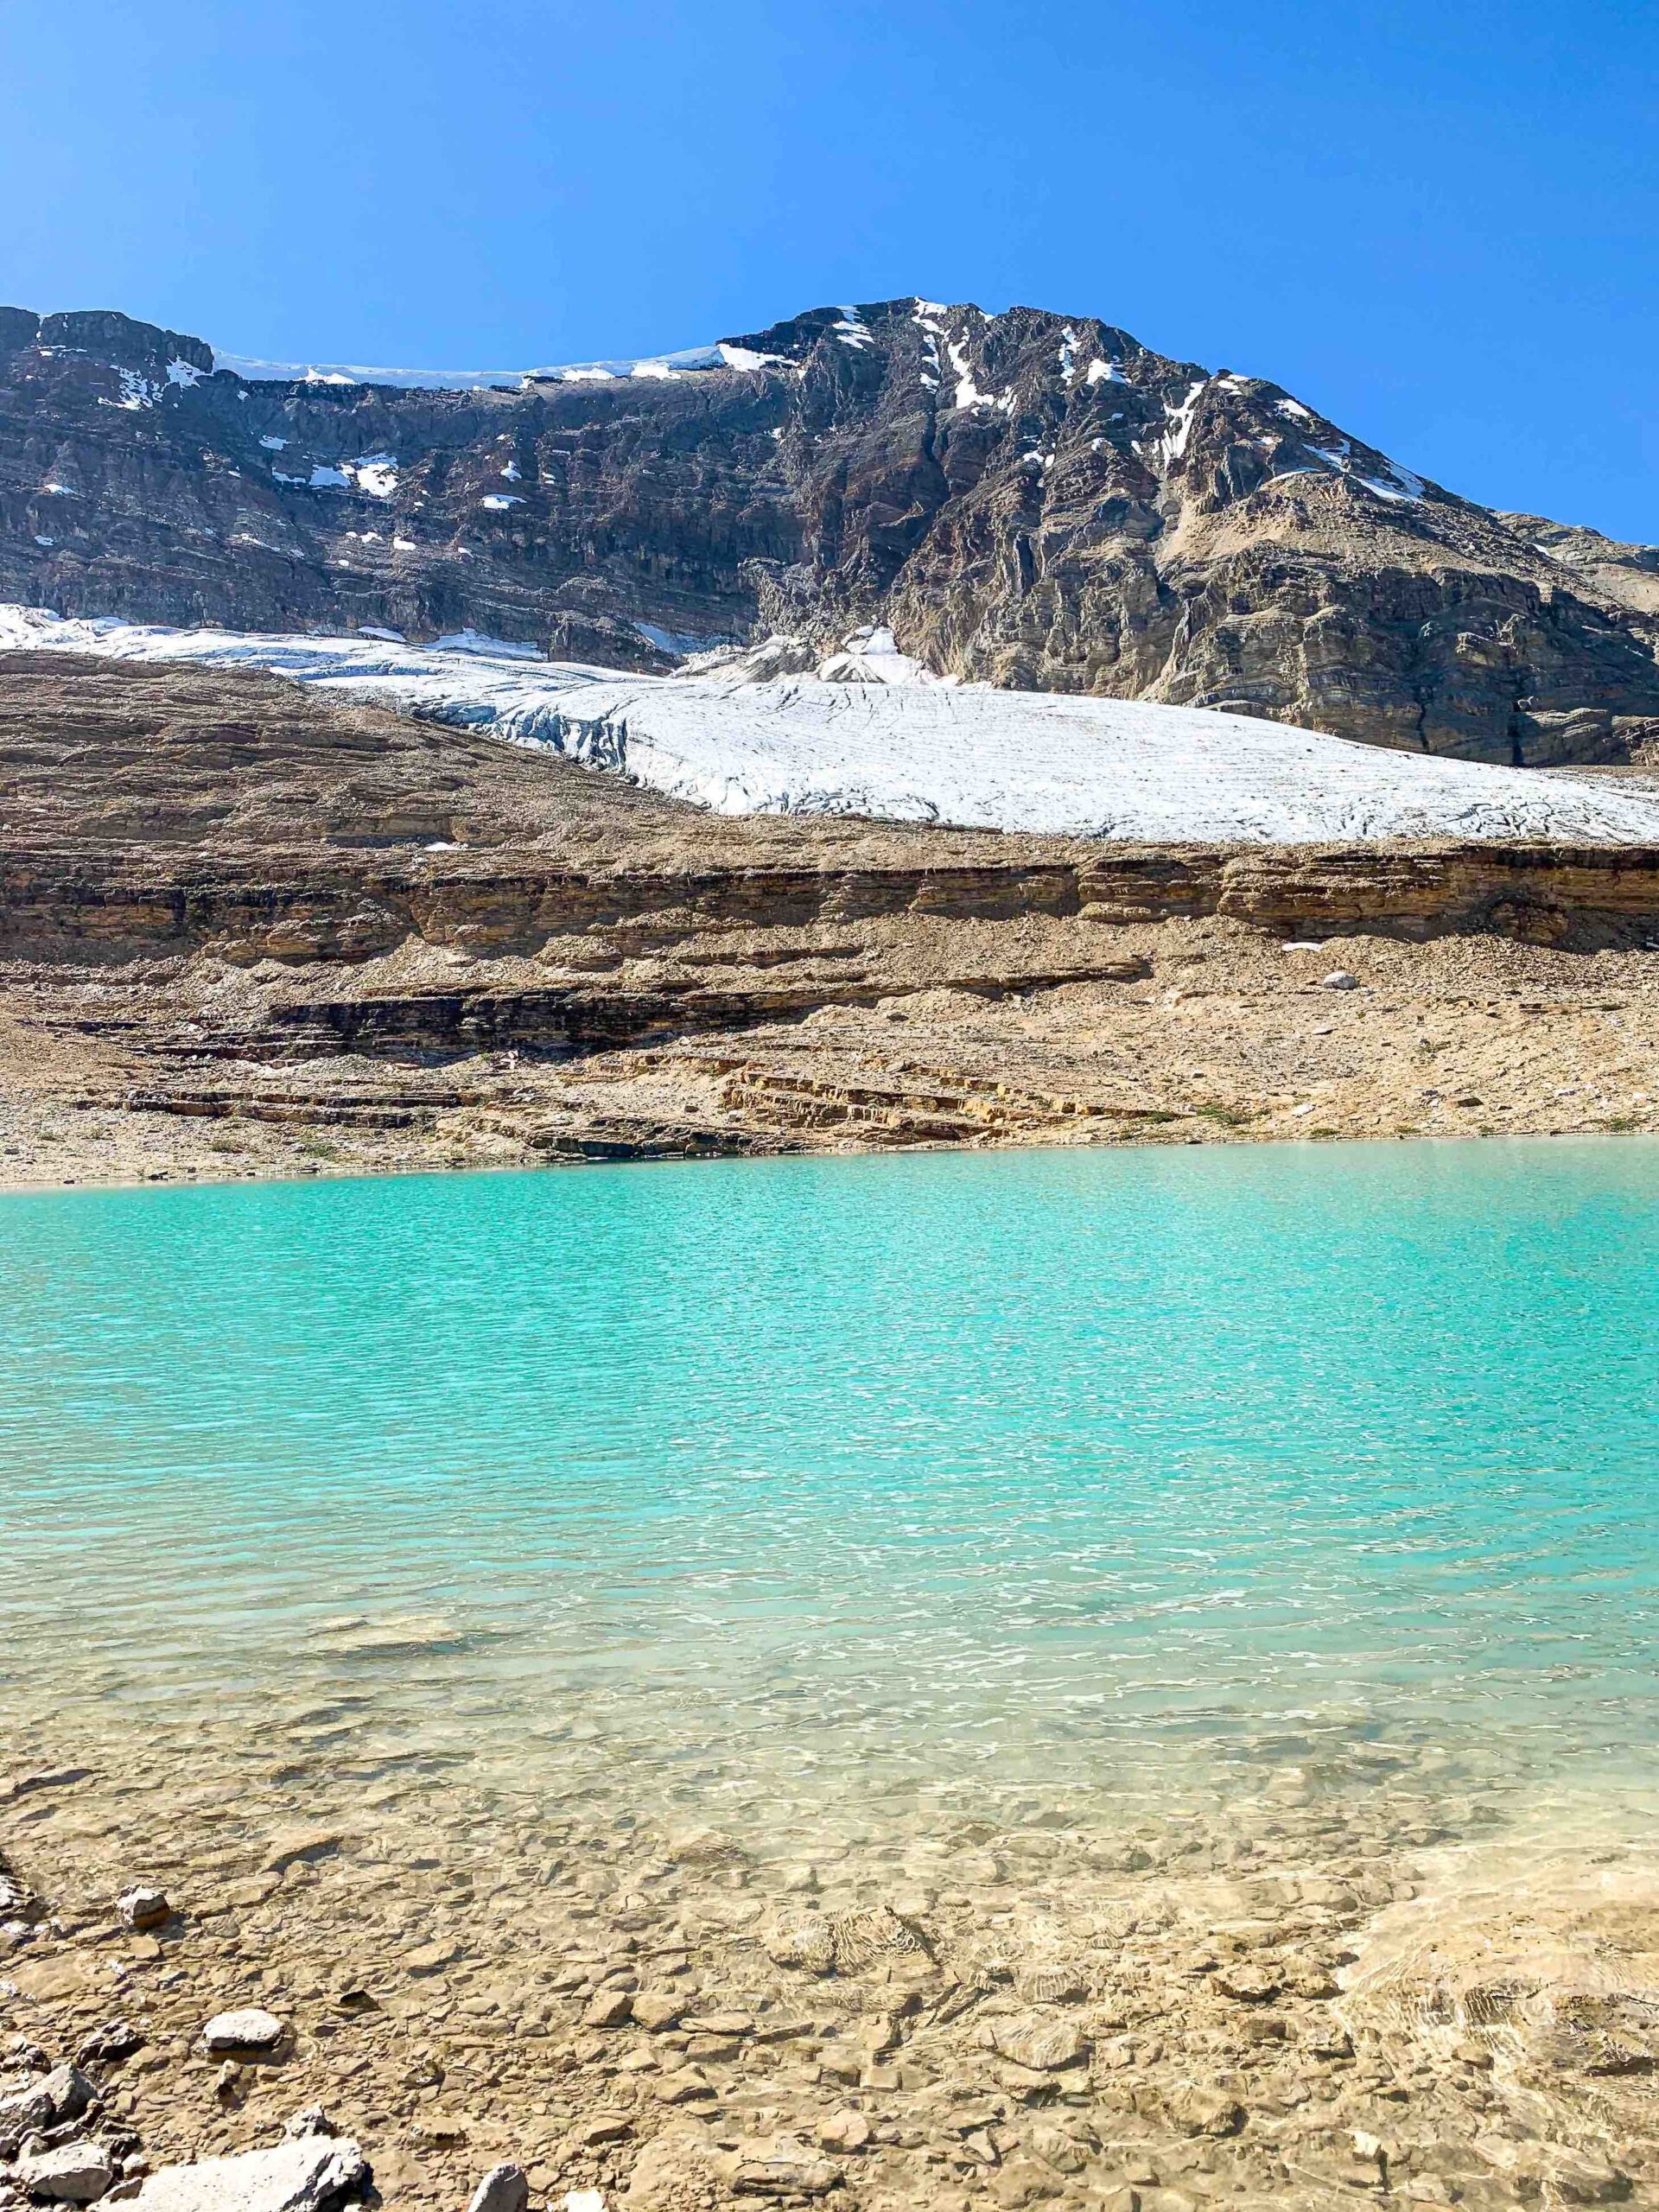
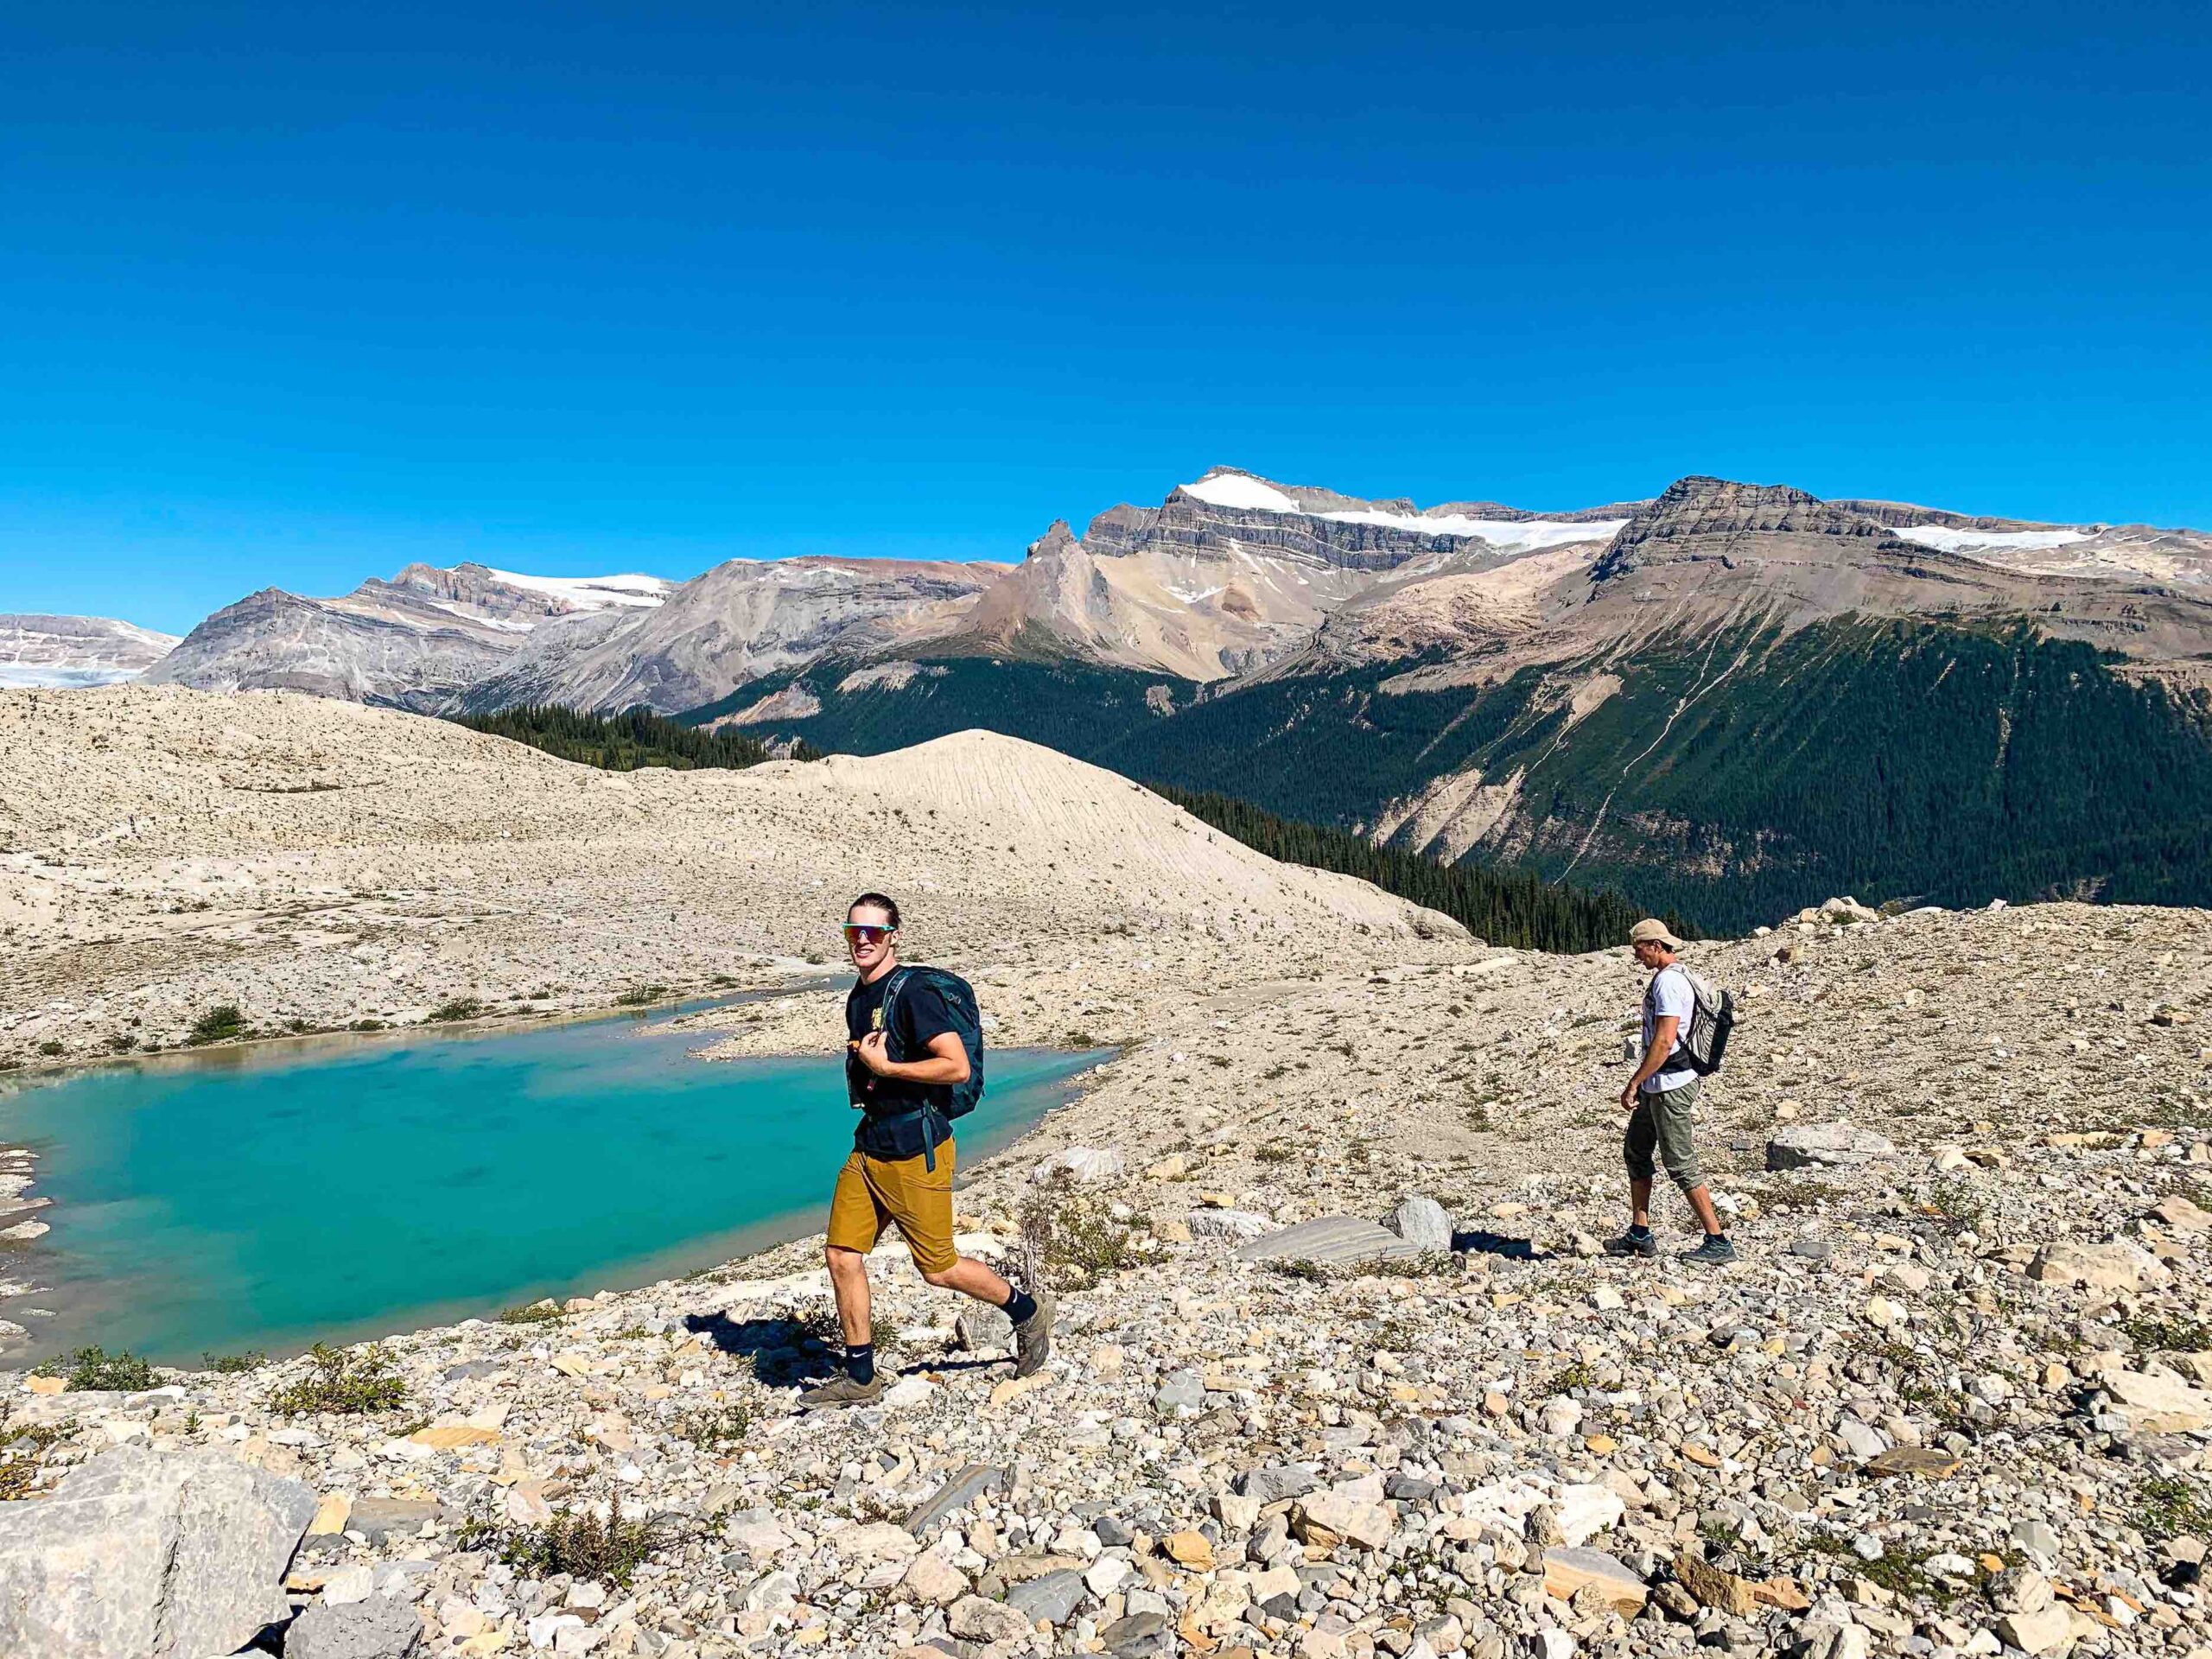
The Takakkaw Falls flows through the mountains to your right, a glacier field sits amongst the peaks to your left, and glacial streams flow along with the unique rock formations all around you. Throughout this hike, there is a new view wherever you look!
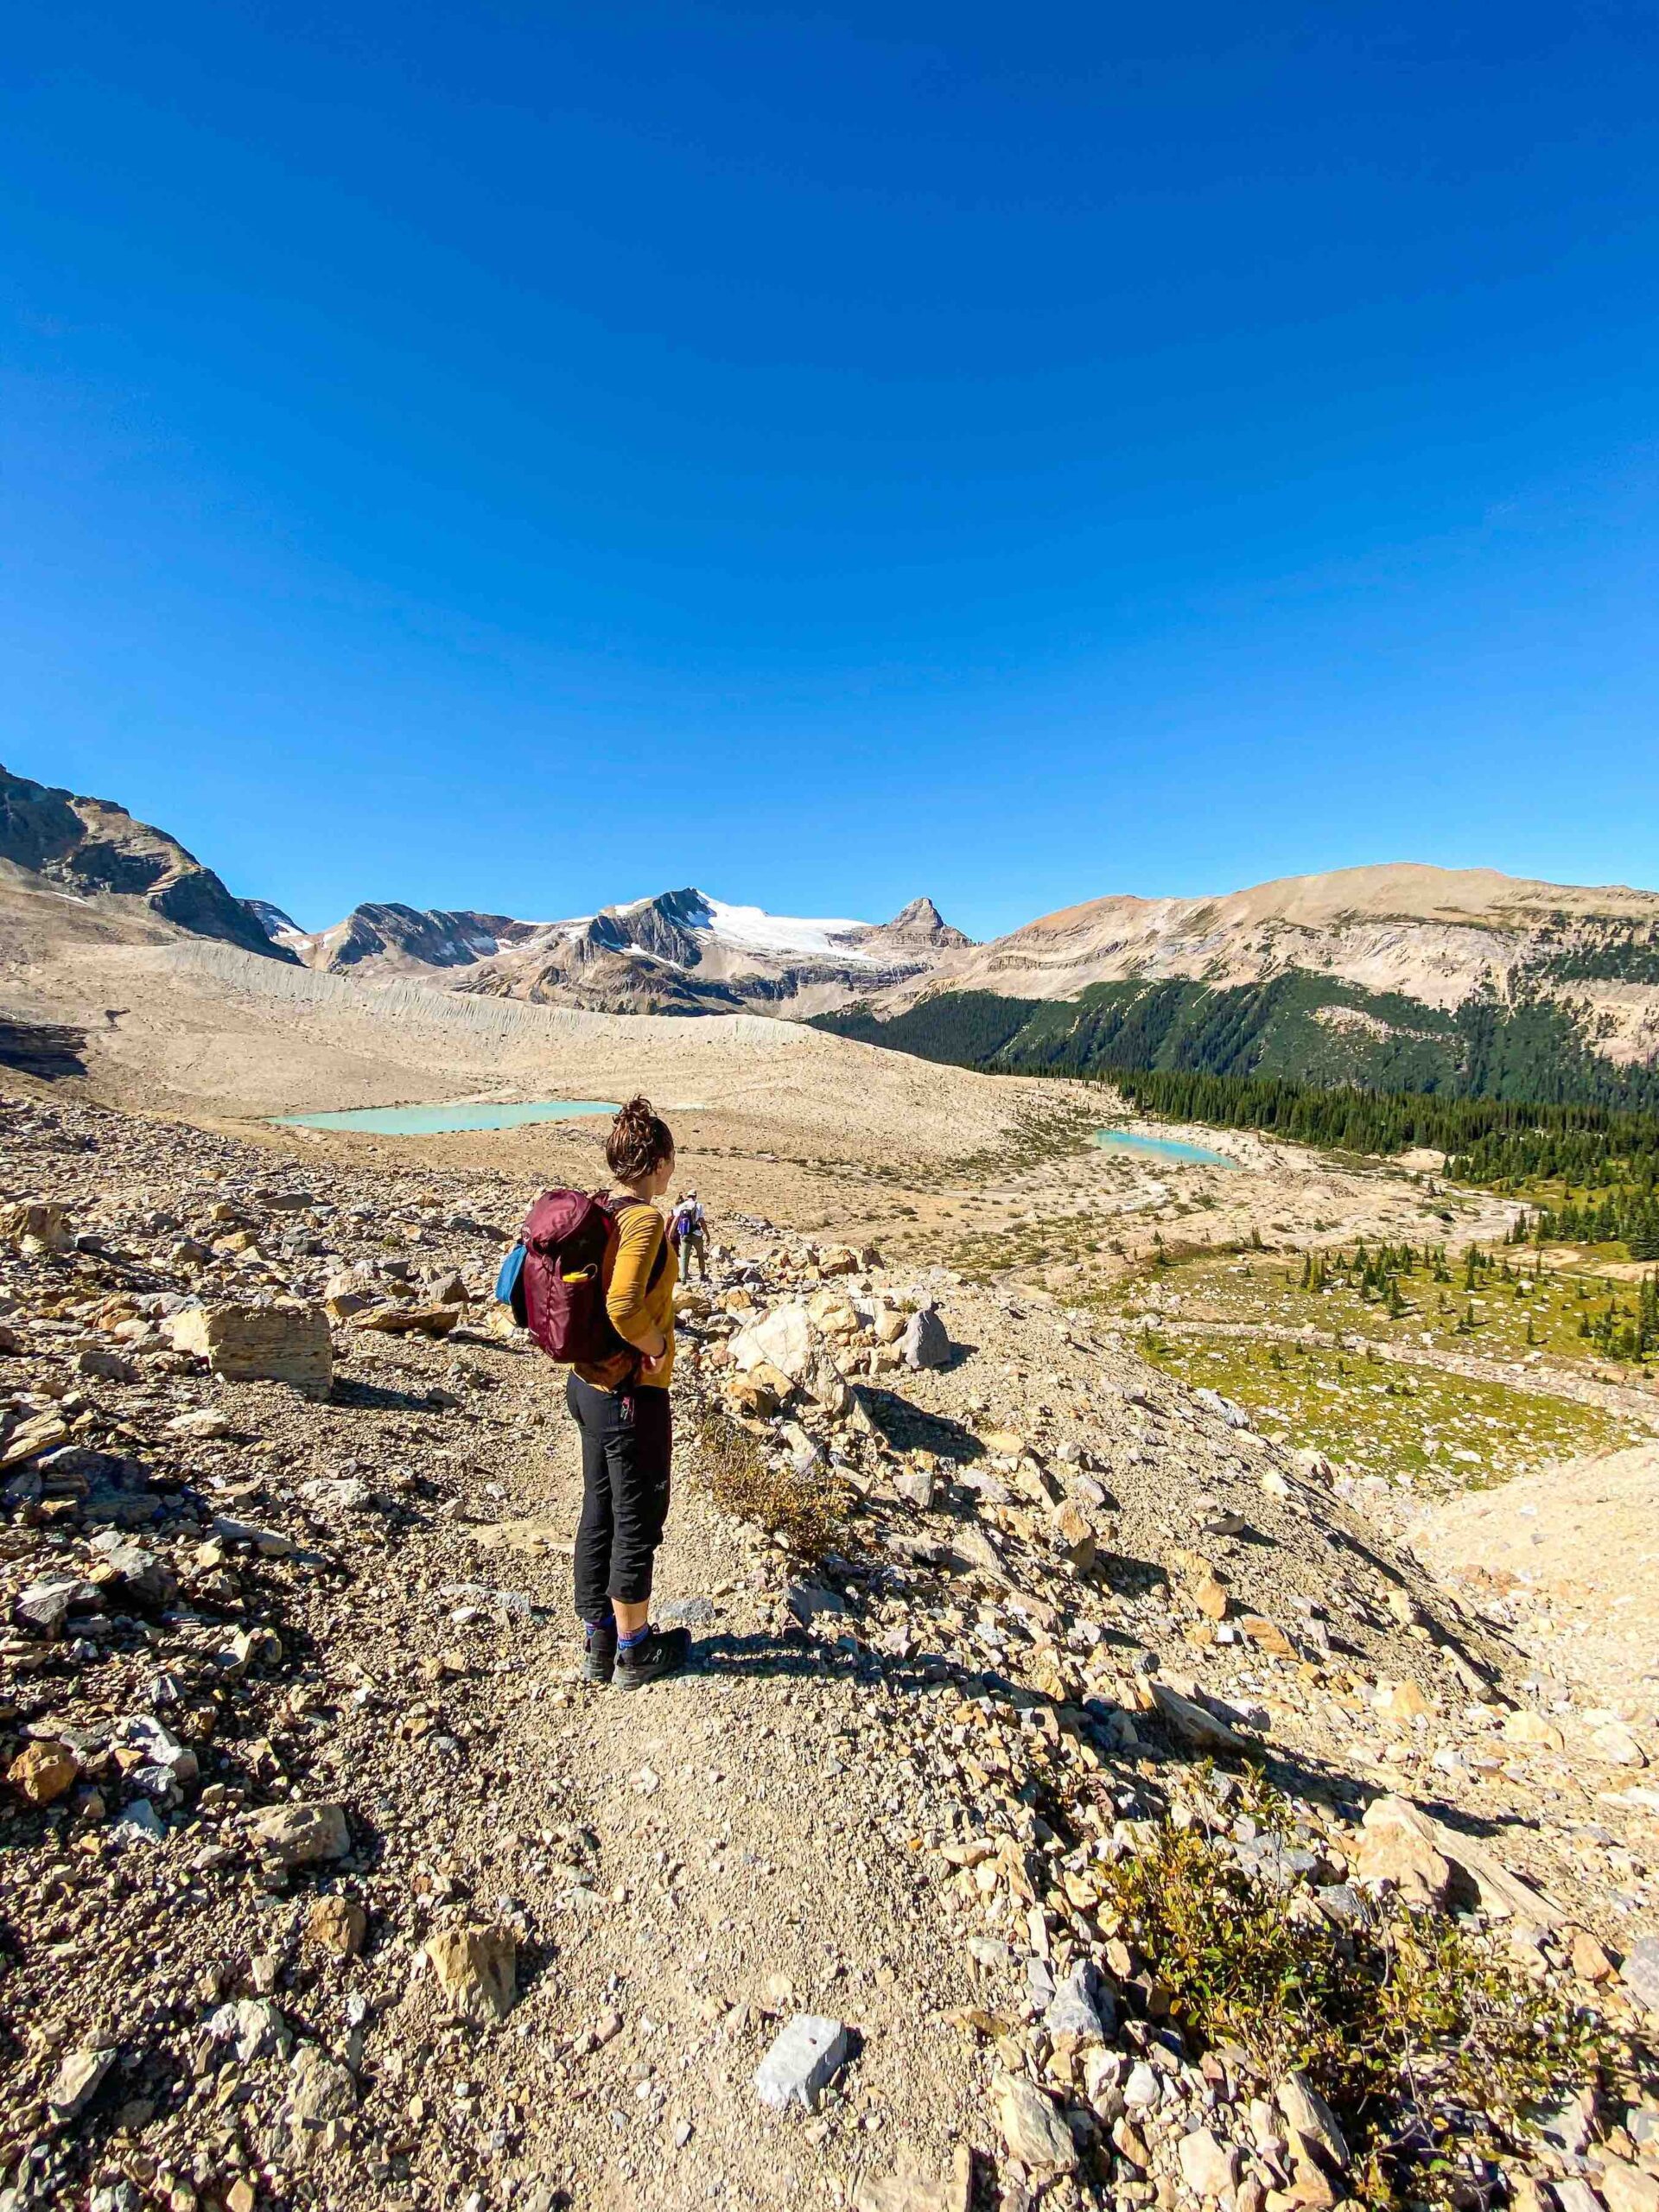
The Iceline Trail leads you along a bit of a ridge, though the exposure is nothing major. This hike doesn’t have a scramble either; once you have made it to the flat section, with the glaciers high above you and alpine rivers and lakes all around you, you have reached the “summit” of the hike!
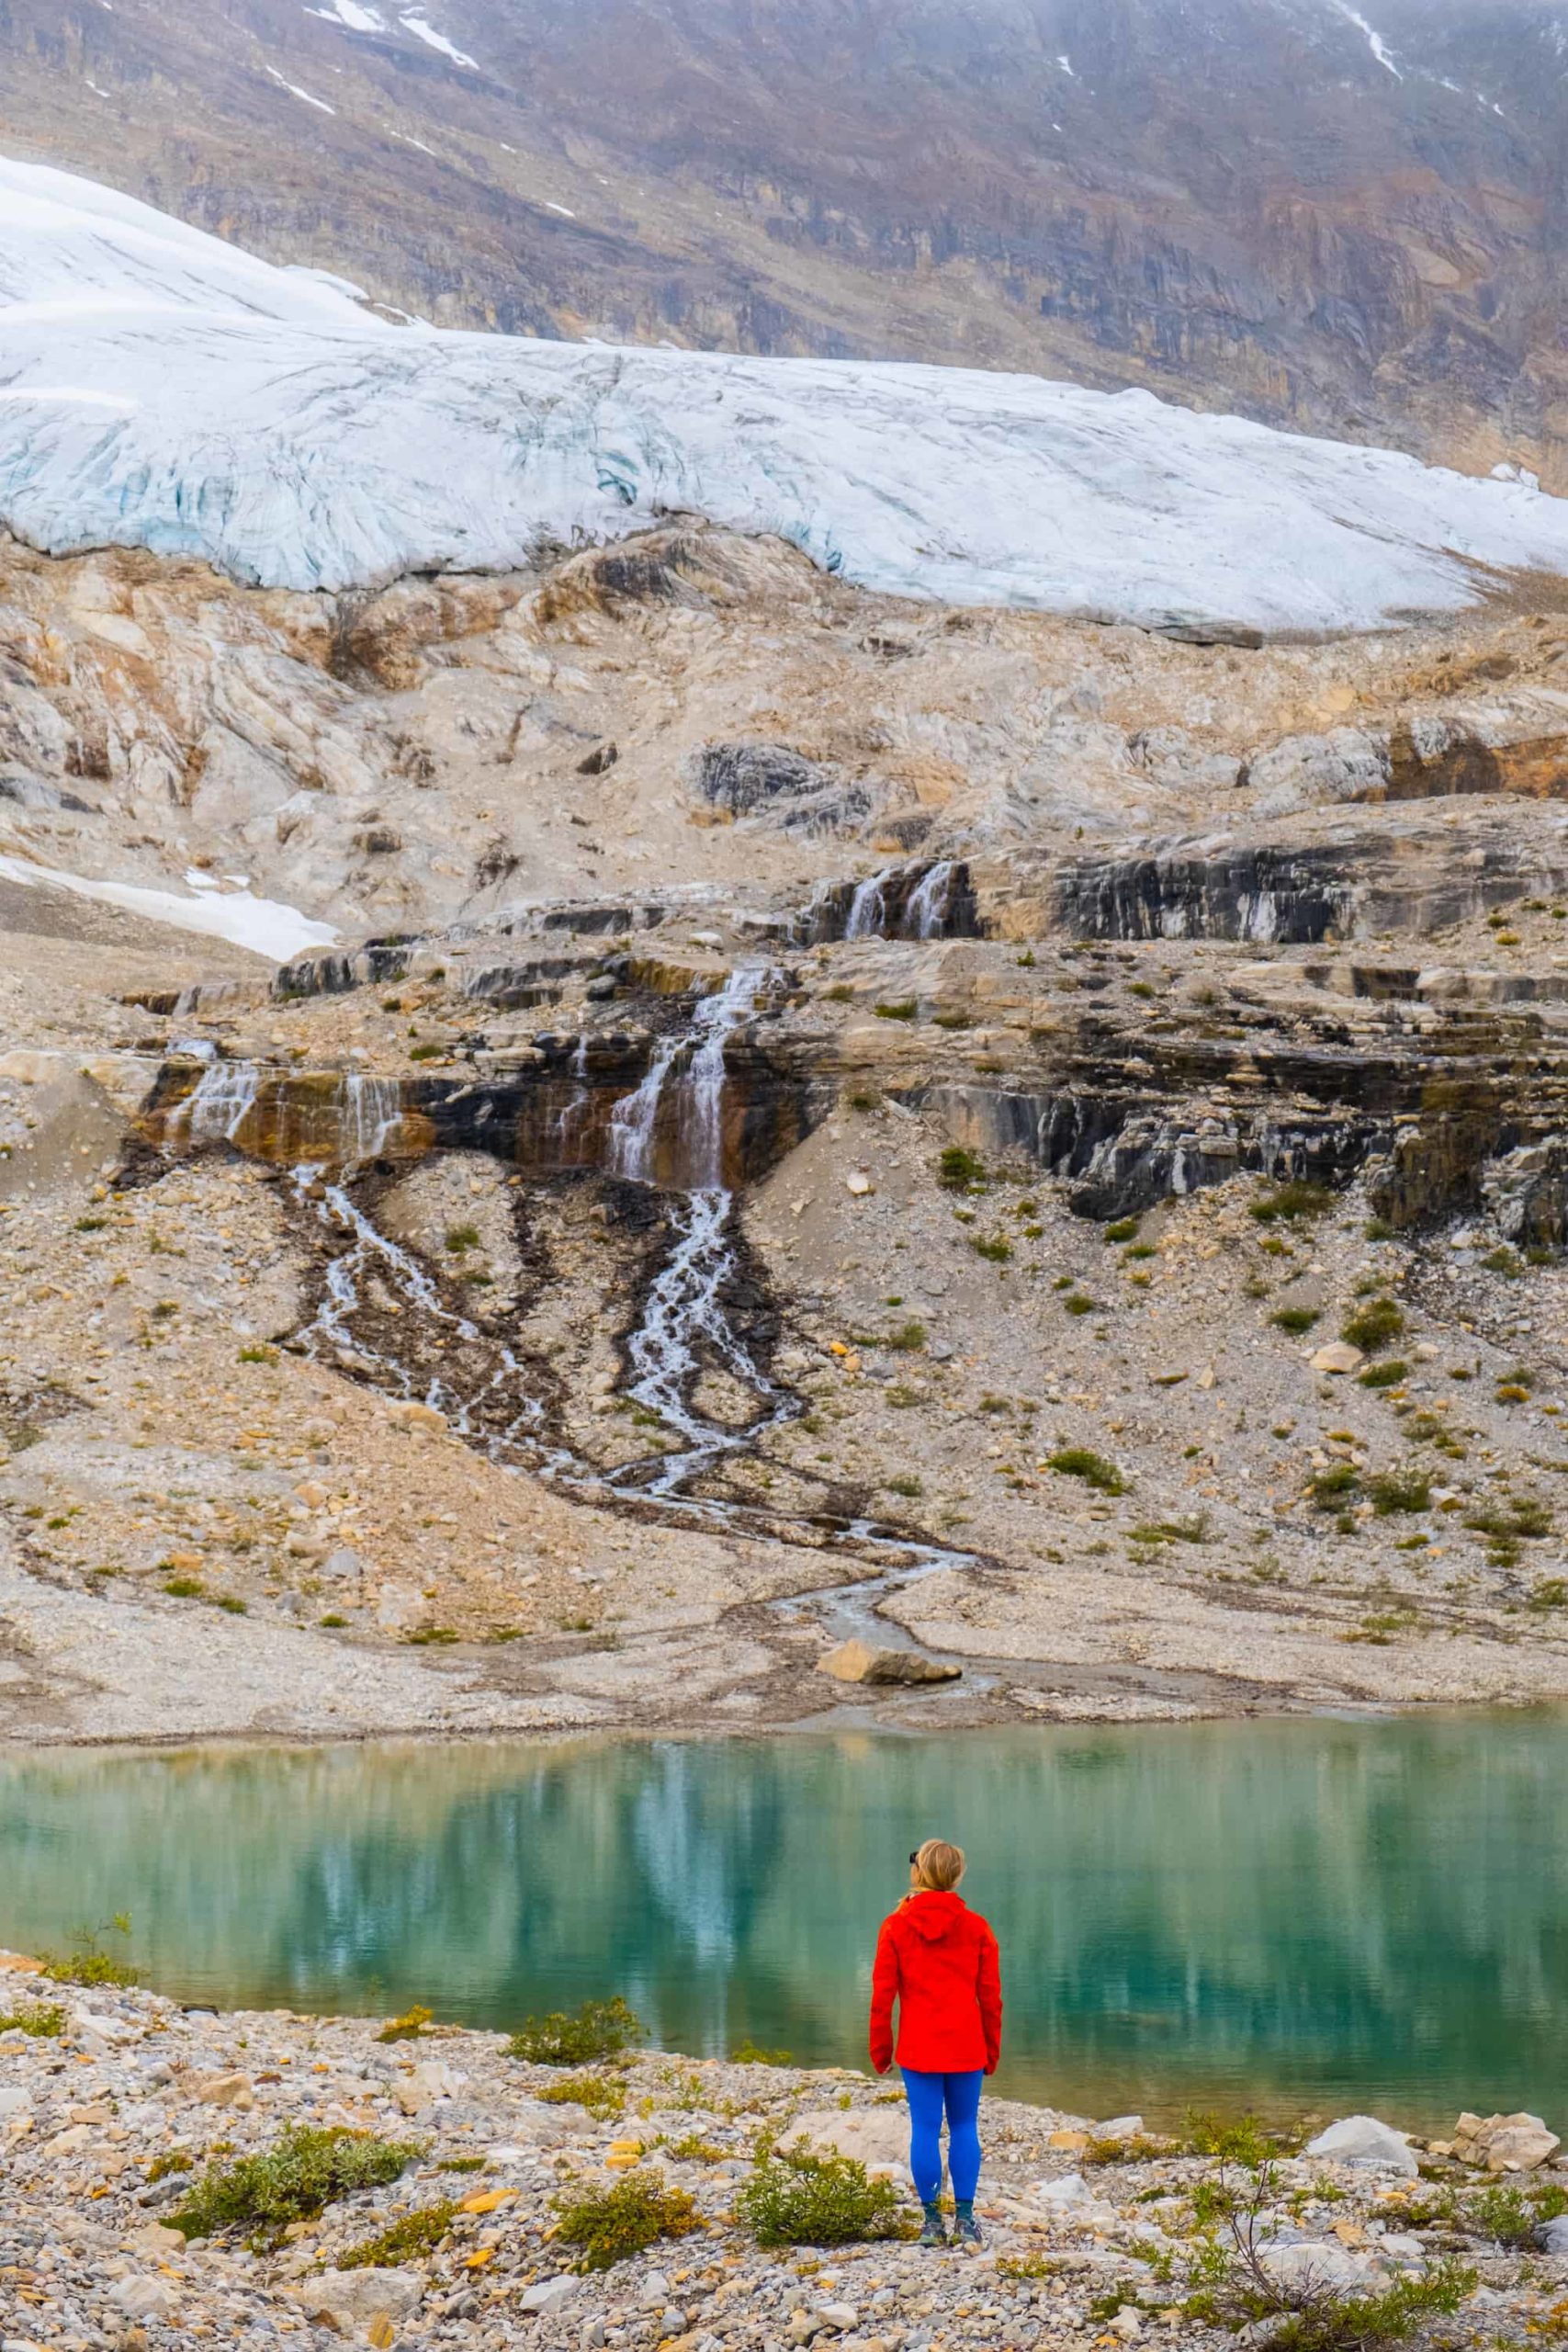
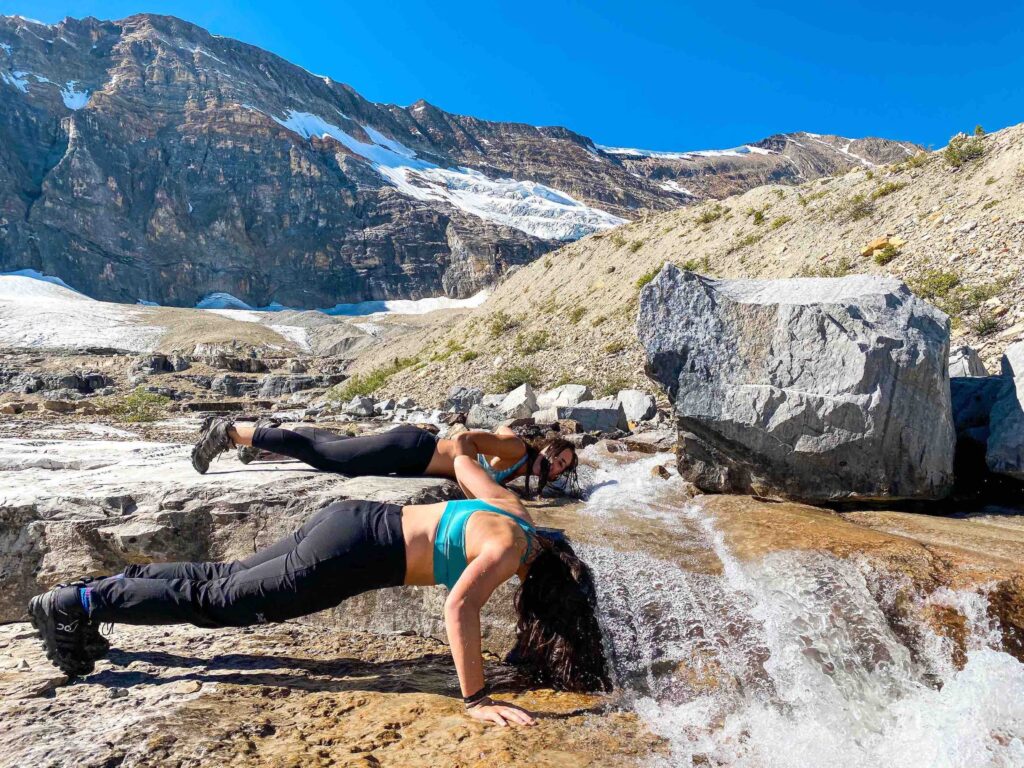
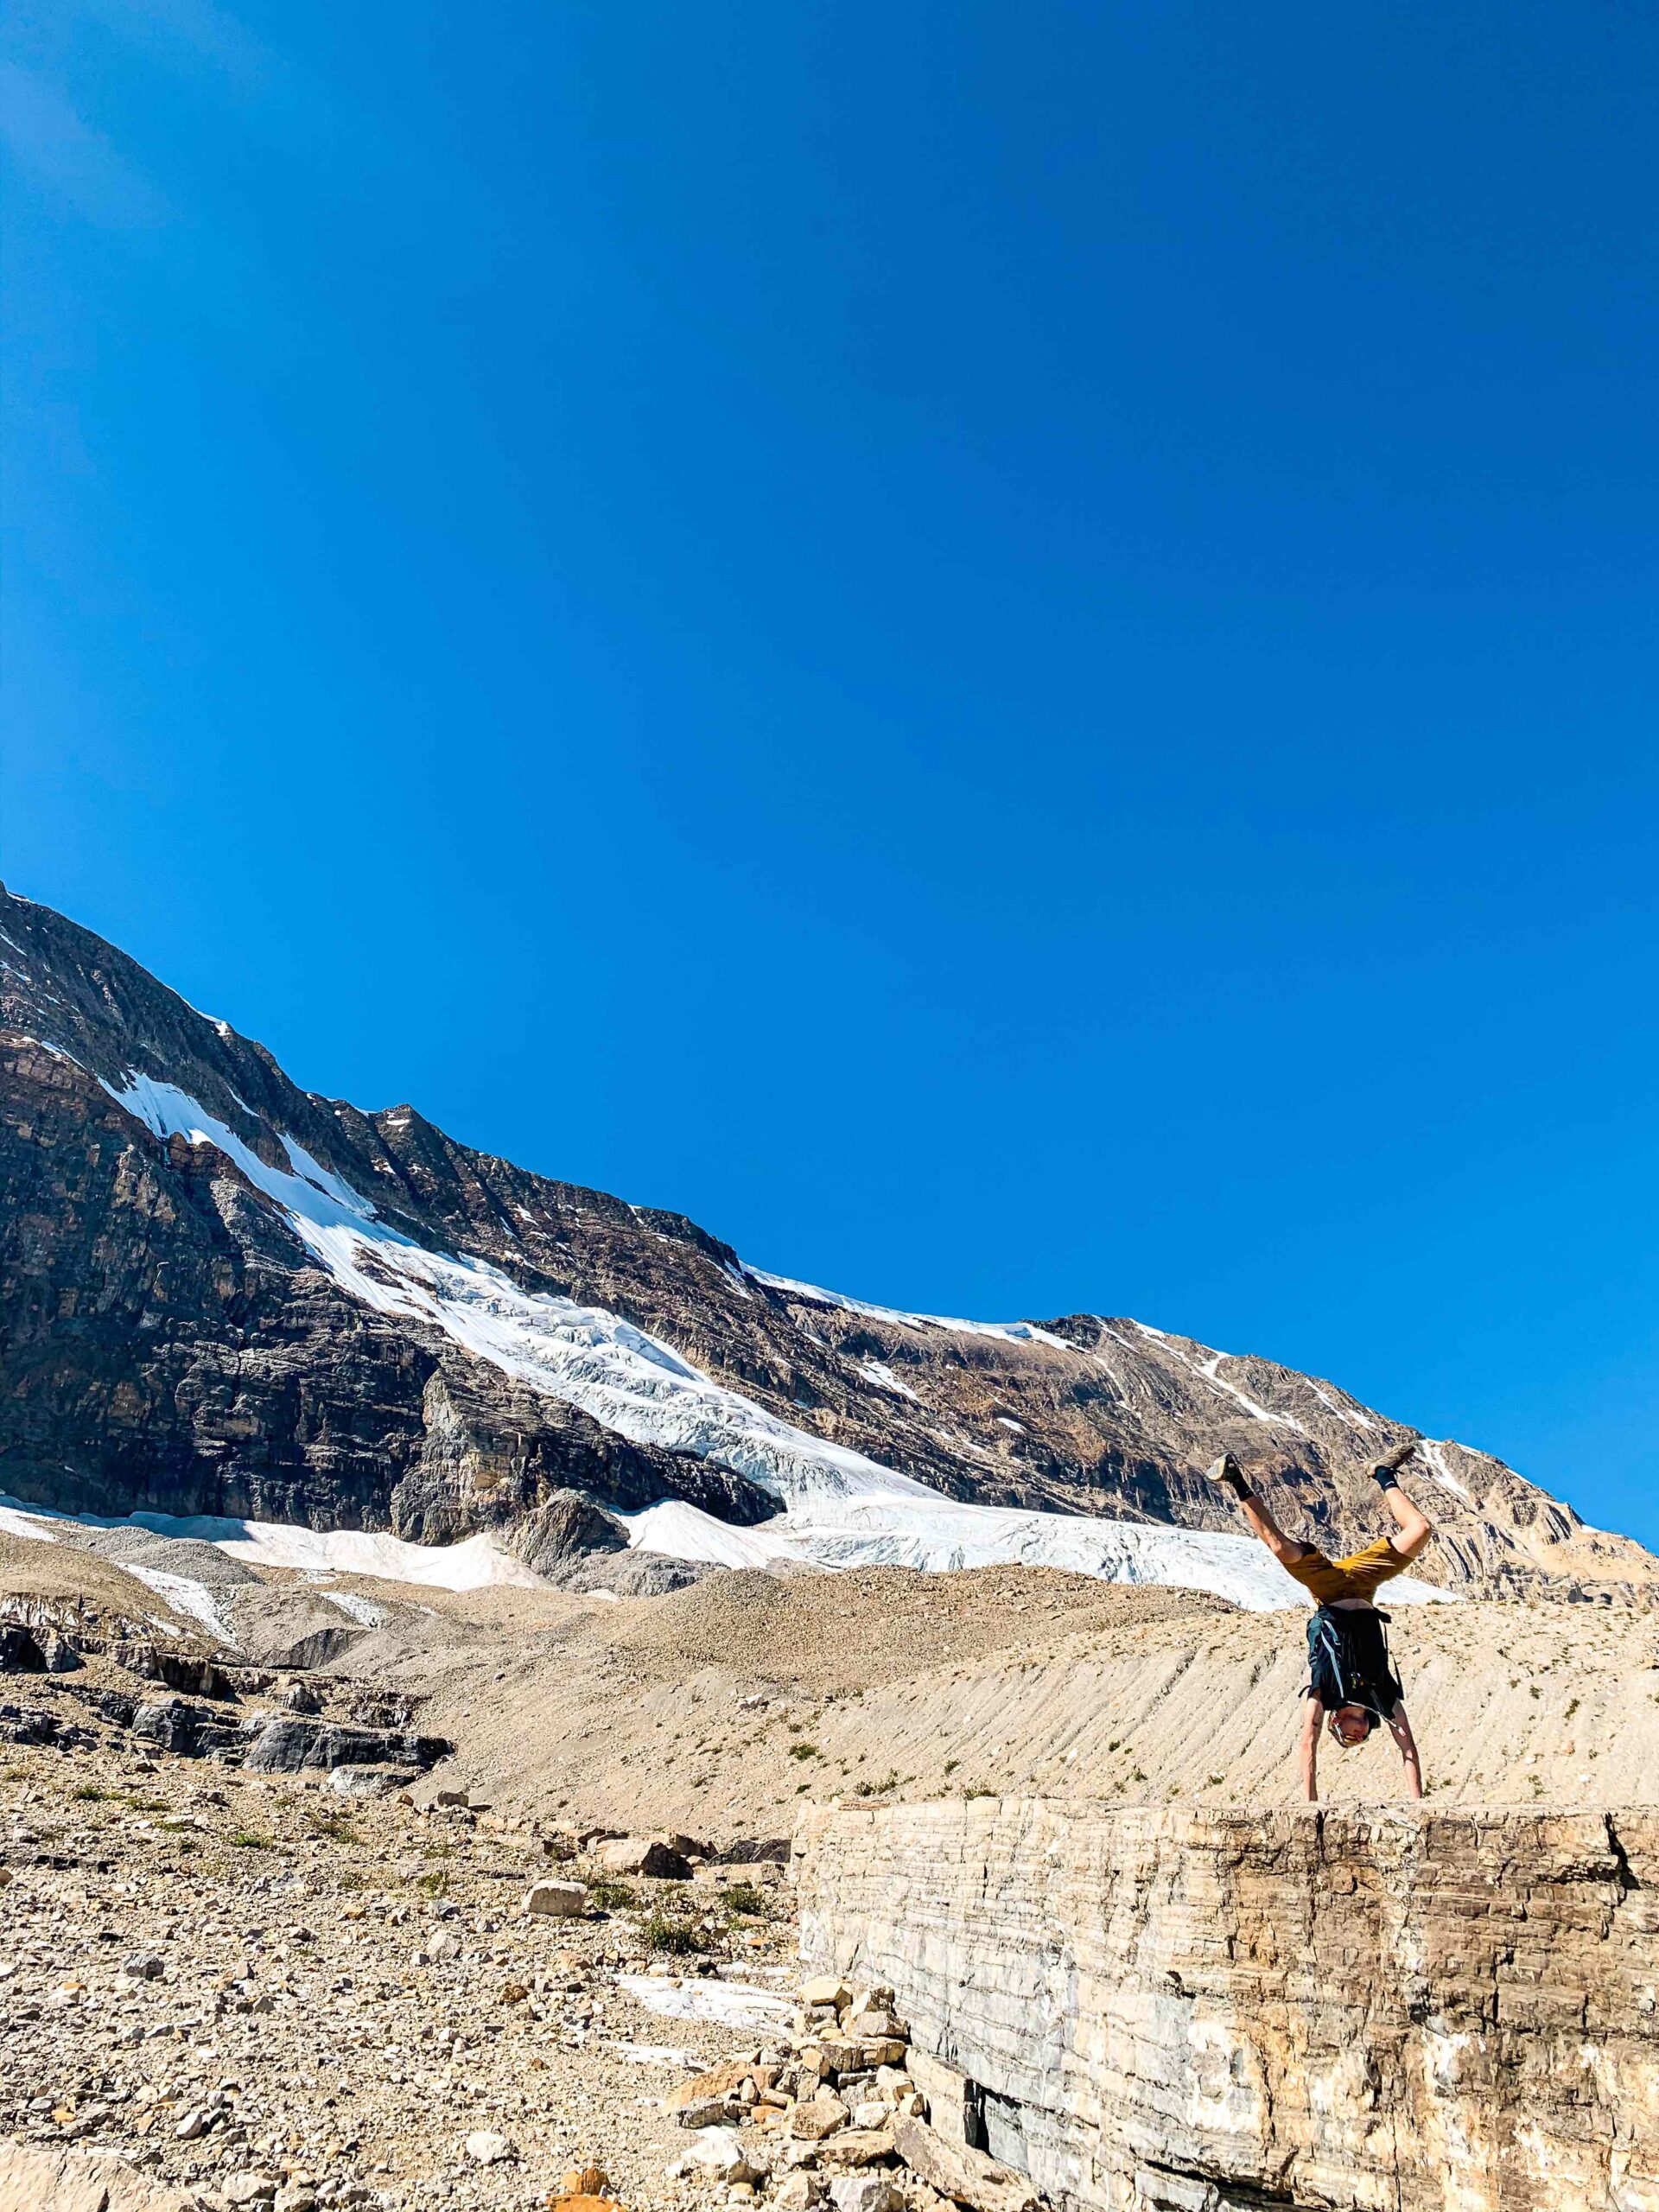
As the Iceline Trail leads you across the open landscape, do not be afraid to venture off the trail a bit to explore the area. We completed this hike on a hot summer day, so we enjoyed many waterfall showers and glacial lake swims! While taking the opportunity to explore, be sure to do so safely and respectfully.
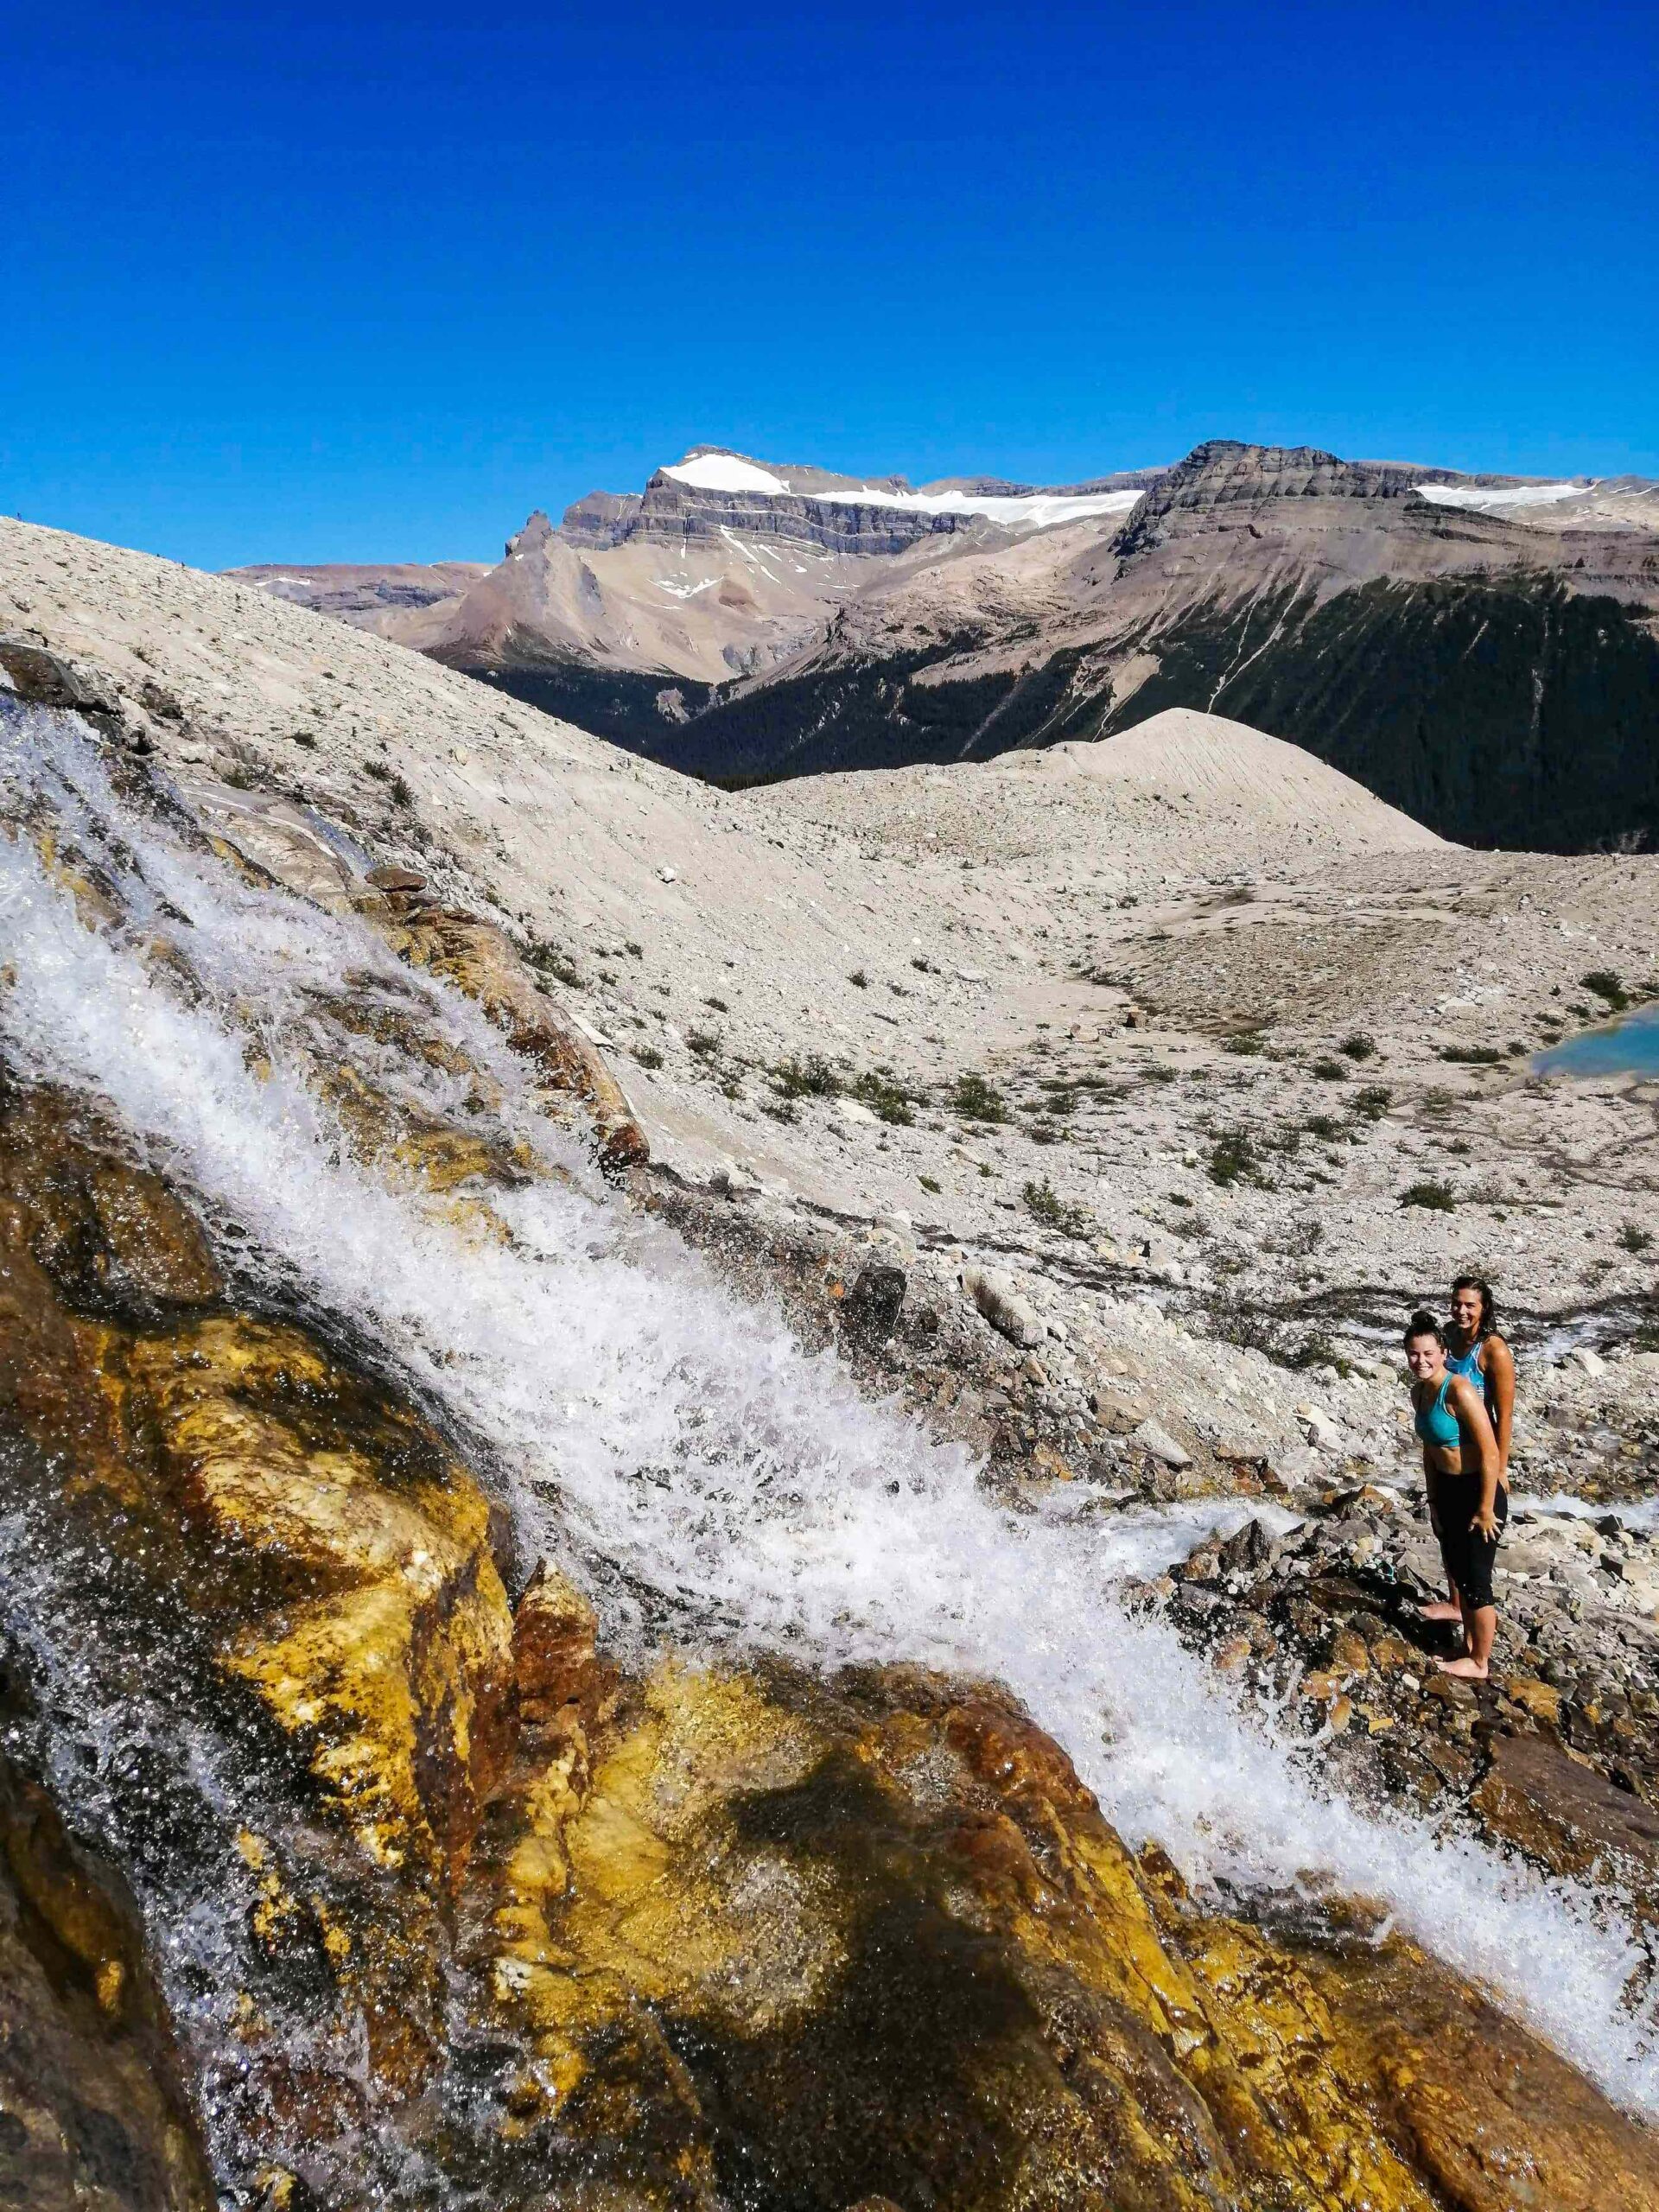
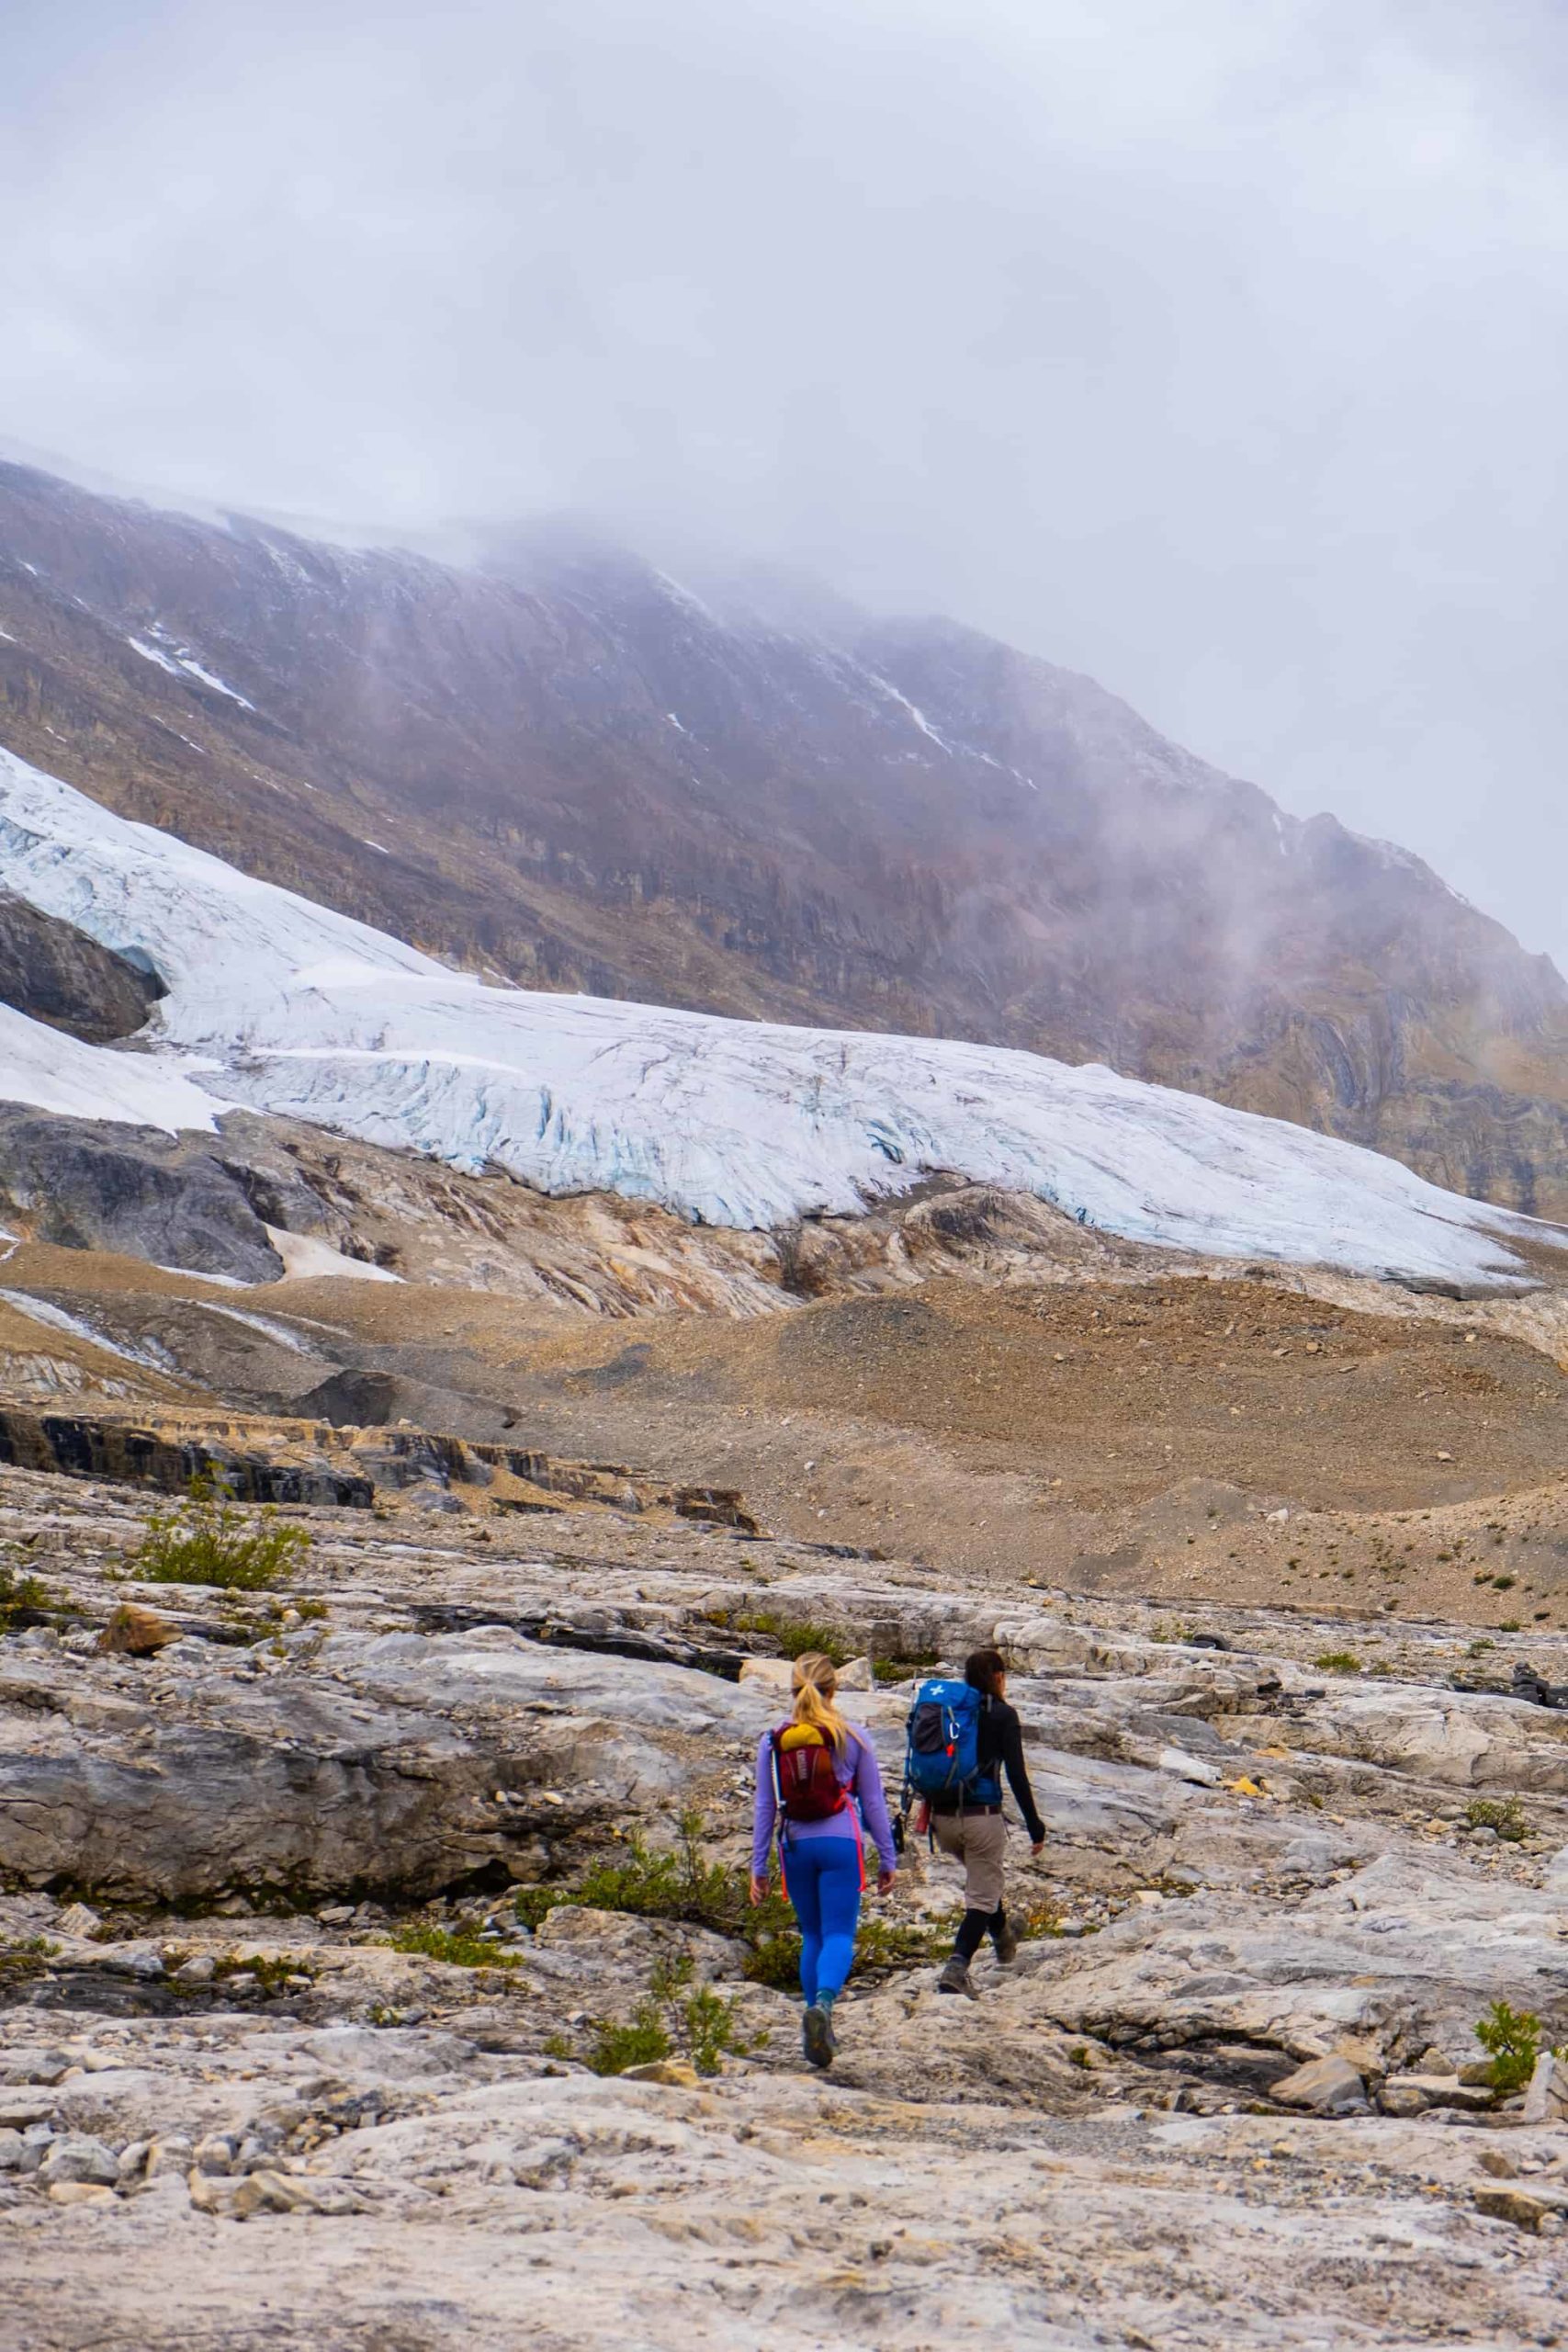
Always keep a safe distance from the glaciers, as you never know how stable the ice and snow are. If you choose to take a swim, ensure you are not leaving anything behind – from leaving pieces of garbage to using “nature’s toilets,” it is essential that we do all we can to preserve these natural areas.
If you choose to complete the Iceline Trail as an out-and-back hike, you can essentially turn around whenever you feel fulfilled. Simply follow the trail back the way you came, all the way to the parking lot. No indicator tells you when to turn around, but I recommend turning around after the second glacial lake, at about the 7km mark, as the views do not change much past this point. If you are completing the loop, continue following the trail.
Complete the Loop
After passing a few more glacial lakes, the trail descends back into the trees. You will remain in the trees for the rest of the hike, meaning there are few viewpoints. It may get boring once you are back in the trees and out of the alpine. However, if you are looking for a longer hike or trail run or if you plan on visiting the ACC Stanley Mitchell Hut or backcountry campgrounds, then the loop option is for you.
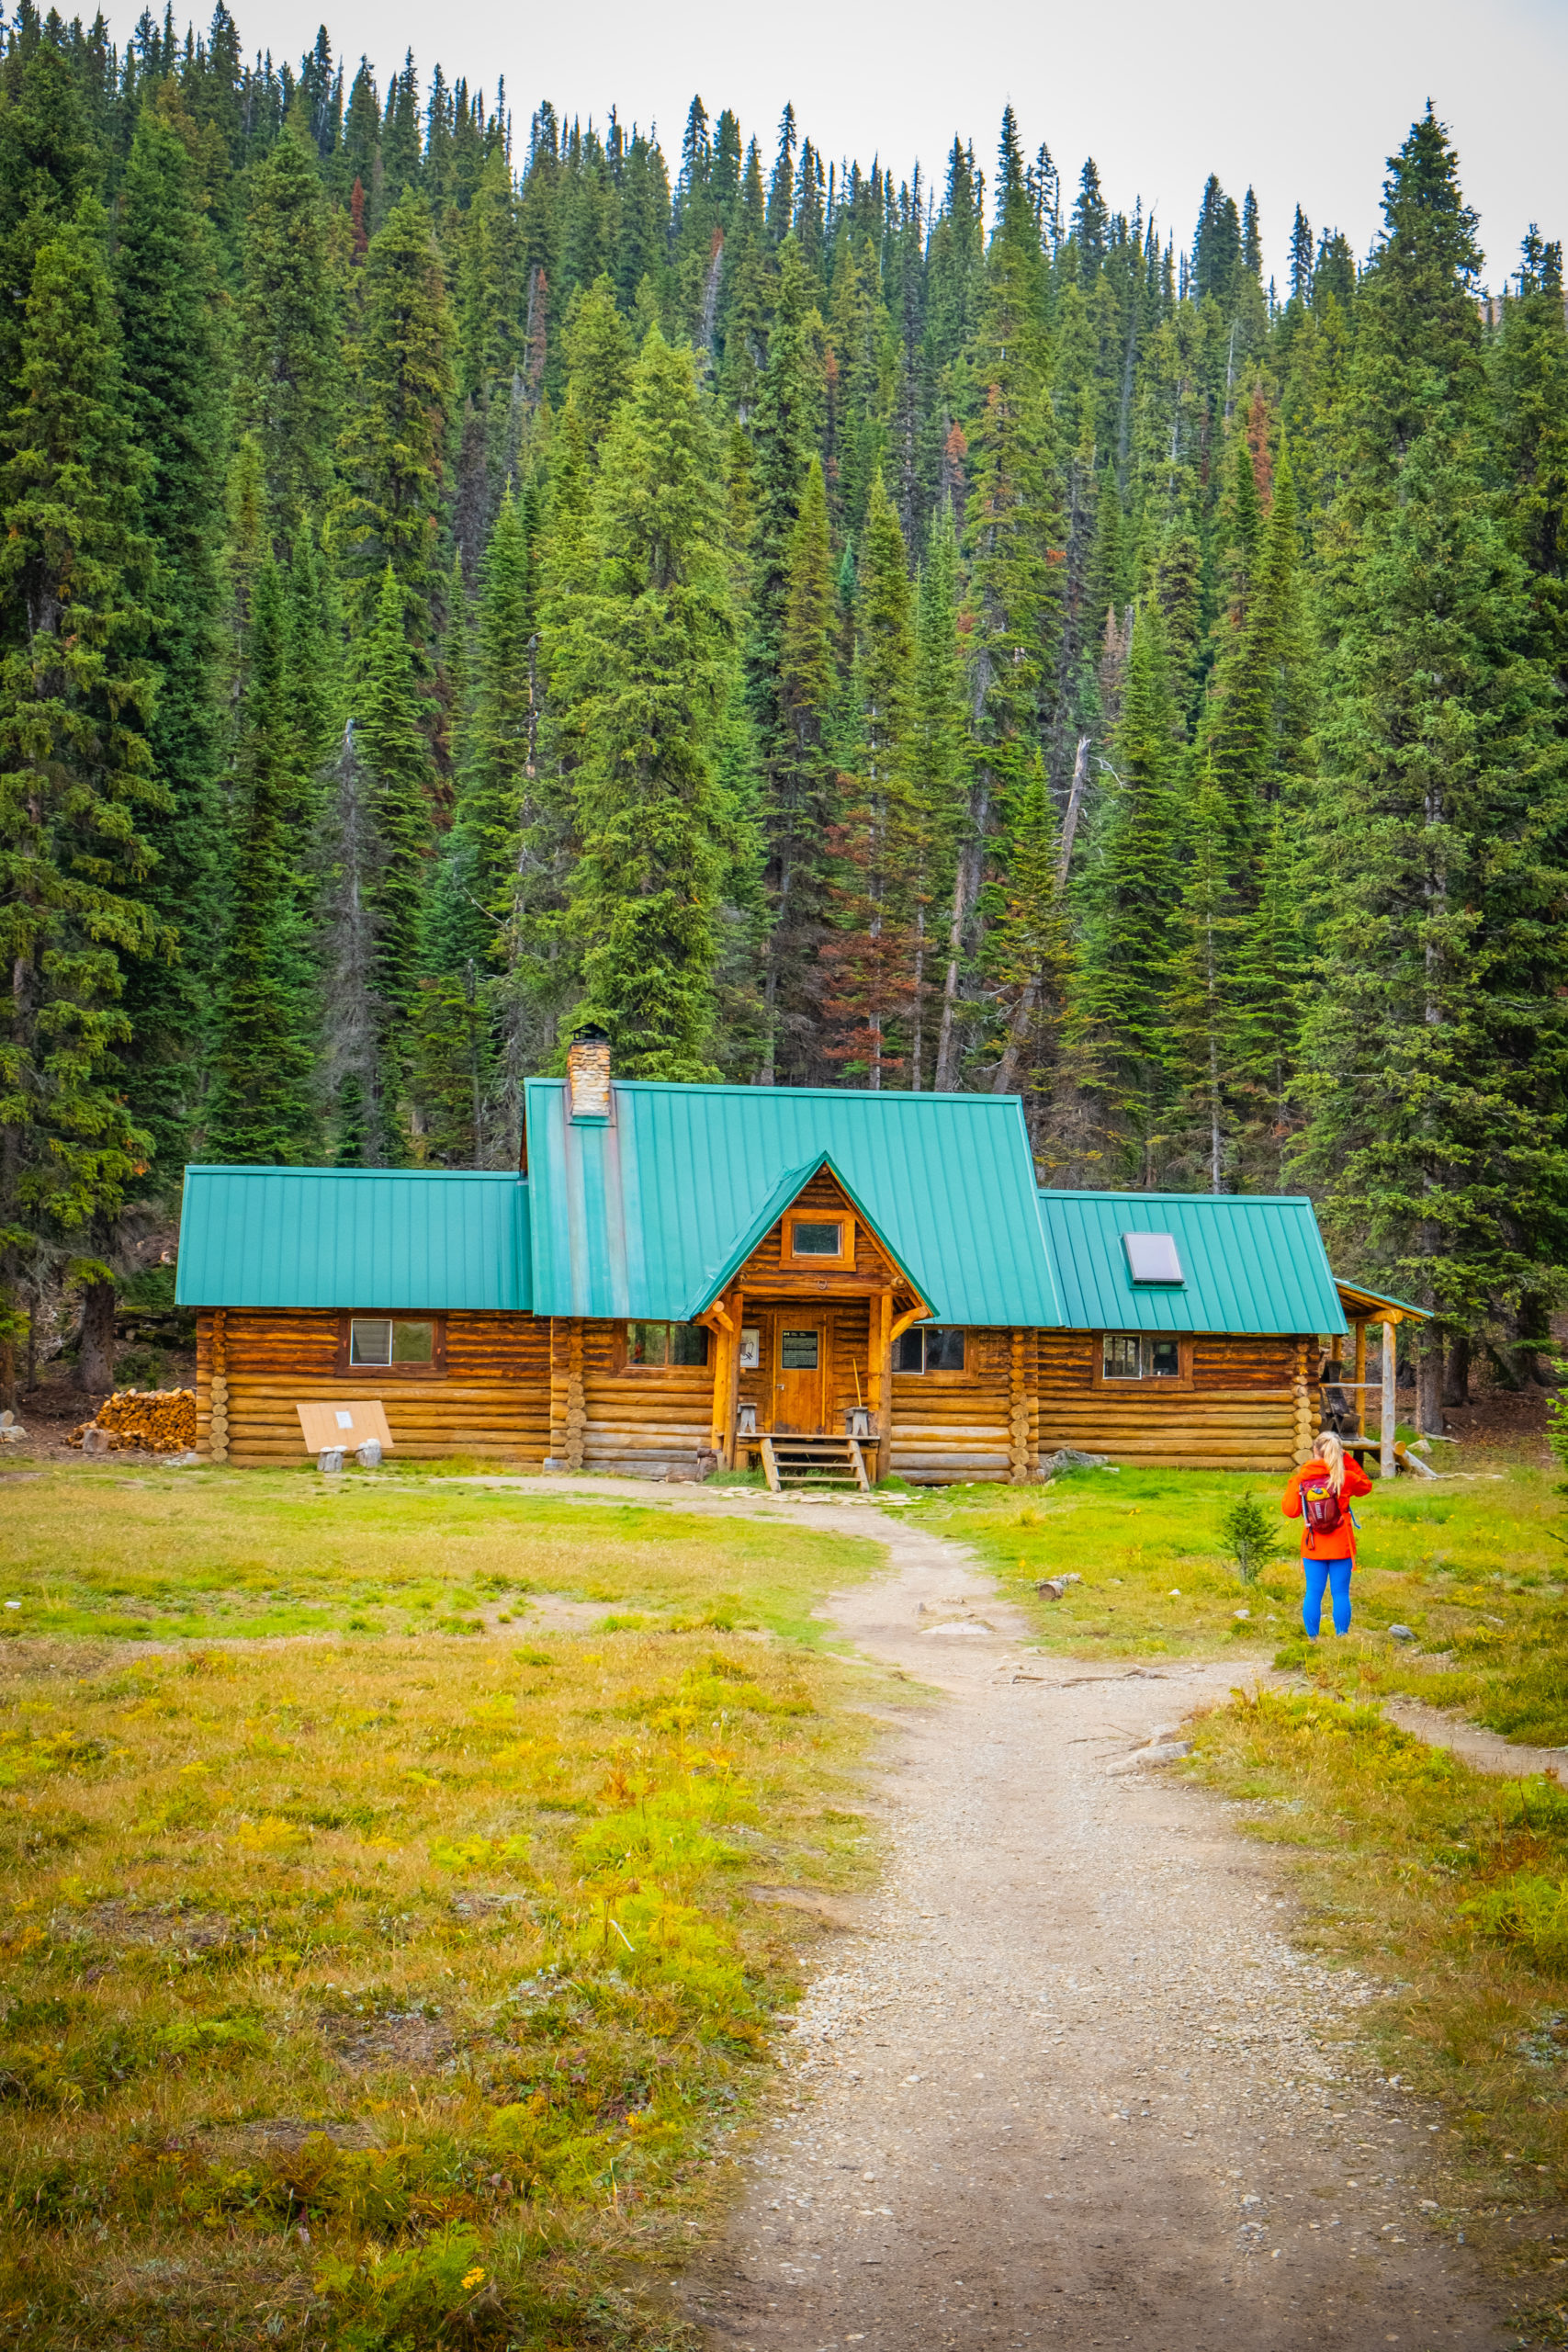
You will spend some time descending into the trees until a beautiful river with a walking bridge crosses the trail. After crossing the river, you have made it to the ACC Hut and Little Yoho Campgrounds. Unless you have booked a reservation here in advance, continue past the hut and back into the trees.
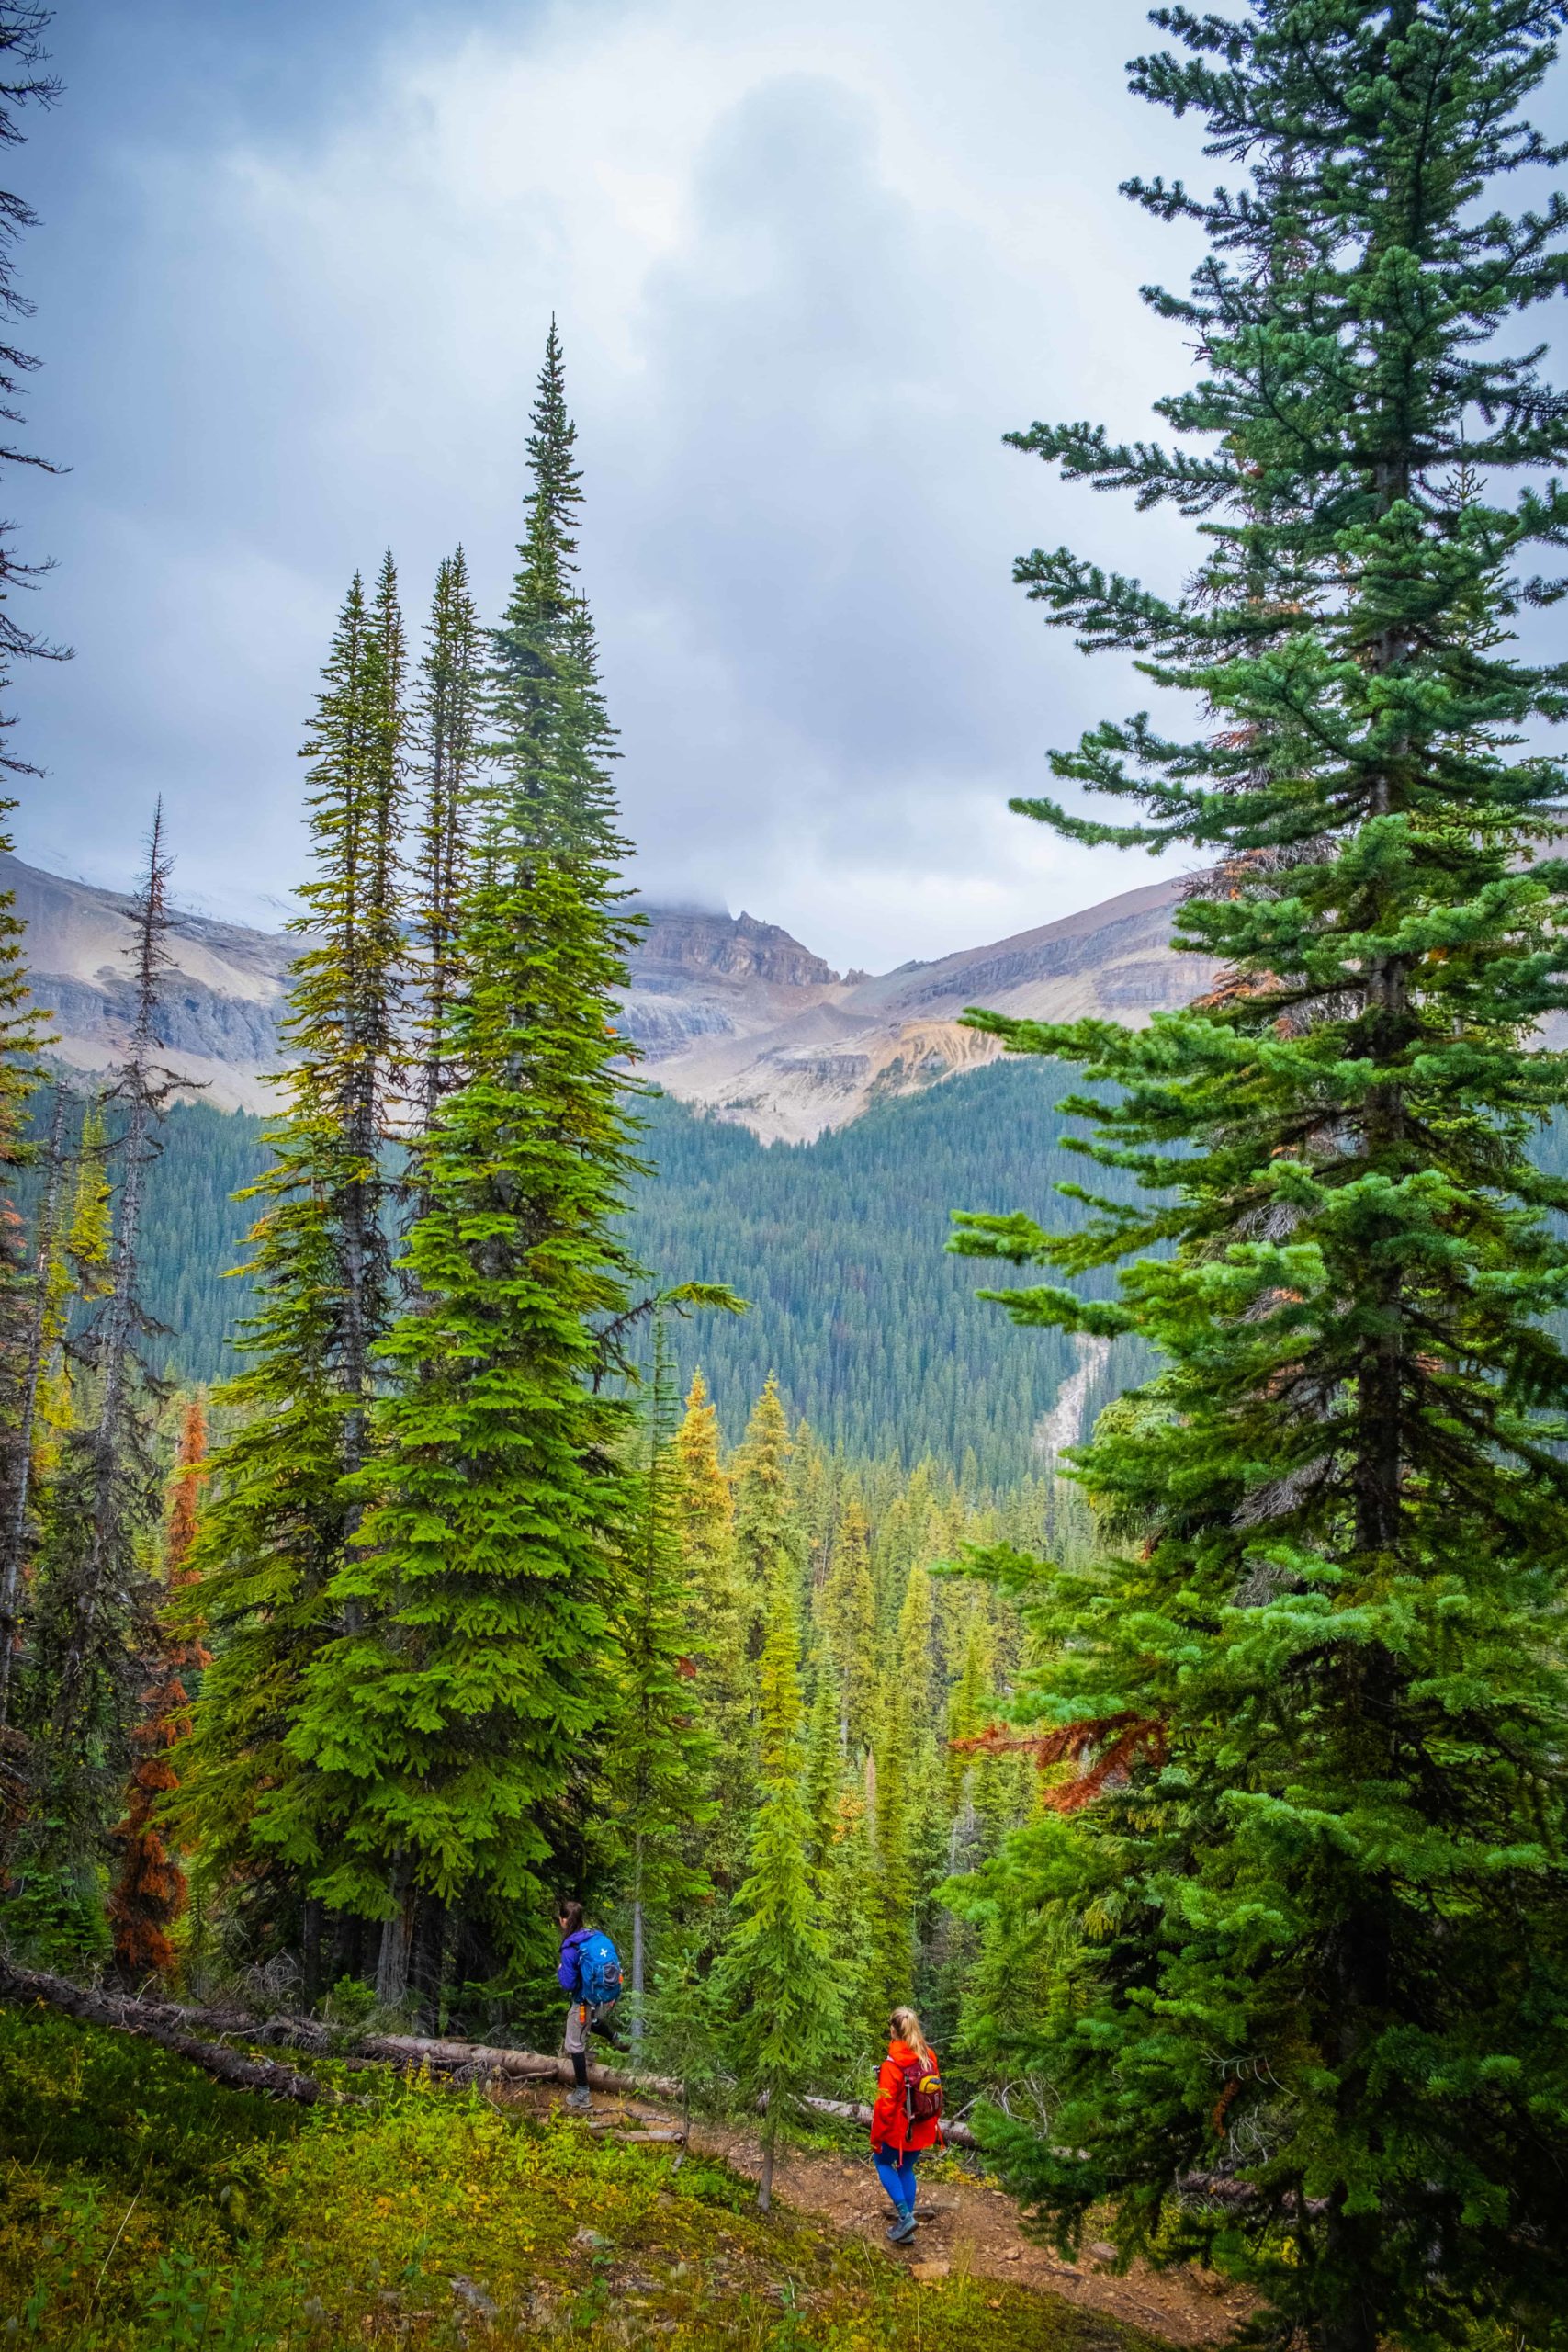
For the next few kilometers, you will follow a long series of switchbacks through the trees. This point was a bit discouraging, as it felt as though we were just getting further from the parking lot with each turn, but don’t worry—you have headed the right way, and you’re about to be rewarded with a few waterfalls.
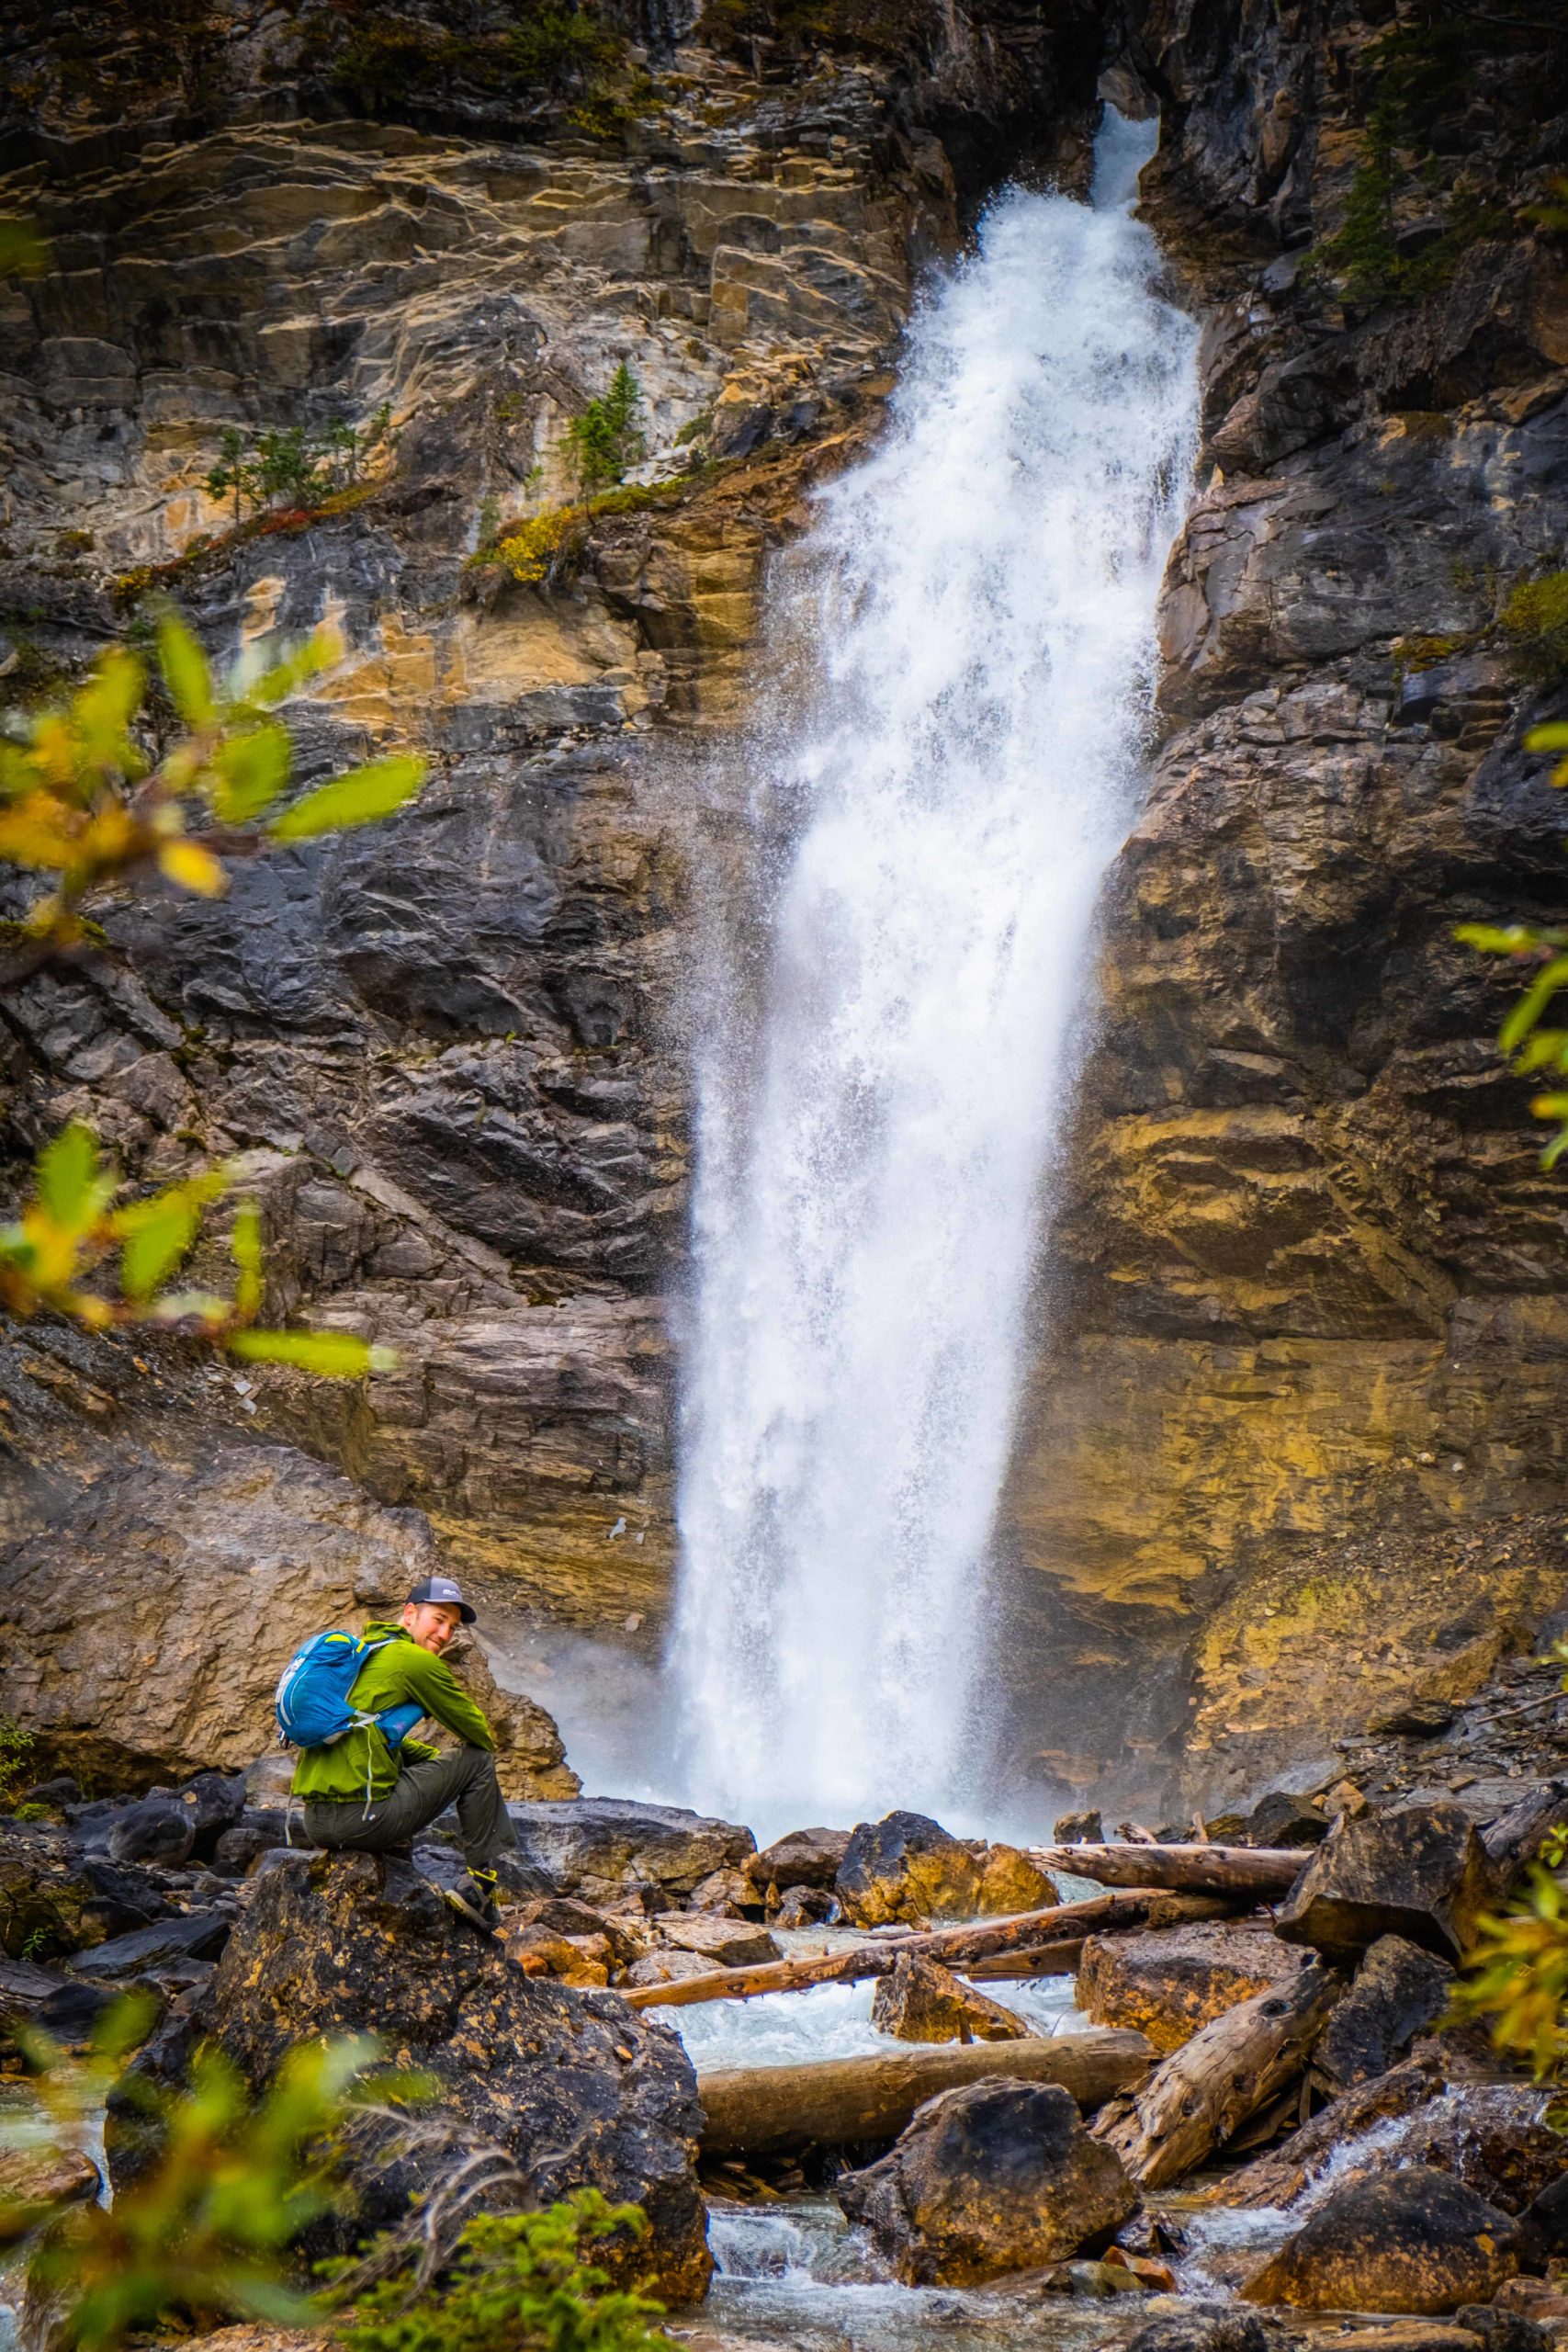
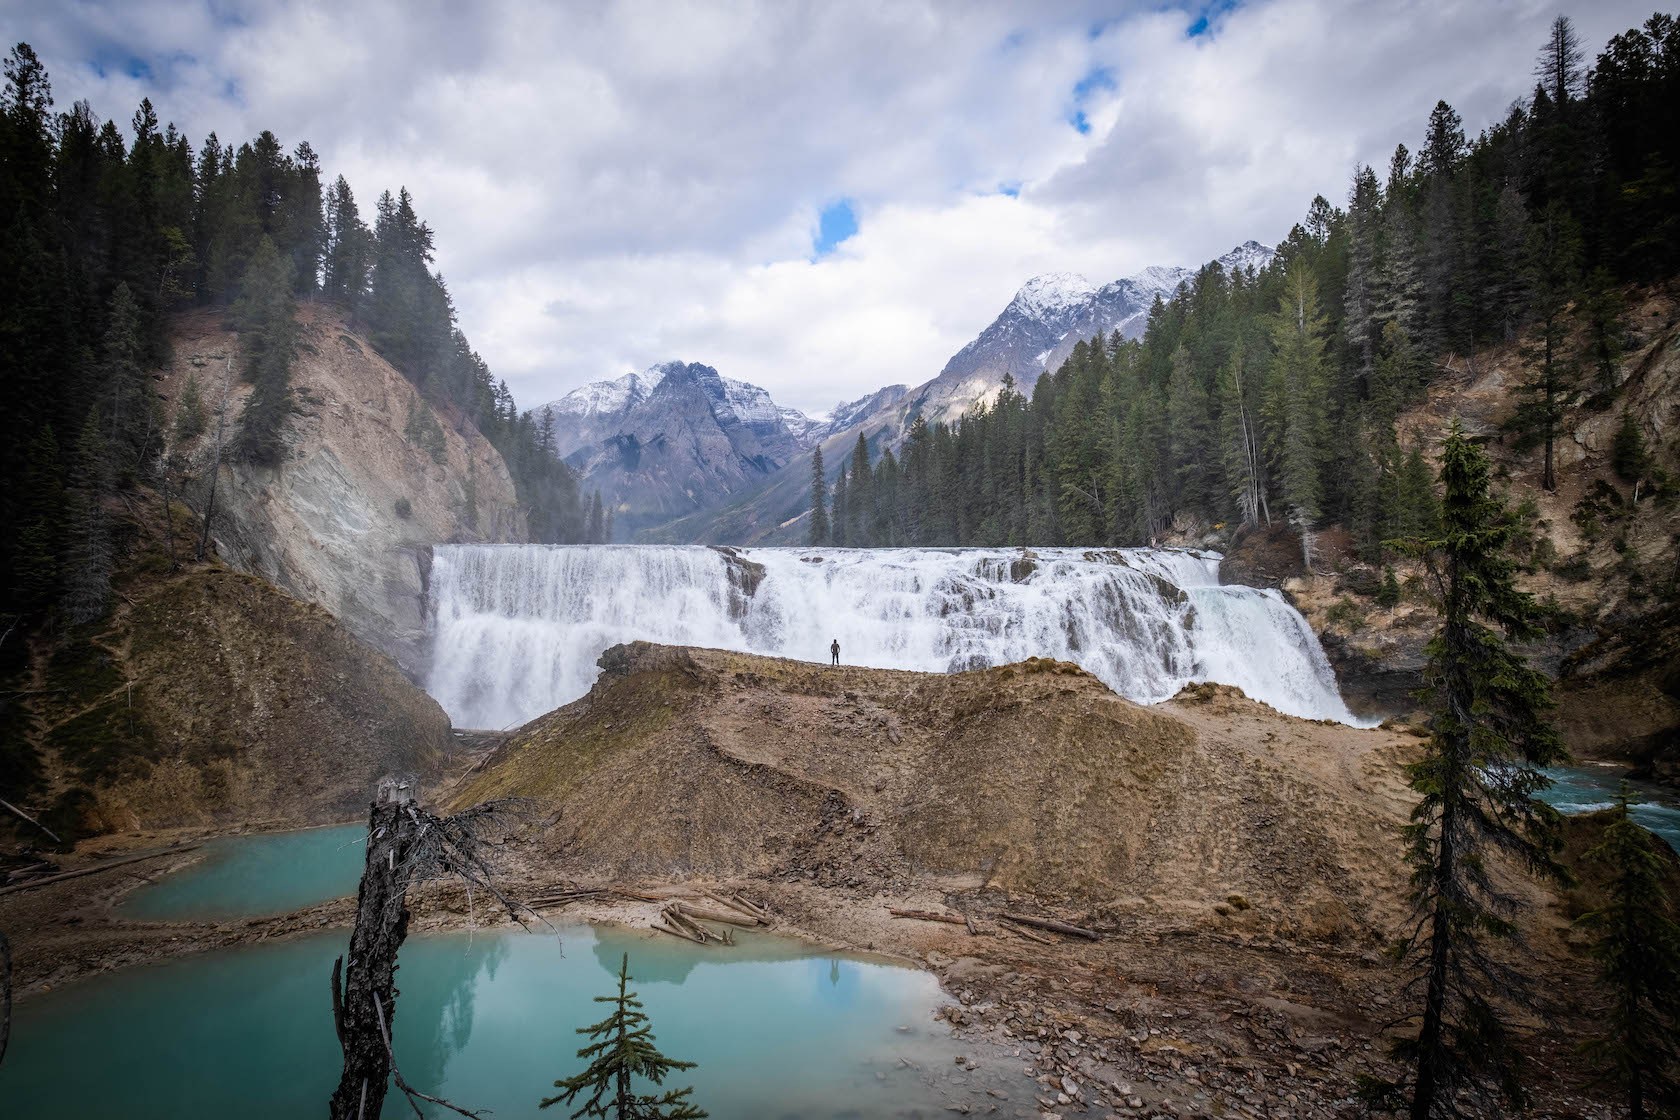
The Laughing Falls
After many switchbacks, you will finally make it to Laughing Falls and the Laughing Falls Campground! The waterfalls and the surrounding area are stunning – this would be a great campground to get a taste of backcountry camping on a multi-day trip.
You can access the Laughing Falls campground directly from the parking lot by taking the Iceline Trail Loop the opposite way around. This way, the hike to the campground is 8 kilometers with minimal elevation gain. From here, you can hike the Iceline Trail from the campground as a day hike.
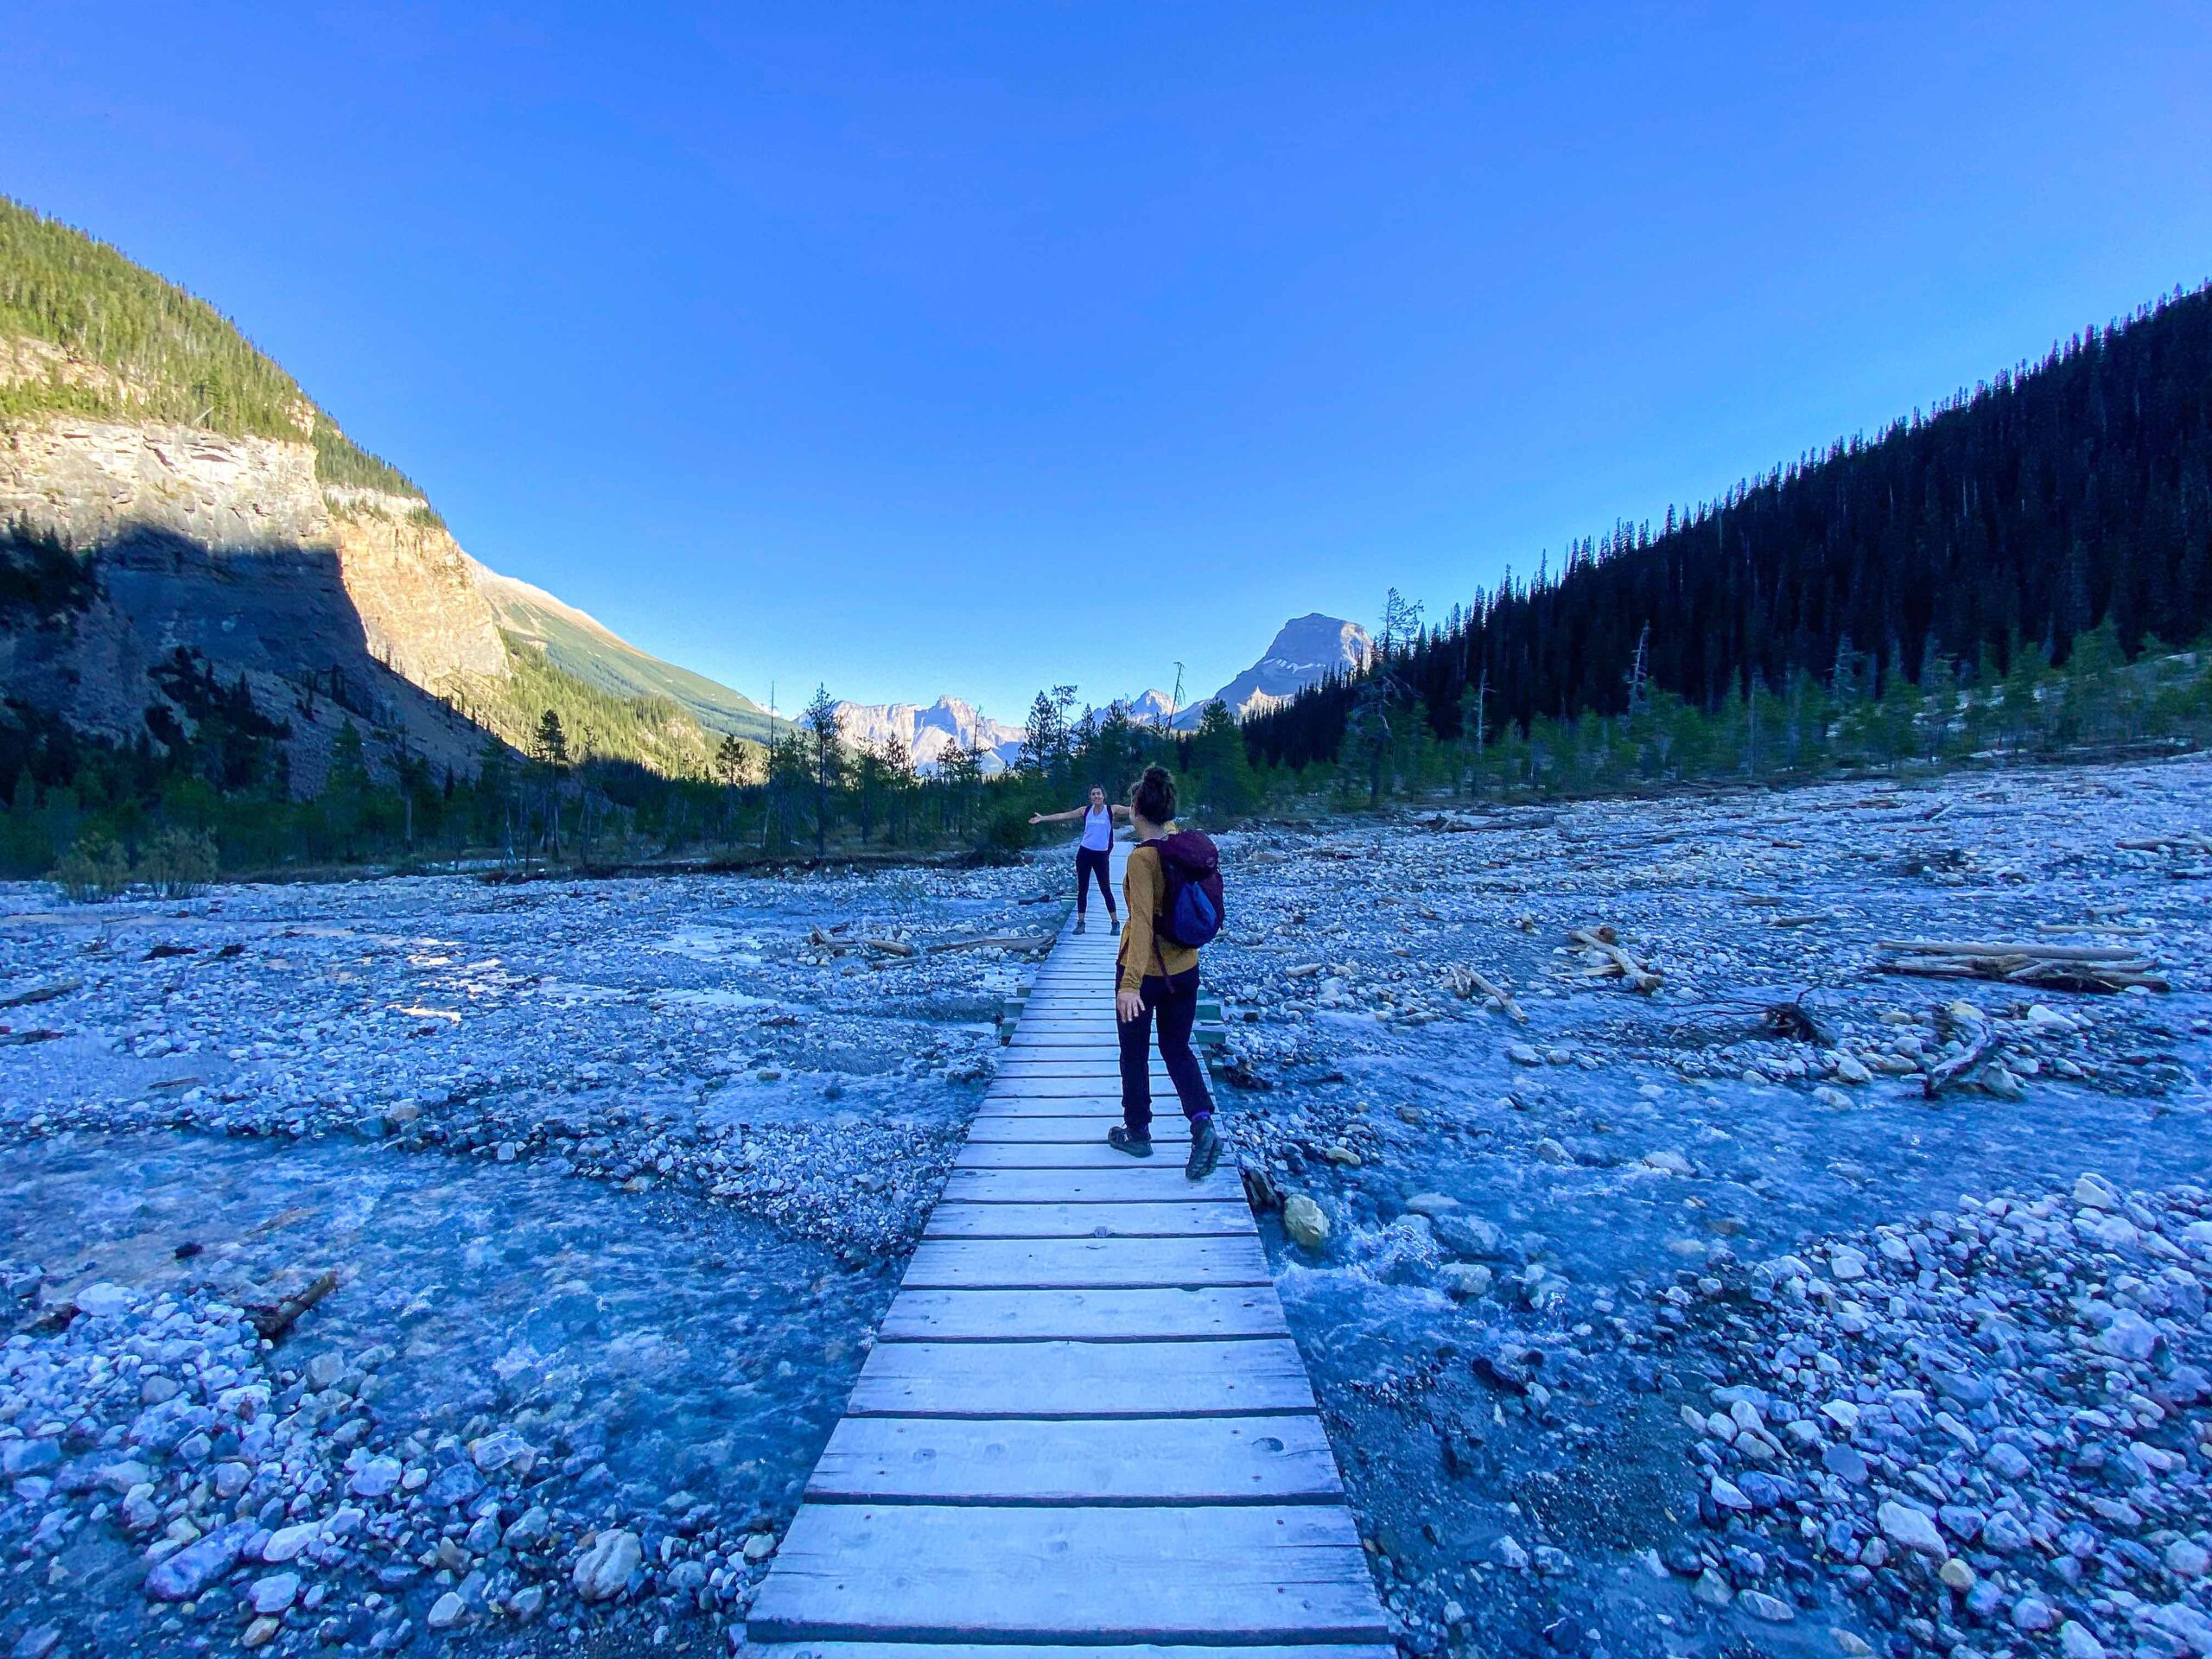
If you aren’t camping, the remainder of the trail past this campground is a straight shot. The trail will open up to a wide dirt path that eventually meets some wooden bridges to help you along a rocky section. Once you reach these bridges, you are nearly back to the parking lot – keep trekking.
Detour to Takakkaw Falls
As some locals call it, Takakkaw Falls, or “Tak Falls,” is one of the highest waterfalls in Canada. Its beauty can be admired from the Iceline Trail. Though you can see this stunning waterfall for most of the hike, it is definitely worth visiting up close and personal. Take a quick detour from the parking lot and follow the 1.3-kilometer trail to the base of the falls – it is well-marked with signs and hard to miss.
Tips For The Iceline Trail
Where to Park
The Takakkaw Falls is a common point of interest for the many people who visit Yoho National Park each year! Though the busyness isn’t always ideal, the facilities that come with the crowds are a huge benefit. When visiting the falls or hiking the Iceline Trail, you can park at the Takakkaw Falls parking lot. At the parking lot, there are also well-maintained washroom facilities.
Gear We Recommend

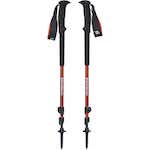
The vast majority of hikes and easy scrambles in the Rockies, you’ll find us in our trusty Salomon Speedcross.
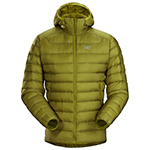
Arc’teryx Cerium is our pick for the best down jacket. It’s incredibly light, and we bring it on almost every hike in the Rockies.

This nifty clip from Peak Design secures a camera to my backpack strap for easy reach. No more digging in the backpack!
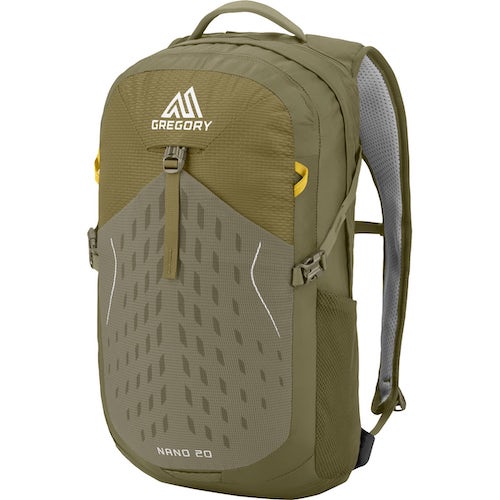
20L feels like the ideal size for quick hikes and scrambles. We love the Nano from Gregory with a hydration reservoir.
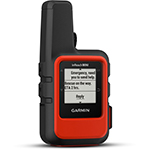
There is not much cell service in the Canadian Rockies. In case of emergencies, we carry an emergency beacon with GPS.
Advice for Hiking the Iceline Trail
- If you are hiking the Iceline Trail as a day trip, I recommend the out-and-back option. This route provides all the same views as the loop. The only thing it misses out on is the Laughing Falls. Though the Laughing Falls are stunning, the extra 6+ kilometers didn’t seem to be worth it, especially when Takakkaw Falls are more impressive and so easily accessible.
- If you are looking for an intro to backcountry camping, check out the Laughing Falls Campground. This campground is roughly 8 kilometers from the parking lot, but the trail has next to no elevation gain. This would make a great single-night trip, where you can get a feel for hiking with a pack without a very demanding hike.
- If you are a trail runner, the 20 km Iceline Trail loop makes for a fantastic trail run.
- Make the loop option a multi-night stay. Between the ACC Stanley Mitchell hut, Little Yoho campground, and Laughing Falls campground, there are lots of options to make this a 2- to 3-night stay. I haven’t camped here myself, but I would recommend the following:
- Follow the Laughing Falls Trail to camp at the Laughing Falls campground on night 1. This is an 8-kilometer trip with little elevation gain, and could be easily completed in an afternoon.
- Continue to the Little Yoho campground for night 2. You will follow switchbacks to climb a small hillside, gaining some elevation. From Laughing Falls, you can make it to this campground in 2-3 hours.
- Once you have made it to Little Yoho campground, there are many options for stunning day hikes, one being the Iceline Trail of course. You can make this your home base for a night or two and branch out from here for some daytime hiking. Staying here opens up an extensive trail network, including the Kiwetinok Pass Trail which will take you to Kiwetinok Lake. For the hike out, you could complete the Iceline Trail loop or go back the way you came.
- While hiking the Iceline Trail, be sure to venture off the beaten path. Once you are in the alpine, there is so much area to explore with few risks compared to higher risk scrambles in the area.
- If you have mountaineering or glacial travel experience The President Range is back here and is a popular mountaineering objective.
- Reward yourself after a big Yoho hike by enjoying a tasty meal! The town of Field is just a quick detour on your way home to Banff and has a few restaurants and cute cafes. We stopped for dinner at the rustic Truffle Pig Bistro and Lounge, and I would definitely recommend it. With a funky interior and beautiful patio, this is a nice spot to relax and indulge in some tasty food.
- When visiting Yoho National Park, you will need a National Park Pass. These can be purchased at the park gate or online. The Day Passes are valid for both Banff National Park and Yoho National Park, so no need to purchase two if coming from Banff.
- Emerald Lake is nearby. If you have enough time, I highly suggest stopping at this stunning lake. It’s one of the prettiest in the Rockies (which is saying something!).
How Hard is the Iceline Trail Hike?
Considering the Iceline Trail does not have a scramble or much exposure, I would give this hike a difficulty rating of Moderate. Most of the elevation is gained in the first hour or so as you climb the steep switchbacks, but this can be taken at your own pace.
Once you complete the switchbacks and enter the alpine, the hike becomes more of a long walk, with little elevation gain to worry about. If hiking the loop option, you will need some endurance to complete the 20+ kilometers. It isn’t really a question of cardio like steeper hikes are, but a matter of stamina.
As for the 14-kilometer out-and-back option, I think any able-bodied individual of moderate fitness can complete this hike, especially considering you can turn around whenever you are ready.
Duration of the Iceline Trail Hike

It is tough to estimate how long the Iceline Trail should take when you consider how much there is to explore! If you plan to complete the hike without veering off the trail much, the out-and-back route should take 4-6 hours, and the loop option should take 6-8 hours. That being said, it is nice to allocate additional time so that you can explore the area without feeling rushed. Laughing Falls and Tak Falls are nice places to spend some time.
Is the Iceline Trail Hike Suitable for Kids and Dogs?
Since the Iceline Trail doesn’t have any type of scramble, the out-and-back option is a great family-friendly hike! Kids 6 years old and up should be able to make it up the steep switchbacks with some determination, can cross the ridge-like section without the worry of exposure hazards, and then will enjoy the open space to explore!
The Iceline Trail is not stroller friendly, but most adults of moderate fitness could complete the out-and-back hike with a carrier on their back. Keep in mind that both options, the out-and-back and the loop, are quite long. Though the hike isn’t too challenging, the length could become tiring for kids.
Any medium-large dogs would love hiking the Iceline Trail. The terrain will be easy for them, and I am sure they will love cooling down in the alpine lakes and drinking from the glacial streams (all while kept on a leash, of course!).
Be sure to pay attention to the weather before bringing your four-legged companion along, though – without any shade in the alpine, they may have a tough time staying cool on this long hike, even with the abundance of glacial water.
When Can You Hike the Iceline Trail?
The Iceline Trail is best hiked in the summer months, from mid-June to September. The trail is bound to be covered with snow outside of these months, and the access road closes for the season. You can check out the Parks Canada website to find details on the trail conditions and road status.
If you are eager to scope out this area in the winter months, the Stanley Mitchell Hut is available as a backcountry skiing destination. This hut is known to be one of the coziest, dreamiest touring destinations, so be sure to check out the details on the ACC website.
How Popular is the Iceline Trail Hike?
The Iceline Trail hike is moderately trafficked. With Takakkaw Falls being such a popular tourist destination, the parking lot and the trail leading to the falls are often jam-packed. As you venture away from the falls, the Iceline Trail becomes quieter as most people do not go further than the falls.
Like with any tourist destination, the more work you are willing to put in, the more rewarding the experience becomes and the less busy it becomes! The Iceline Trail is quiet compared to the parking lot and Takakkaw Falls, though you will still see other hikers throughout the trail. With the Iceline Trail being such a long hike with open space, it is easy to spread out from others.
**If you are up for more adventure and eager for a less busy, beginner scramble nearby, Paget Peak is a great option!
Tips for Hiking in the Canadian Rockies!
- No matter the season, you need to dress appropriately for mountain environments. The weather in the mountains can change quickly and drastically, so you will want to be prepared for whatever the weather throws at you. Check out this article on what to wear Hiking.
- Despite how busy and highly trafficked a hike may be, it is always possible to lose the trail. My favorite app to use while hiking is AllTrails. Not only does this provide you with details of the hike and reviews from other hikers, but you can download the route directly to your phone if you pay the small subscription fee.
- Be bear aware! Always carry bear spray and ensure it is in an accessible area – we use a holster to attach ours to our hip or chest strap on our backpack. Bear encounters happen most commonly when the bear doesn’t hear you coming and you accidentally sneak up on them. To avoid this, some people carry bear bells. I personally just like to keep a conversation flowing at a decent volume, and if you grow tired of chatting, singing your favorite songs is sure to let the bears know you are there.
- Don’t be afraid to turn around before the summit or final destination if needed. It is sometimes the smartest and safest decision to call it quits, whether it is due to the weather, you’re running out of time before it gets dark, or you are just too exhausted. There is always another day to reattempt a hike when you are feeling more prepared.
30 Helpful Hiking Tips for New Hikers
Where To Stay in Yoho

One of the best places to stay in Yoho National Park is Emerald Lake Lodge on Emerald Lake. Read the full review here!
Plan Your Trip to the Canadian Rockies
- Tours (New in 2024): The Banff Blog is partnering with one of the leading tour companies in Western Canada so readers can experience the magic of the Rockies with other travelers – without having to think about a thing. See all our 2024 tour offerings here!
- Hotels in the Rockies: There are many places to stay, from luxury hotels to wilderness cabins. See all our favorites here.
- Get to Banff or Canmore Without a Car: The Banff Airporter provides fantastic service connecting you from the Calgary International Airport (YYC) to Banff or Canmore.
- Get Around: We suggest renting a car to get around. You can search for rental cars on Rentalcars.com. Or embark on an epic campervan trip. We like to compare prices on Motorhome Republic and Outdoorsy.
- Cheaper Airfare: We also use Going to watch for cheap airfare deals!
- Hop On, Hop Off: This tour is taking Banff by storm. It’s exactly what it sounds like, hop on and off a bus bound for all the best attractions at your own pace!